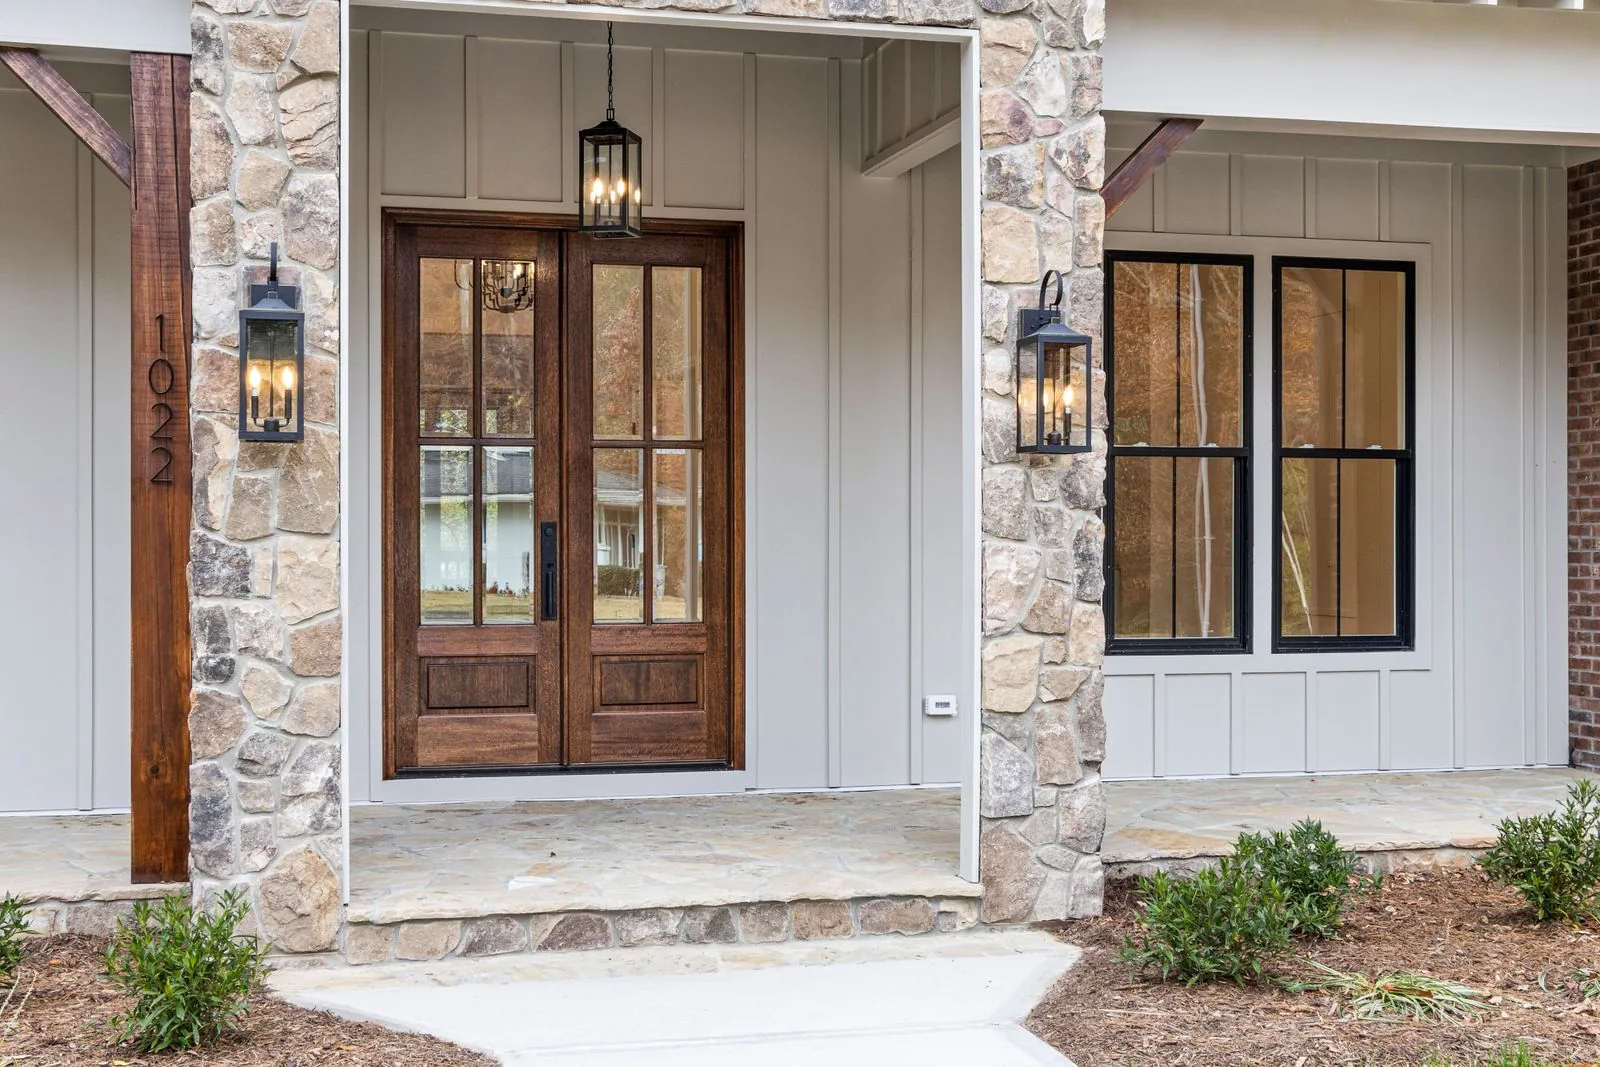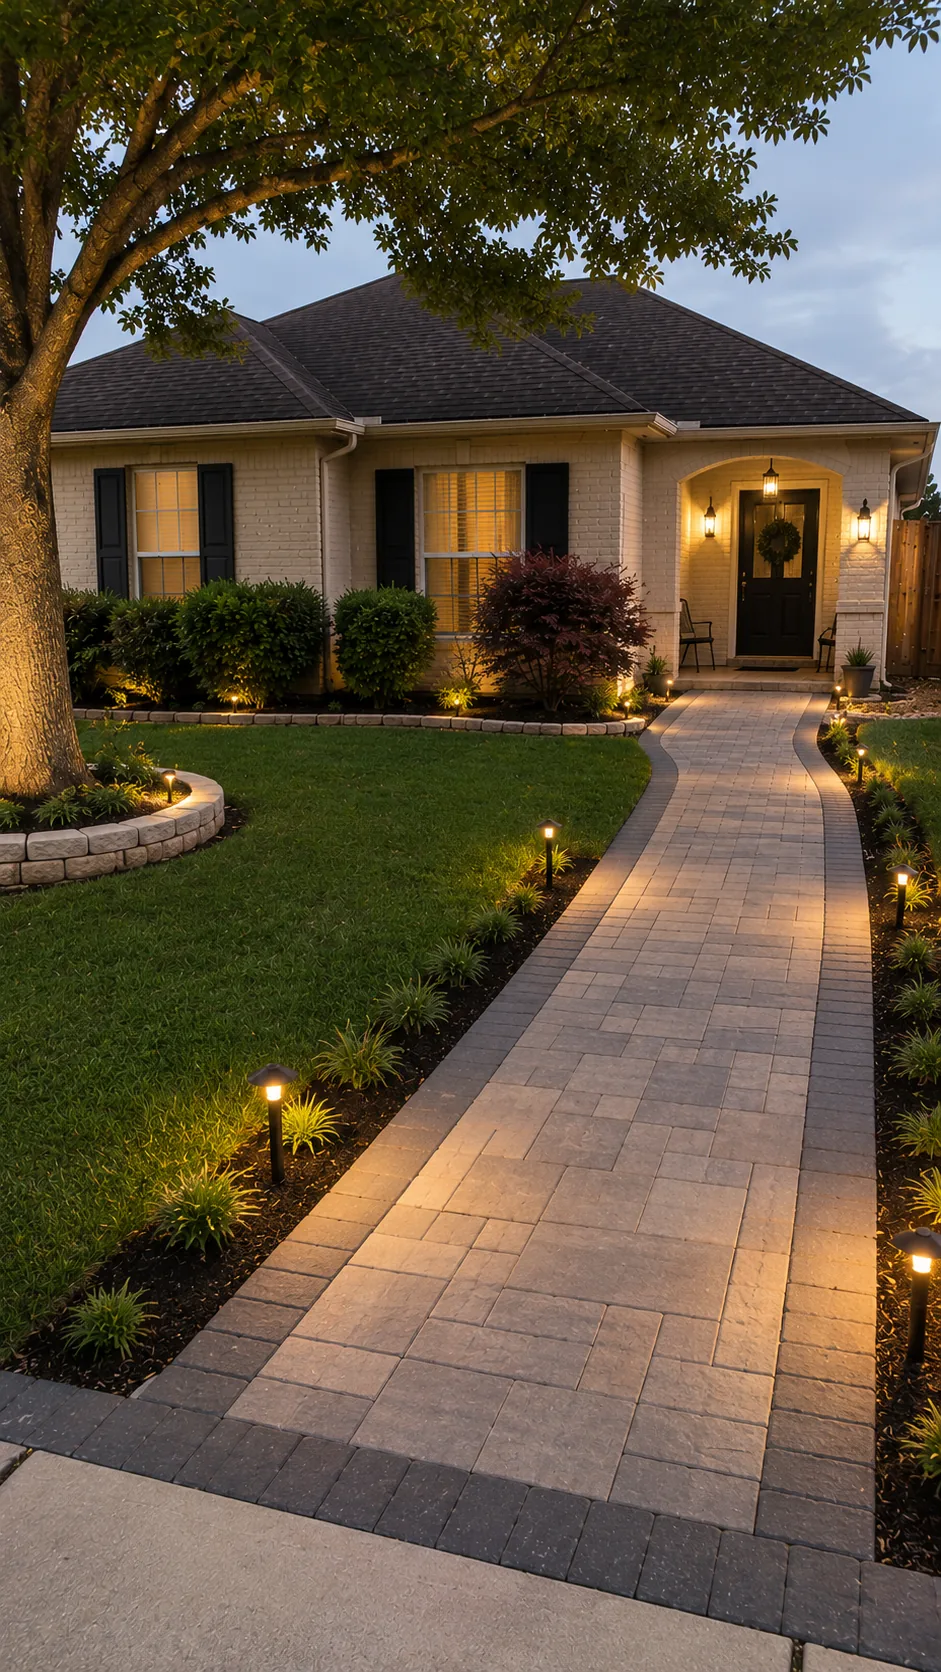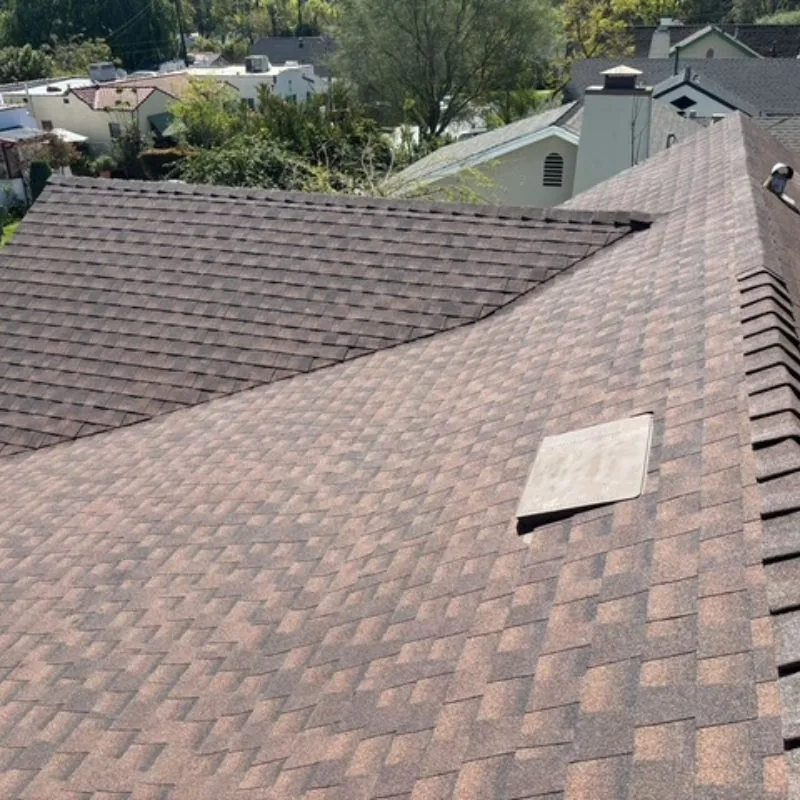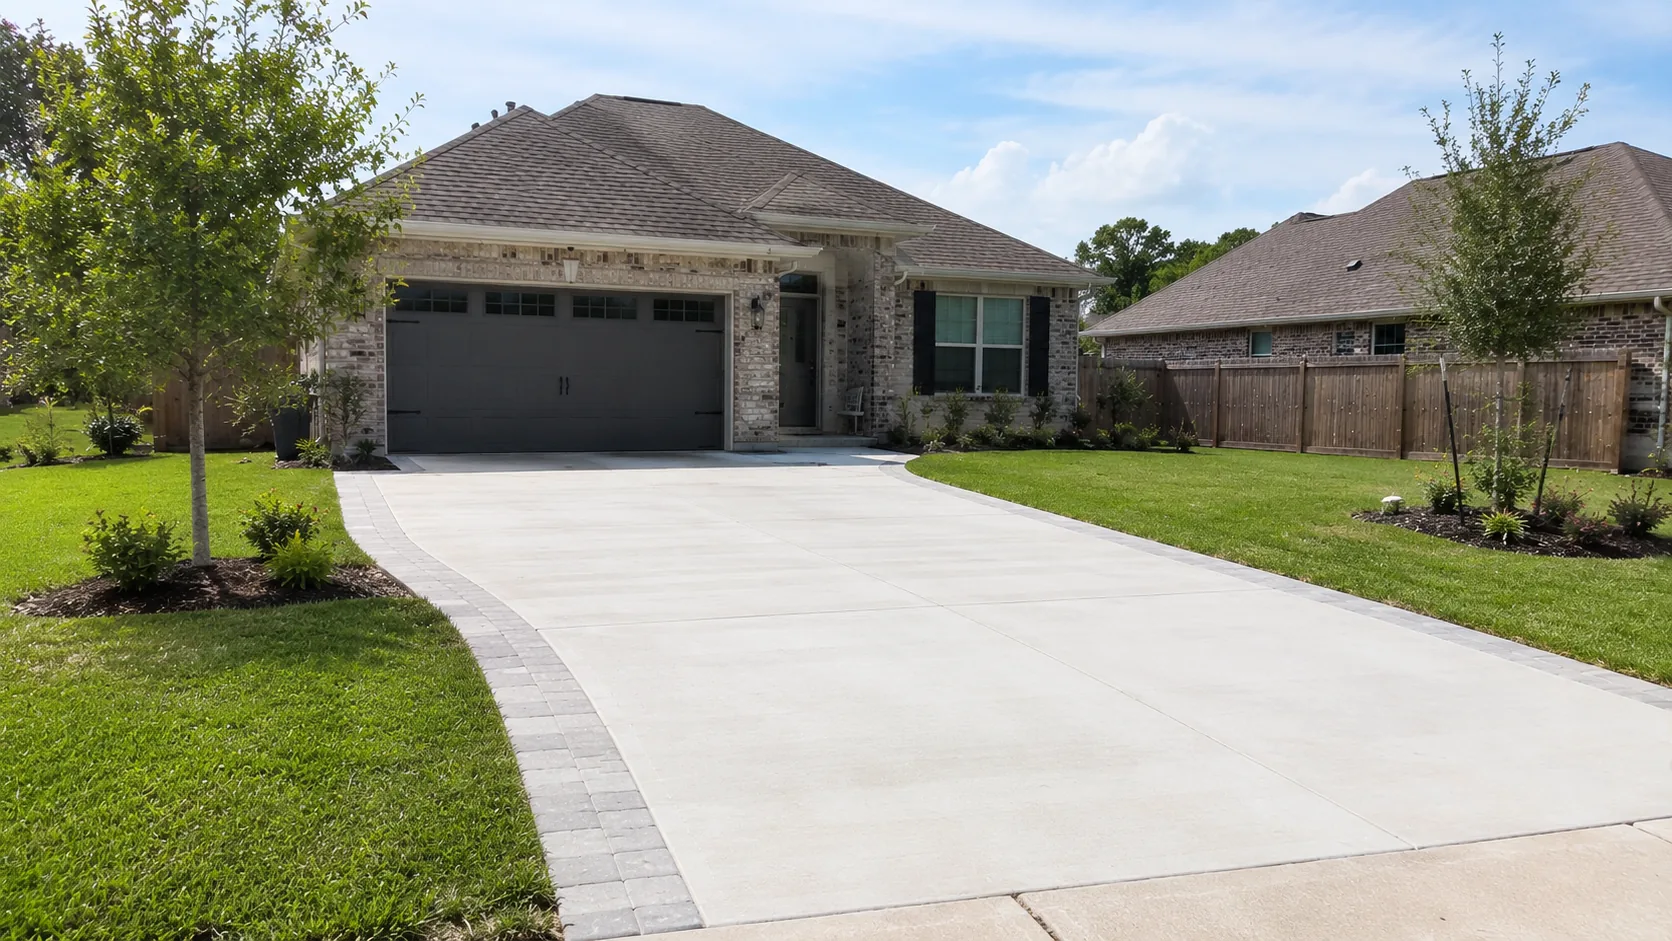
Siding is the part of your house that takes the weather. We replace failing siding in Bellevue and across the Eastside with drained, properly flashed wall assemblies that keep water out of the framing instead of covering it up.
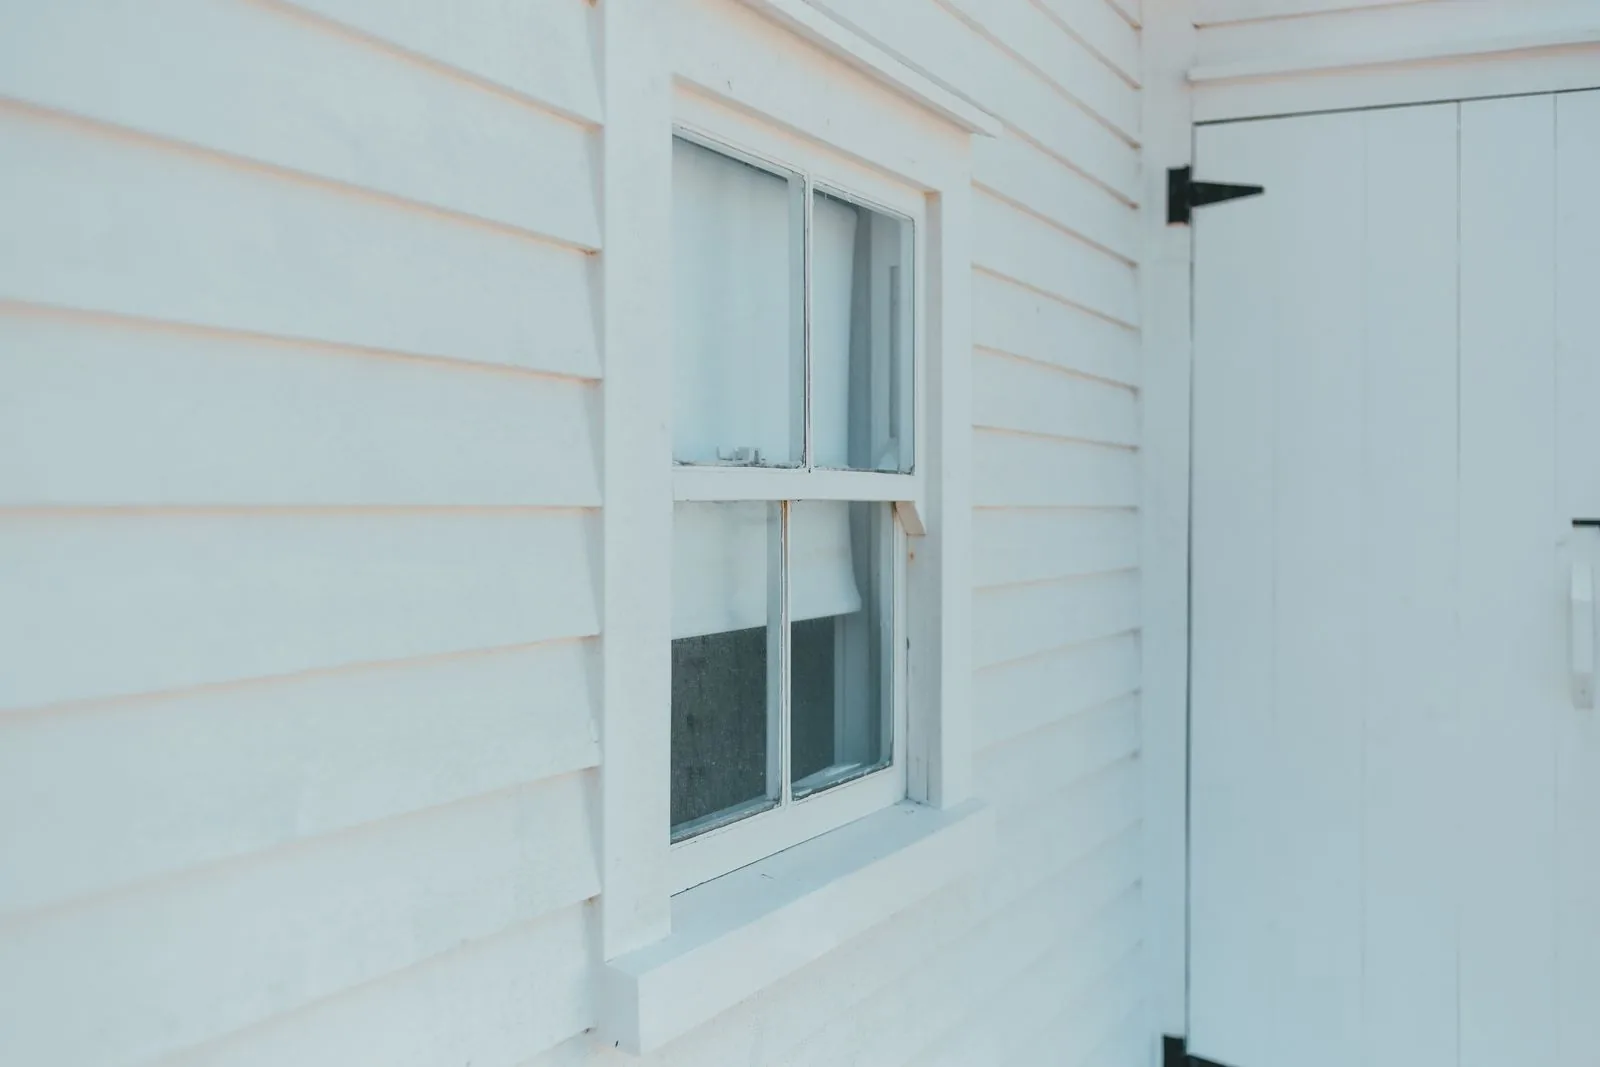
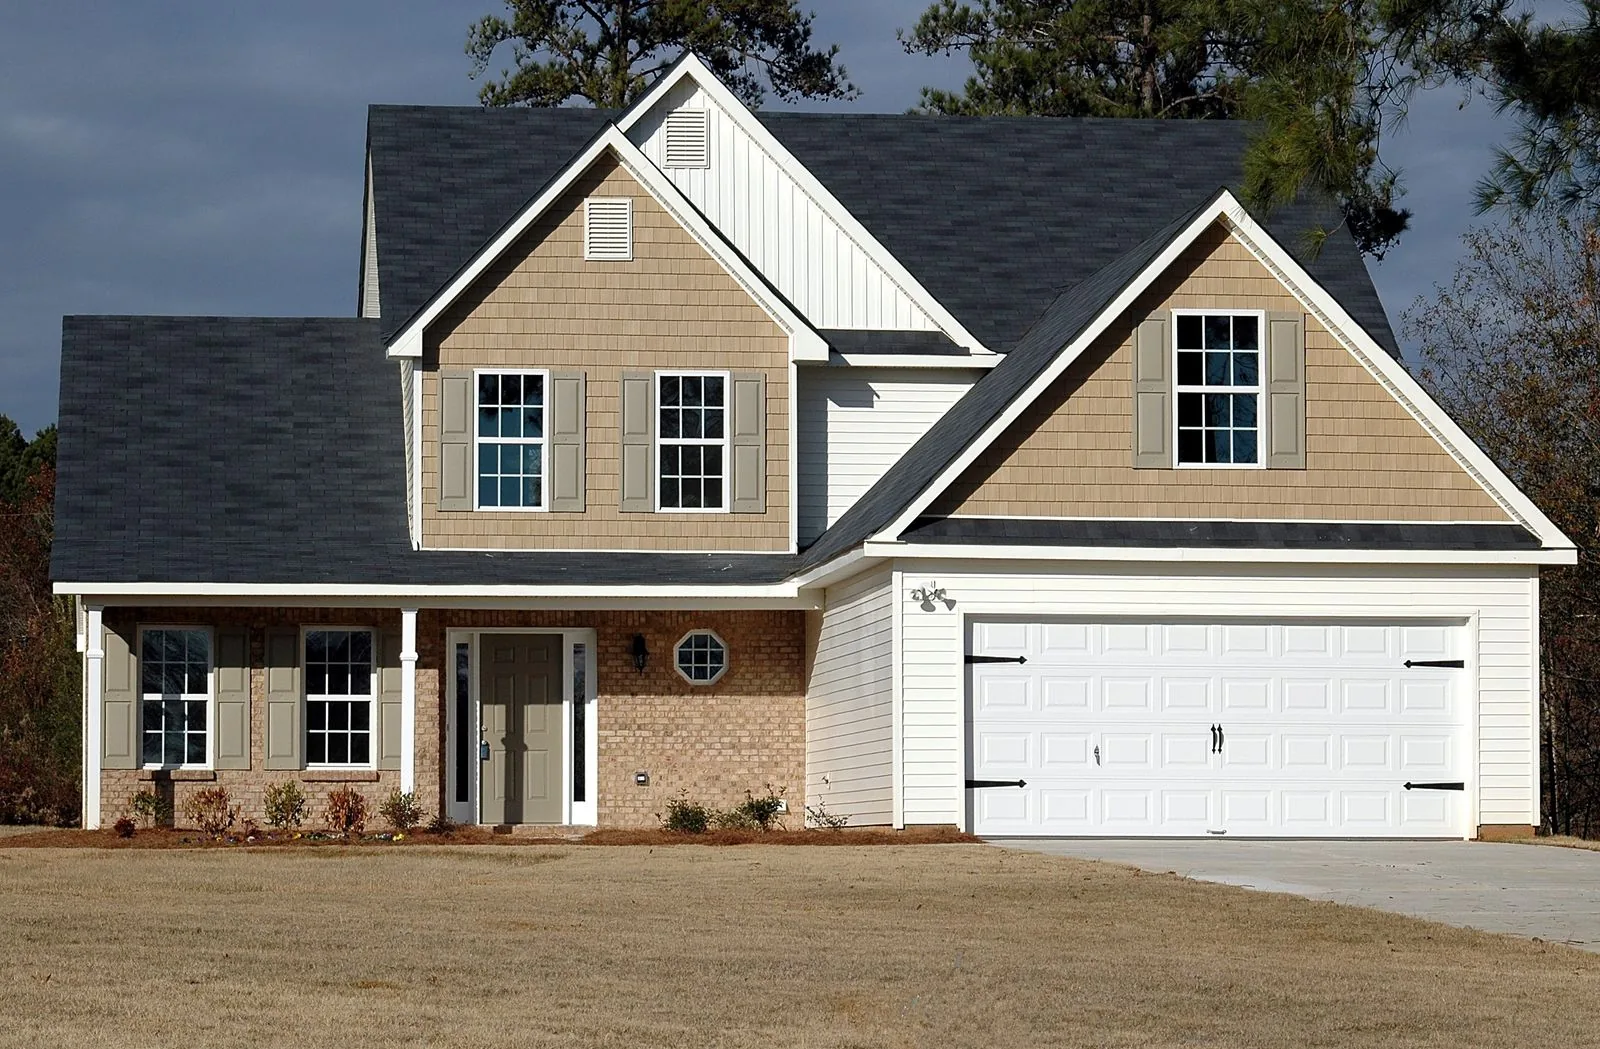
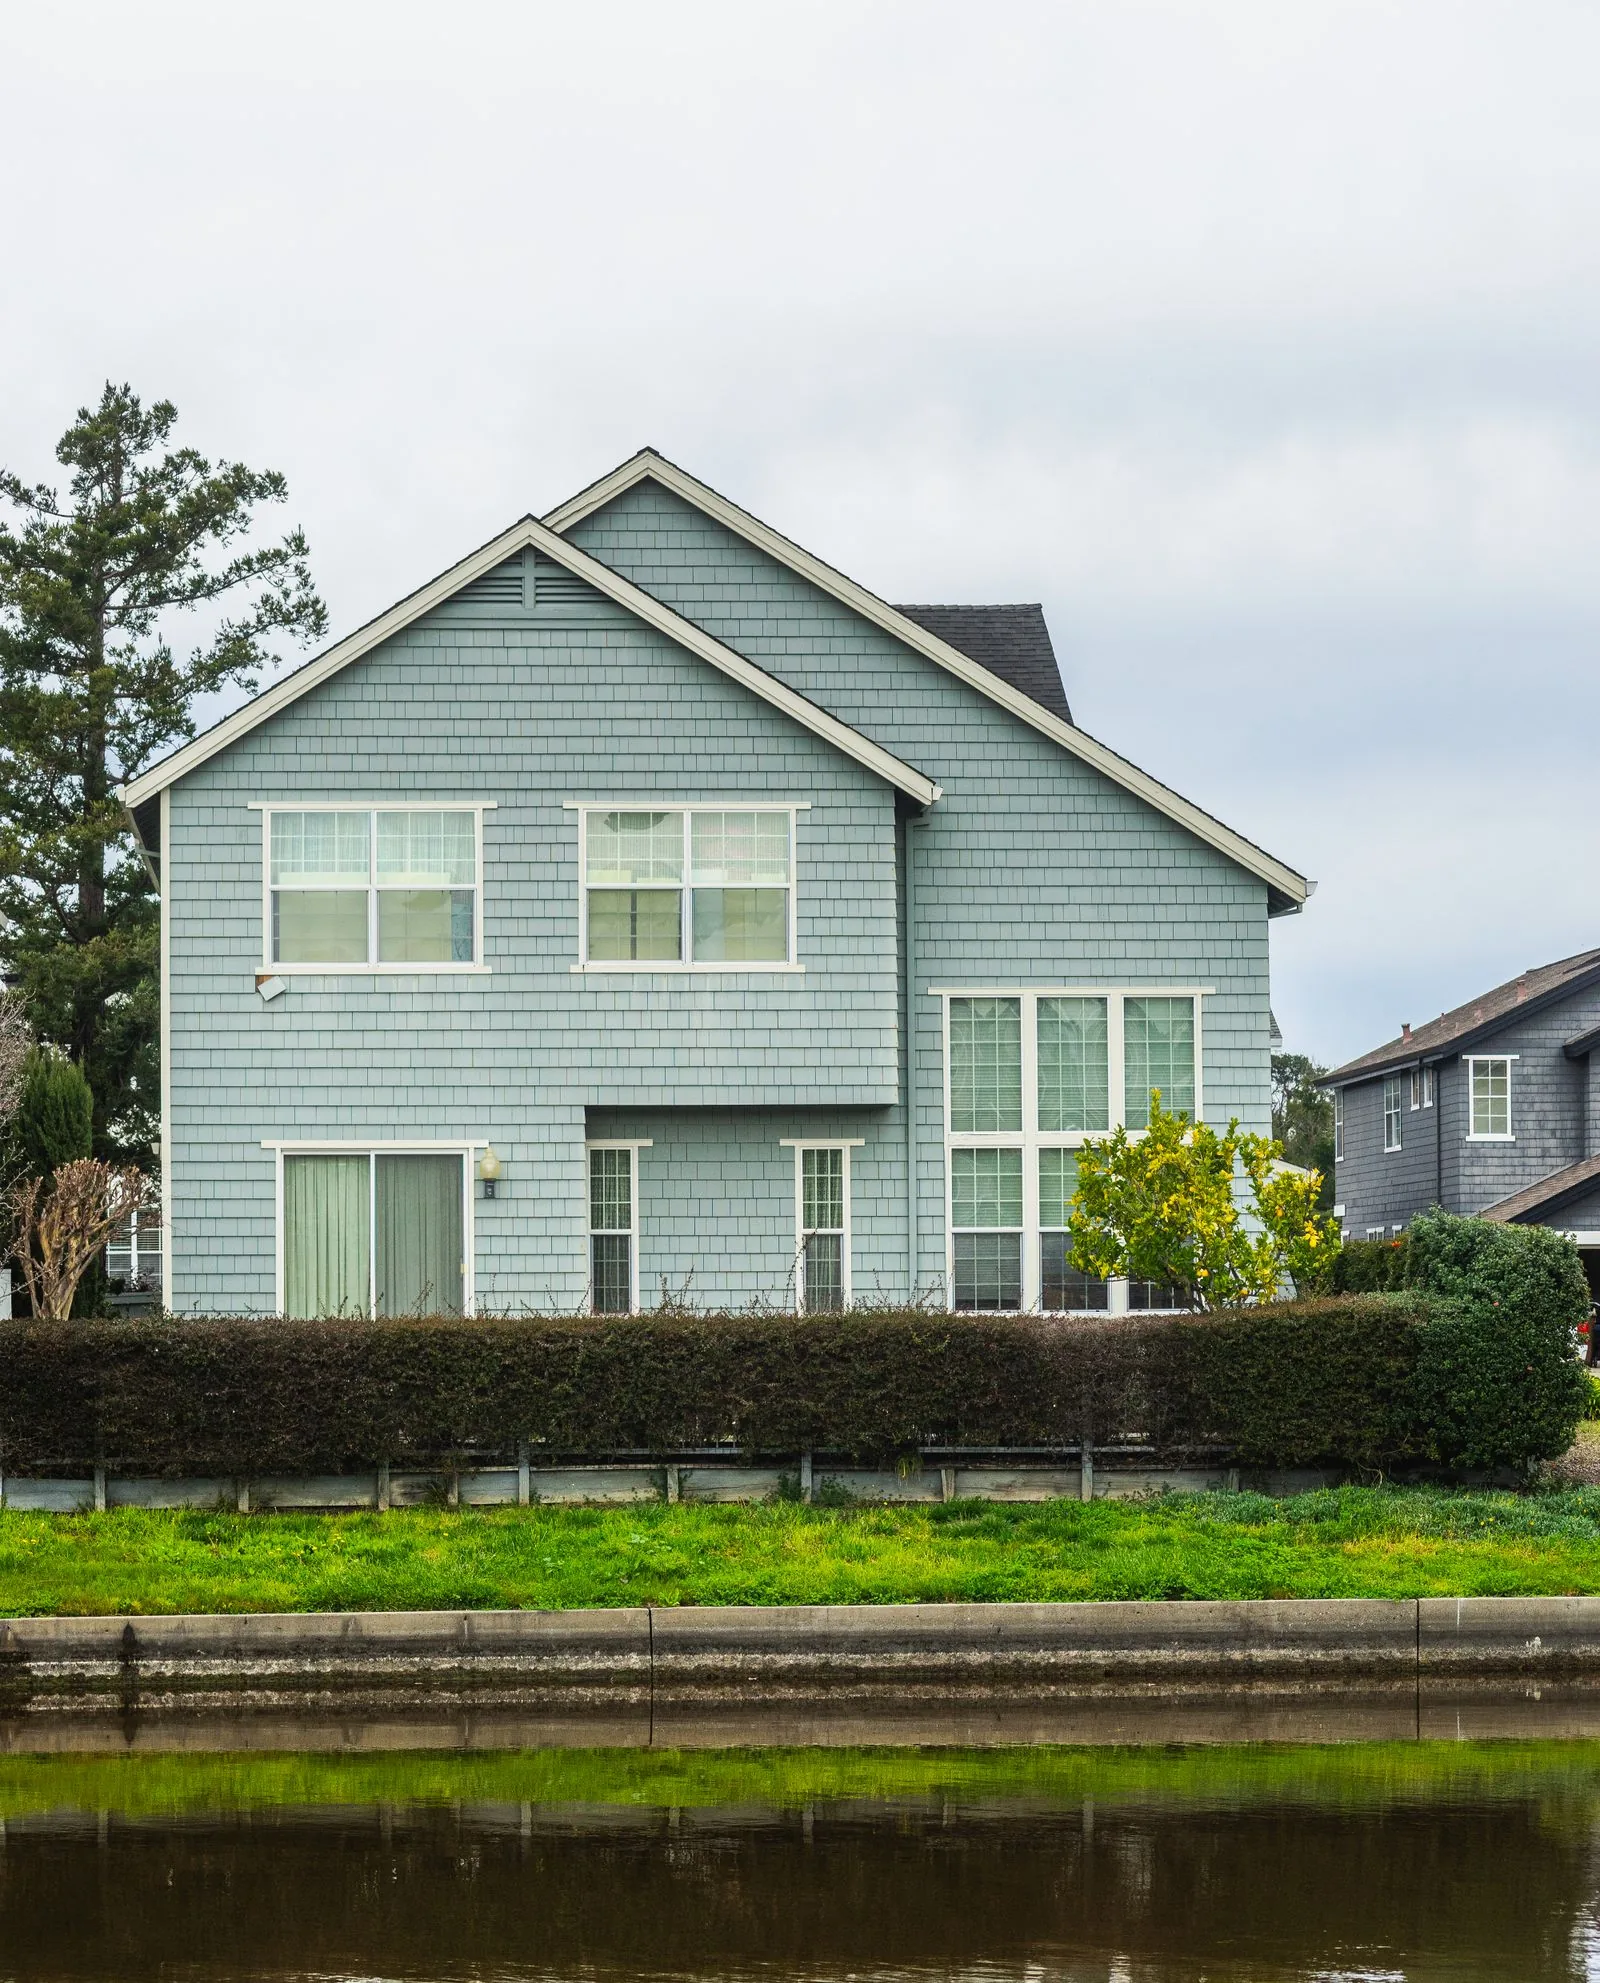

In a climate that delivers wind-driven rain from October through May, siding is not a decorative layer. It is the outer part of a system that has to shed bulk water, let whatever gets past it drain back out, and dry between storms. Most siding failures we open up on the Eastside are not failures of the siding product. They are failures of the flashing, the barrier behind it, or the detail where a wall meets a roof, a deck ledger, or a window.
That distinction matters when you compare bids. A contractor quoting a cladding swap is quoting a different job than one who plans to open the wall, verify the sheathing, correct the flashing, and install new siding over a drainage gap. The two look identical the day the scaffolding comes down. Ten winters later they do not.
Bellevue, Kirkland, Redmond and the older Seattle neighborhoods hold a lot of housing from the seventies through the nineties, much of it clad in hardboard or early panel siding nailed tight to the sheathing with no drainage gap. Those walls are at the end of their service life, and that assembly is usually the reason behind swollen board edges, soft trim, or paint that will not hold.
A complete replacement covers everything between the framing and the finished exterior, not only the boards you can see.
Existing siding, trim, and furring come off down to the sheathing so the wall can be inspected. Old material is hauled away rather than buried behind new cladding.
With the wall open we probe for soft plywood, delaminated OSB, and rot in studs and rim joists. Findings are documented and reviewed with you before any repair begins.
A new barrier goes on lapped shingle-style, so water travels down and out rather than into a seam. Penetrations, transitions, and inside corners get the most attention, because that is where barriers leak.
Furring or a drainage mat creates a vented cavity, giving water that gets past the face a path out and letting the back of the siding dry. It is the biggest durability upgrade over most older walls here.
Head flashing at windows and doors, kickout flashing where a roof edge meets a wall, Z-flashing at horizontal joints, and sill pans where needed. Flashing is where siding jobs are won or lost.
Installation follows manufacturer fastening, spacing, and clearance requirements, then trim, corners, and sealant only at joints designed to be sealed. Prefinished products get touched up at cuts; site-finished products are painted or stained.
Profile shapes the character of a house as much as color does, and some profiles suit Northwest architecture better than others.
The traditional bevel look, each course overlapping the one below, and it suits everything from mid-century ramblers to newer transitional builds. Wider exposures read contemporary, narrower ones read traditional. Narrow exposures also cost more, since there are far more courses to lay out and fasten.
Vertical boards with narrow battens over the seams, giving a strong vertical rhythm and a farmhouse character. It works especially well on gable ends and entry masses as an accent against horizontal siding. Water runs down along battens instead of shedding course by course, so horizontal transitions need careful flashing.
Overlapping shingles give a soft, textured wall with real shadow depth, long tied to Craftsman and Northwest homes. Gables, dormers, and bay projections are the natural place for it. On shaded lots shingles hold moisture longer than lap siding, so airflow behind them is not optional.
Large smooth panels separated by aluminum or composite reveals, producing clean lines with no visible lap. This is the vocabulary most modern Bellevue and Seattle infill homes use. It is also the least forgiving to install, since flat panels telegraph any framing irregularity.
Two or three cladding types assigned by building mass, such as panel on the body, board and batten on a gable, cedar at the entry. It breaks up a large facade without touching the footprint. Each change of product needs a flashed, drained termination rather than caulk.
Each of these performs here if it is detailed correctly, but they differ sharply in maintenance, movement, and tolerance for sustained moisture.
| Option | Best For | Considerations | Relative Cost |
|---|---|---|---|
| Fiber cement | Long service life, low movement, painted finish, many profiles | Specify the line rated for wet freeze-thaw climates, not the hot-humid line. Heavy to handle, dusty to cut, and cut edges must be sealed. | Mid to upper-mid |
| Engineered wood siding | Complex elevations where lighter weight speeds installation | Treated strand product with good impact resistance that works like wood on site. Bottom edges and field cuts are the weak points and must be sealed and kept clear of grade. | Mid |
| Western red cedar | Natural grain, shingle work, and stained rather than painted walls | Regionally appropriate and hard to beat visually, but a real maintenance commitment. Needs back-priming, ventilation behind it, and refinishing on a cycle. | Upper |
| Vinyl | Budget-driven replacement where finish appearance is secondary | Lowest cost and upkeep, with limited profile depth and visible seams. High thermal movement means it must hang loose, and it can distort near reflective glass. | Lowest |
| Cellular PVC and composite trim | Trim, corners, and anything in splash range of grade or a deck | Will not rot or absorb water, which suits the places wood trim fails first. Significant thermal movement, so joint spacing and fastening must follow the manufacturer. | Upper |
| Metal panel | Contemporary designs, accent walls, long finish life | Excellent water shedding and almost no upkeep beyond washing. Shows dents and oil-canning, needs a flat substrate, and dissimilar-metal contact must be avoided. | Upper |
final material choice depends on site conditions and a written estimate
An on-site inspection tells you whether you are looking at a repair or a full replacement, and what condition the sheathing is really in. Call (206) 825-2773 to set up a walk-through.
Re-siding is weather-dependent and sequence-driven, and knowing the order helps you plan around it.
We probe the places that fail first: roof-wall intersections, deck ledgers, window sills, and anything within a foot of grade. You get a straight answer on whether this is a full re-side or a targeted repair.
We match profiles, exposures, trim, and finishes to your budget and the architecture of the house. The estimate states known scope and identifies what cannot honestly be priced until the wall is open.
Requirements differ across Bellevue, Kirkland, Redmond, Sammamish, unincorporated King County, and Seattle, and sheathing work changes the answer. Neighborhoods with design covenants may also need color and material approval before ordering.
Staging goes up, landscaping is covered, and dust control is set well away from open windows. We then strip only what can be dried in the same day, elevation by elevation, which is why a well-managed re-side stays workable in shoulder-season weather.
Rot in sheathing and framing is cut out and replaced, the new barrier goes on with correct laps, and flashing is integrated with it in the right order. Window replacement or re-flashing happens at this stage if it is in scope.
Furring establishes the drainage cavity, then siding goes up to the specified fastening pattern with required clearances at grade, roofing, and decking. Trim, corners, and cavity screening follow.
Sealant goes only where the assembly calls for it, cuts and site-finished material are coated, and the site gets a magnet pass for fasteners. We walk the elevations with you and cover the maintenance your product needs.
Siding work is easy to do quickly and hard to do correctly, and the difference does not surface for years.
Estimates built on assumptions about hidden condition are how re-sides balloon halfway through. We report what we can see, flag what we cannot, and put allowances in writing.
We build walls that can dry, with a vented cavity behind the cladding rather than siding pressed flat to the barrier. Here that is the difference between a wall that lasts and one that holds water against sheathing.
Water management depends on the order layers go on, not only on which products are specified. Kickout flashing, head flashing, and sill pans get lapped so gravity works with the assembly.
Houses from the seventies through the nineties share predictable weak points: failed hardboard siding, missing kickout flashing, too little clearance at grade and decks. We know where to open first.
We open only what we can dry in the same day and plan elevations around the forecast. Your framing does not sit exposed overnight waiting on a delivery.
Siding touches roofing, gutters, windows, decks, trim, and paint, and leaks appear right where responsibility was handed off. We hold the schedule and the details across all of it.
It depends on the scope, and it is worth confirming rather than assuming. Like-for-like cladding replacement is treated differently than work involving structural sheathing, altered openings, or added exterior insulation, and the rules are not identical across Bellevue, Redmond, Kirkland, and Seattle. Because tear-offs often uncover sheathing that must be replaced, a project can move into permit territory after it starts. We confirm requirements before work begins.
It is physically possible with some products, and we still do not recommend it here. Layering over existing cladding hides whatever moisture damage is already in the sheathing and makes flashing and barrier integration very hard to get right. It also builds the wall out, leaving windows and trim recessed in a way that looks wrong and sheds water poorly.
A rainscreen is a deliberate air gap between the back of the siding and the water-resistive barrier, made with furring or a drainage mat and vented top and bottom. It gives water that gets past the siding a drainage path and lets both faces dry. Given how much rain the Puget Sound region sees between October and May, it is the most valuable durability upgrade on a re-side.
Late spring through early fall gives the widest window, particularly for anything painted or stained on site. Tear-off and installation still proceed outside those months when sequencing is handled correctly. The real seasonal limit is finish work, because coatings carry temperature and surface-moisture minimums that damp overcast weeks will not meet.
Check the bottom edges of the boards, the trim under windows, and any wall below a roof edge that dies into it. Swelling, softness you can press a screwdriver into, cupping, and paint that peels within a season of application all mean the substrate is holding water, and no coating fixes that. Isolated damage in a sound wall is a repair; the same symptoms across several elevations mean the assembly is finished.
North and northeast elevations get the least direct sun, and with tree canopy or a fence close by that surface can stay damp for weeks. Moss and algae are a symptom of slow drying rather than a cause of damage, though they do hold moisture against the cladding. Pruning back for airflow, keeping gutters clear, and a drainage gap behind the siding all address the real condition.
It depends on wall area, elevation complexity, and how much repair surfaces after tear-off. A single-story house with simple elevations moves quickly; a large two-story home with multiple rooflines and site-finished material takes considerably longer. The variable nobody can pin down in advance is sheathing and framing repair, which is why we give a schedule range and revise it once the walls are open.
If your windows are near the end of their service life, yes, and it is one of the clearest sequencing decisions in remodeling. Window replacement means disturbing the siding, flashing, and barrier around every opening, so pairing it with a re-side does that work once instead of twice. It also lets new flanges be flashed into a brand-new barrier, a far better detail than retrofitting around units that are staying.
Two houses with the same floor area can carry very different siding estimates, and these factors explain most of the gap.
Cost tracks wall area, not floor area, so a two-story house with tall gables carries far more siding than its footprint suggests. Everything above the first story adds staging time to every task.
Corners, dormers, bays, brackets, and roof-wall intersections each add cutting, flashing, and trim. A simple four-corner rectangle installs much faster than the same area broken into a dozen planes.
Sheathing replacement, framing repair, and rim joist work are the most common reasons a project passes its original figure. A sound estimate covers this with a documented allowance rather than ignoring it.
Product cost is only part of it. Prefinished siding costs more up front but removes an entire painting phase, while site-finished cedar adds labor, weather dependency, and calendar time.
Replacing windows during a re-side costs far less than doing it separately later, but it adds scope now. If the windows stay, cost depends on whether their flanges and flashing integrate cleanly or need rework.
Steep lots, mature landscaping tight to the house, narrow side yards, and limited street access all slow material handling. One difficult uphill or downhill elevation can carry more labor than the other three combined.
No one can price a siding replacement accurately from photos or a square-footage figure. What sits behind the cladding is unknown until some of it comes off, and it moves the scope more than any other variable. We provide a written estimate after an on-site inspection, with unknowns listed as labeled allowances rather than buried in a lump sum.
We handle siding replacement throughout Bellevue and the surrounding Eastside, including Kirkland, Redmond, Sammamish, Issaquah, Newcastle, Mercer Island, Bothell, and Woodinville. We also work in Seattle and the north-end communities, where older housing stock and heavy tree cover make wall drying an even larger factor.
Do not see your neighborhood? Call (206) 825-2773 — we regularly work throughout King County.
We put scope, materials, and allowances in writing so nothing important hides in a vague line item. Reach us at (206) 825-2773 to start the conversation.
Compare fiber cement, engineered wood, vinyl, cedar, and metal siding for the rainy PNW. Find the best fit for your home and get a free estimate.
Learn moreRot, warping, mold, cracks, or rising energy bills? Learn the 7 signs your siding needs replacing in the rainy Seattle area.
Learn moreEXCELLENTTrustindex verifies that the original source of the review is Google. Didn’t know what to expect at first but these guys blew the winds off my hat I mean seriously, I had a bathtub renovated to a built in shower and my God am I satisfied with their work. If anyone is considering going with these guys for a remodel I’d vouch for sure.Posted onTrustindex verifies that the original source of the review is Google. They did a good job on my Deck remodeling project, finished in such a short time and gave me a professional run-down on the material and labor cost. Highly recommend.Posted onTrustindex verifies that the original source of the review is Google. I usually don’t trust these companies but Sky Pro blew my expectations out of the water. I seriously am so glad they contacted me, I have 2 bathrooms in my home that both needed to be completely remodeled and they nailed my vision down for both. I couldn’t be happier with this and can recommend them to anyone, even locally.Posted onTrustindex verifies that the original source of the review is Google. I ended up going with Sky Pro for my roof project, they did an amazing job and the team didn’t fail to keep me assured the entire process through. 🙏🏽Posted onTrustindex verifies that the original source of the review is Google. Sky Pro came to do my concrete driveway project a couple weeks ago and, they were very respectful and easy to communicate with, very satisfied with their work.Posted onTrustindex verifies that the original source of the review is Google. These guy did a great job extending out our back patio. We have existing exposed aggregate and they matched the design perfectly. From the start Ben always made sure we were happy and all our questions were answered. We will definitely use them again for future concrete projects.Posted onTrustindex verifies that the original source of the review is Google. Sky Pro came out and gave me a quote for my flooring project, they sent a wonderful contractor and he explained to me what was best regarding material costs. Definitely will be going with them! Contractor was actually really cool with the process and showed me some previews on how it should lookPosted onTrustindex verifies that the original source of the review is Google. Got my deck looked at by SkyPro, ended up going with them for repairs and they did an amazing job. We made a deal with the pricing as well so I'm actually looking forward to booking with them soon when I wanna get my other project done.Posted onTrustindex verifies that the original source of the review is Google. SkyPro did my kitchen remodel project and I am so glad I went with them because now I’m walking into a palace every time I’m home. Really appreciate them!Verified by TrustindexTrustindex verified badge is the Universal Symbol of Trust. Only the greatest companies can get the verified badge who has a review score above 4.5, based on customer reviews over the past 12 months. Read more
Tell us about your home, what you are seeing on the walls, and roughly when you would like the work done. We will follow up to schedule an inspection and talk through material options.
Let us know how we can help you!