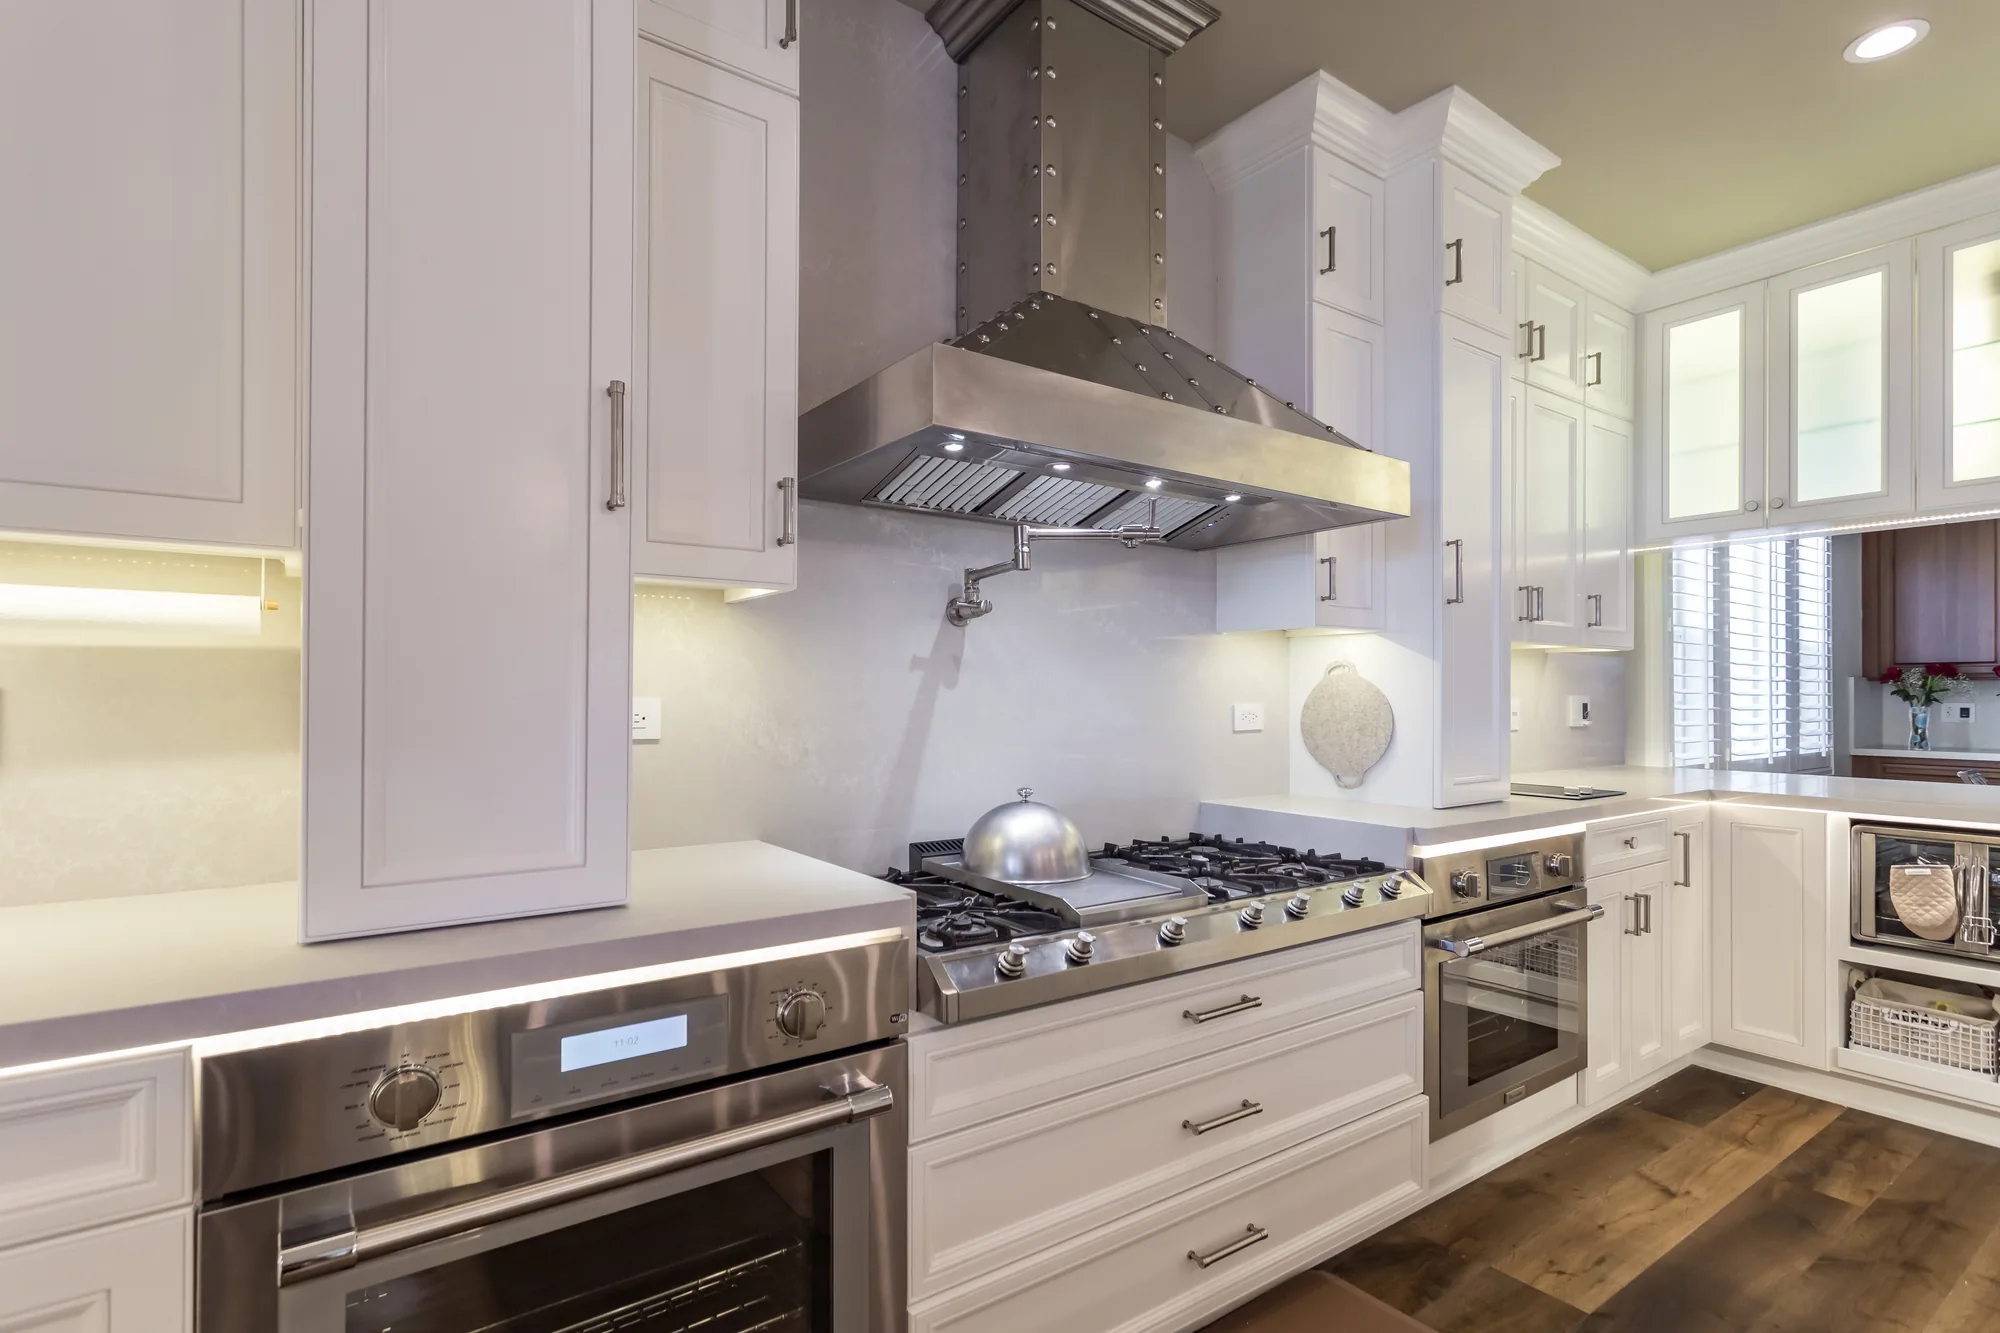
Kitchen Remodeling

Cabinet Installation for Bellevue Kitchens


Cabinets are the part of a kitchen you touch every day, and the part most likely to reveal sloppy work. Sky Pro Remodeling installs stock, semi-custom, and custom cabinetry across Bellevue and greater Seattle, with the field measuring and scribe work that makes a run of boxes read as one built-in piece.

  • Field-verified measurements
  • Framed and frameless boxes
  • Precise scribe and filler work
  • Hardware set and adjusted
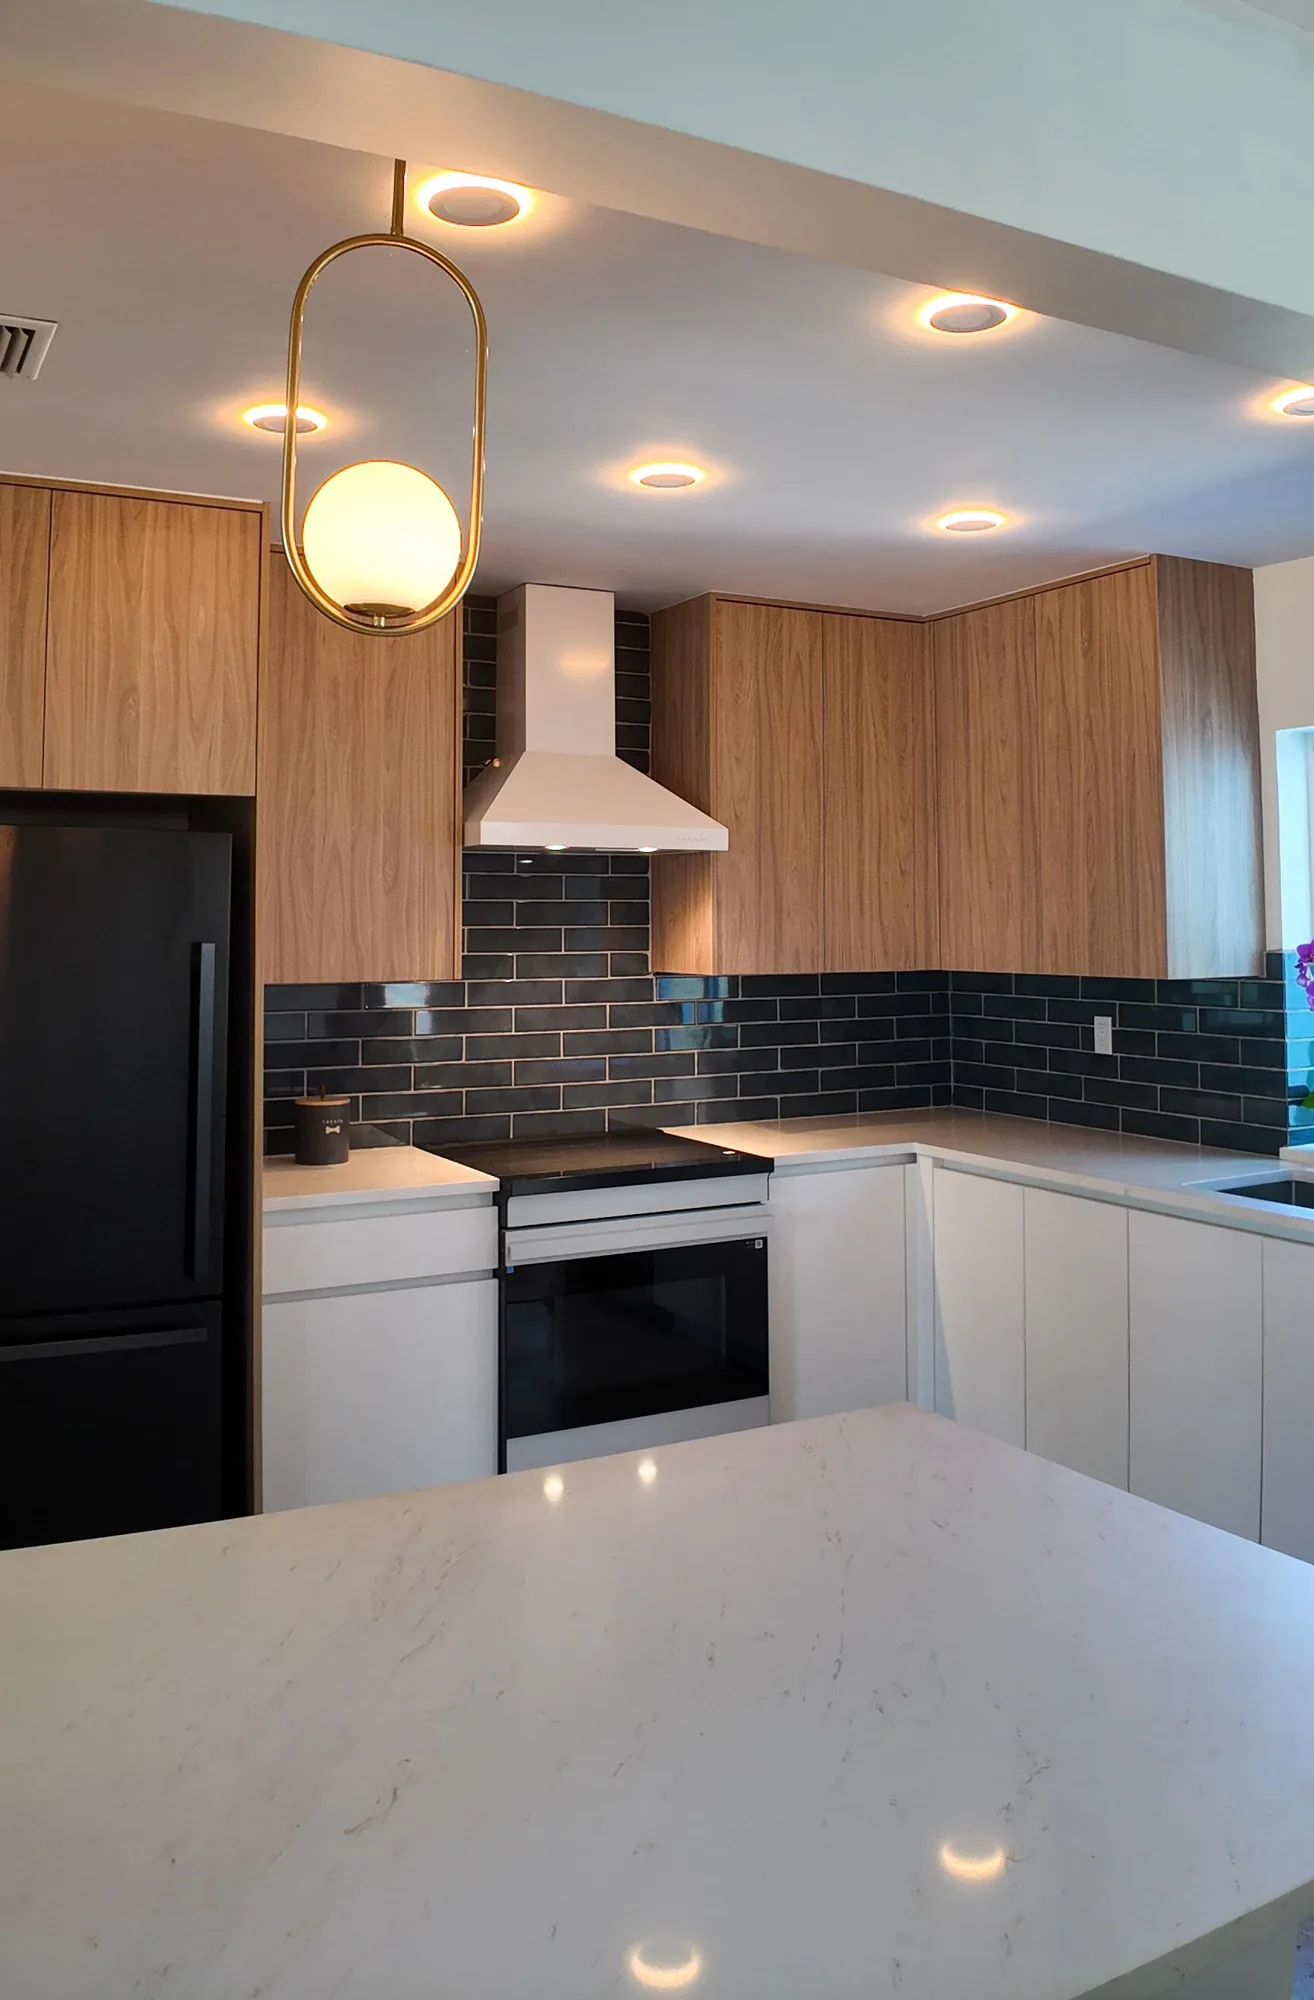
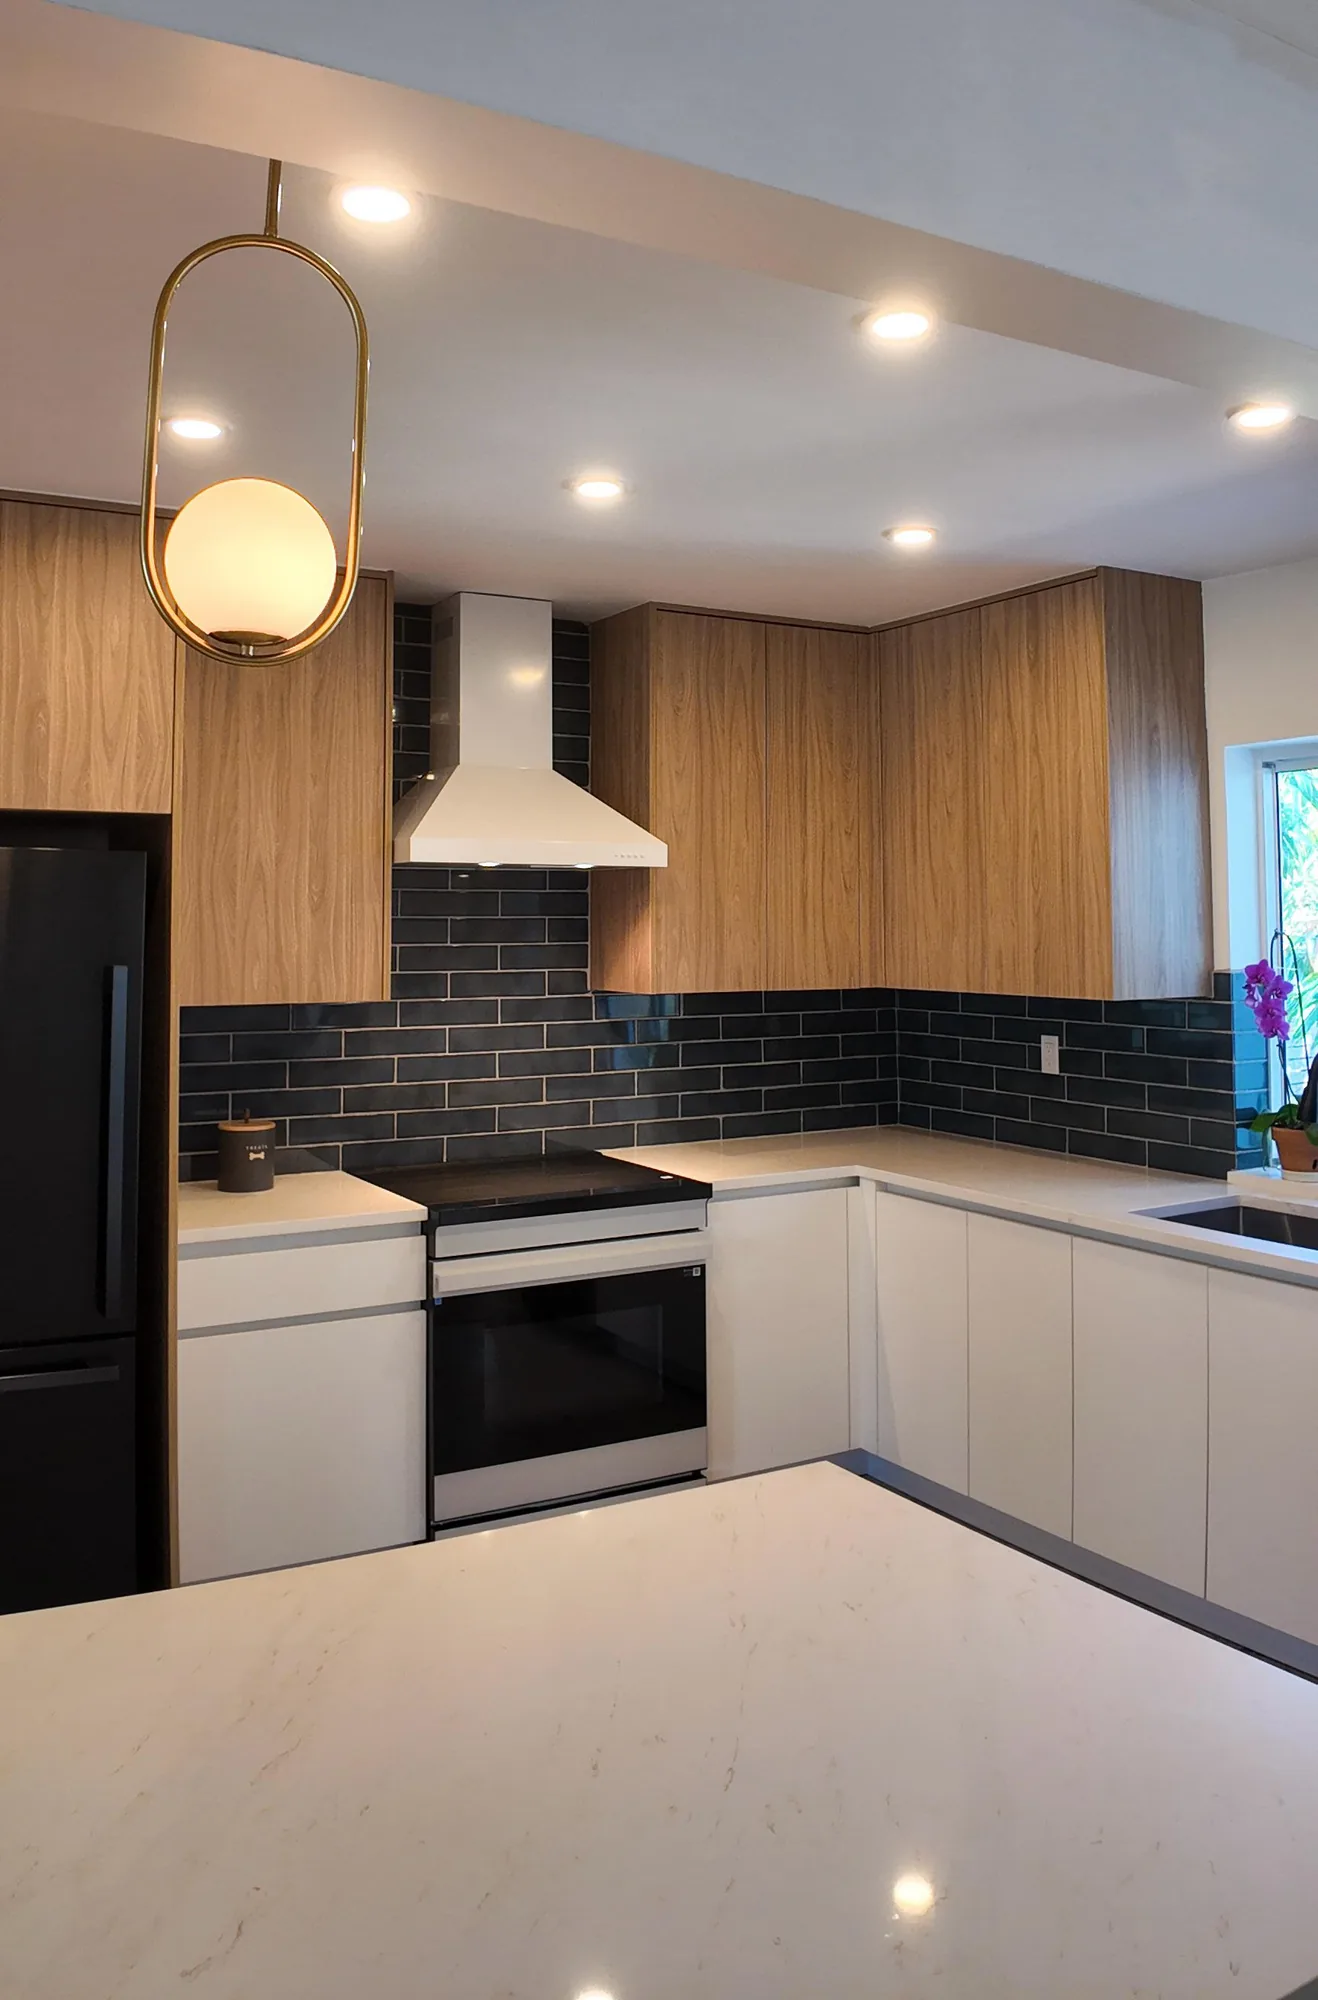
Warmly lit kitchen seen across a light quartz peninsula toward the range wall and dark tile backsplash.
Overview

What Separates a Good Cabinet Install From an Average One


Cabinet boxes arrive square. Houses are not. Nearly every complaint homeowners have after a cabinet job traces back to layout: doors sitting proud of their neighbors, a countertop seam telegraphing a dip in the floor, a filler strip that widens as it climbs the wall. That is not the cabinets. That is an installer who set the first box off a floor or a wall instead of off a level line.

A correct install starts by finding the high point of the finished floor across the whole run and snapping a level base line from it. Uppers are laid out from that same reference rather than measured up off the bases. Each box is shimmed plumb and level on its own, then clamped face to face so reveals stay consistent end to end. Boxes get anchored into structural framing, not drywall alone, which matters in Washington given seismic design requirements and the real weight a loaded pantry carries.

This matters more on the Eastside than most places. Much of the housing stock in Bellevue, Newport Hills, Lake Hills, and Kirkland dates to the mid-century building boom and was framed to tolerances nobody would accept now. Walls lean, corners are rarely ninety degrees, floors have settled unevenly. Scribing cabinet ends and fillers to a wavy plaster wall is a hand skill, and it is the difference between cabinetry that looks installed and cabinetry that looks built for the room.

What You Get

Scope of a Cabinet Installation


Here is what a complete installation covers, from field measure through final adjustment.

Field measure and verification

Every wall, ceiling height, casing, and appliance opening is measured on site, and walls are checked for plumb and square before anything is ordered. Discrepancies between the plan and as-built conditions get resolved on paper instead of on delivery day.

Layout drawings and spec review

Elevations and plan views confirm door swings, drawer stacks, filler locations, and clearances around appliances and walkways. This is where a dishwasher that will not open past a corner cabinet gets caught.

Removal of existing cabinetry

Old boxes, counters, and trim come out with surfaces protected and utilities safely isolated first. Salvageable cabinetry can be removed intact if you plan to reuse it in a garage or shop.

Wall, floor, and blocking prep

Stud locations are mapped, backing is added where hanging rails and tall units need it, and drywall damage hidden behind the old run is repaired flat. Where walls are badly out of plane we fix the wall rather than shimming against it for twelve feet.

Setting and joining the boxes

Cabinets are hung off a snapped level line, shimmed individually, and fastened to framing with cabinet screws rather than drywall screws. Adjacent boxes are aligned and joined so faces finish flush with even reveals.

Trim, scribe, and hardware finishing

Fillers, end panels, toe kick, light rail, and ceiling trim are cut and scribed to the actual walls. Doors and drawers are then adjusted through the full hinge and slide range so gaps stay consistent and everything closes squarely.

Completed Project

Two-Tone Wood and Quartz Modern Kitchen


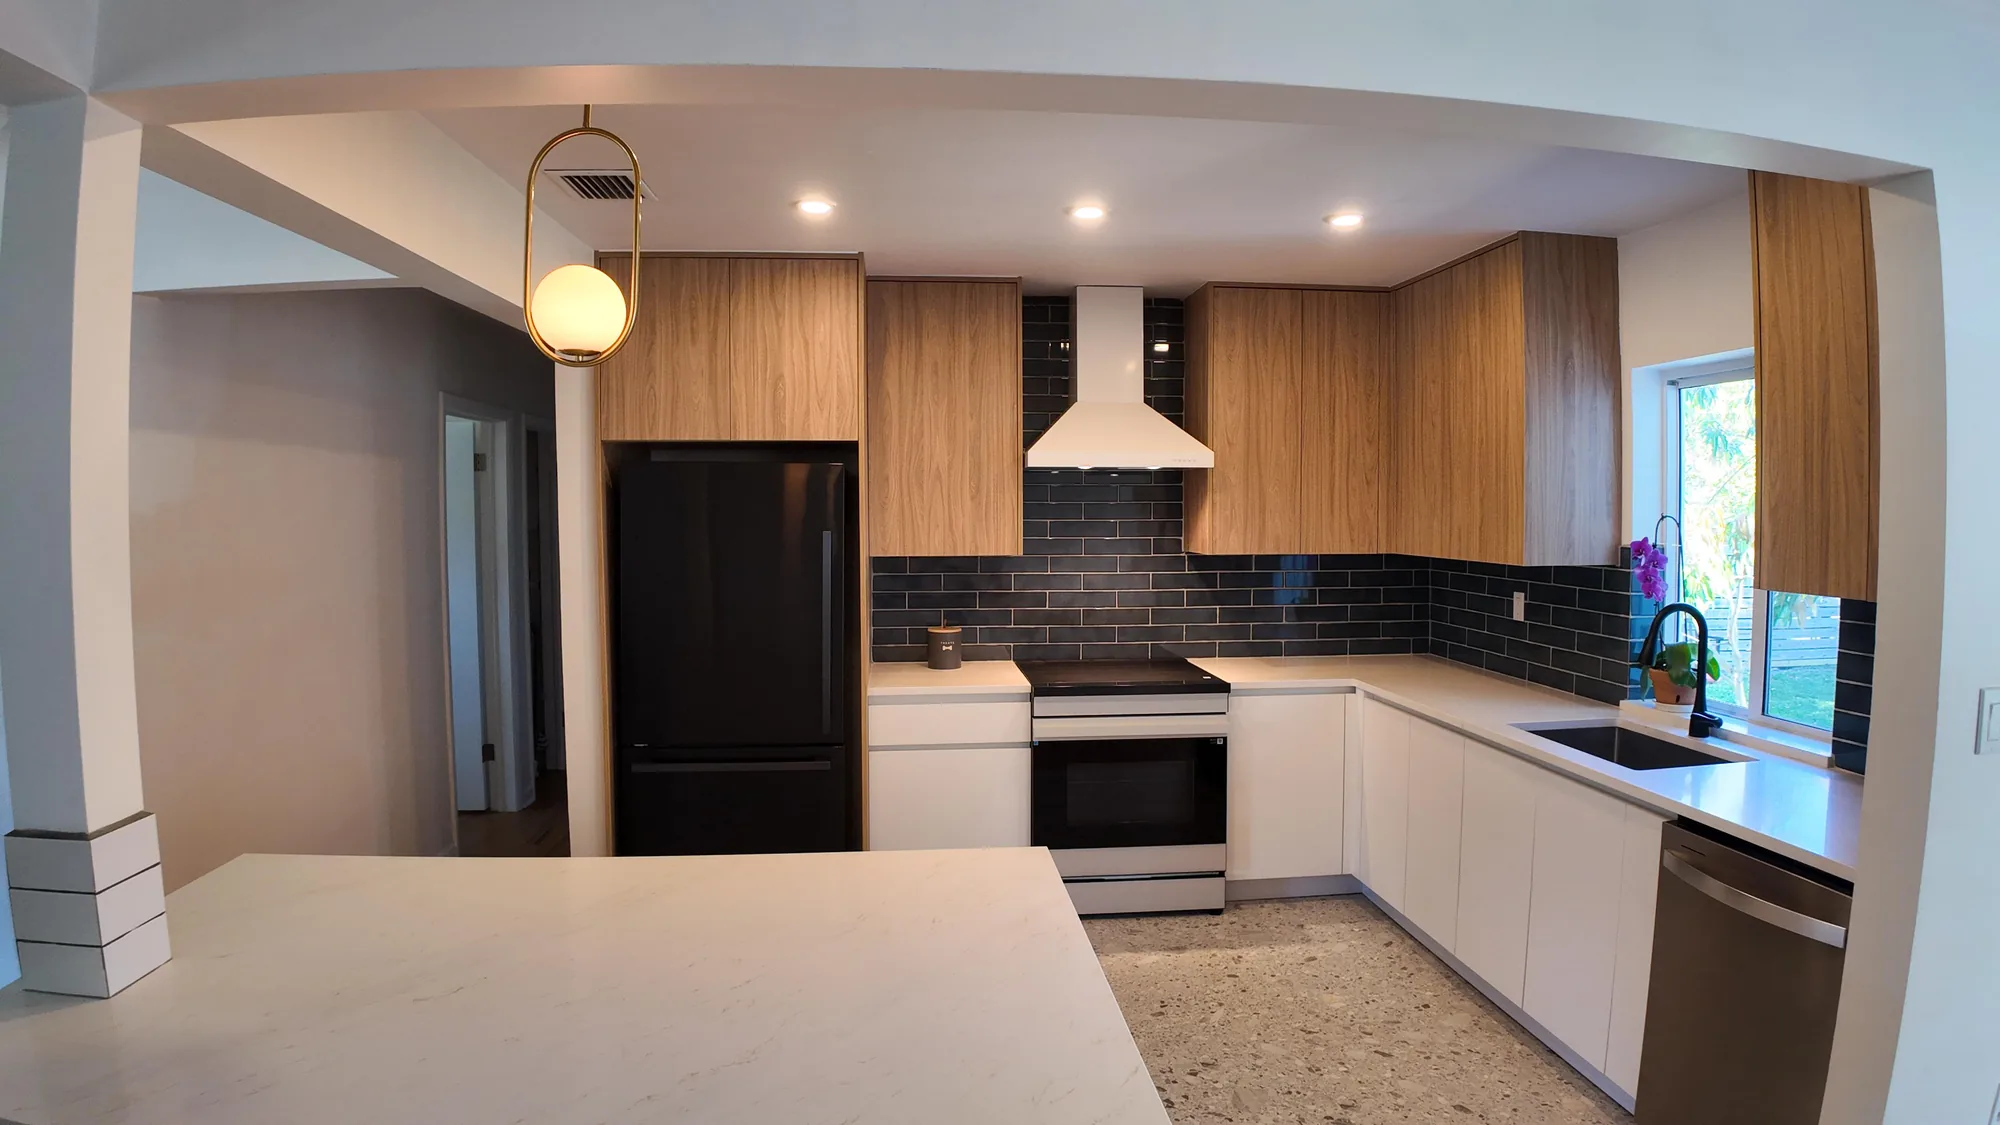
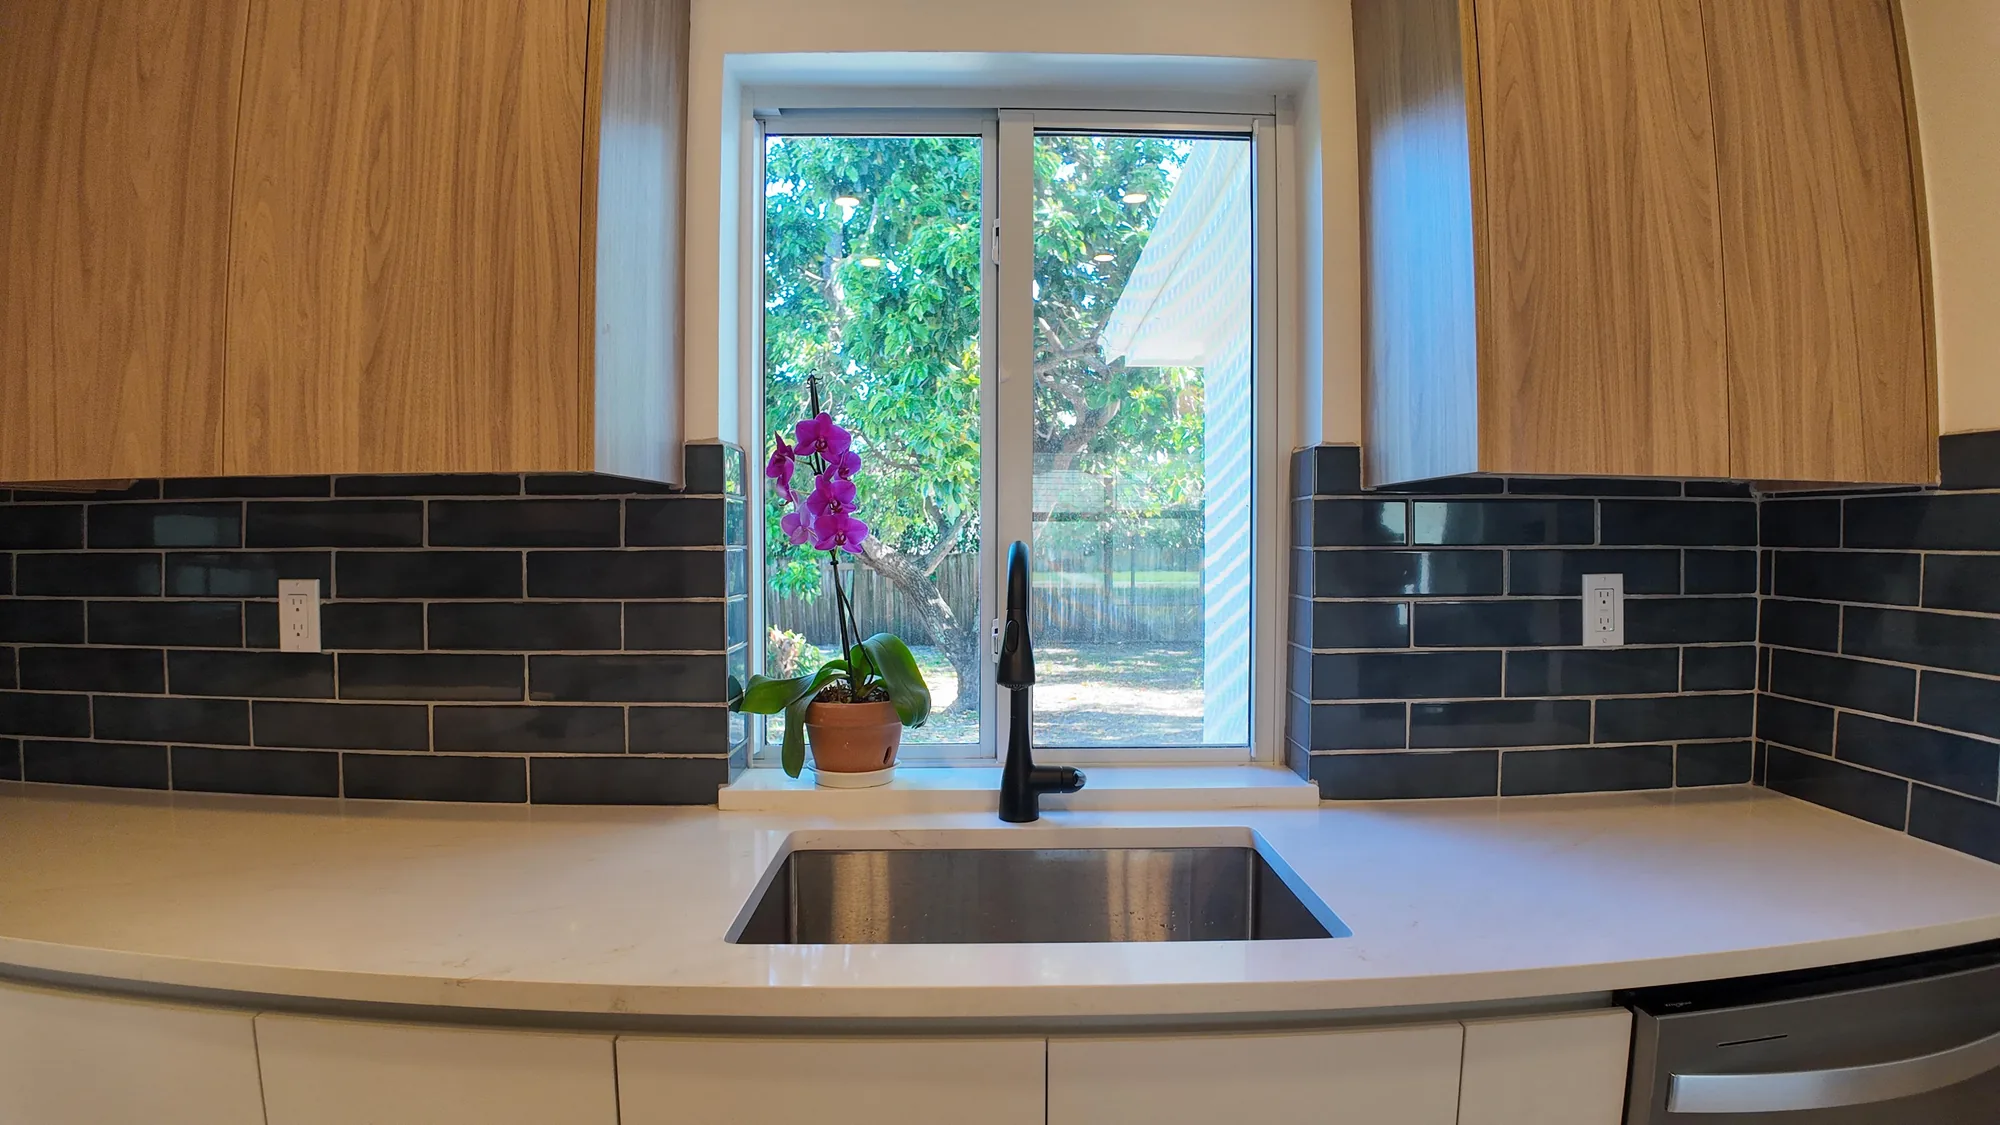
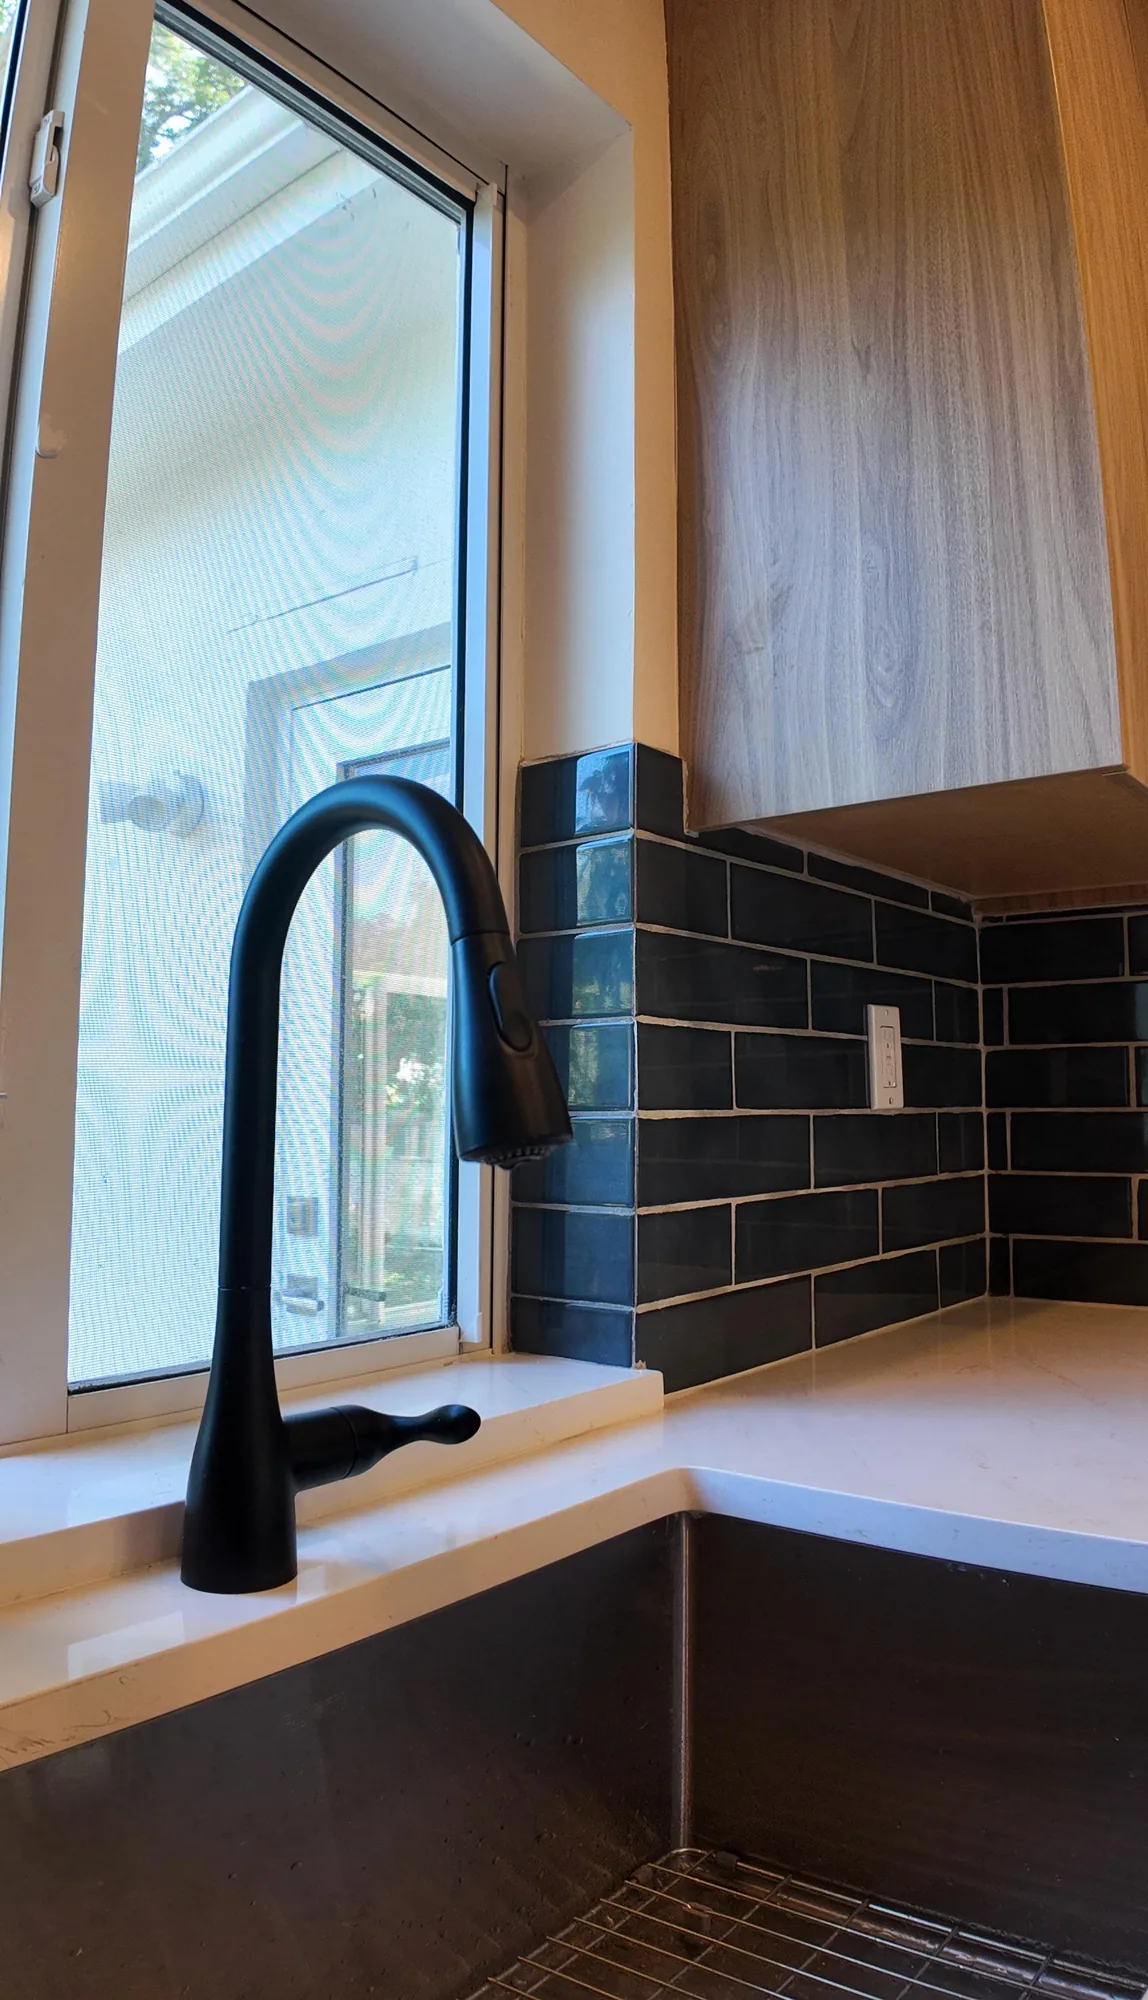
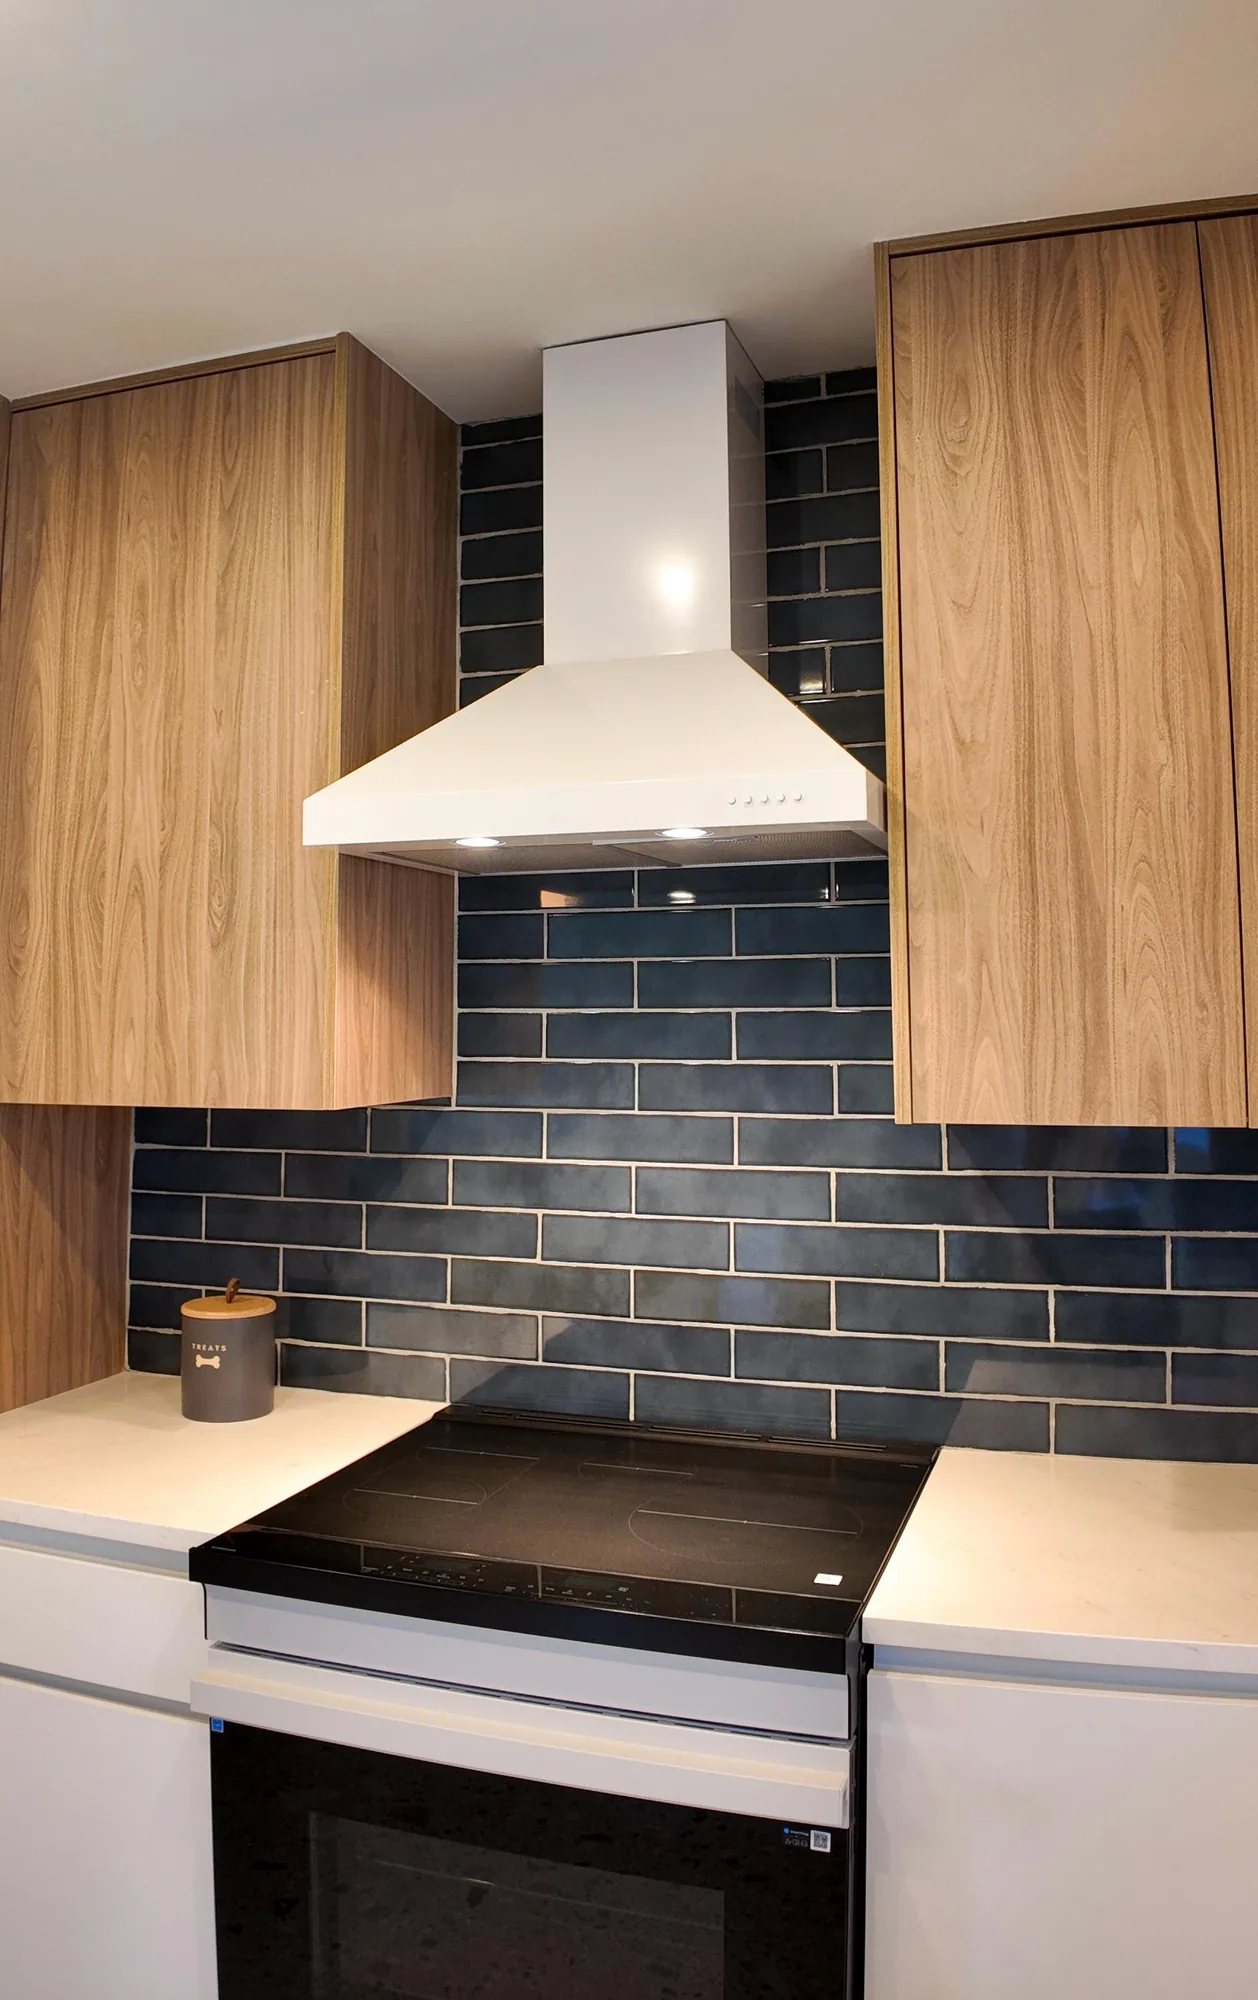
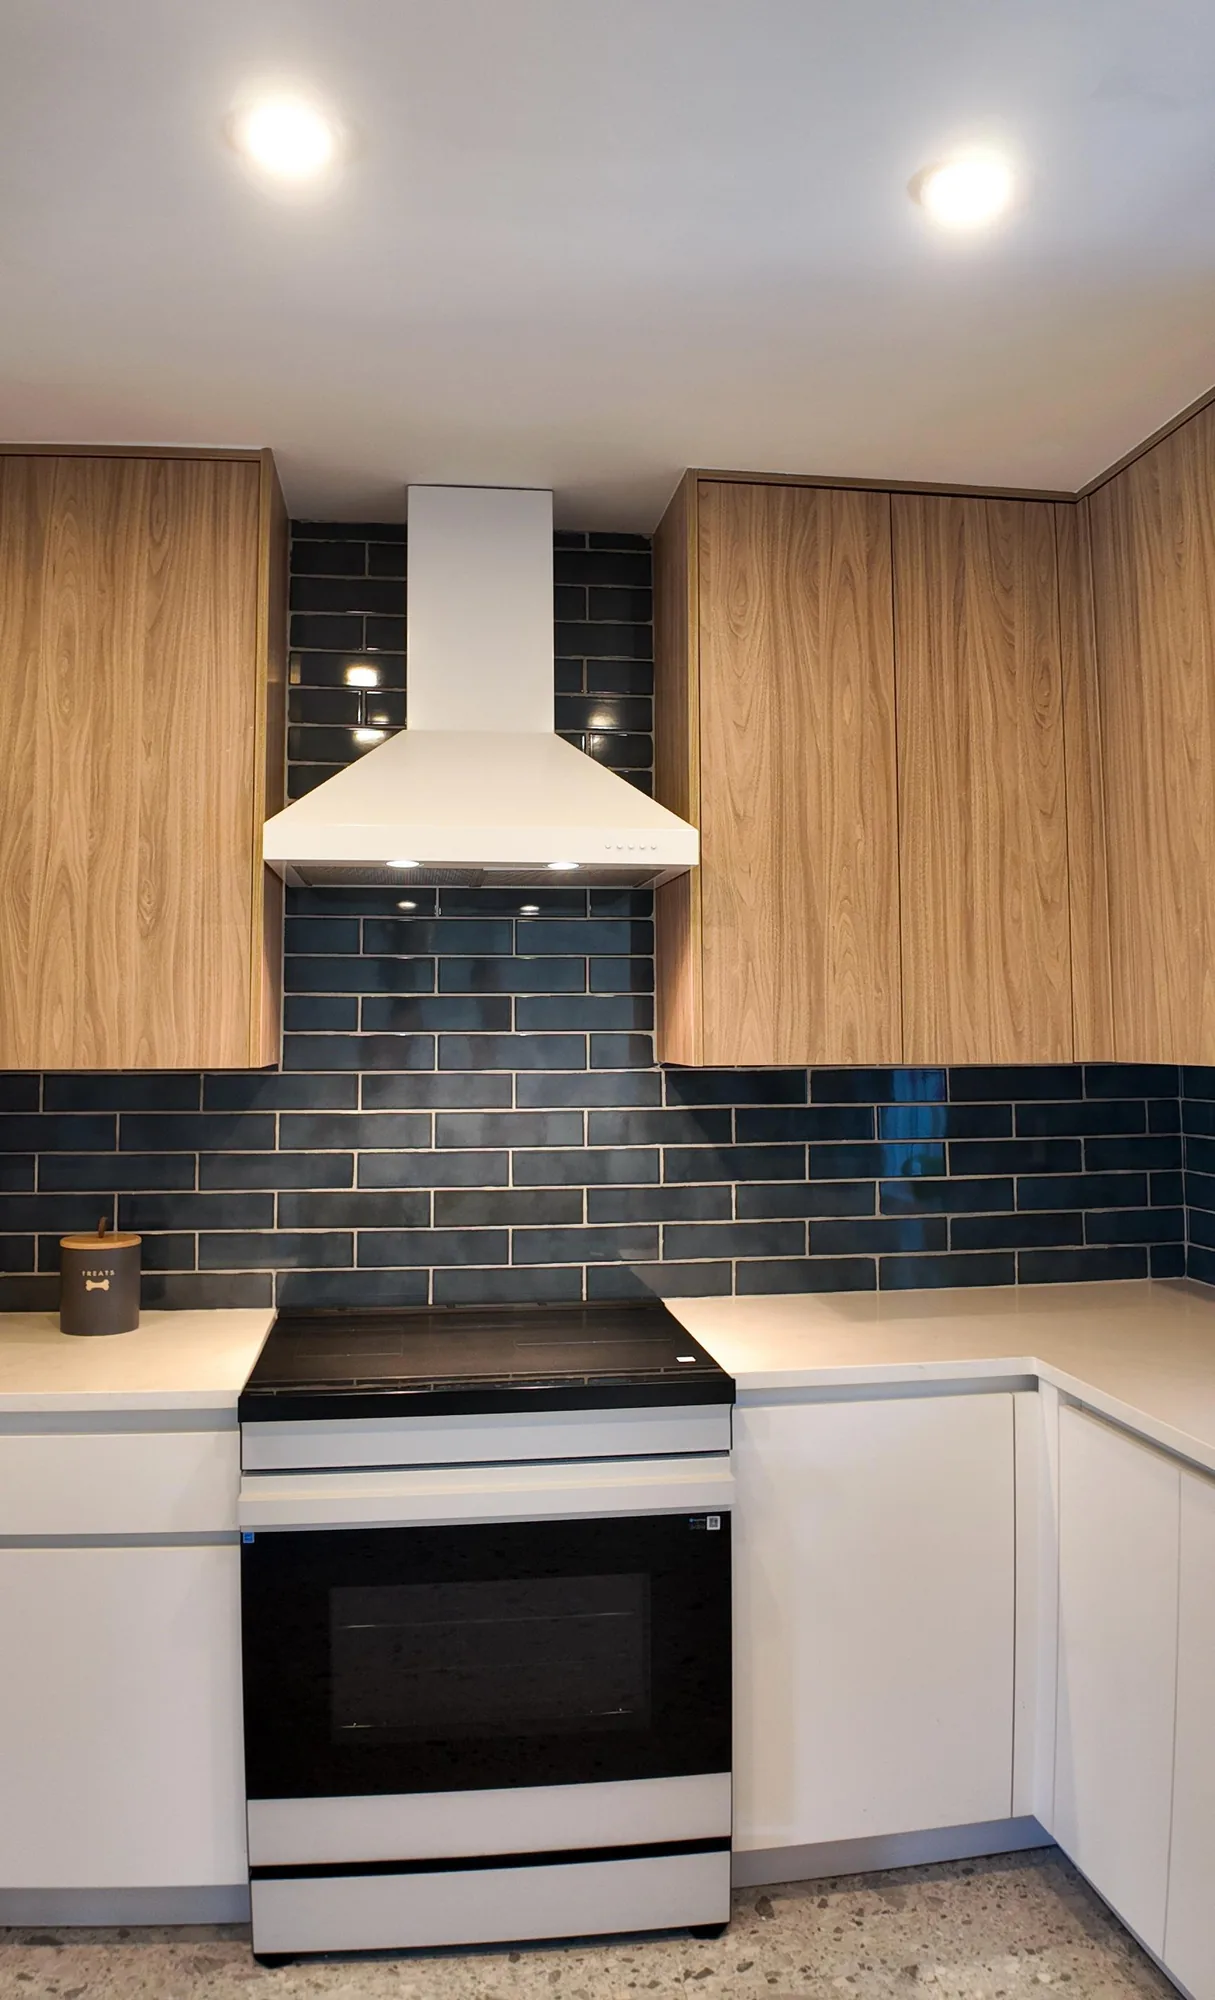
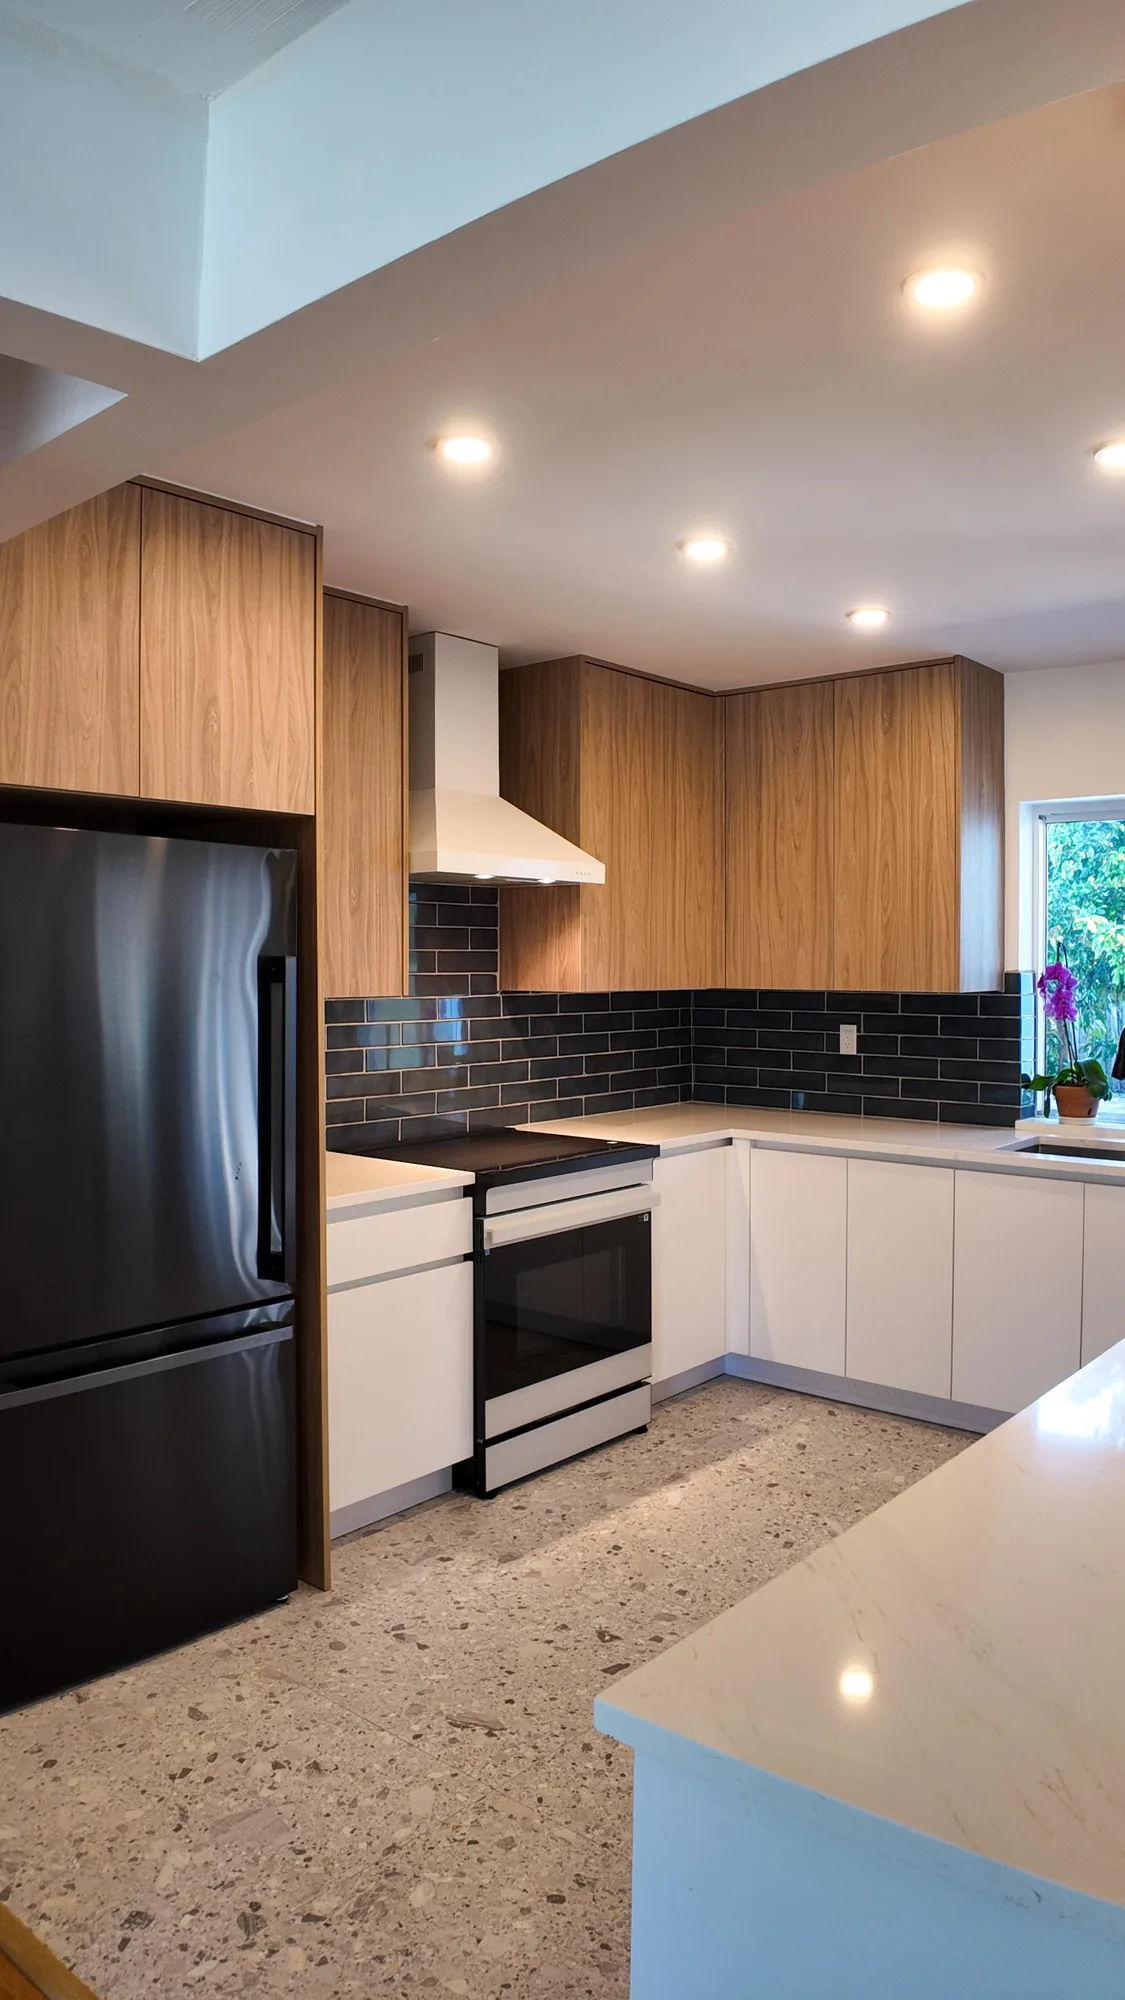
This kitchen was rebuilt as a full two-tone flat-slab installation, pairing wood-grain veneer wall cabinets and a full-height pantry/refrigerator surround with handleless matte white base cabinets. Light quartz-look countertops run the L-shaped perimeter and continue onto a large peninsula that faces the adjoining living space, with the counter edge finished square and clean where it meets the opening. A glossy dark charcoal-blue subway tile backsplash wraps the full run and carries up behind the range to meet a white wall-mounted chimney hood. Lighting was reworked with a grid of recessed cans across the sloped and beamed ceiling plus a brass oval-ring globe pendant over the peninsula. Plumbing and appliance work is visible as well: an undermount sink under the window with a matte black pull-down faucet, a slide-in electric range, integrated dishwasher panel run, and a speckled terrazzo-look floor carried throughout.

Style: Modern

Work Completed

  • Full two-tone cabinet installation: wood-grain veneer uppers over matte white handleless base cabinets
  • Floor-to-ceiling wood veneer pantry and refrigerator surround built as an integrated tall run
  • Light quartz-look countertops on the L-shaped perimeter plus a large peninsula
  • Glossy dark charcoal-blue subway tile backsplash, full height behind the cooktop
  • White wall-mounted chimney range hood centered on the cooking wall
  • Undermount sink at the window with a matte black pull-down faucet
  • Recessed can lighting laid out across the ceiling with a brass ring-and-globe pendant over the peninsula
  • Speckled terrazzo-look flooring installed continuously through the kitchen

Materials & Finishes

  • Wood-grain veneer flat-slab cabinet fronts
  • Matte white handleless flat-slab base cabinets
  • Light quartz-look countertop with soft grey veining
  • Glossy dark charcoal-blue ceramic subway tile
  • Matte black pull-down kitchen faucet
  • Undermount sink
  • White wall-mount chimney range hood
  • Black bottom-freezer refrigerator
  • Stainless dishwasher front
  • Brass finish pendant with opal glass globe
  • Speckled terrazzo-look flooring
Light quartz counter in the foreground with wood cabinets, white lowers and a chimney hood beyond.
The counter run wraps the corner and holds a continuous line to the range wall.
White chimney range hood lit above a smooth-top range, with glossy dark tile filling the wall behind.
Task lighting in the hood washes the glossy tile behind the cooktop.
Kitchen with a black refrigerator set into a wood cabinet alcove above a speckled terrazzo-look floor.
The refrigerator is built into a wood veneer alcove over speckled terrazzo-look flooring.
Upward view of a kitchen ceiling with recessed lights and a brass ring pendant holding a glass globe.
Recessed cans are laid out across the ceiling with a brass ring pendant over the counter.
Kitchen photographed toward the ceiling, showing recessed lighting above wood cabinets and dark tile.
Cabinet tops run tight to the ceiling line under an even grid of recessed lights.
Completed Project

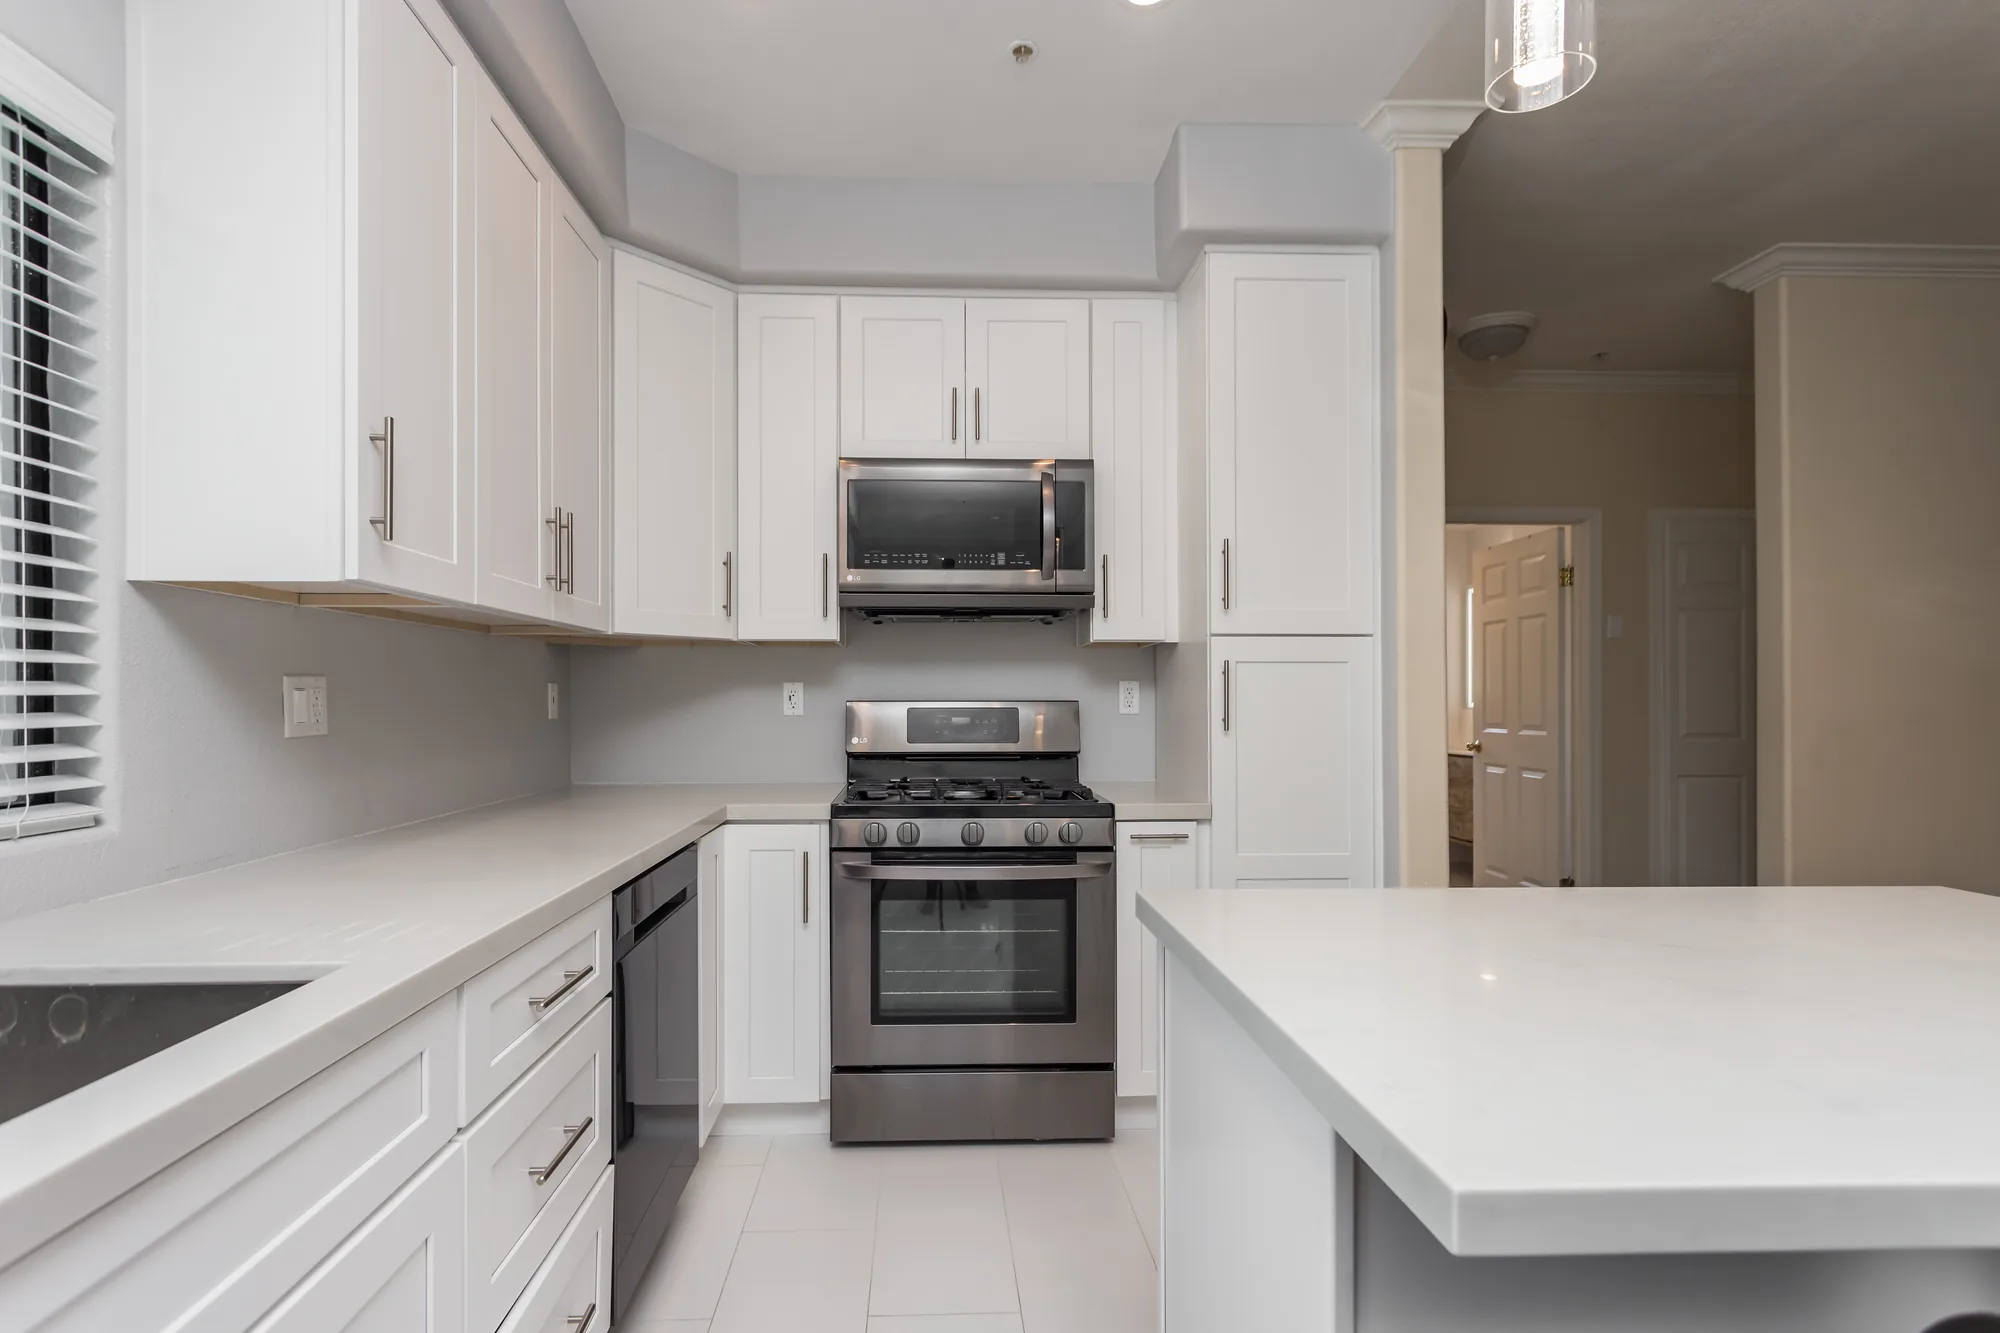
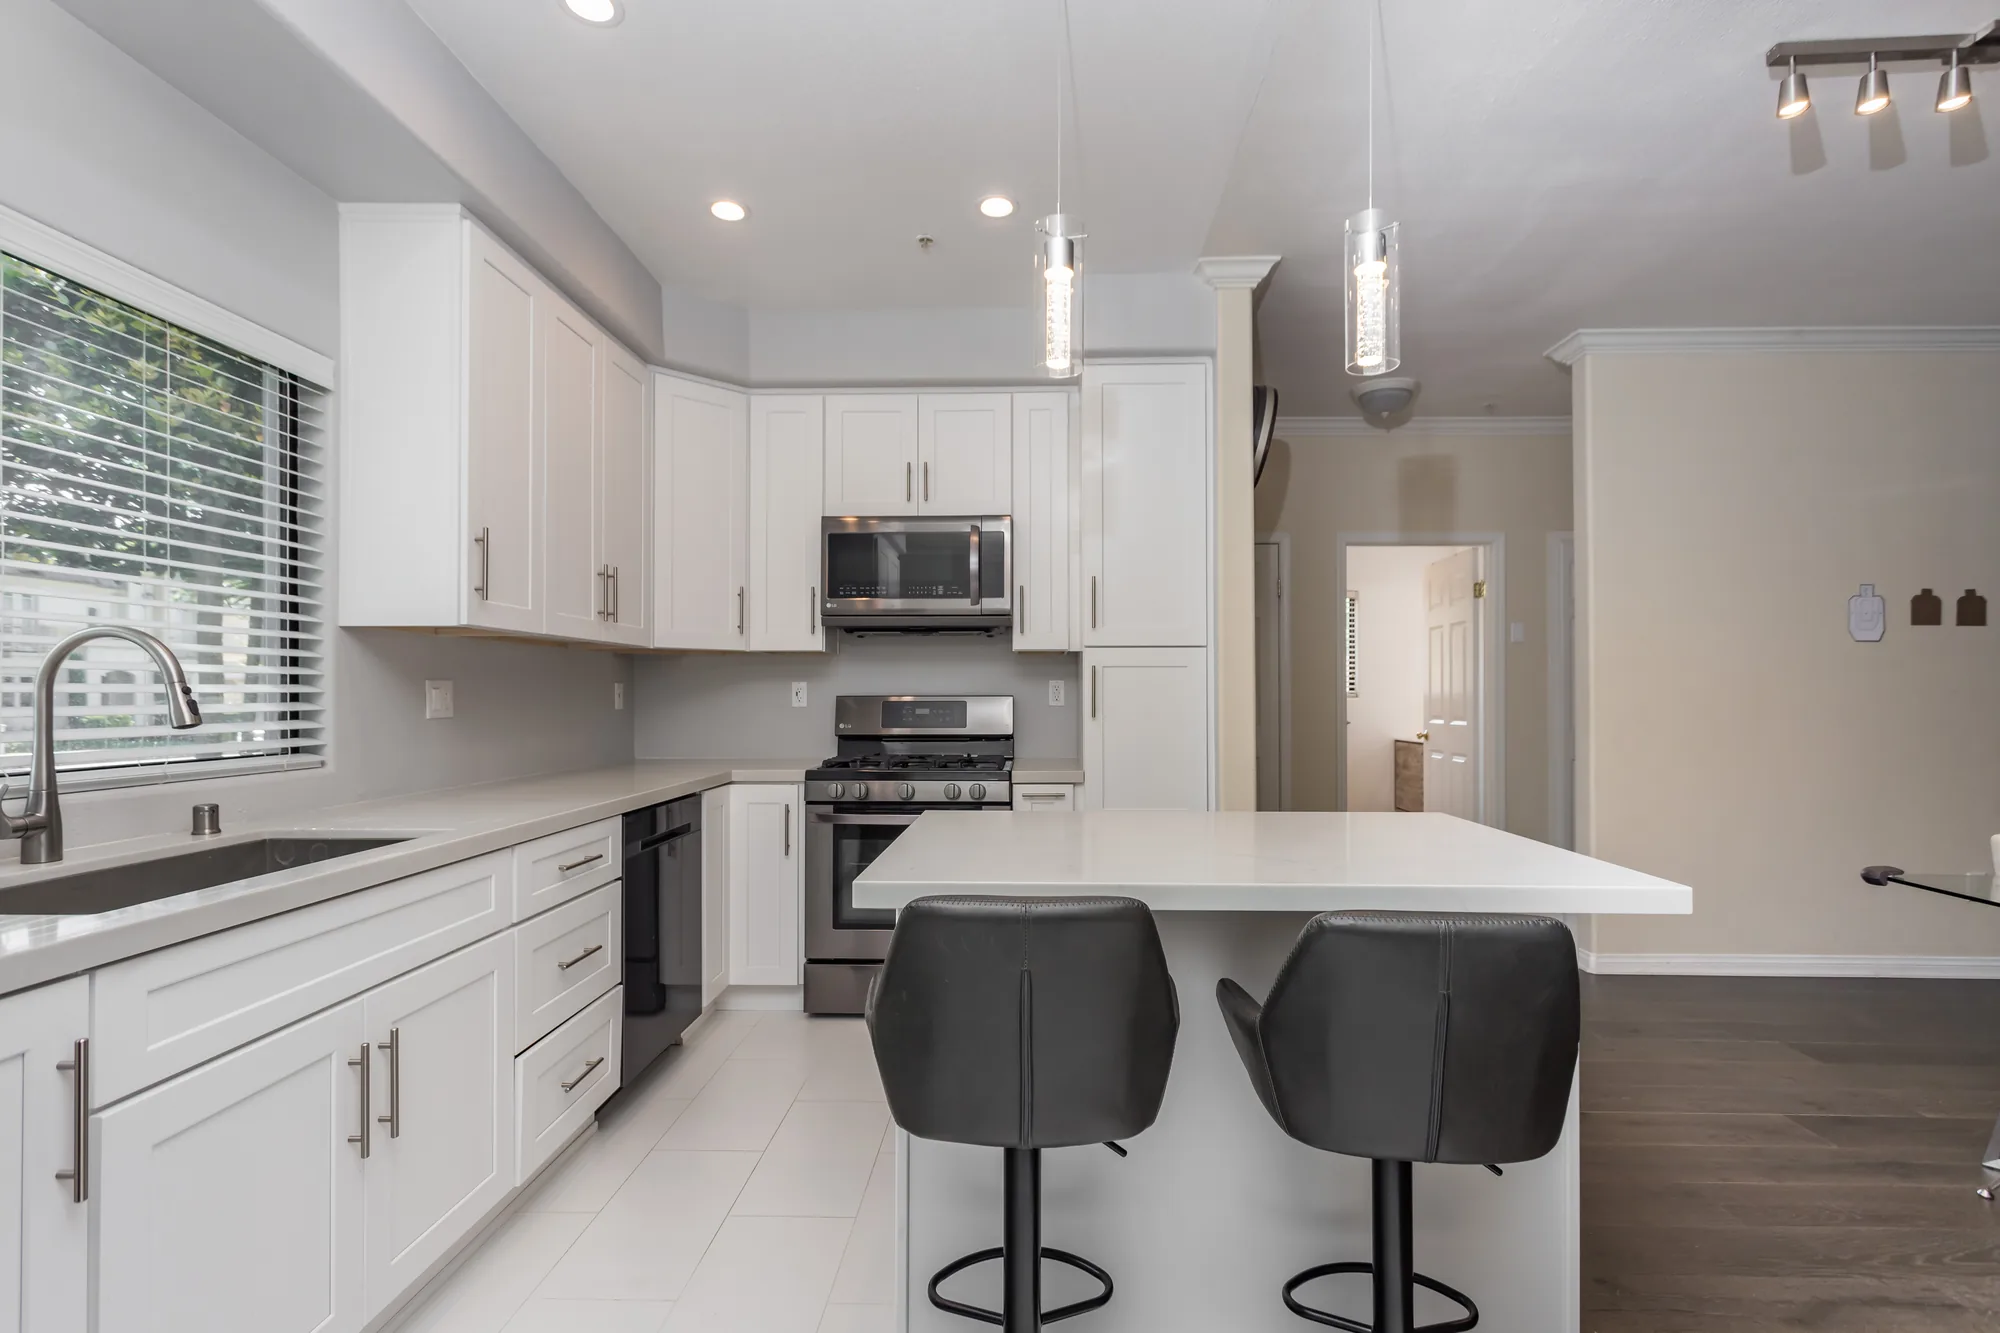
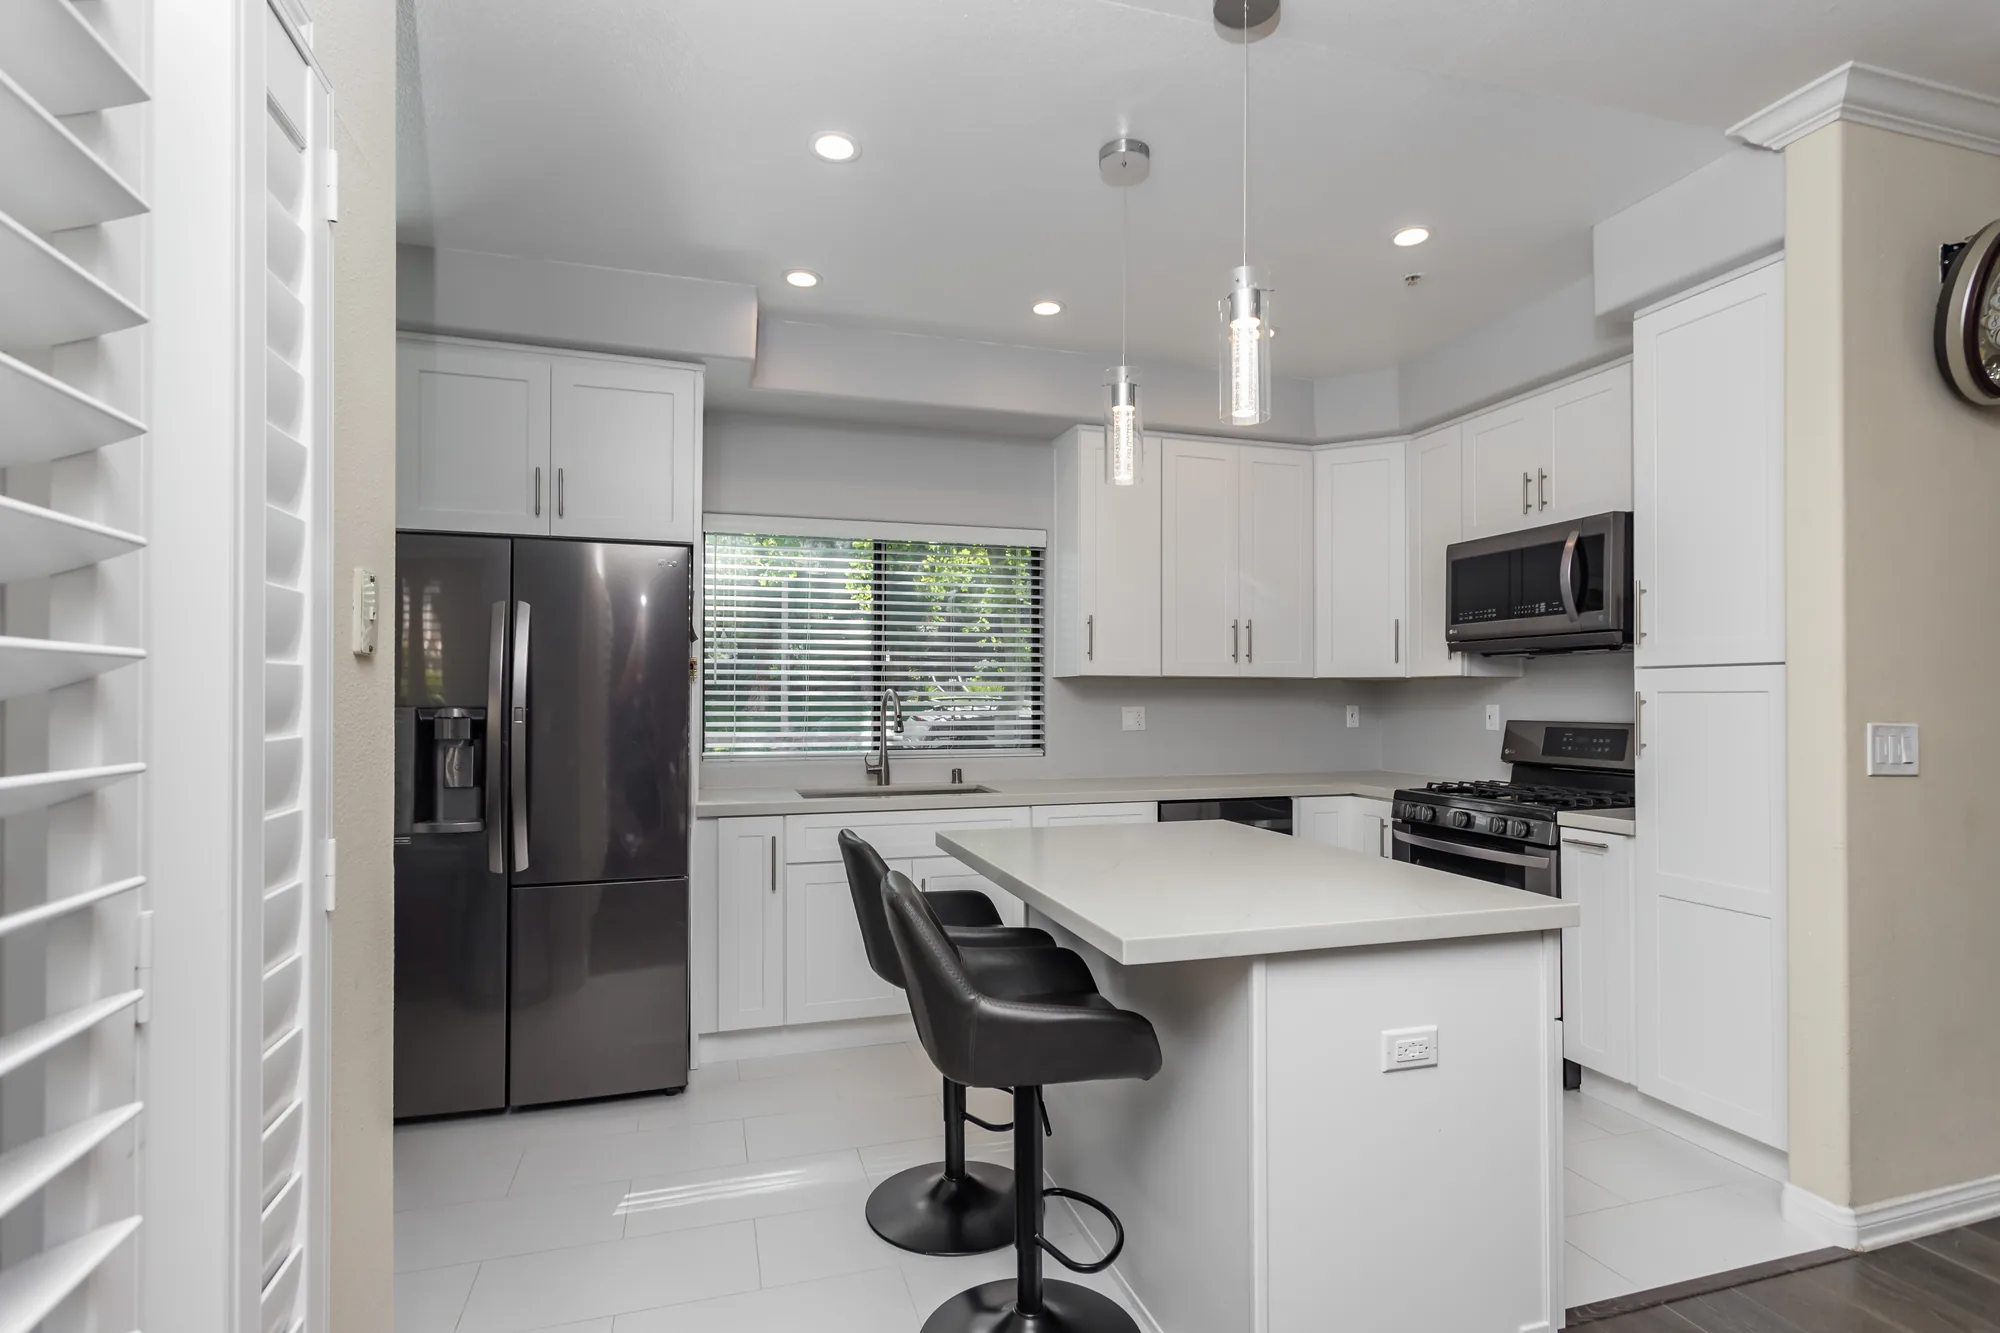
White Shaker and Quartz Kitchen Remodel


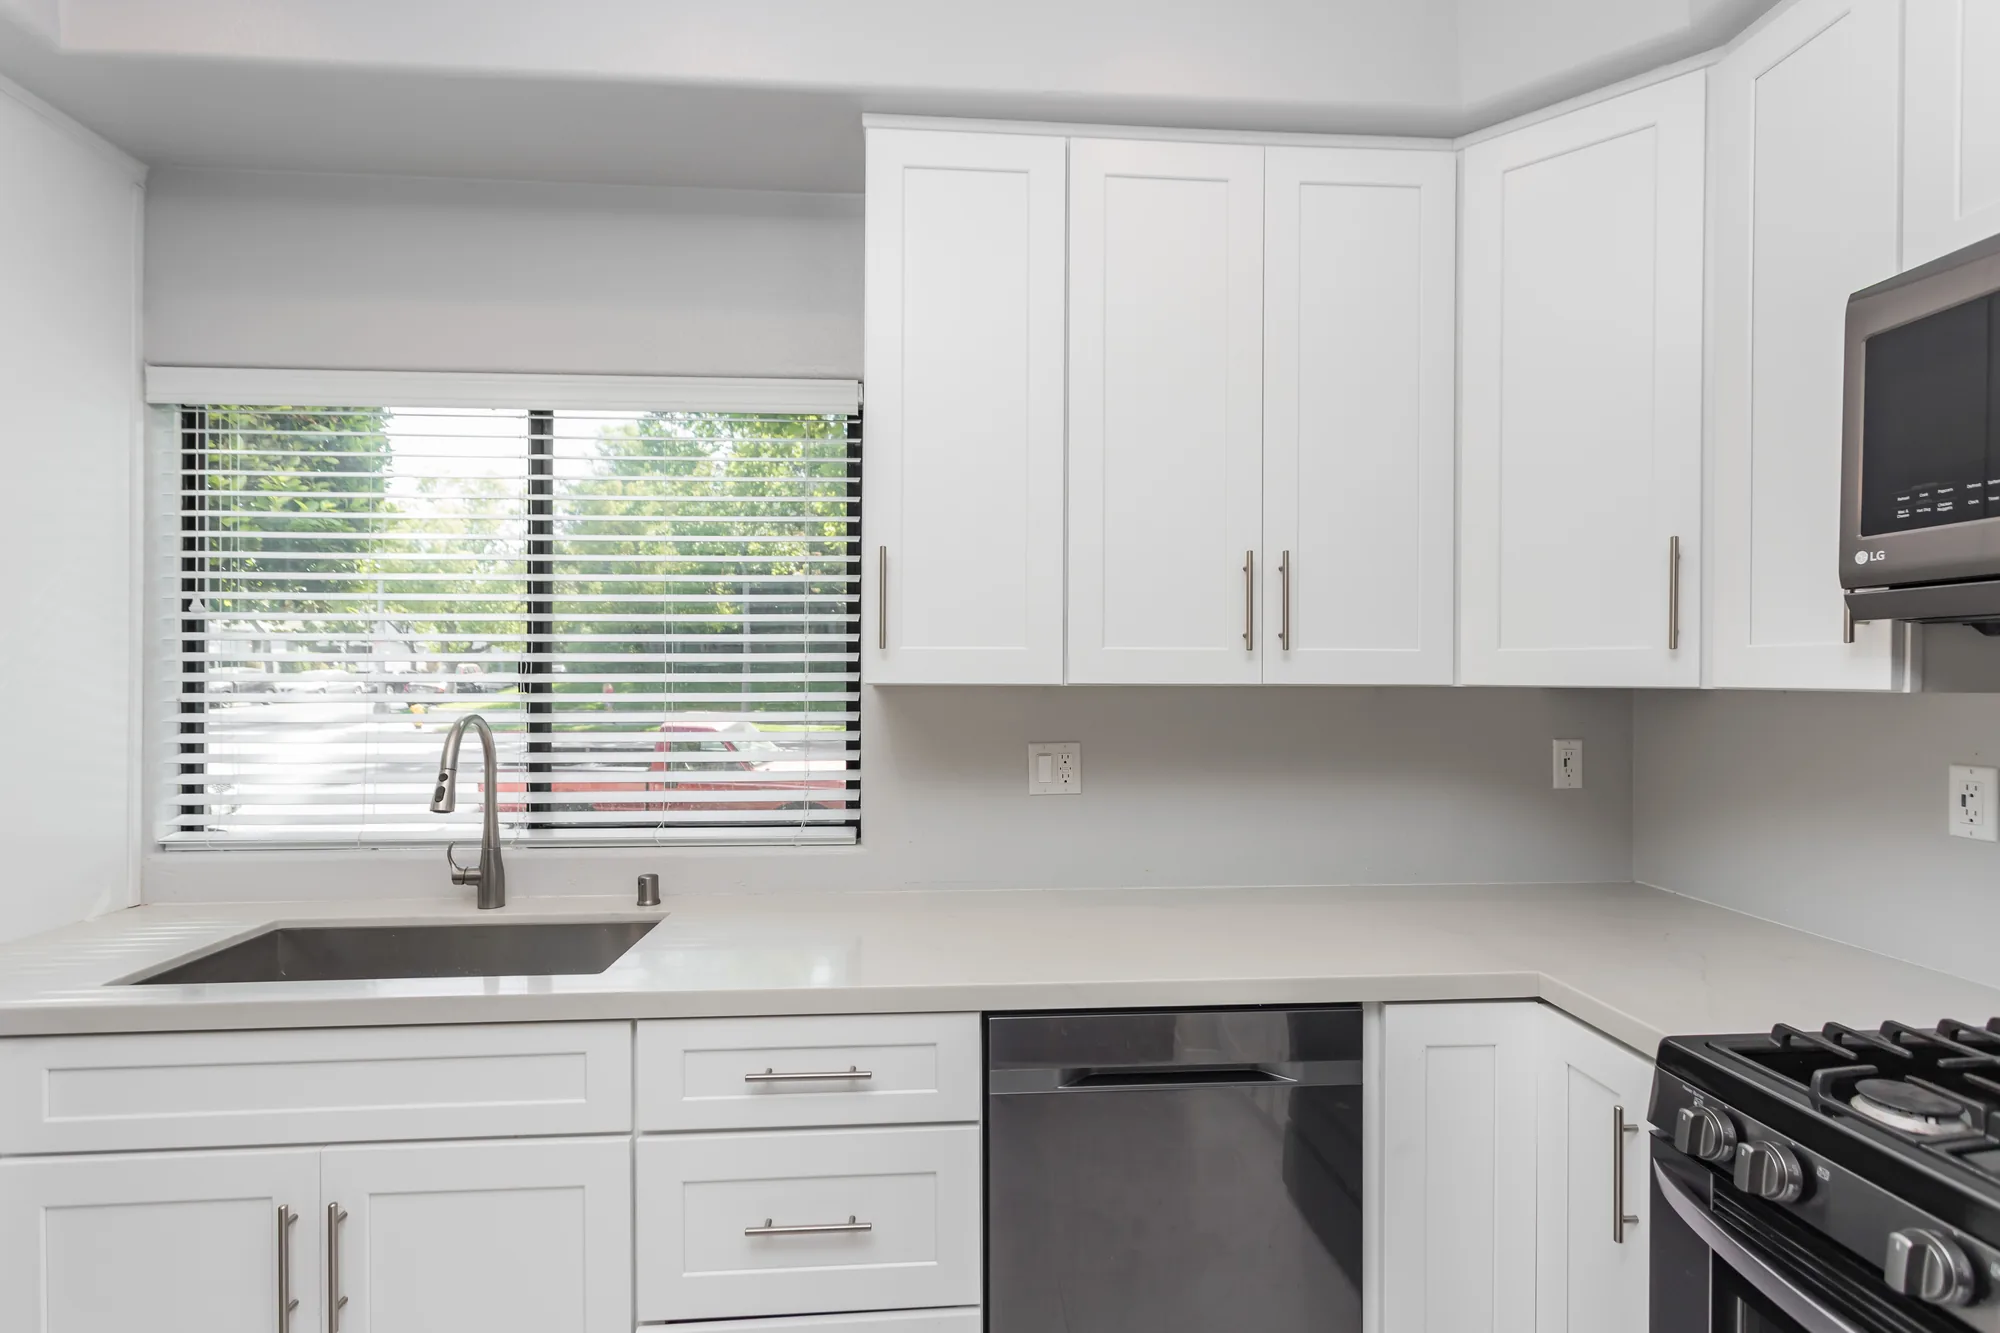
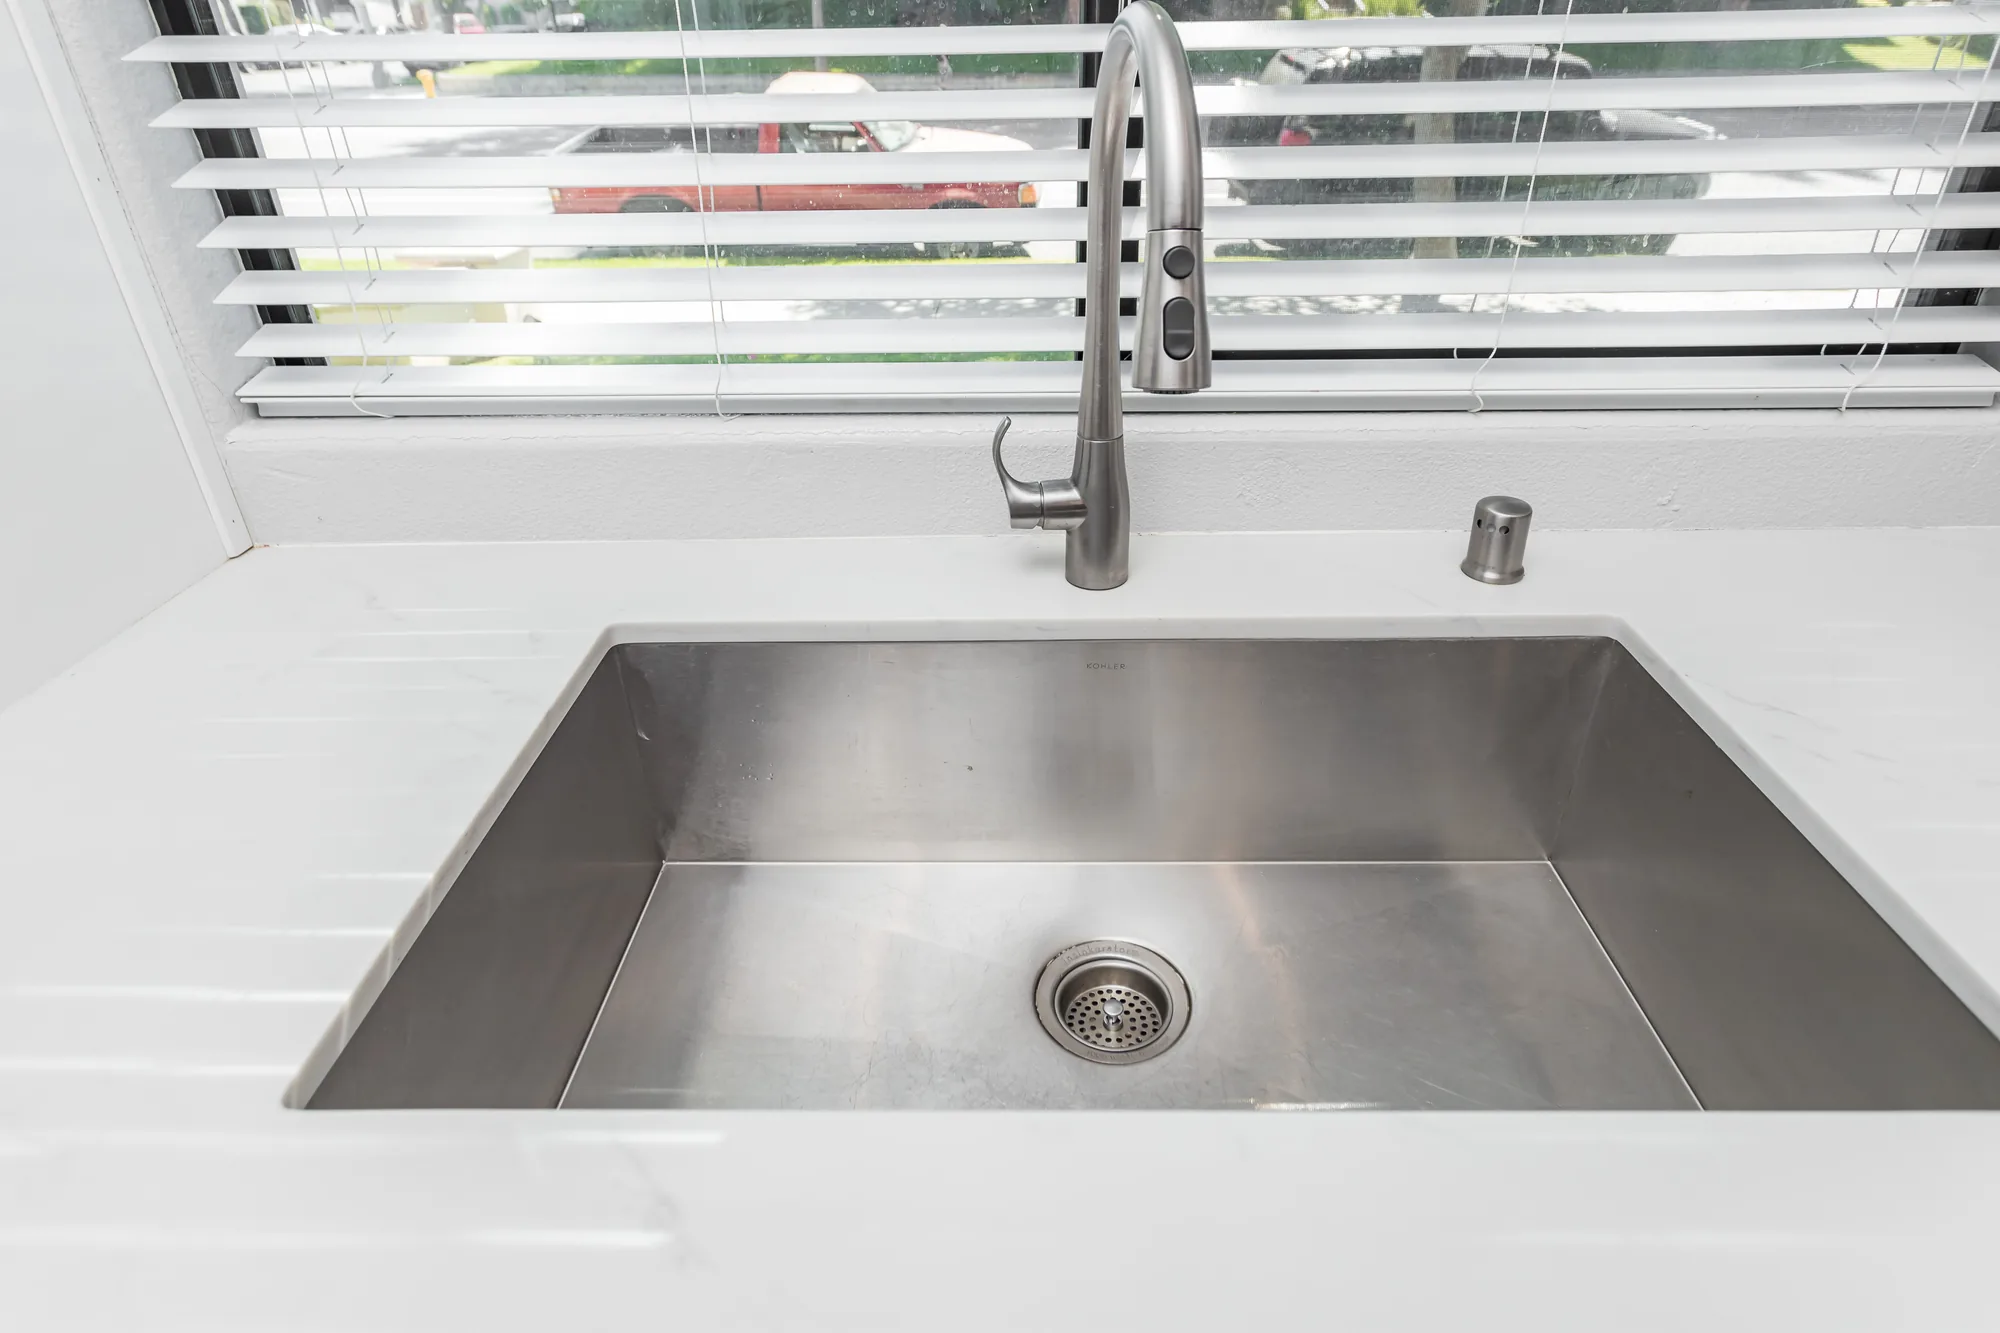
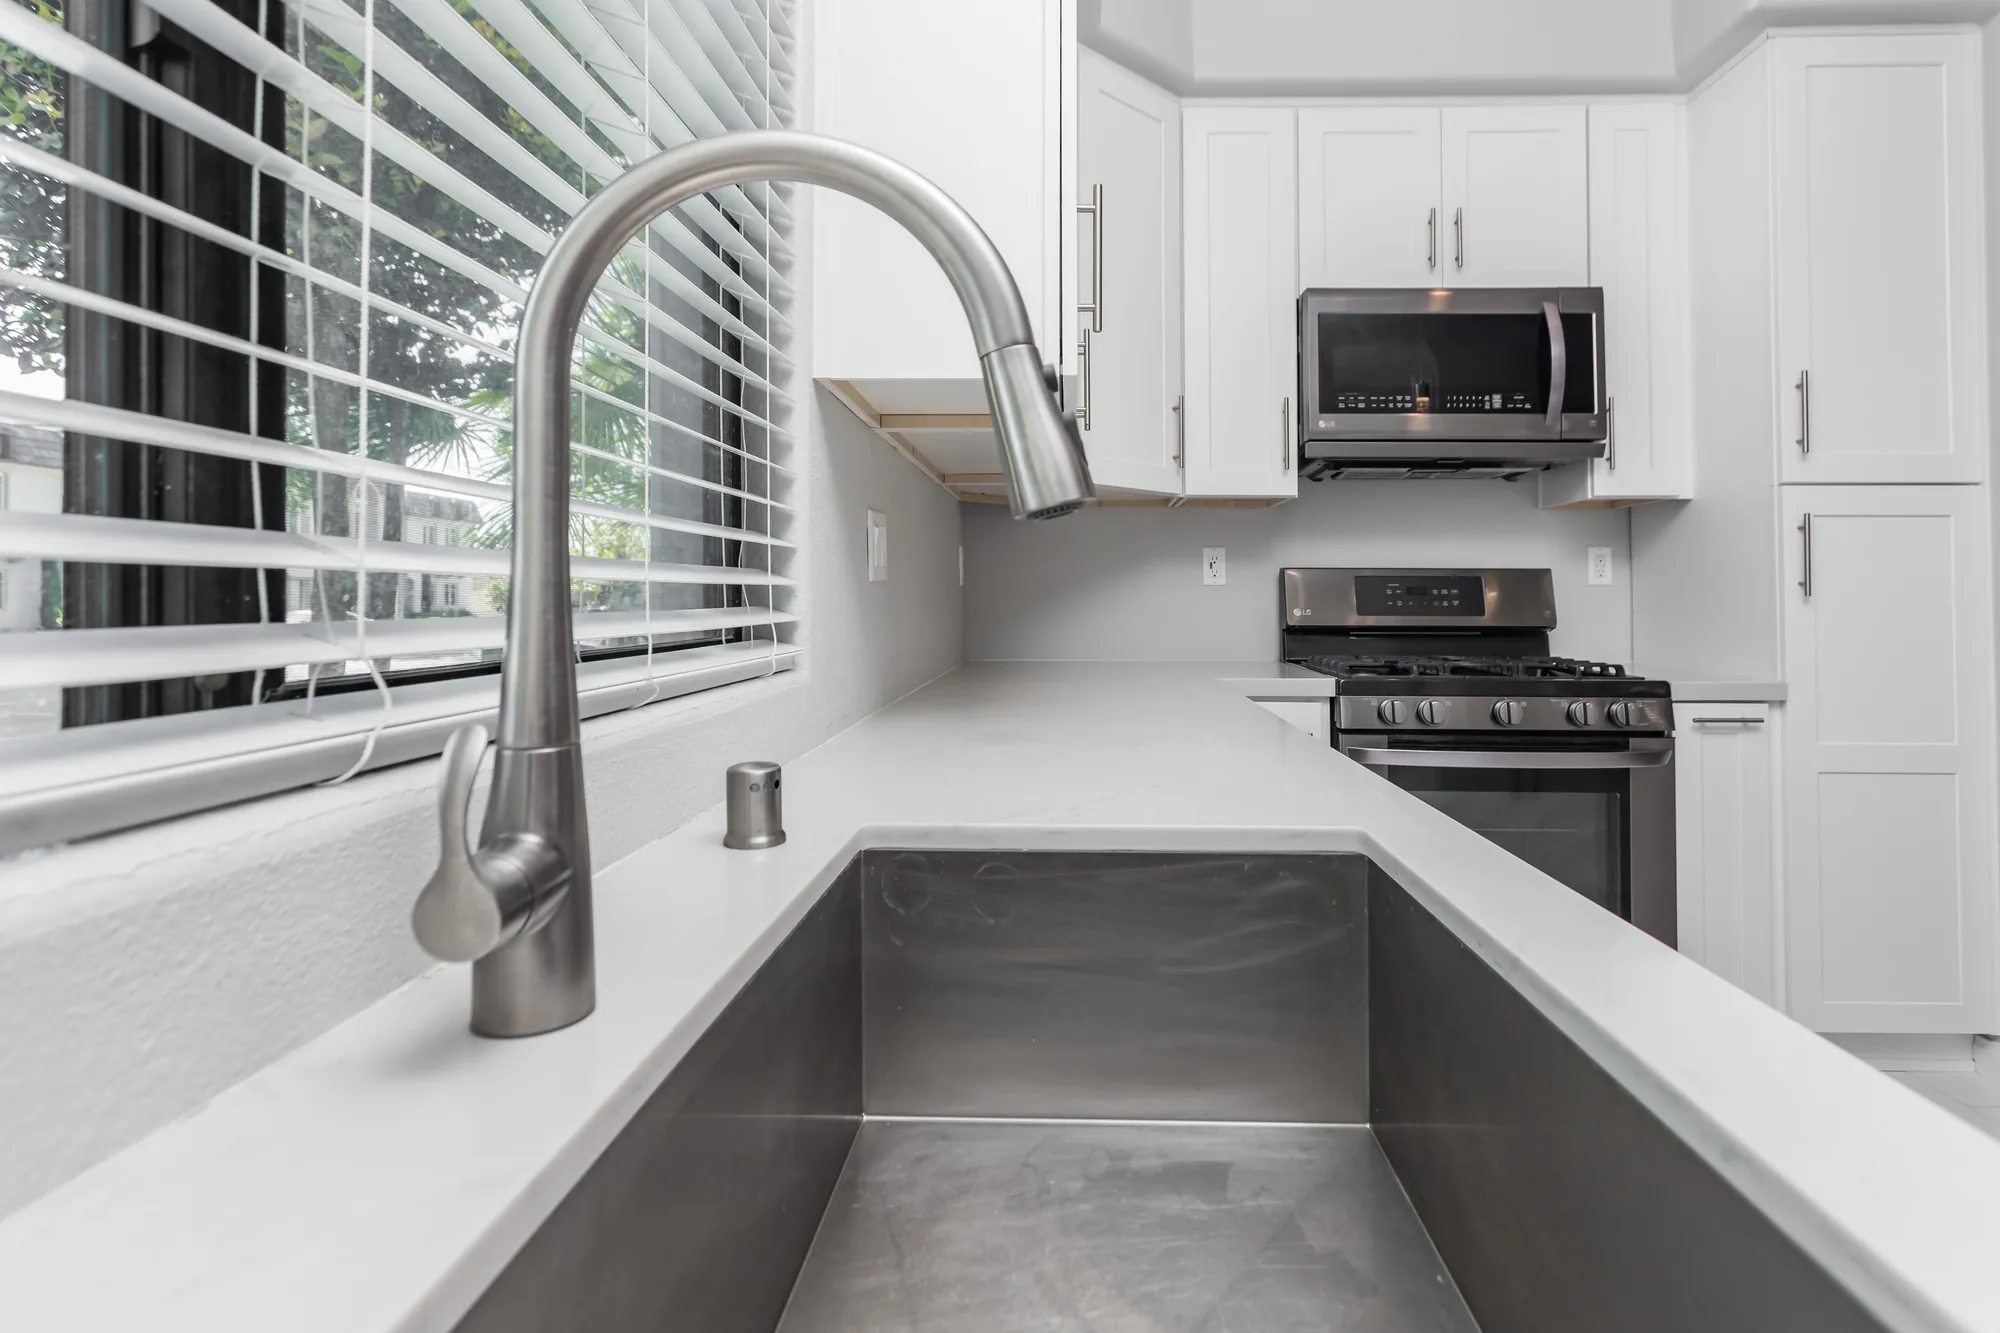
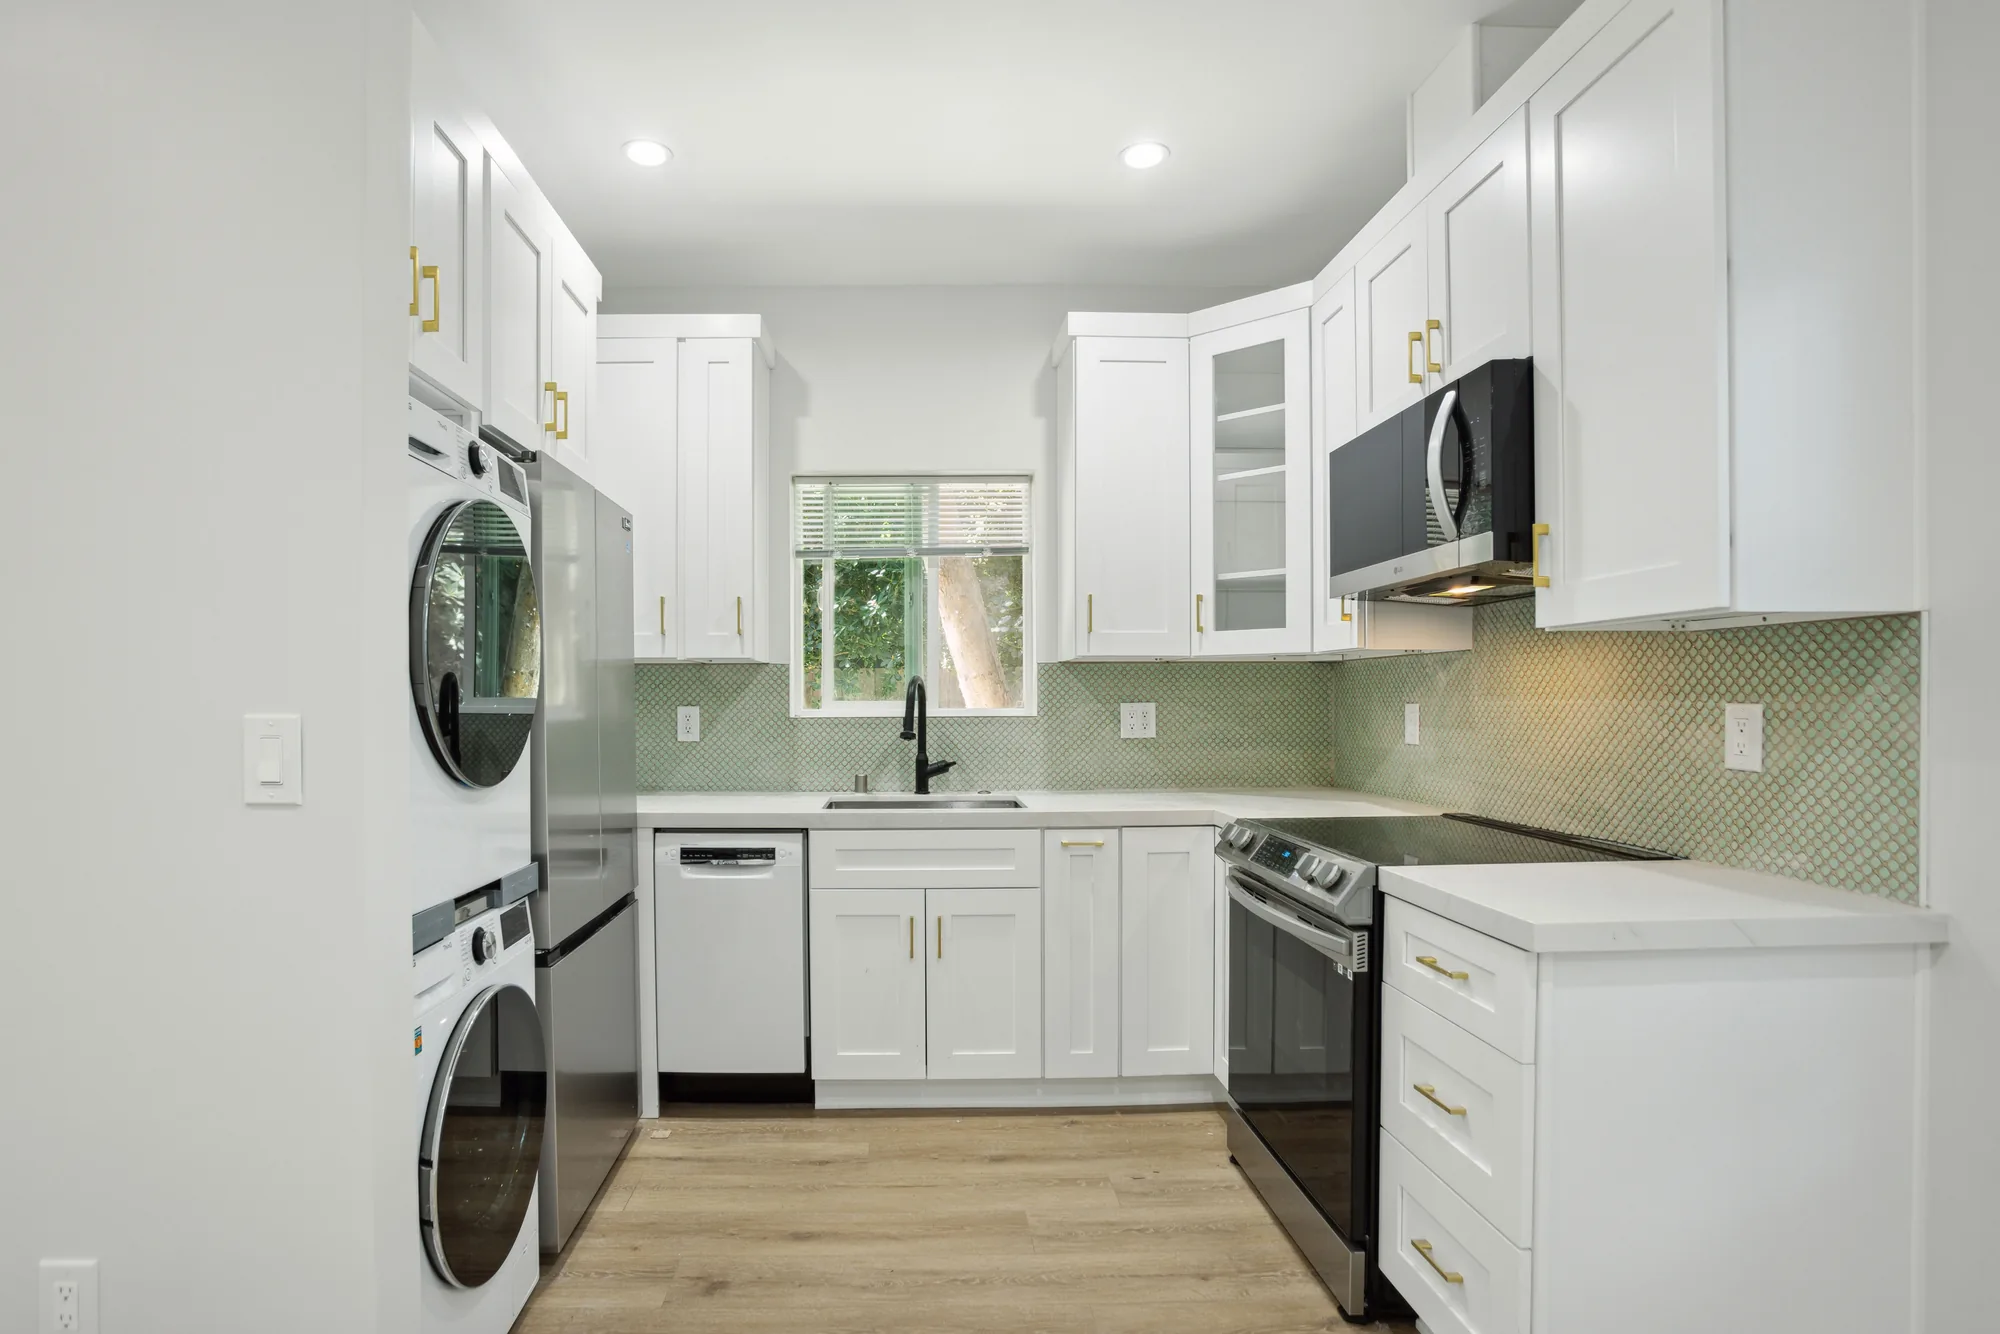
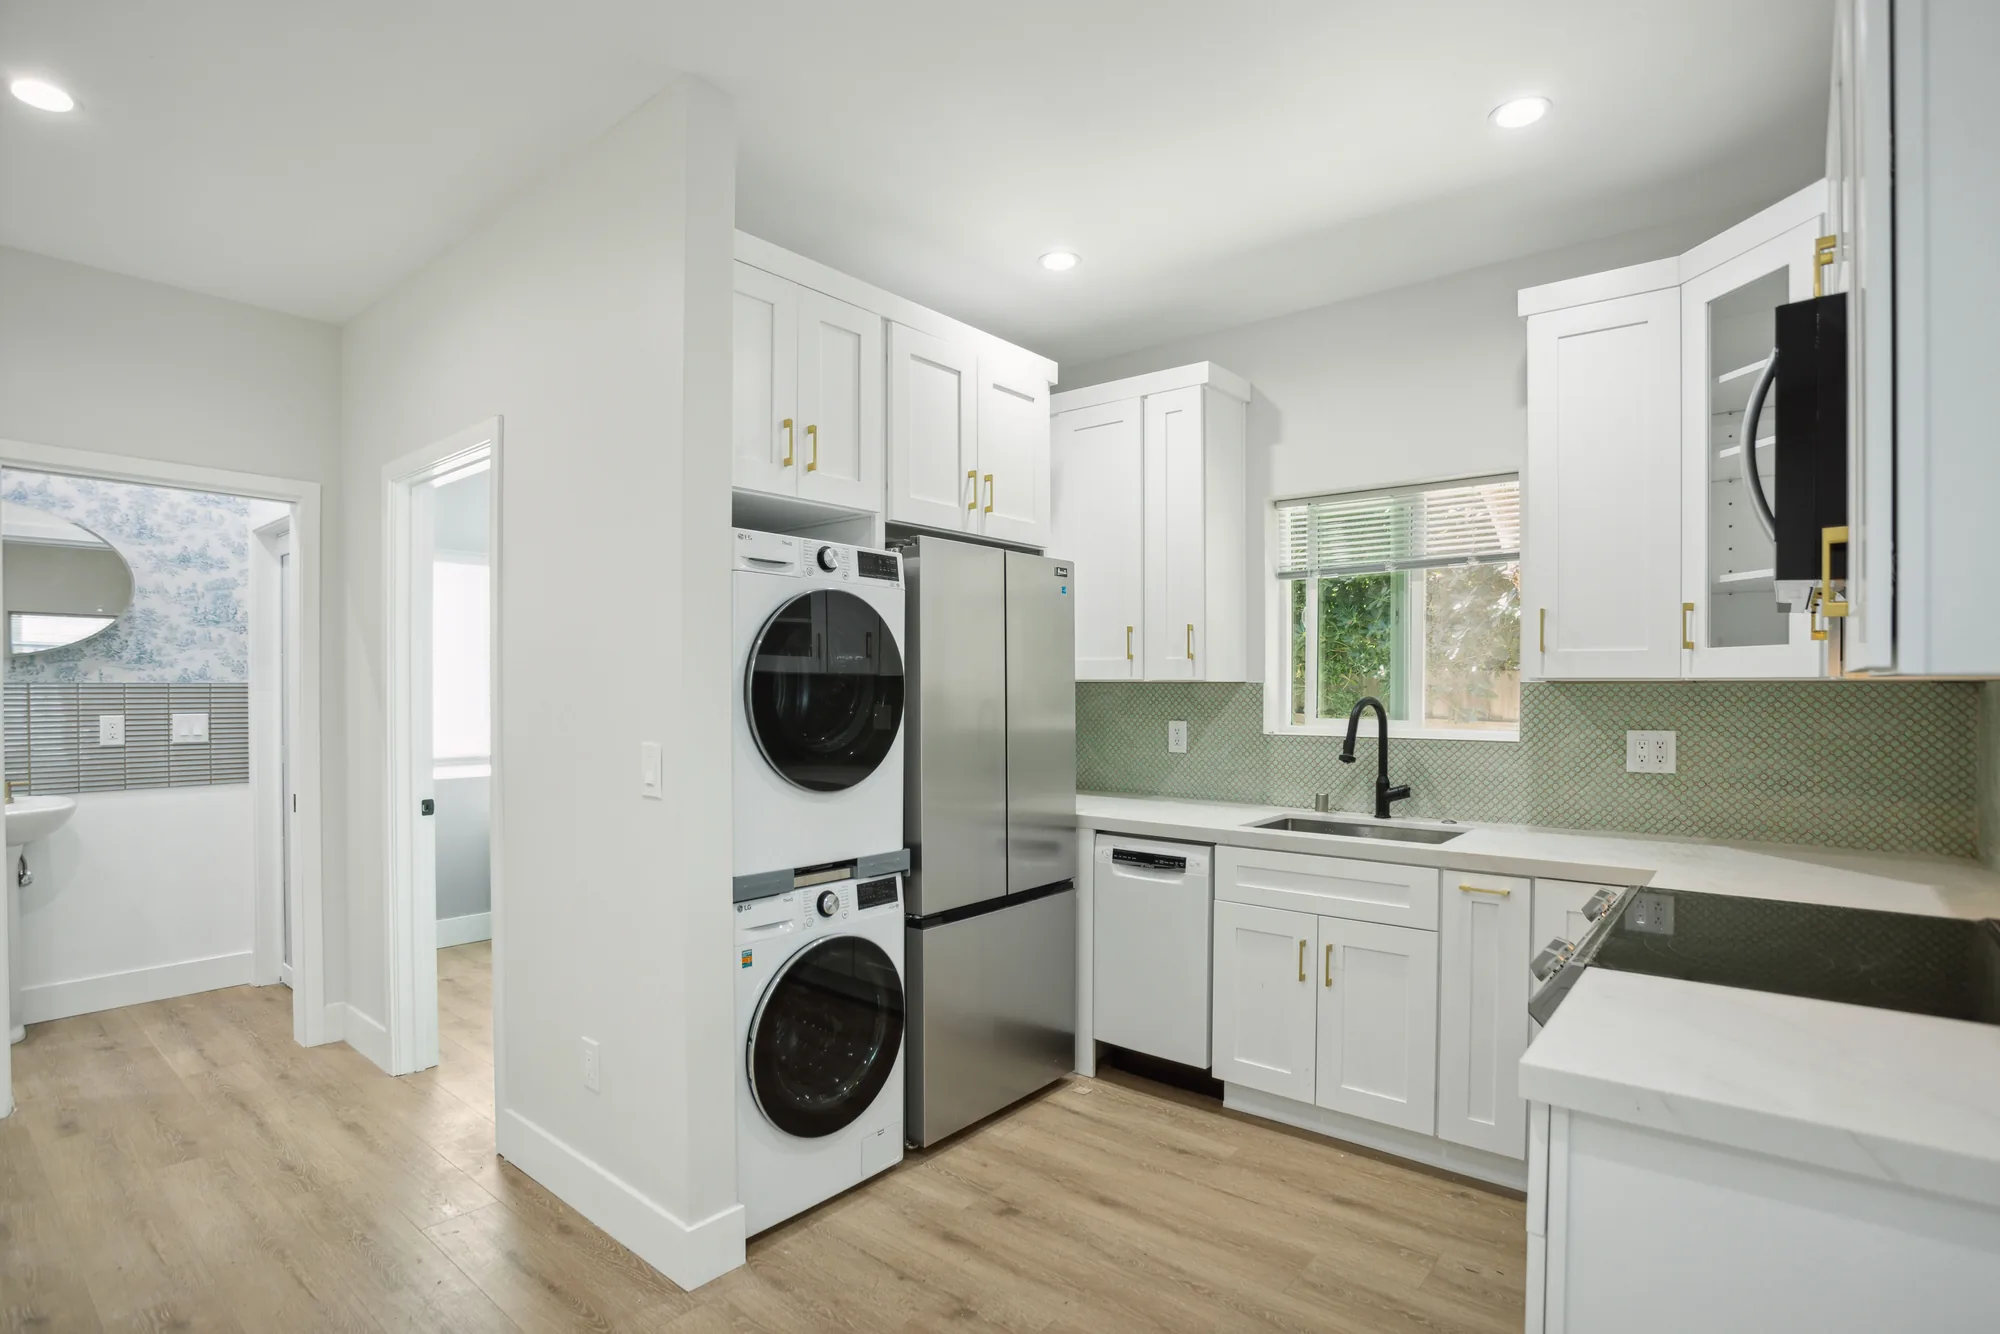
This kitchen was rebuilt with a full run of white shaker cabinetry, including uppers to the soffit, deep drawer banks, and a tall pantry cabinet flanking the range wall. Light stone-look quartz-style countertops were installed with a clean square edge across the perimeter and carried onto a new seated island with a paneled base and integrated outlet. The plumbing package includes a large undermount single-bowl stainless sink with a pull-down brushed nickel faucet and a matching counter-mounted soap dispenser. Appliance work covers a stainless gas range with an over-the-range microwave, a stainless dishwasher integrated into the cabinet run, and a french-door refrigerator set into its own cabinet bay. Lighting and finishes were updated throughout with recessed cans, a pair of clear glass pendants over the island, brushed nickel bar pulls, and large-format light tile flooring.
Style: Transitional

Work Completed

  • Full white shaker cabinet package with uppers, drawer banks, and tall pantry
  • Light stone-look quartz-style countertops with square edge profile
  • New seated island with paneled base and integrated electrical outlet
  • Large undermount single-bowl stainless sink with pull-down faucet
  • Stainless gas range with over-the-range microwave installed
  • Stainless dishwasher and french-door refrigerator integrated into cabinet run
  • Recessed can lighting plus clear glass pendants over the island
  • Large-format light tile flooring laid through the kitchen

Materials & Finishes

  • White painted shaker cabinetry
  • Light stone-look quartz-style countertop
  • Brushed nickel bar pull hardware
  • Brushed nickel pull-down kitchen faucet
  • Undermount stainless steel sink
  • Stainless steel appliances
  • Large-format light tile flooring
  • Clear glass pendant light fixtures
  • Dark wood-look plank flooring in adjoining room
  • Light gray painted walls
Wide view of a finished white kitchen with a seated island, two glass pendants, and gray bar stools.
A wide establishing view shows the island seating, glass pendant lighting, and the kitchen’s connection to the adjoining living space.
Finished kitchen seen through a doorway with a french-door refrigerator, island, and pendant lights.
Framed from the adjoining room, this view captures the refrigerator bay, island seating, and pendant lighting together.
Finished white shaker kitchen with a stainless gas range, microwave, and light quartz-look island counter.
The completed range wall pairs white shaker cabinetry and a tall pantry with a light stone-look countertop that carries onto the island.
Kitchen sink run below a blinded window with white upper cabinets and a stainless dishwasher alongside.
The sink wall shows the undermount stainless sink, pull-down faucet, and the new upper cabinet run wrapping the corner.
Close view of a deep undermount stainless sink set into a light countertop with a pull-down faucet.
A detail shot of the deep single-bowl undermount sink, pull-down faucet, and matching counter-mounted soap dispenser.
View along a light countertop from the undermount sink toward a stainless gas range and microwave.
The countertop run sweeps from the sink to the range, showing the seamless corner and clean square edge detail.
Design Direction

Door Styles and Configurations Worth Considering


Door style drives the character of the room, but it also affects cost, cleaning, and how the cabinetry handles humidity swings.

Slab and flat-panel, frameless

An uninterrupted door face with no frame around the opening, giving continuous lines and the widest usable drawer interiors. Best in contemporary kitchens and small rooms where a quiet surface reads as more space. With no face frame to hide behind, frameless work is unforgiving of alignment error across a long run.

Shaker

A five-piece door with a recessed flat panel and square-edged rails and stiles, still the most specified style in Eastside kitchens. It reads traditional or transitional depending on color and hardware, which makes it a safe choice if you may sell in a few years. The inside corner of the panel groove collects cooking film, so a narrower rail is easier to keep clean.

Inset

Doors sit flush inside the face frame rather than covering it, producing a fine-furniture look with visible frame lines around every opening. It suits period-appropriate work in older Bellevue and Seattle homes. Inset is the least forgiving construction there is, since a box racked slightly throws off the gap on all four sides.

Raised panel and beaded detail

A profiled center panel with shaped edges, often paired with a beaded frame, giving shadow lines that grey Puget Sound daylight tends to flatter. Appropriate in traditional and craftsman-influenced homes where flat slab would look out of place. Solid wood panels move seasonally, so paint may show a faint line at the panel edge in dry months.

Full-height runs to the ceiling

Uppers carried to the ceiling, either as taller doors or a stacked second row, eliminating the dust-collecting soffit gap. This gains real storage and makes an eight-foot ceiling feel taller. Ceilings are rarely level over a long run, so the top needs either scribed trim or a deliberate reveal to absorb the variation.

Ready to Talk Through Your Cabinet Layout?

Bring us your floor plan, your appliance list, or just a phone full of photos. We will walk the kitchen with you and tell you what your existing conditions actually allow.

How We Work

How the Work Actually Unfolds


A cabinet installation is mostly preparation, and this sequence is what keeps the visible portion short.

On-site consultation and measure

We walk the kitchen with you, talk through how you cook and store things, and take full field dimensions including out-of-plumb and out-of-level readings. Appliance model numbers get collected on this visit, because specified openings control the layout, not nominal sizes.

Layout, drawings, and selections

You review plans and elevations showing every box, drawer stack, filler, and panel before anything is ordered. Door style, finish, organizers, and hardware are locked here, since changes after release to the shop cost time and money.

Ordering, lead time, and acclimation

Cabinetry is ordered and the schedule is built backward from the confirmed ship date rather than an optimistic guess. On delivery, boxes are staged inside the conditioned house so wood and finishes settle to indoor humidity first.

Demolition and utility isolation

Old cabinets and counters come out, plumbing and electrical are isolated by the appropriate trades, and adjoining rooms are protected. Anything hidden behind the old run, including water damage or undersized circuits, is documented before it gets covered again.

Wall repair, blocking, and layout lines

Drywall is patched flat, blocking is added for tall units and hanging rails, and stud centers are marked across the run. The high point of the floor is located and a level base line becomes the single reference for the whole kitchen.

Setting uppers, then bases

Uppers go first so nobody is reaching over base boxes, each shimmed plumb and screwed into framing, then aligned to its neighbors. Bases follow off the same line, with plumbing and electrical cutouts made carefully rather than oversized and hidden.

Scribing, panels, and trim

End panels, fillers, toe kick, light rail, and ceiling trim are scribed to the real walls and ceiling so no tapered gap shows. This is the slowest visible stage and where an install in an older Eastside home earns its keep.

Countertop templating and final adjustment

With bases set and level, the fabricator templates off the installed cabinets, which is the only way to get accurate seams and overhangs. After counters and backsplash, we return to fine-tune hinges and slides, set pulls, and walk the punch list with you.

Materials & Finishes

Box and Door Materials Compared


Cabinet quality comes down to two separate choices, what the box is made of and what the door is made of, and they need not be the same tier.

OptionBest ForConsiderationsRelative Cost
Furniture-grade plywood boxLong-term durability and any cabinet near a sink or dishwasherHolds fasteners well and survives an undetected leak far better than sheet goods that swell; heavier, so anchoring mattersHigher
Furniture board with melamine interiorBudget-conscious full replacements and secondary spacesVery stable and easy to wipe out, but permanently damaged by standing water and less tolerant of repeated screw removalLowest
Solid hardwood doors and face framesStained finishes in maple, alder, hickory, or white oakRich grain and a repairable surface; panels expand and contract seasonally, which shows more under paint than under stainHigher
Paint-grade MDF doorsCrisp painted Shaker and slab fronts with no grain or joint linesThe most stable substrate for paint and the best route to a flawless white or deep color; heavier and less forgiving of corner impactModerate
Rigid thermofoil frontsRentals, utility kitchens, and cost-driven projectsEasy to clean and color-consistent, but the vinyl layer can lift under sustained heat and cannot be refinishedLower
High-pressure laminate or textured melamine slabContemporary frameless kitchens and high-traffic householdsVery scratch and moisture resistant with excellent color consistency across large runs; edges are banded, so damage is not sandableModerate
Wood veneer slab, rift white oak or walnutModern kitchens wanting real grain on a flat, stable doorDelivers continuous grain across doors and drawers when sequence-matched; veneer is thin and cannot absorb deep sanding laterHighest

Final material choice depends on site conditions and a written estimate.

Project Video

See the Work Up Close


A short walkthrough showing how cabinetry, hardware, and finish details come together in a completed kitchen.

Kitchen Project Highlights

Highlights from a completed kitchen remodel.

Kitchen Remodel — On-Site Clip 1

On-site footage from a completed kitchen remodel showing cabinetry, counters and finish work.

Investment

What Moves the Number on a Cabinet Project


Two kitchens of identical size can differ enormously in cost, and these variables account for most of the spread.

Construction tier

Stock cabinetry comes in fixed increments and is filled out with strips, semi-custom allows modified depths and heights, and full custom is built to your exact openings. Each step up buys better fit and more freedom, and each step up costs more per box.

Number of boxes and linear footage

Cost tracks the count and size of individual cabinets far more closely than the square footage of the room. Adding an island, a pantry wall, or stacked uppers adds boxes, and boxes are the unit of cost.

Box construction and drawer quality

Plywood carcasses, dovetailed drawer boxes, and full-extension undermount soft-close slides cost meaningfully more than stapled boxes on side-mount slides. It is the least visible upgrade in a kitchen and usually the one that decides how the cabinetry feels a decade later.

Door style and finish complexity

A flat slab takes the least shop labor, while inset construction, beaded frames, glazed or distressed finishes, and specialty stains all add hours. Custom color matching and catalyzed finishes carry a premium over standard factory colors.

Interior organization and hardware

Roll-outs, tray dividers, blind-corner mechanisms, appliance garages, integrated waste units, and interior lighting are priced individually and accumulate fast. They are also what owners say they would not give up, so they deserve a deliberate decision rather than a default.

Site conditions and prep scope

An older home with out-of-plumb walls, failed plaster, undersized electrical, or a floor needing leveling takes prep hours a newer square kitchen does not. Relocating a sink, gas line, or circuits also pulls licensed trades and permit review into the project.

No responsible contractor can price a cabinet project from a phone call or a photo. Accurate pricing requires an on-site inspection of your walls, floors, utilities, and existing conditions, followed by a written estimate listing the specific cabinetry, hardware, and scope being quoted.

Why Sky Pro

Why Homeowners Bring Us the Cabinet Work


Cabinet installation rewards preparation more than speed, and that is how we approach it.

We verify before we order

Field dimensions and appliance specifications are confirmed on site and checked against the drawings before cabinetry is released. Catching a conflict on paper costs a phone call; catching it on delivery day costs weeks.

Layout follows how you use the room

We ask where you prep, where groceries land, who else is in the kitchen while you cook, and what you reach for but cannot find. Drawer sizes, landing space beside the range, and trash and dish placement follow from those answers rather than a template.

Boxes are anchored to structure

Cabinets are fastened into studs and added blocking with proper fasteners, and tall units are secured against tipping. That matters for daily loads and it matters in a seismic region.

Scribe work suited to older housing

Much of the Eastside was framed decades ago and very little of it is square. We scribe end panels, fillers, and trim to the walls that exist instead of caulking a wedge-shaped gap and calling it finished.

Trades and fabricators are coordinated

Electrical rough-in for under-cabinet lighting, plumbing, appliance delivery, and countertop templating are sequenced so nobody waits on anybody. That coordination is what keeps a kitchen from sitting unusable between phases.

The scope is written down

You get an estimate naming the cabinet line, construction, door style, finish, hardware, and included accessories, so you can compare it honestly against another bid. Changes are documented before they are performed.

Get an Estimate Based on Your Real Kitchen

Call (206) 825-2773 to schedule an on-site visit. You will get measured dimensions, a specified scope, and a written estimate you can compare line by line.

Common Questions

Frequently Asked Questions


Should I replace my cabinets or reface them?

Reface if the boxes are sound and the layout works; replace if either is untrue. Refacing puts new doors, fronts, and veneer skins on existing carcasses, which saves demolition and keeps counters in place, but it cannot change cabinet sizes or fix a layout that fights you. If the boxes have swollen under the sink, or you want deeper drawers and better interior organization, replacement is the honest answer.

How long does installation take once the cabinets arrive?

Setting the boxes is usually the shortest part of the job. Demolition, wall repair, and blocking come first, then the cabinets go in over a few days depending on box count, and then the kitchen pauses while the fabricator templates and produces the countertops. Plan for the room to be out of service through counter and backsplash installation, plus a final visit for hardware adjustment and punch list.

Do I need a permit to replace kitchen cabinets in Bellevue?

Swapping cabinets in place generally does not trigger a building permit, but the work around them often does. Moving a sink, extending gas, adding or relocating circuits, or altering a wall typically brings plumbing, electrical, or building permits into play, and requirements differ between the City of Bellevue, the City of Seattle, and unincorporated King County. We confirm the rules for your address and jurisdiction before work starts rather than assuming.

Framed or frameless, which should I choose?

Frameless gives you more usable interior space and a cleaner modern face; framed gives a more traditional look and a slightly more forgiving install. A frameless box has no face frame narrowing the opening, so drawers are wider and shelves easier to load, which is a real advantage in a small kitchen. Framed construction supports inset doors and hides minor alignment variation, which is why it remains common in period homes.

Should flooring go in before or after the cabinets?

For most projects cabinets go in first and the finish flooring runs up to the toe kick. That uses less material, avoids trapping the floor under heavy boxes, and lets you replace flooring later without demolishing cabinetry. The exception is a floating floor, which needs to run continuously with proper expansion space, and any case where the dishwasher needs finished floor height to slide out for service.

Will painted cabinet doors crack at the joints over time?

Solid wood painted doors can develop hairline lines at the joints; MDF doors generally do not. Wood expands and contracts with seasonal humidity, and in a region that swings from damp winters to dry indoor heat, that movement can open a faint line where the panel meets the frame. This is normal wood behavior rather than finish failure, and it is the main reason paint-grade MDF is specified when a perfectly uniform painted surface matters to you.

How do I keep cabinetry from being damaged by moisture?

Most cabinet moisture damage comes from slow leaks and poor ventilation, not ambient humidity. A plywood sink base, a properly sealed sink rim, a habit of checking under the sink seasonally, and a range hood that vents outdoors rather than recirculating will prevent most problems. If your kitchen sits on an exterior wall or above an unconditioned crawl space, confirm insulation and air sealing behind the cabinets while the wall is open.

Can I keep my existing layout to save money?

Yes, and it is usually the single largest saving available on a kitchen project. Keeping the sink, range, and refrigerator in place avoids relocating plumbing, gas, and electrical, which removes both trade labor and permit scope. You can still gain real function within the same footprint by converting lower doors to drawers, adding a pantry cabinet, carrying uppers to the ceiling, and improving what sits behind the same door fronts.

Client Reviews

What Our Clients Say


Service Areas

Where We Install Cabinetry


Sky Pro Remodeling installs kitchen cabinetry throughout Bellevue and the surrounding Eastside, including Kirkland, Redmond, Bothell, Sammamish, Issaquah, Mercer Island, and Renton, along with Seattle and the north-end suburbs. The mix of mid-century ramblers, split-levels, and newer construction across these neighborhoods means no two installations start from the same conditions.

Do not see your neighborhood? Call (206) 825-2773 — we regularly work throughout King County.

Where We Work

Serving Bellevue and the Greater Seattle Area


We serve homeowners across Bellevue, the Eastside, and greater Seattle within King and Snohomish counties.

Related Services

More Reading on Kitchens and Cabinetry


Kitchen Remodeling Bellevue, WA: Modern, Warm Wood Cabinets & Waterfall Island by Sky Pro Remodeling

A close look at how warm wood cabinet fronts and a waterfall island detail work together in a finished Bellevue kitchen.

Small Kitchen Remodel Ideas That Maximize Space

Practical storage and layout moves that get more out of a compact kitchen without moving walls.

Tips for Remodeling Older Homes in Bellevue

Useful background on the out-of-square walls, dated wiring, and hidden conditions that shape cabinet work in mid-century Eastside houses.

Get Started

Request a Cabinet Consultation


Tell us about your kitchen and what is not working about the storage you have now. We will follow up to schedule a site visit and walk through options, materials, and timing.

Appointment Request Form

Let us know how we can help you!

Click To Call