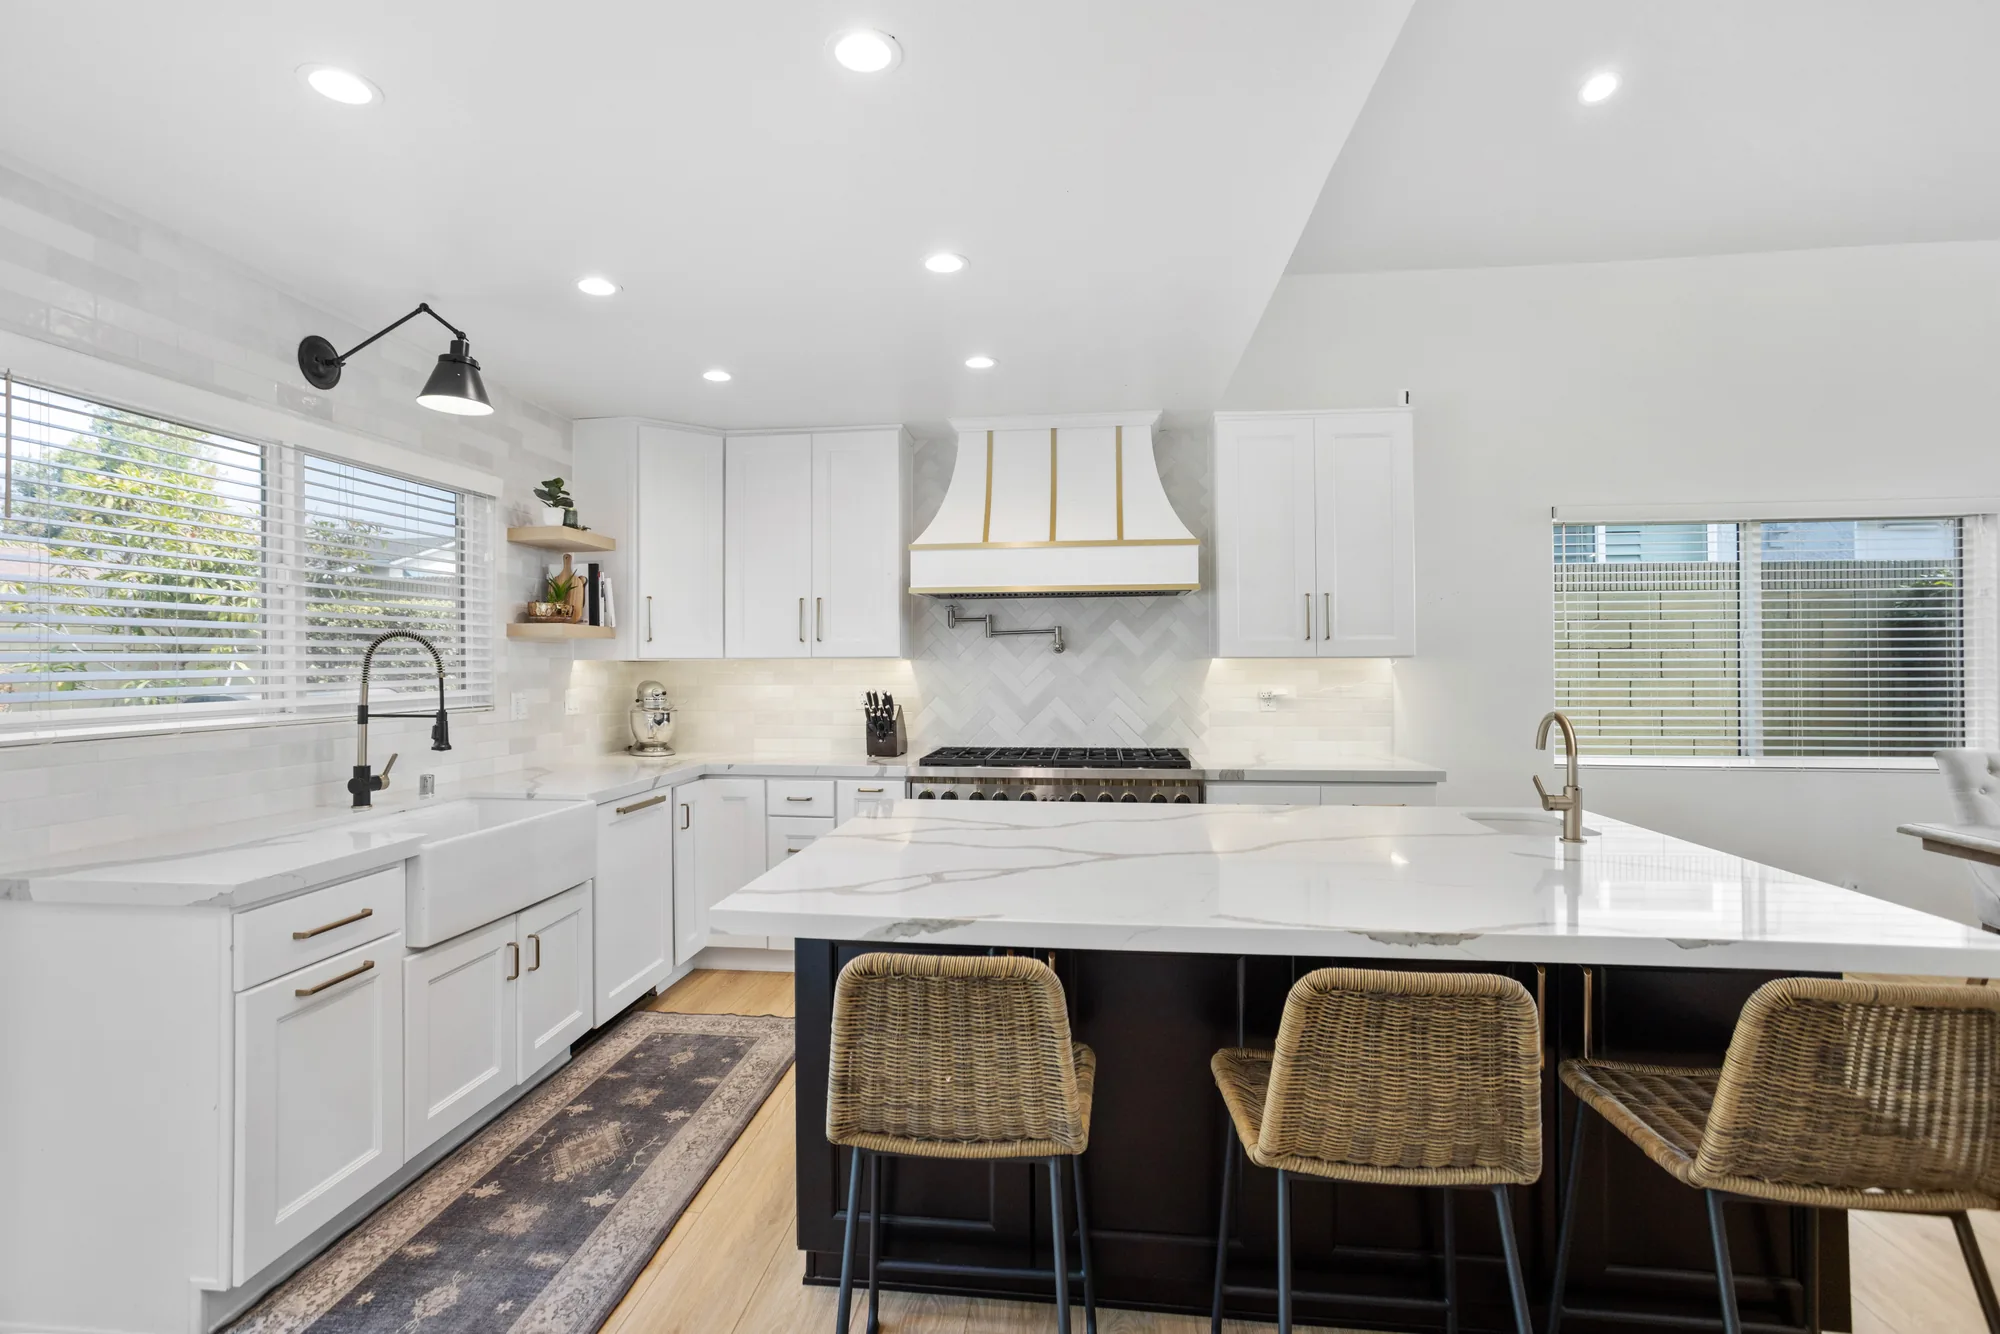
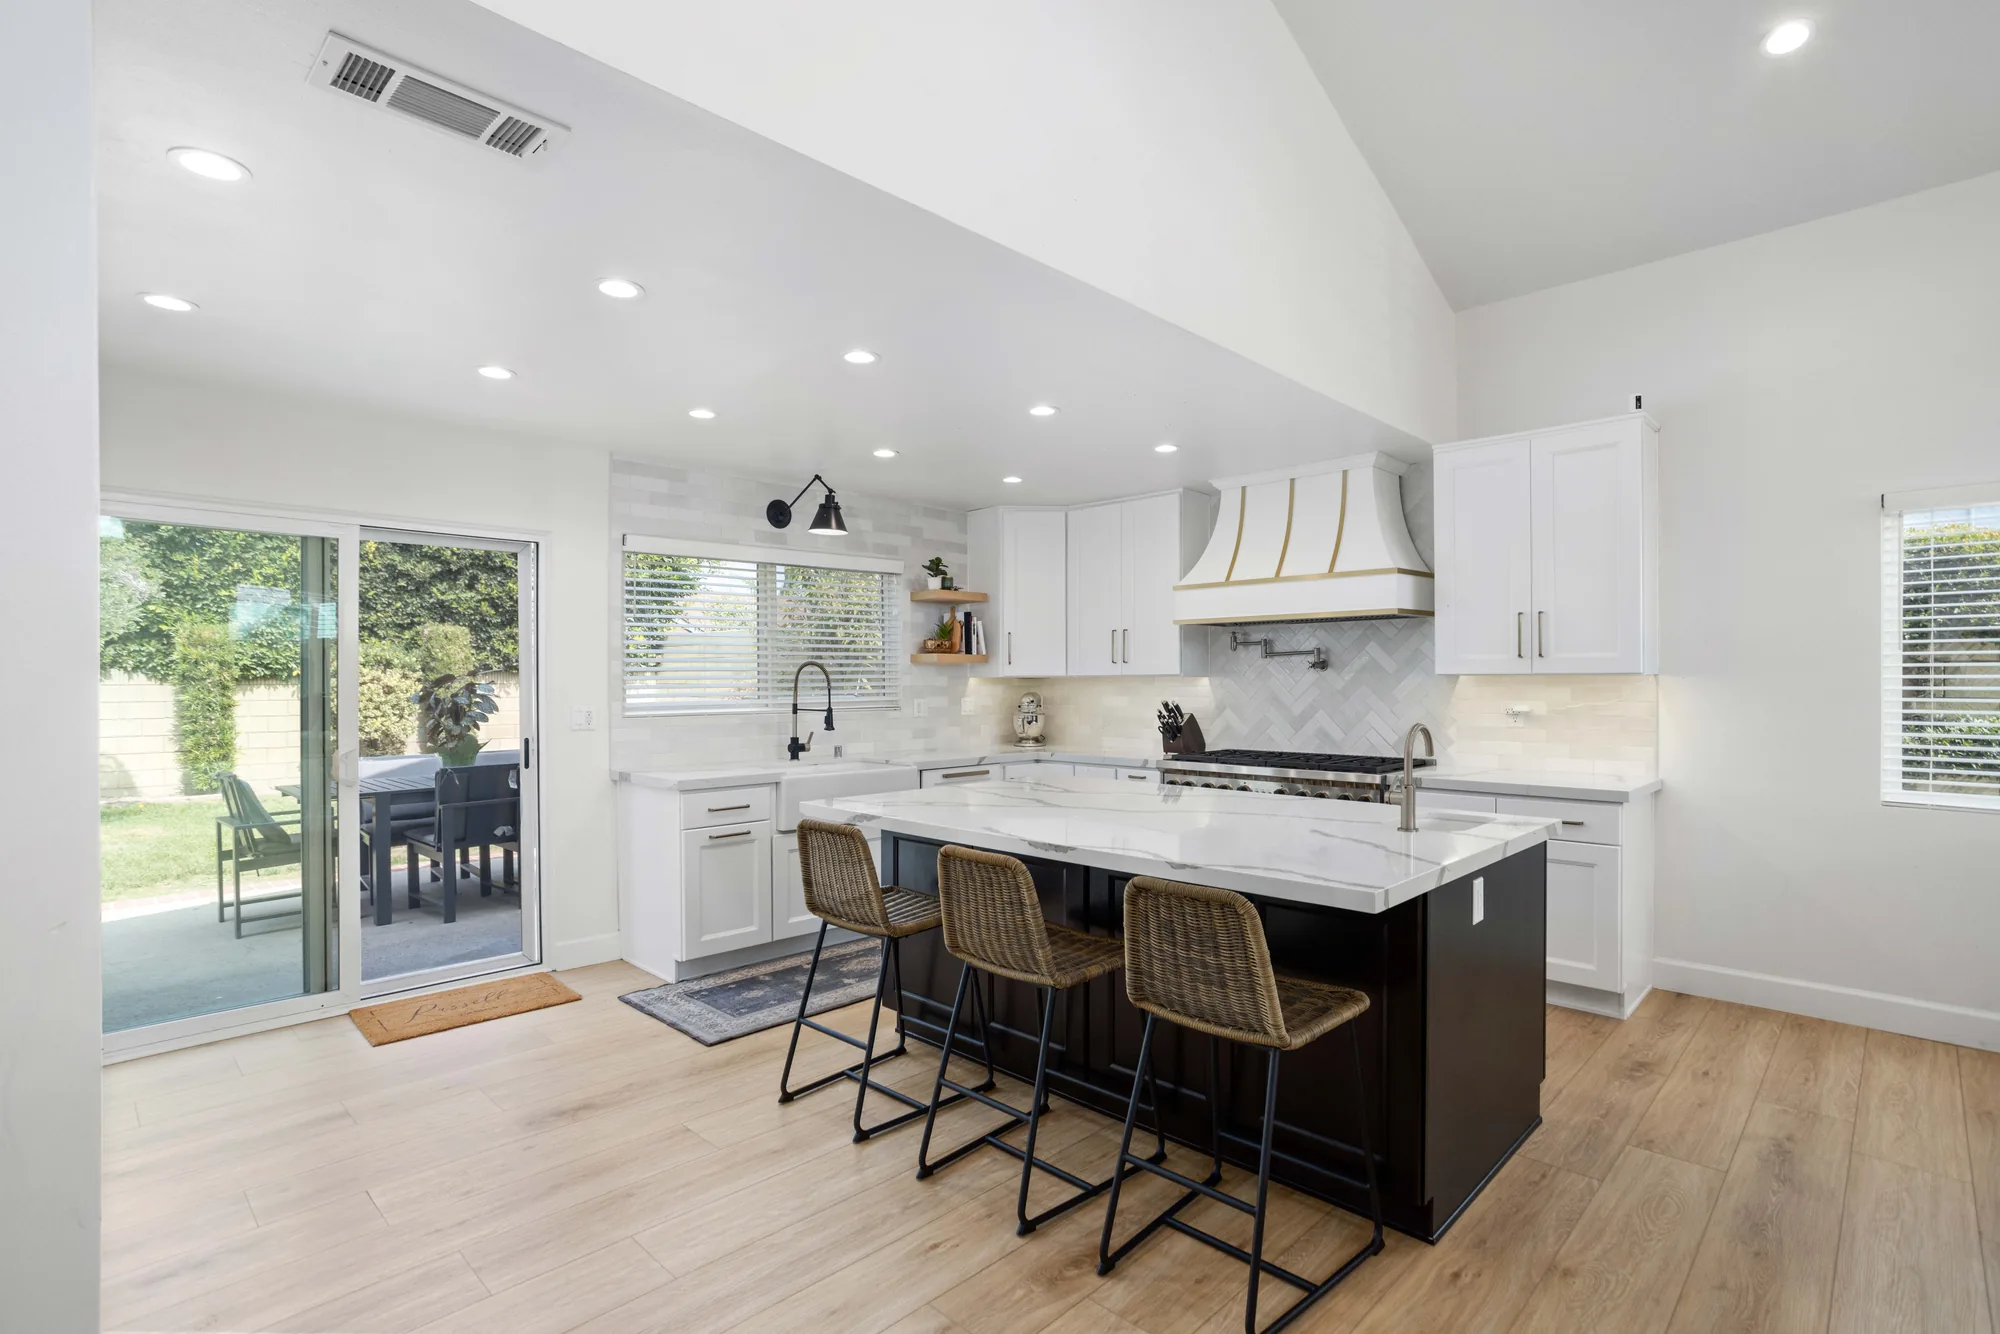
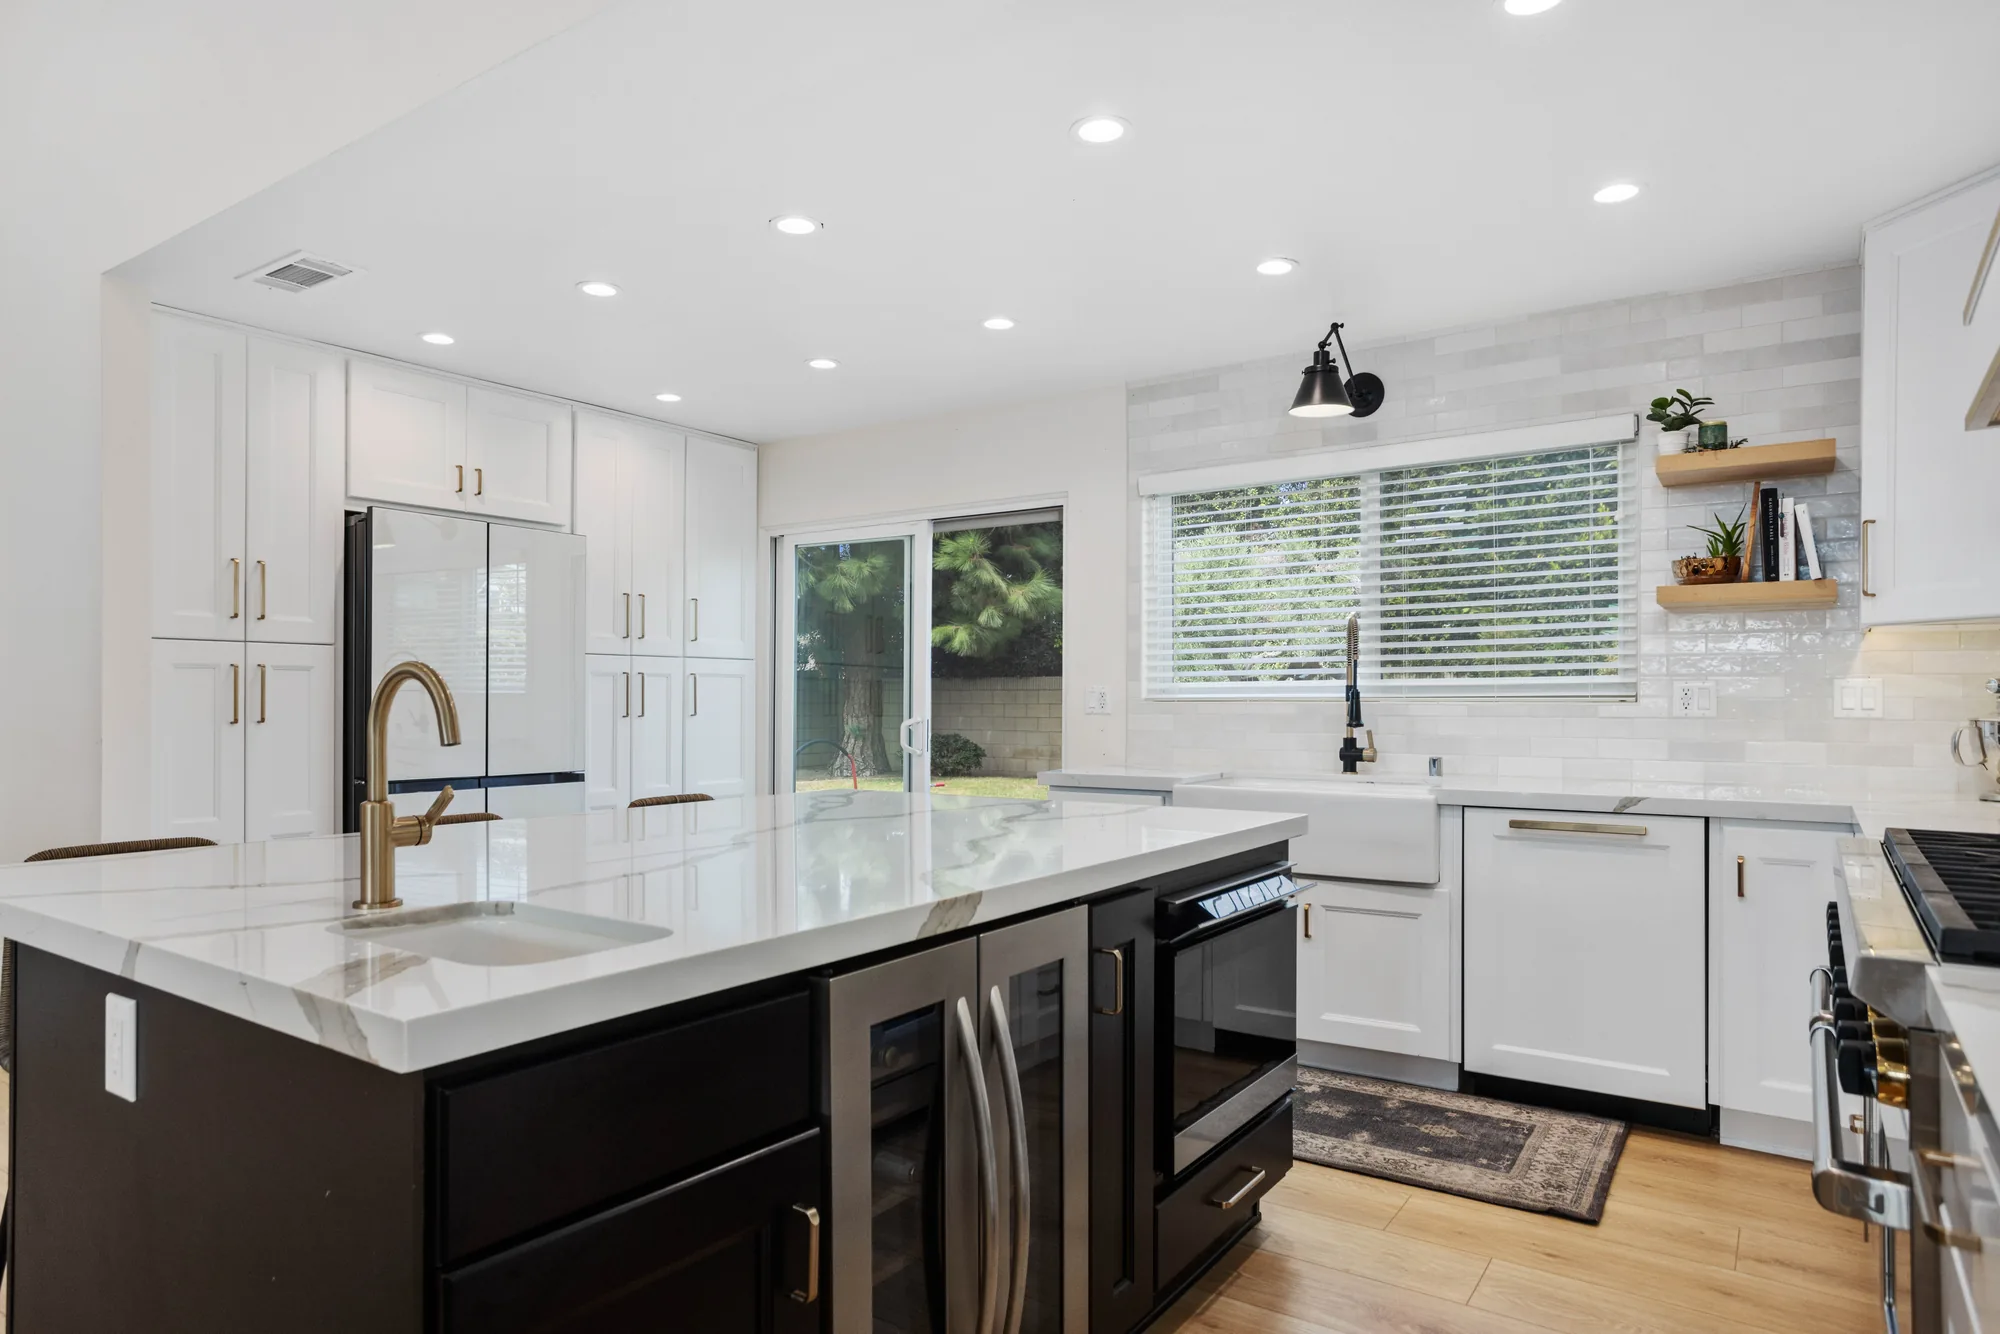
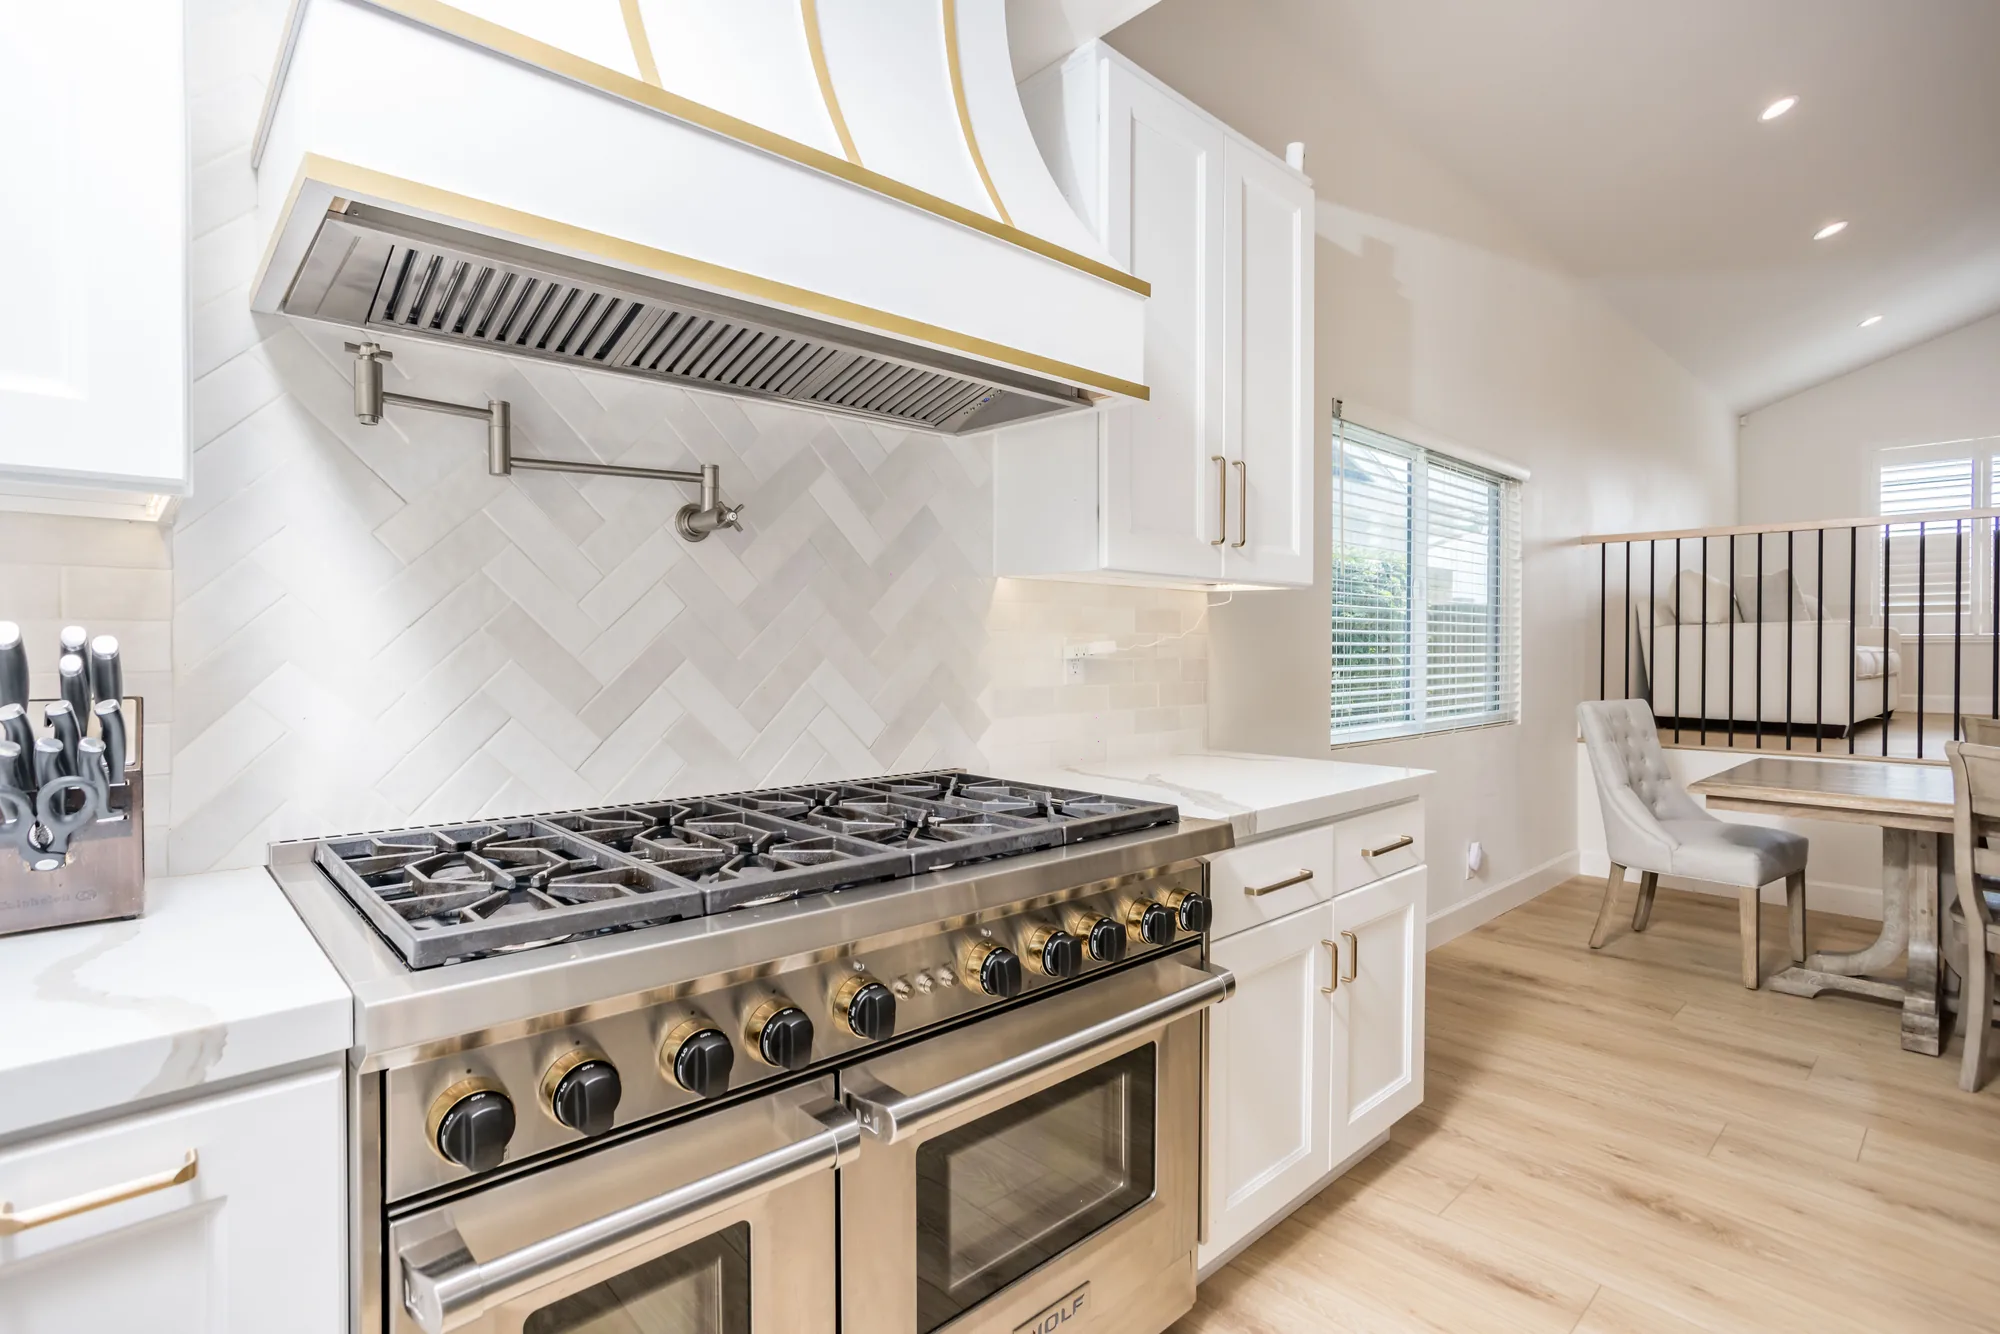
A backsplash is the most closely viewed surface in a kitchen, sitting at eye level between two finished planes that will expose any error in the middle. We install tile, slab and glass backsplashes across Bellevue and the Eastside, with the wall prep, layout planning and edge detailing that separate a lasting installation from one that reads as rushed within a year.

A backsplash occupies a narrow band of wall, usually eighteen inches tall, bounded above by cabinets and below by countertop. Both of those boundaries are dead level and dead straight because they were manufactured that way. The wall between them almost never is. Everything that makes a backsplash look professional comes down to how that discrepancy gets managed before the first tile is set.
The other reason this trade rewards experience is that a backsplash is viewed from roughly two feet away, every day, under direct task lighting. Lippage that would vanish on a floor is obvious here. A grout line that wanders an eighth of an inch across a run reads as a mistake. Outlet cutouts that are a hair too generous show a shadow gap. None of this is exotic craftsmanship, but all of it requires the installer to slow down at the points where speed is tempting.
Around Bellevue, Kirkland, Redmond and the older Seattle neighborhoods, wall condition is the variable that drives everything. Mid-century Eastside houses in Lake Hills, Newport and Crossroads frequently have plaster over lath, or drywall that has been patched around plumbing and wiring changes over sixty years. Newer construction has its own issue: builder-grade drywall that was taped for paint, not for tile, with an uneven skim and a bowed stud or two left in place. We check the plane of the wall before we quote a layout, because the answer changes the work.
A complete backsplash installation involves considerably more than setting tile, and each of these steps affects the final result.
We straightedge the wall in both directions and identify high studs, bowed drywall, and any old adhesive or mastic left behind by a removed backsplash. Depending on what we find, the wall gets skim-floated flat, patched, or sheeted with new backer before anything is set.
We establish the control lines before setting, usually centered on the range or the sink rather than starting from a corner, so cut tiles land where the eye does not go first. Patterned installations such as herringbone or vertical stack get dry-laid on the counter to confirm how the pattern resolves at the cabinets and end walls.
Adding tile changes the depth of the finished wall, so outlet and switch boxes need extenders to sit flush with the new surface, and device screws need to be long enough to reach. We handle the box extensions and reset the devices and plates so nothing is left recessed behind the tile.
Material dictates the bonding agent. Glass, large-format porcelain, and natural stone are set in the appropriate thinset with full coverage and back-buttering where the material demands it, rather than the premixed mastic that is convenient but inappropriate behind a range or under any material that can telegraph the adhesive through.
Every backsplash has to end somewhere, and how it ends is the detail most people notice without being able to name it. We work through the options with you up front, whether that is a metal edge profile, a mitered return, a bullnose piece, or a tile that dies cleanly into a window casing or a cabinet side panel.
The joint where tile meets countertop and the inside corners get flexible sealant rather than rigid grout, because those planes move independently and grout in that gap will crack. Natural stone and cement-based grout get sealed after cure, and the whole surface gets a final haze removal and cleanup.
The material matters less than the layout in most kitchens, and these are the approaches that hold up well in Pacific Northwest light.
Rectangular tile offset by half, the layout most people picture when they hear backsplash. It suits craftsman and transitional Eastside kitchens, forgives minor wall irregularity better than any other pattern, and stays inexpensive to install. One consideration: a true half offset on longer tiles can amplify lippage, which is why many installers now use a one-third offset on anything over eight inches long.
Tiles aligned in a strict grid rather than offset, reading as calm and contemporary, and vertical stacking visually lifts the ceiling in kitchens with standard eight-foot walls. It pairs well with slab-front cabinets and quartz counters. The catch is that stacked layouts are unforgiving, since every grout line is continuous and any deviation is visible along the entire run.
Angled patterns that add movement to a plain wall and work particularly well in the narrow band above a counter where a large-scale pattern would feel crowded. They are the strongest choice when the cabinetry is simple and you want the backsplash to carry the visual interest. Expect more waste and more labor, because every tile at the perimeter is a cut and the pattern has to be laid out from a true centerline.
A continuous panel of quartz, quartzite or porcelain running from counter to hood, often in the same material as the countertop. It eliminates grout lines in the area that gets the most grease and heat, which is a genuine maintenance advantage, and it makes a strong focal point. It requires templating and a plan for where any seam falls, plus a decision about power, since a slab is spoiled by an outlet in the middle of it.
Kiln-fired tile with irregular edges, uneven glaze and visible color variation that catches light differently across the surface. It brings warmth to grey winter days in a way that flat machine-made tile does not, and it suits older homes with existing character. Accept up front that lippage and uneven joints are inherent to the product rather than a defect, and order generous overage because pieces break during cutting.
Carrying tile past the upper cabinets to the ceiling on one wall, or across an entire wall in a kitchen without uppers on that side. It makes a small kitchen feel intentional rather than cramped and is common in open-concept remodels where the kitchen wall is visible from the living space. Plan for how the tile meets the ceiling and any soffit, since that transition needs a caulk joint rather than grout.
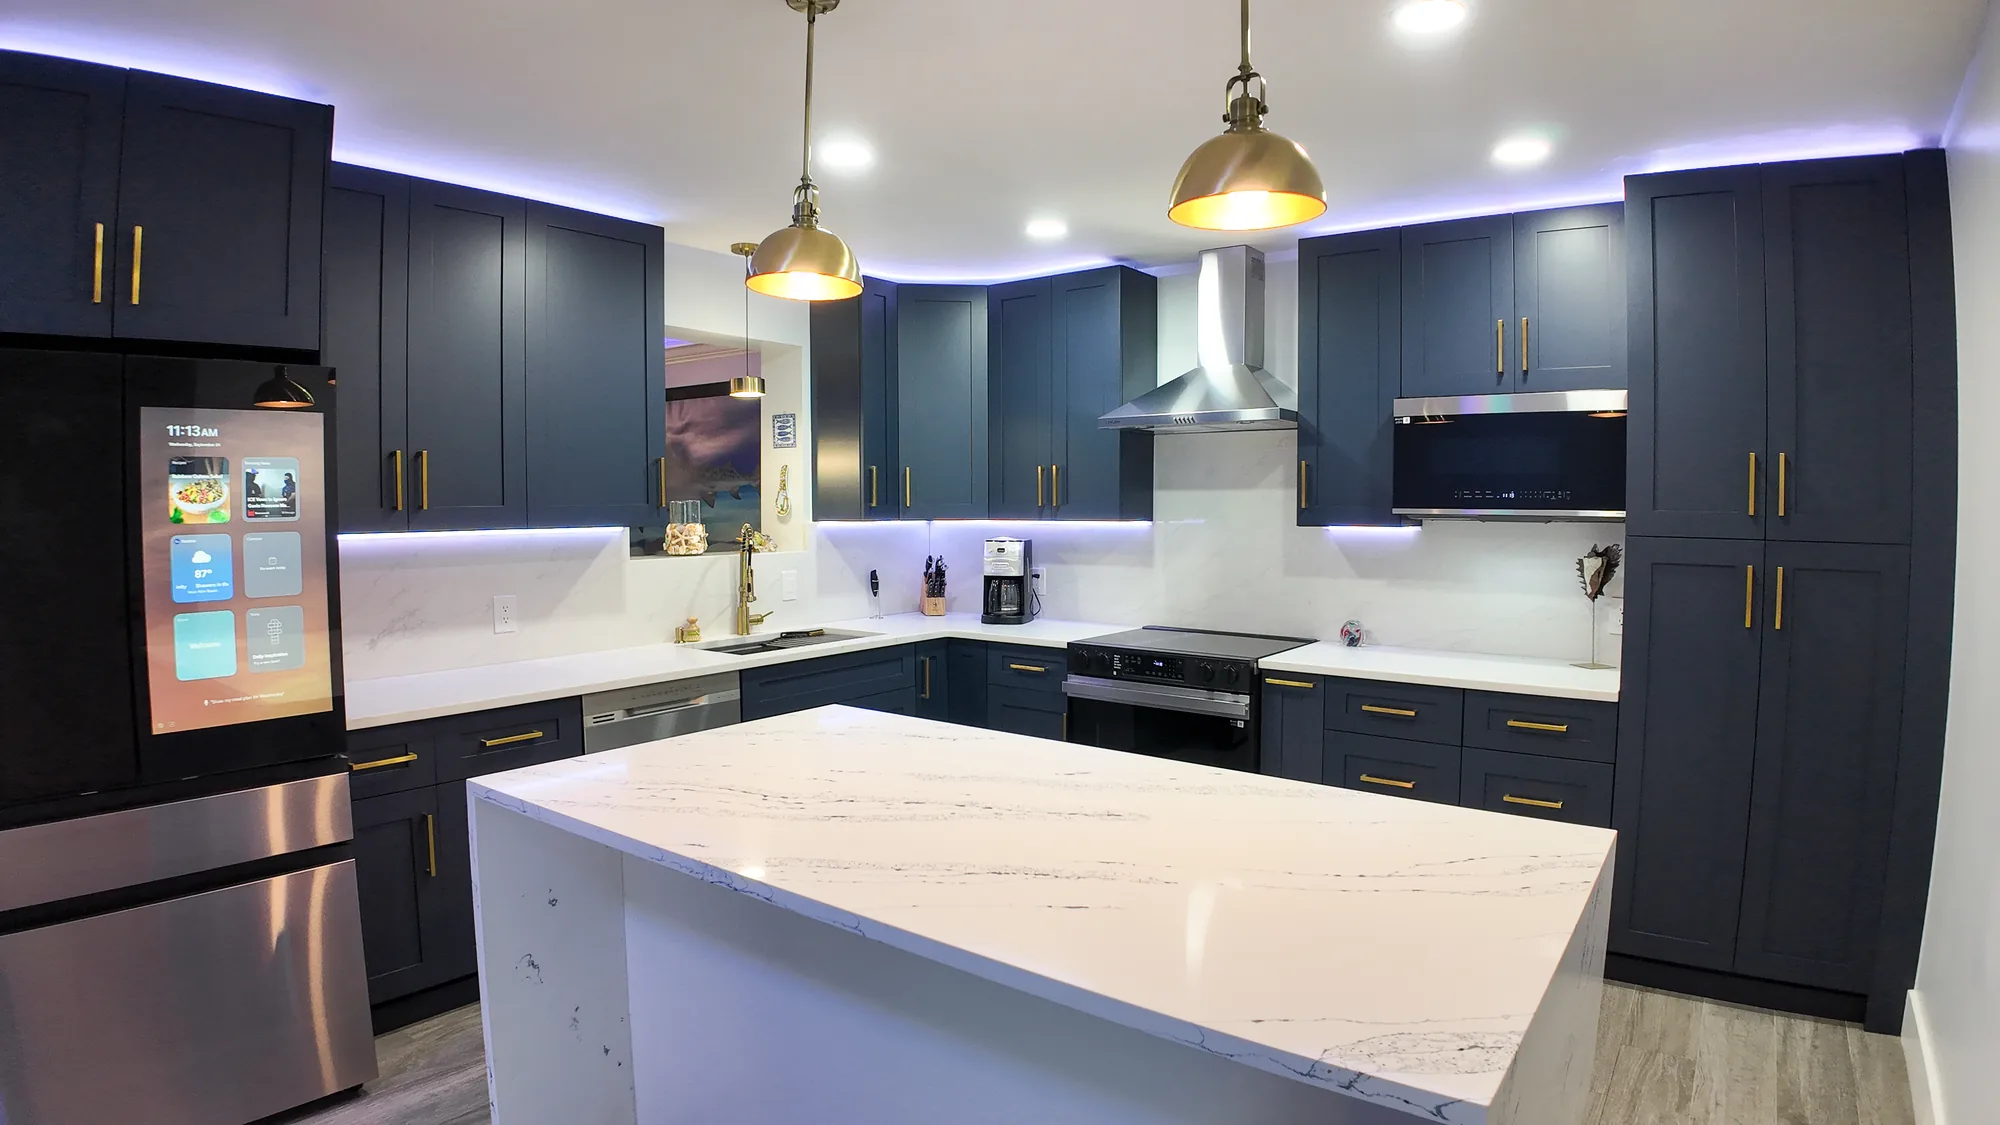
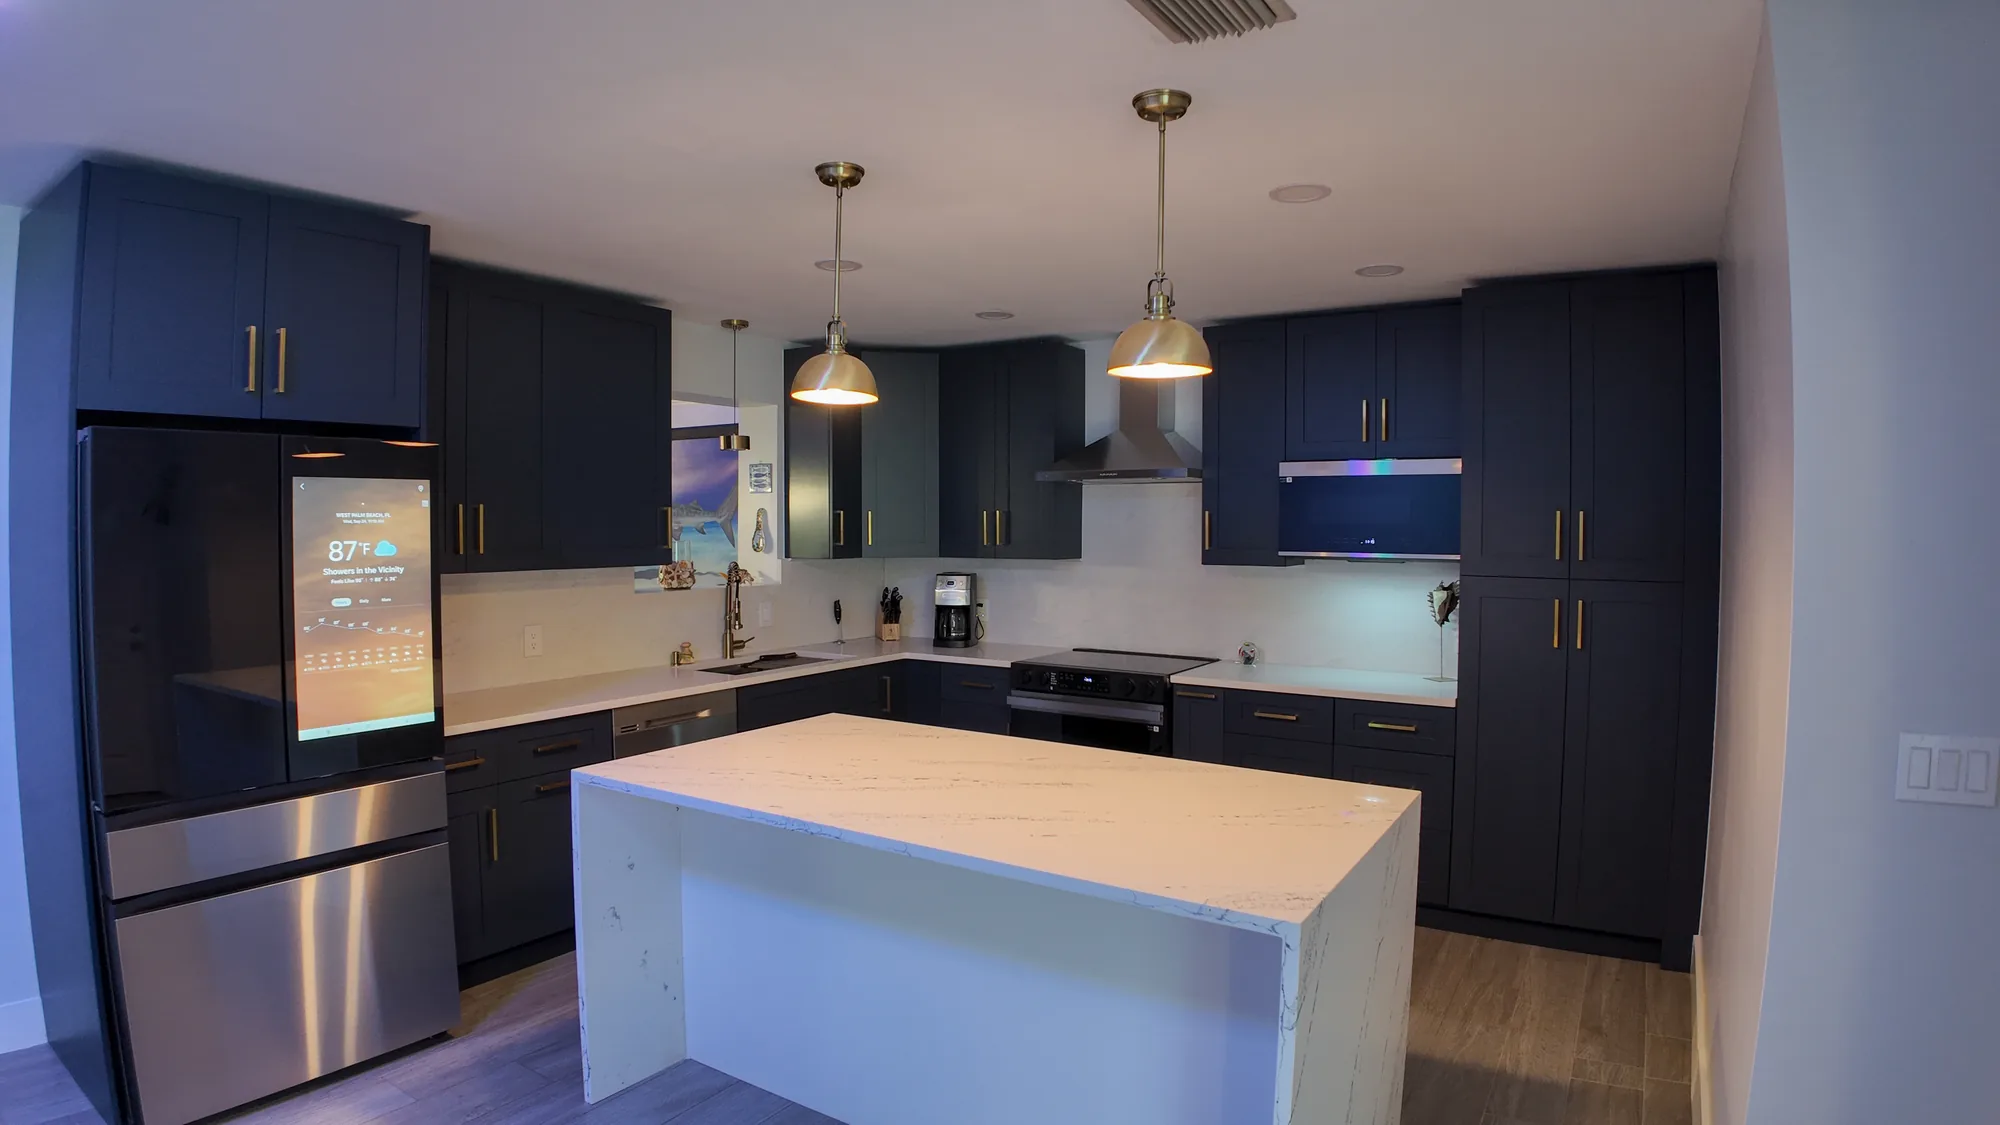
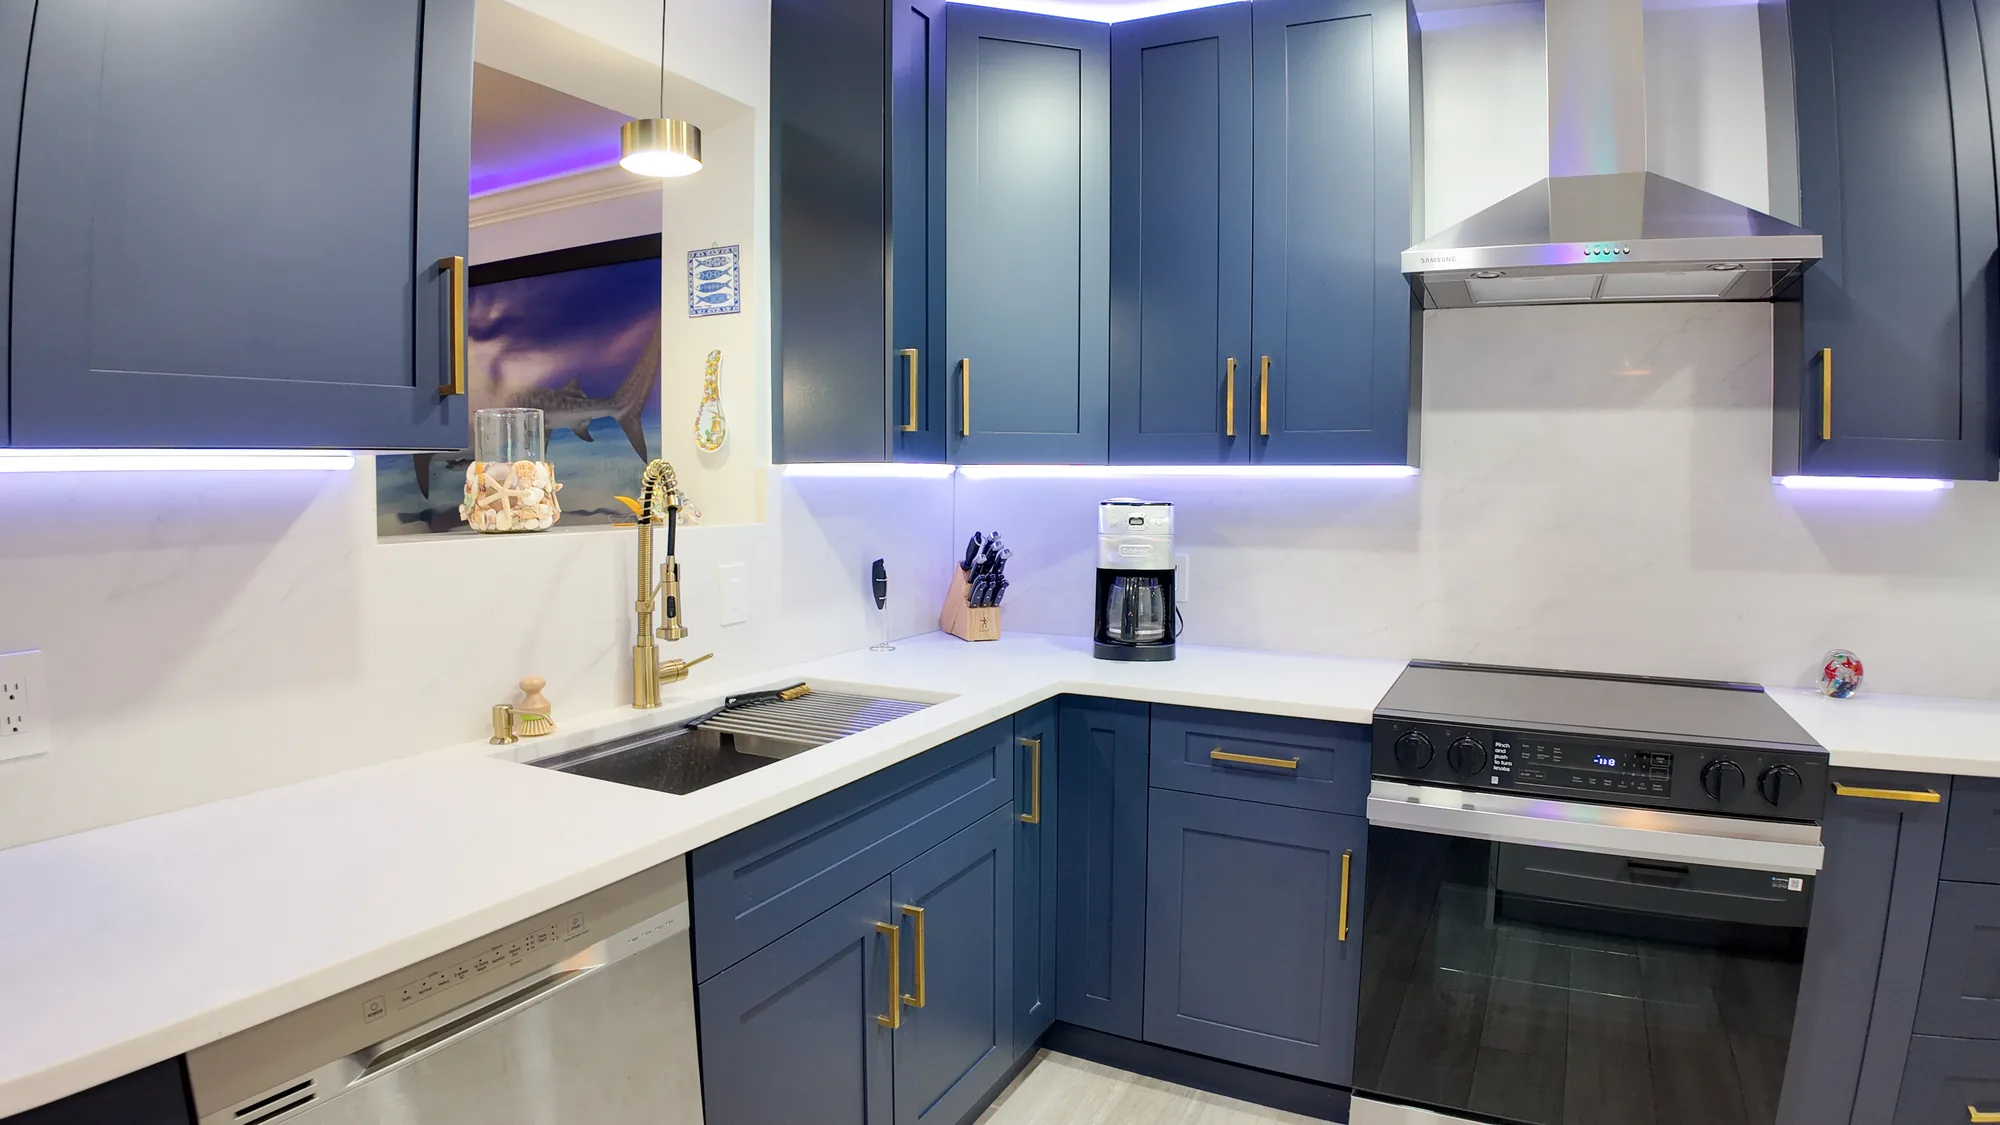
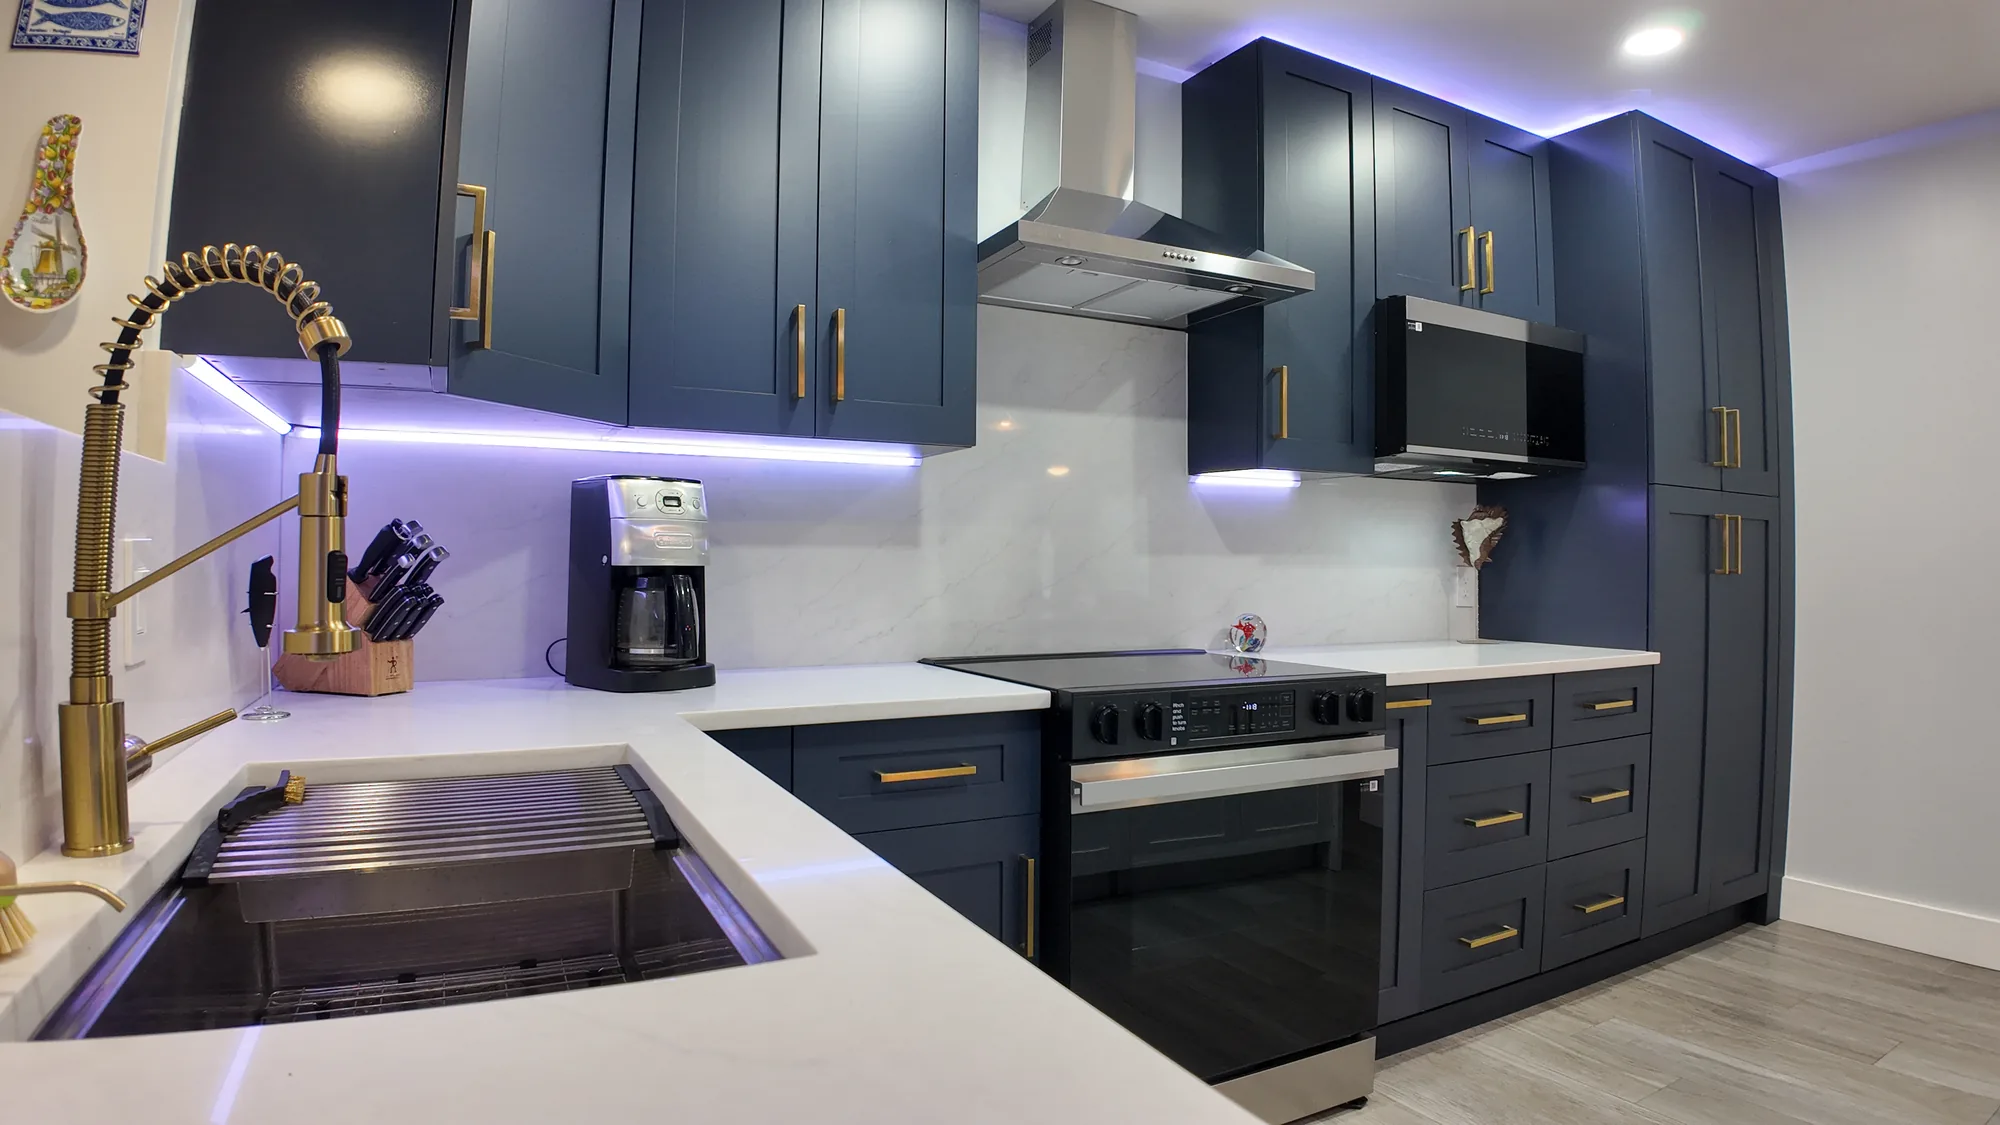
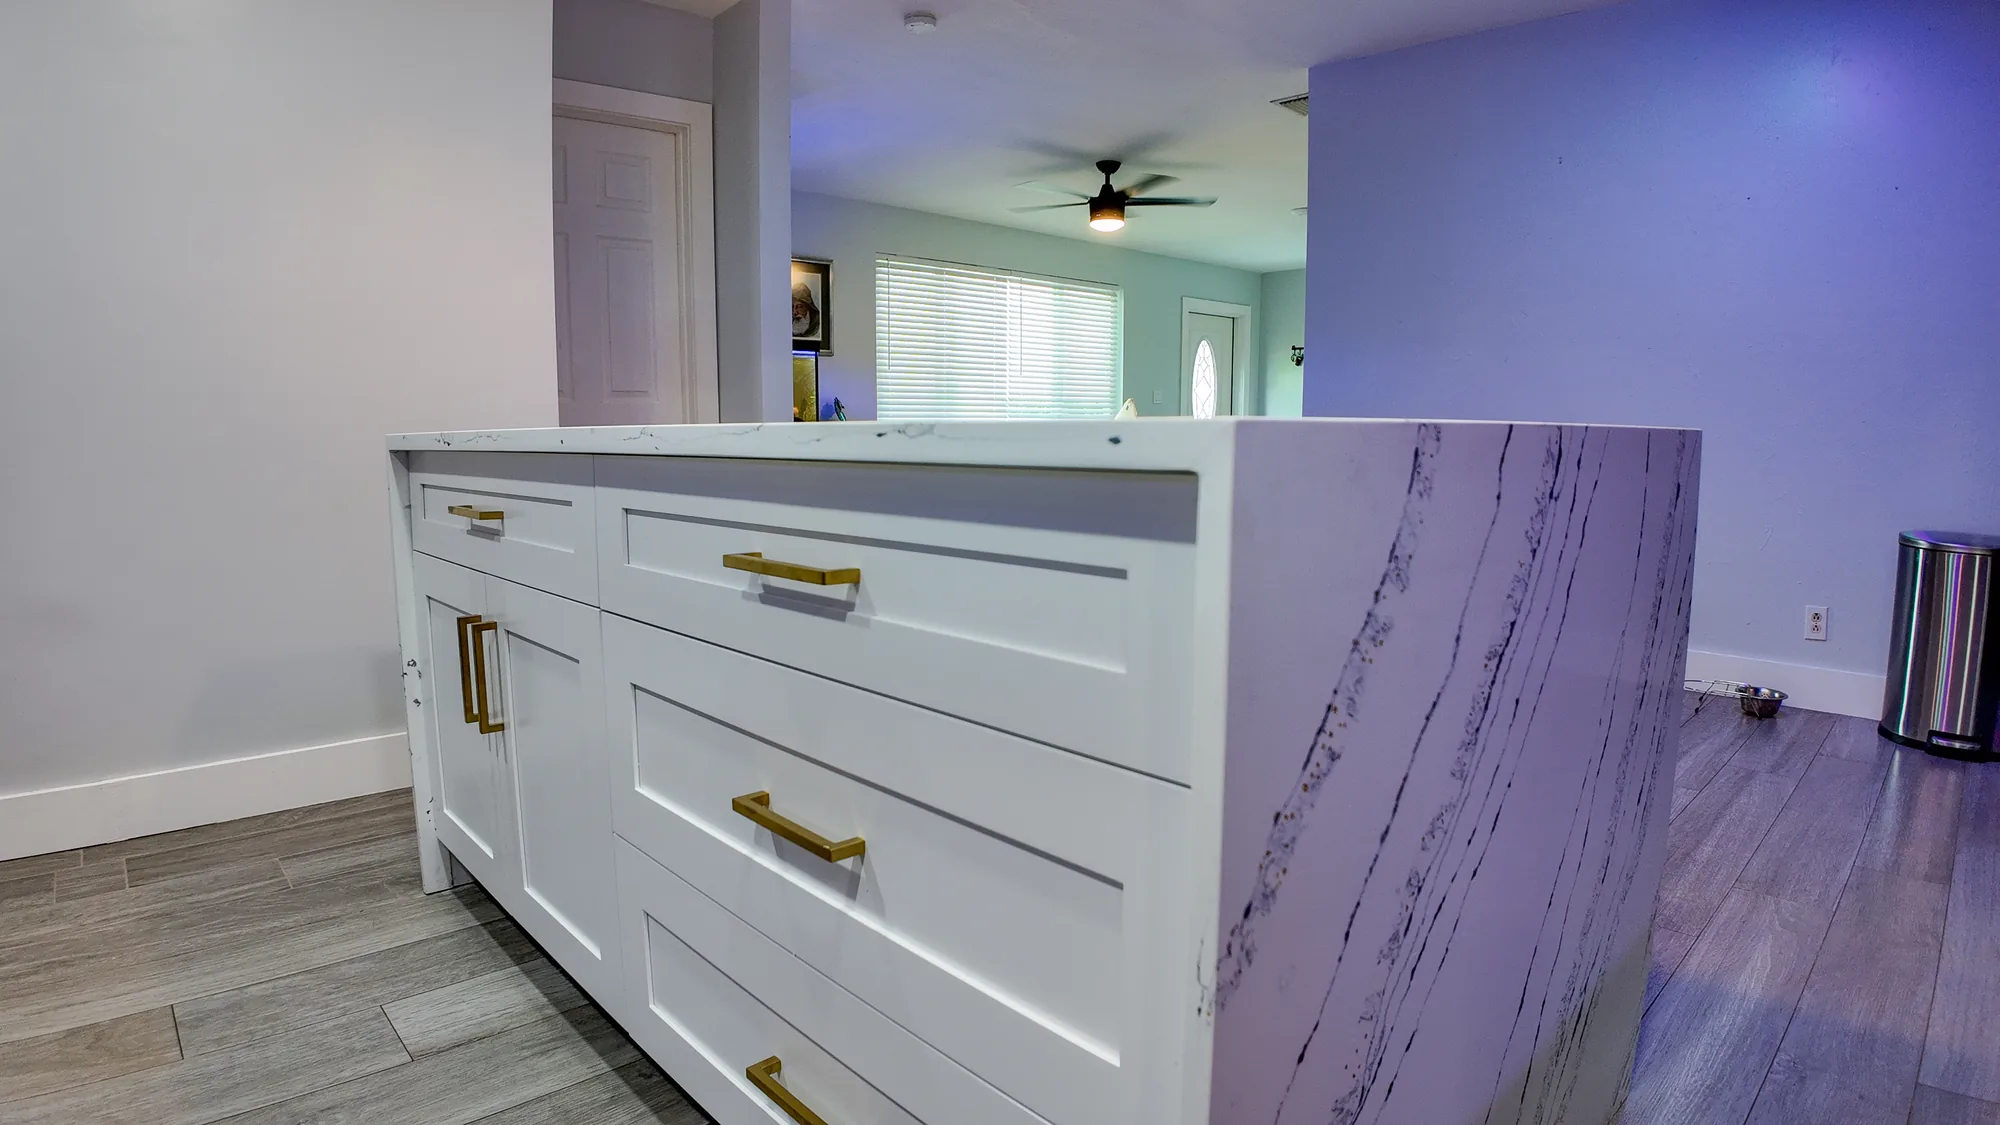
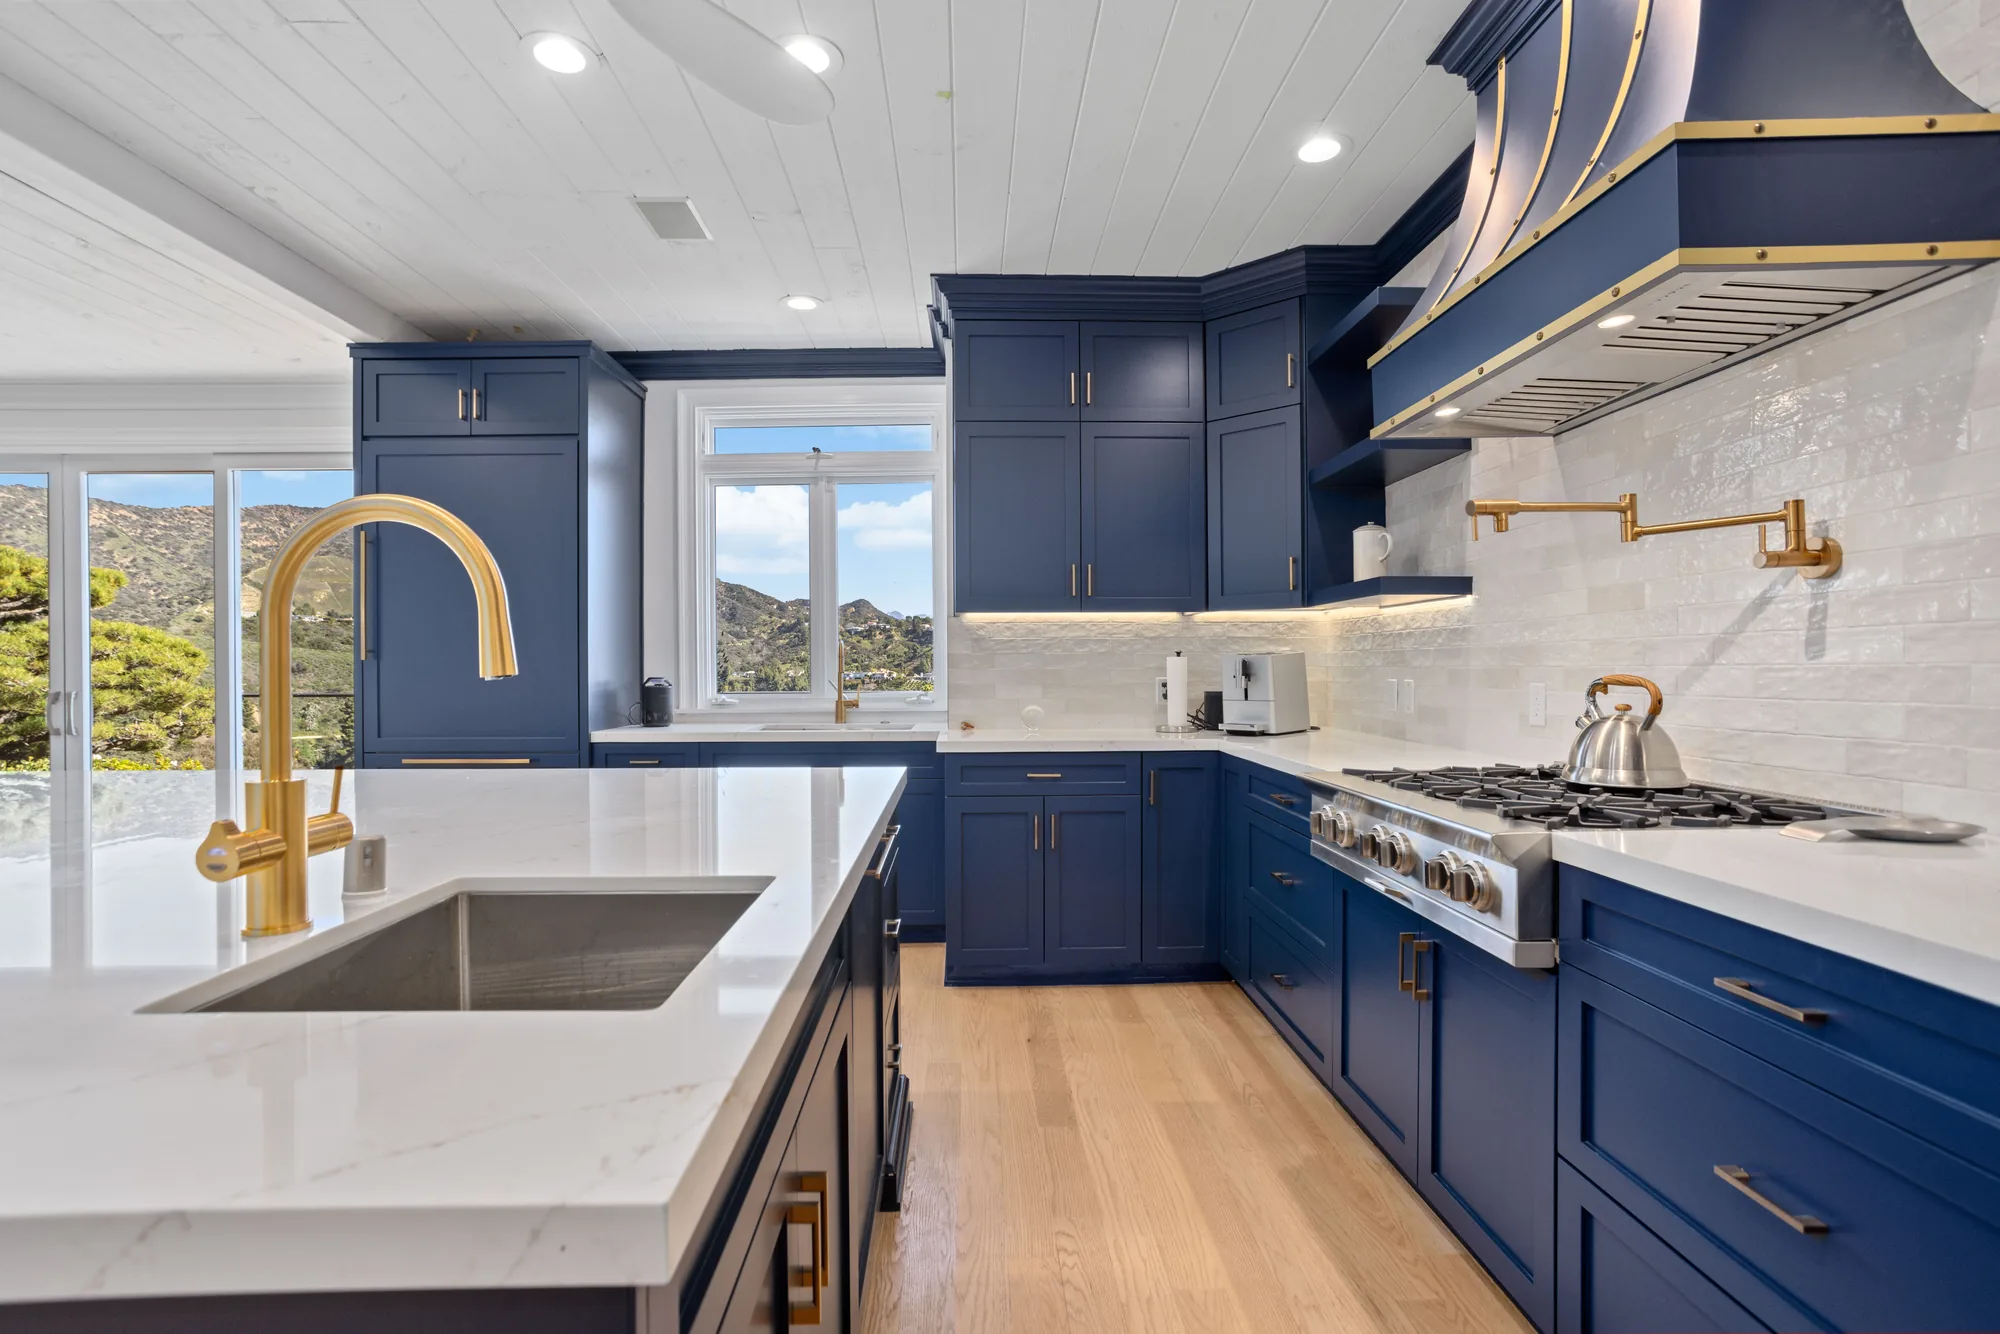
This kitchen received a full cabinet and finish replacement in an L-shaped layout with a new center island. Perimeter cabinetry is navy painted shaker with a contrasting white shaker island, all fitted with brushed brass bar pulls. Counters are a white quartz with soft grey veining, carried up the wall as a full-height backsplash and mitered into a waterfall edge on the island. Electrical was reworked for recessed cans, two brass dome pendants over the island, under-cabinet LED strips and an LED cove above the wall cabinets. Plumbing and appliance work included an undermount stainless sink with a brass spring-coil pull-down faucet, dishwasher, a slide-in range with vented stainless chimney hood, a built-in wall microwave and a flush-set refrigerator surround, all over wood-look plank flooring.
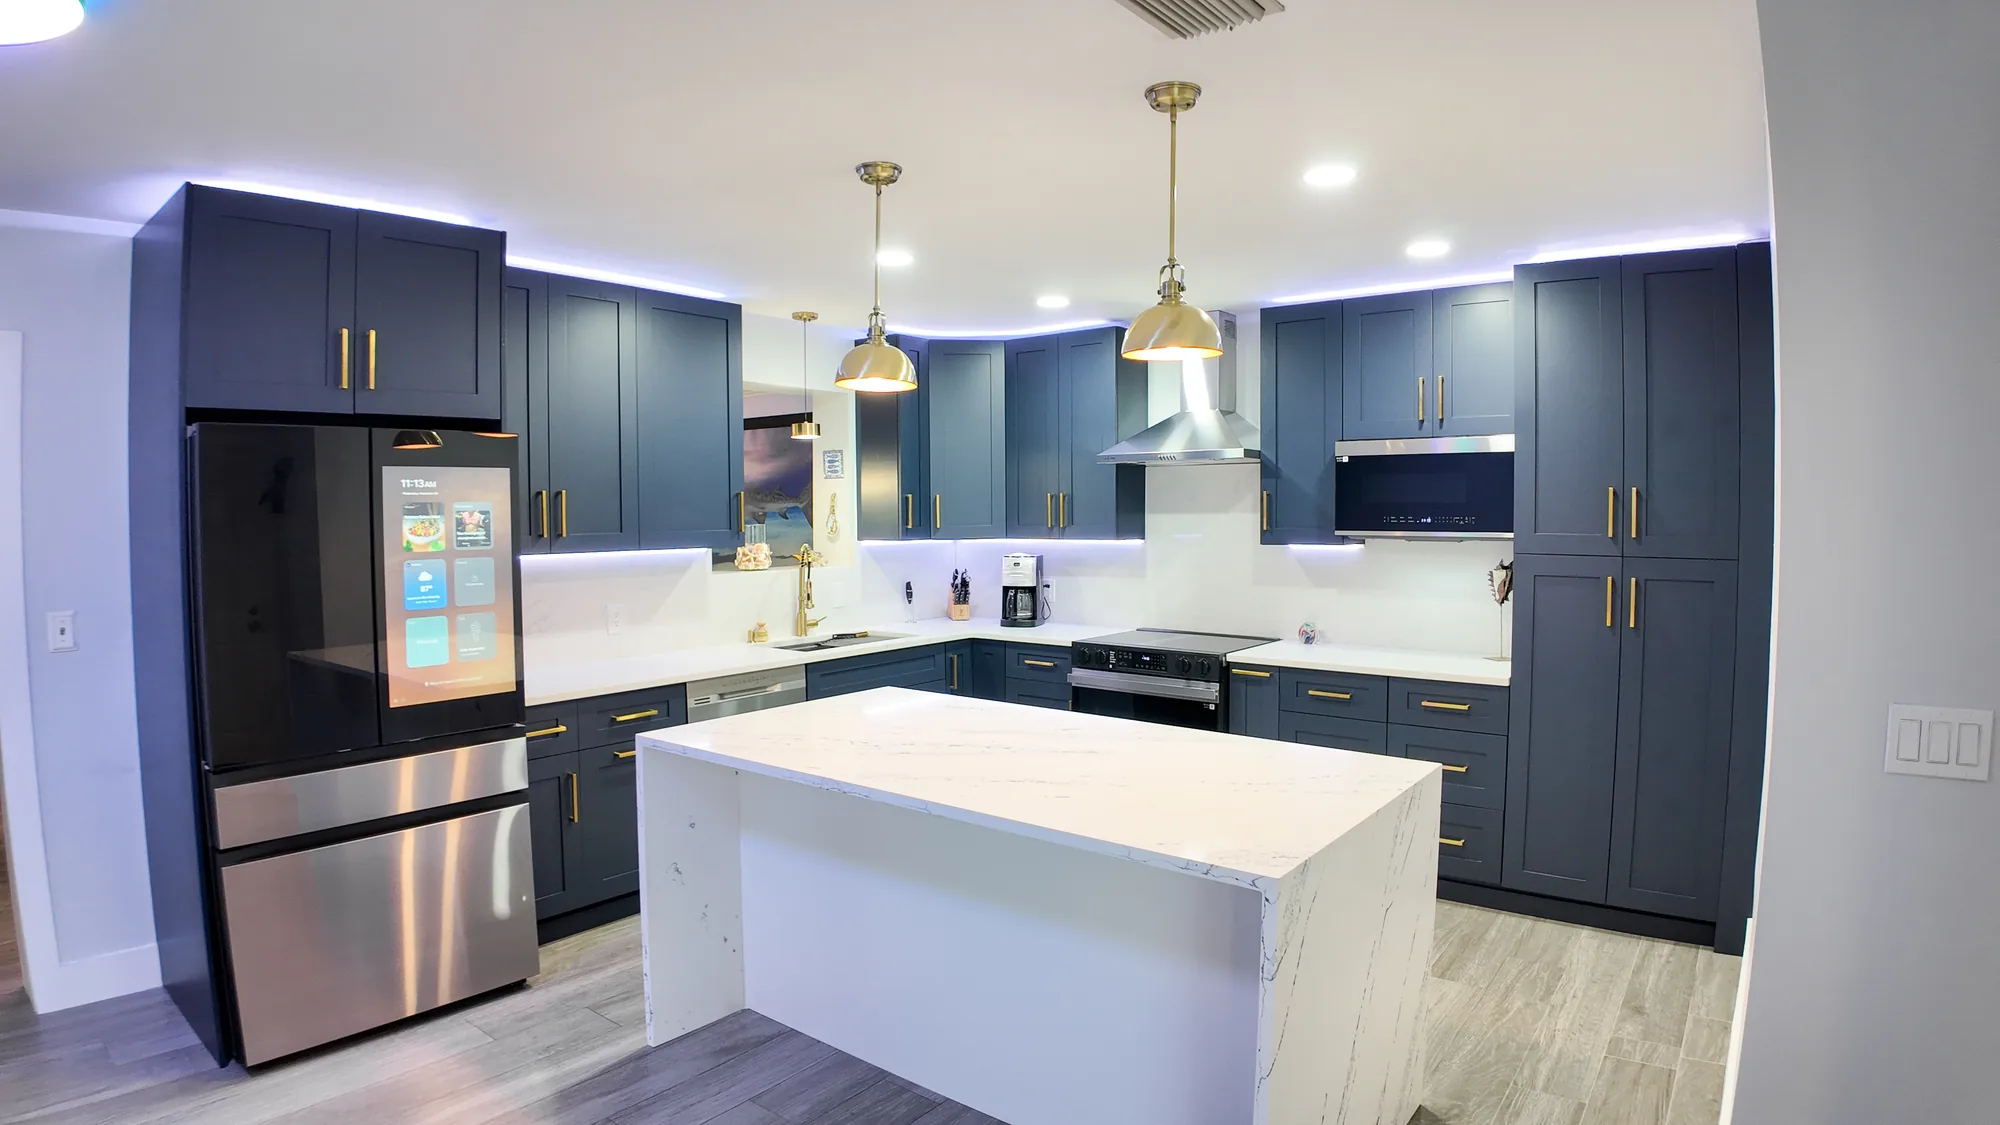
Style: Contemporary
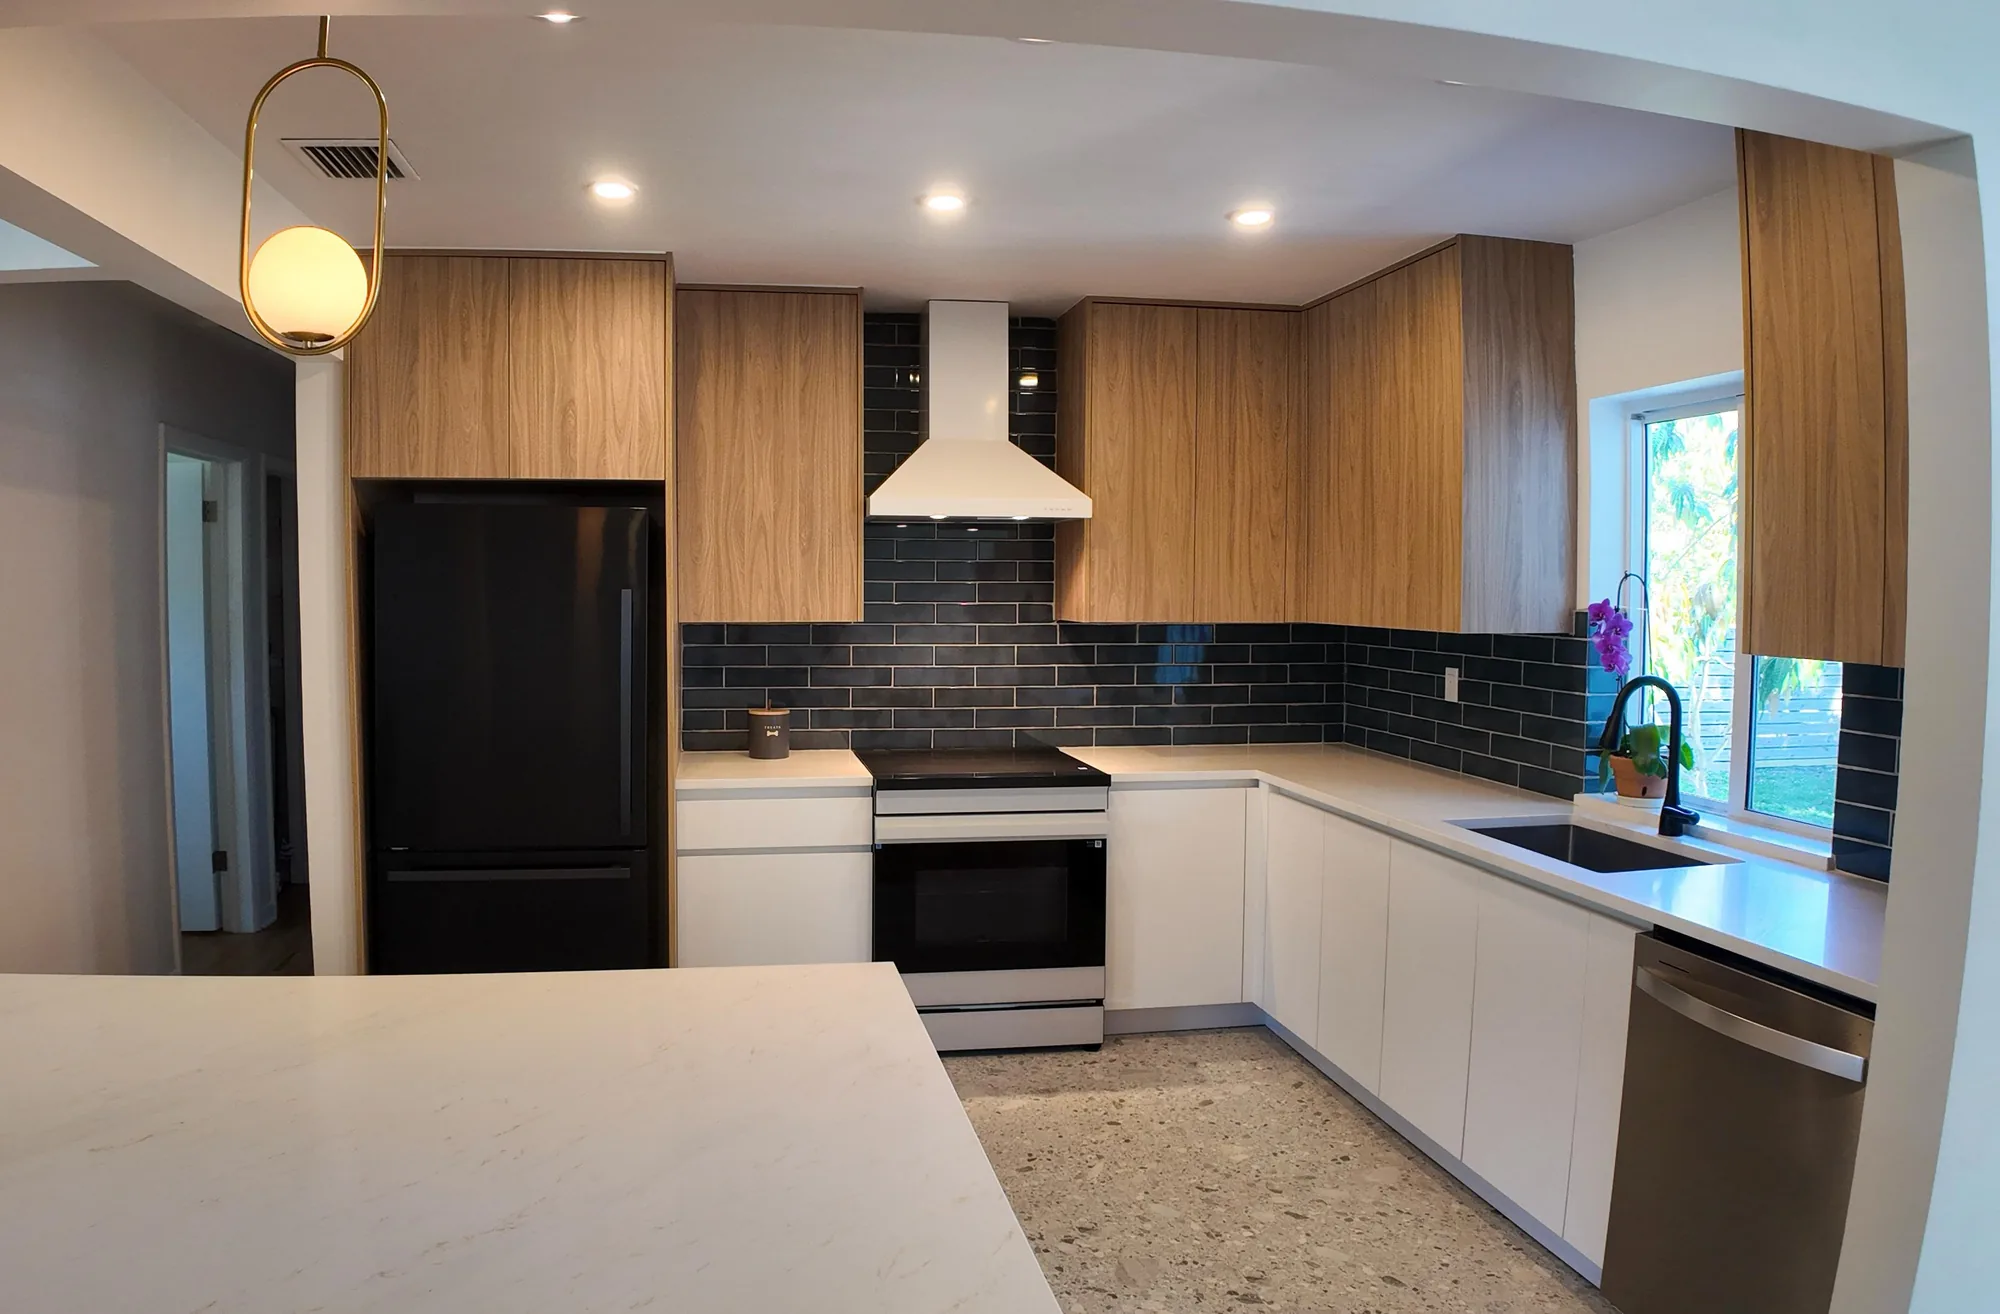
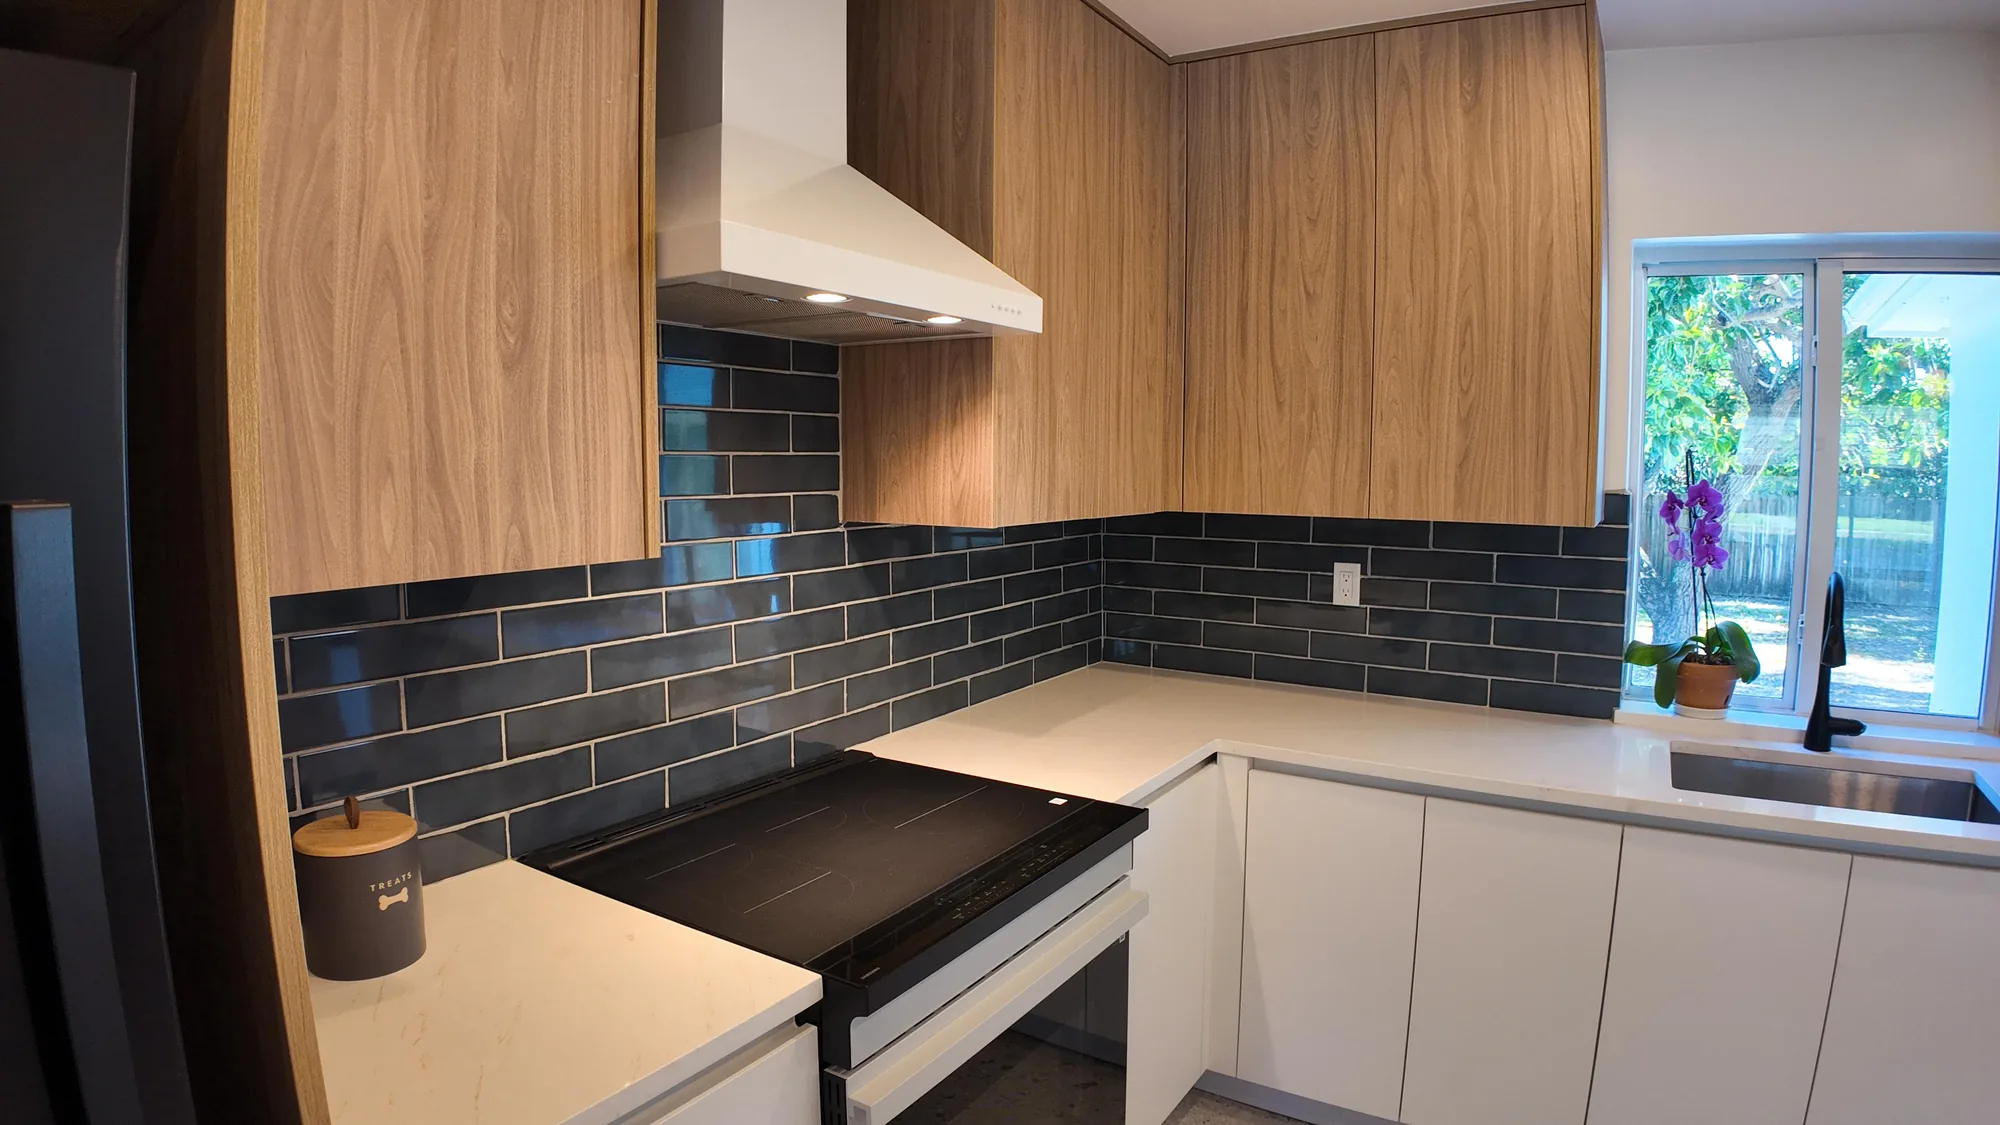
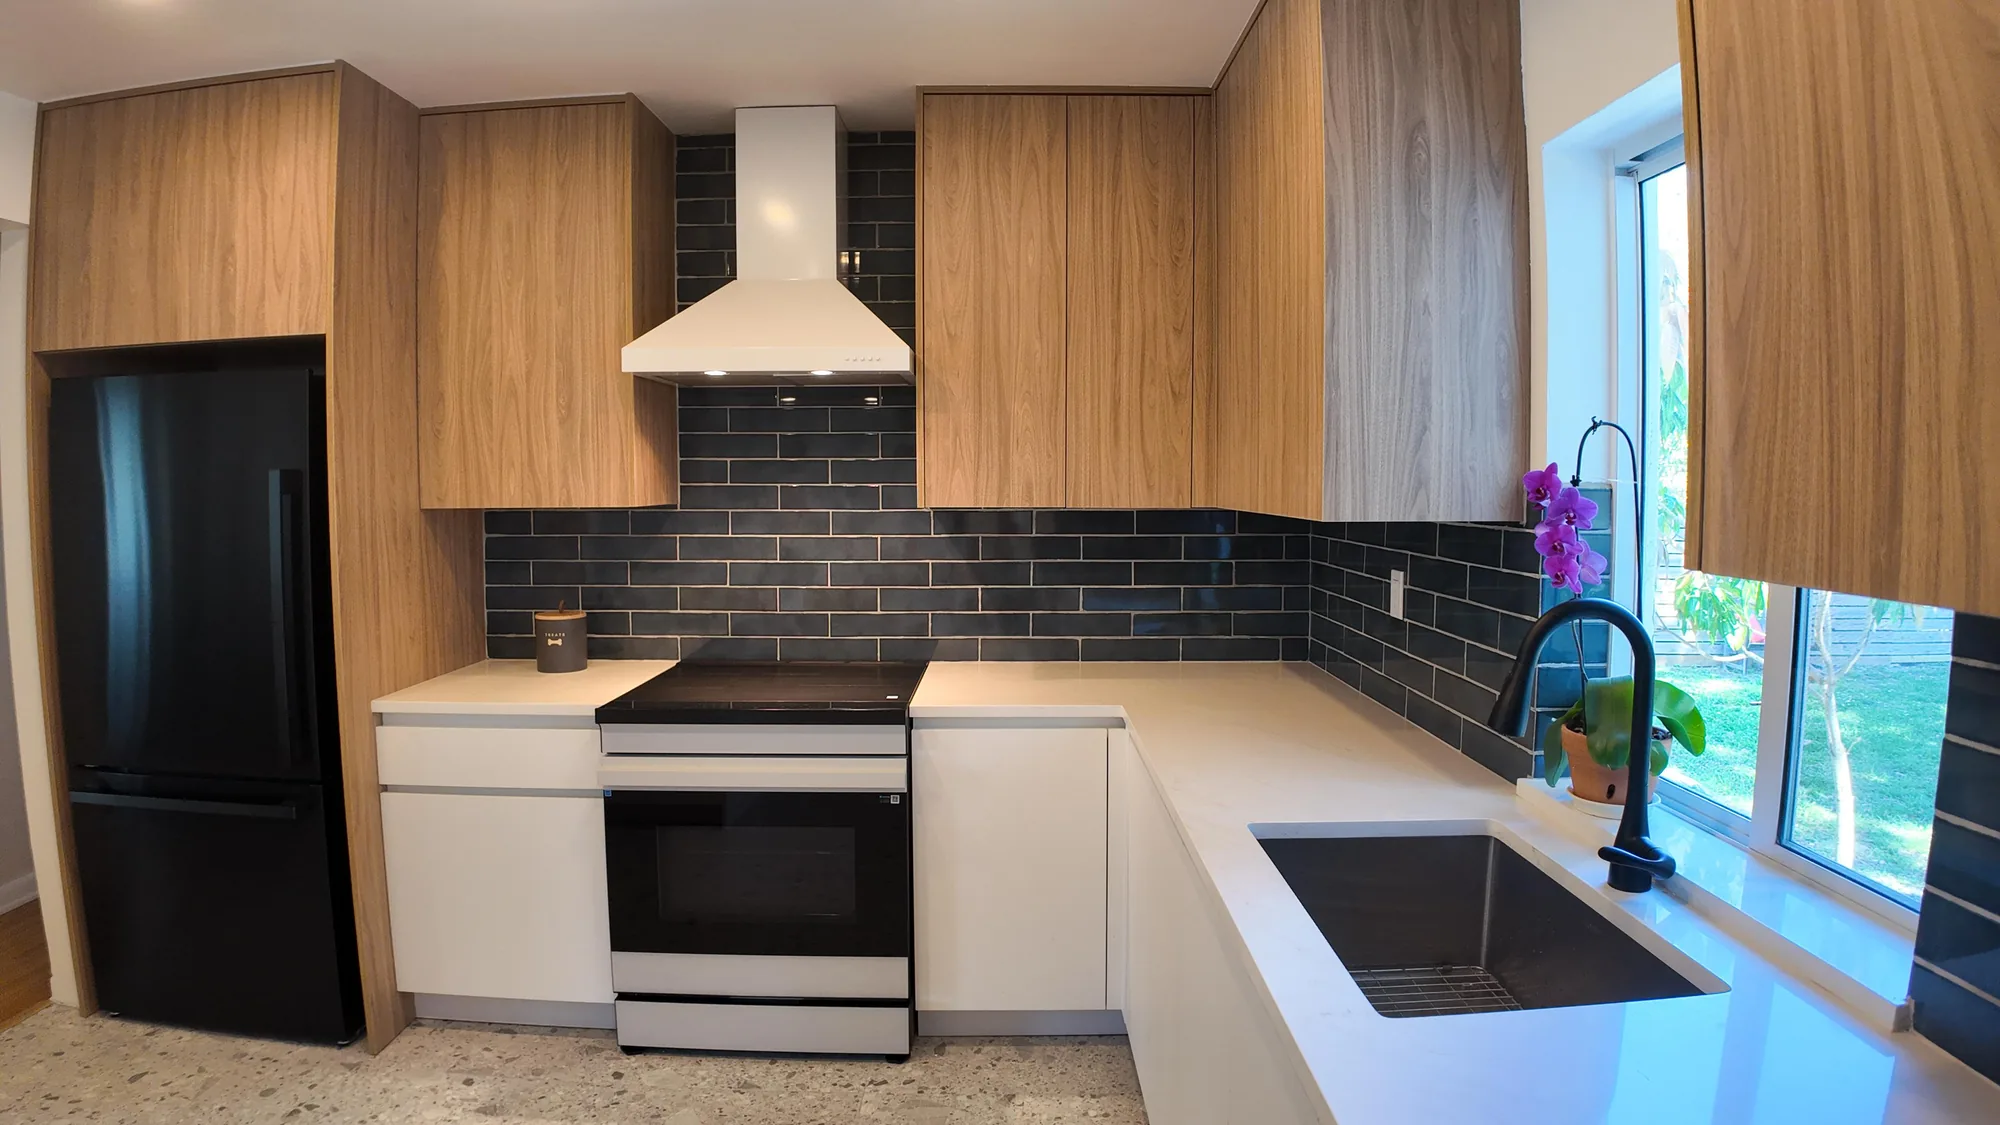
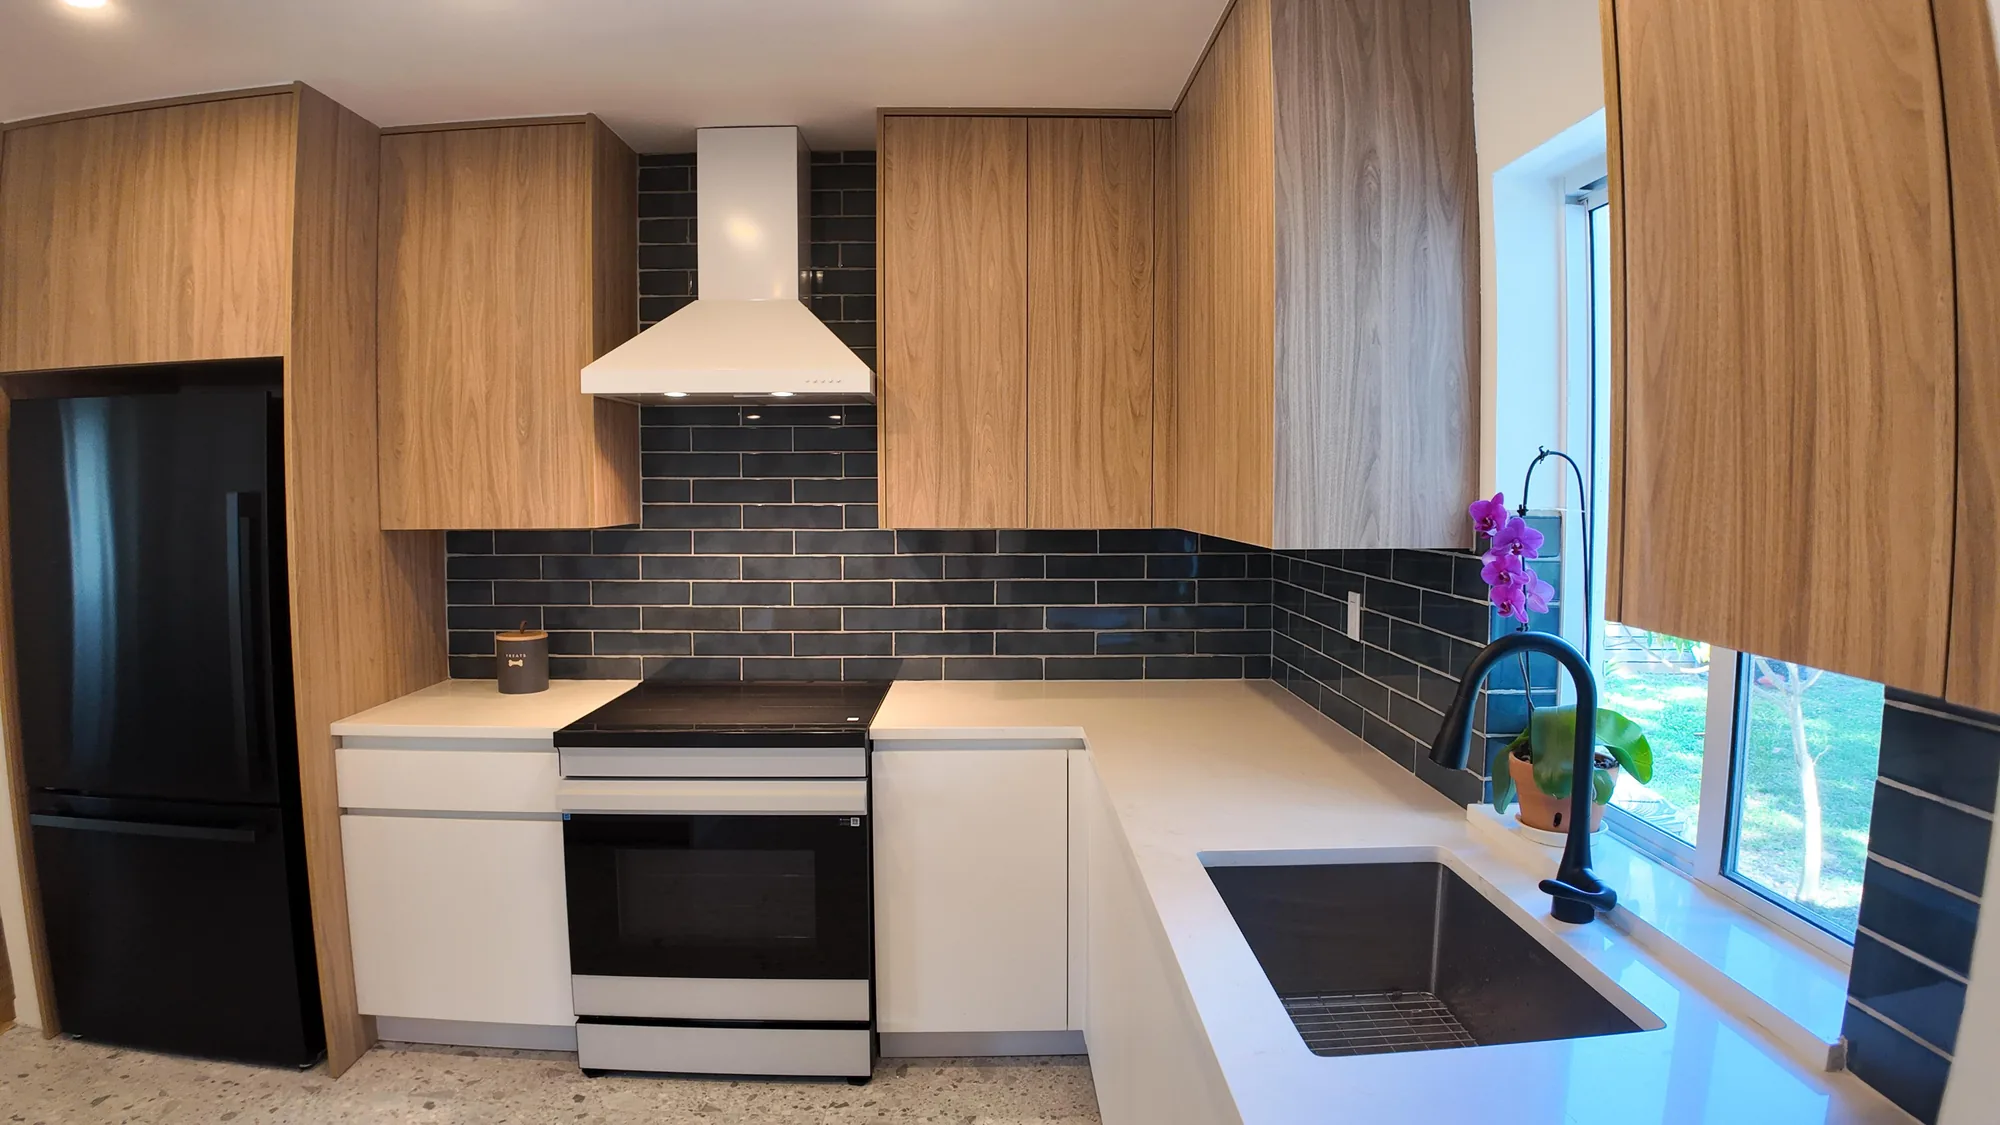
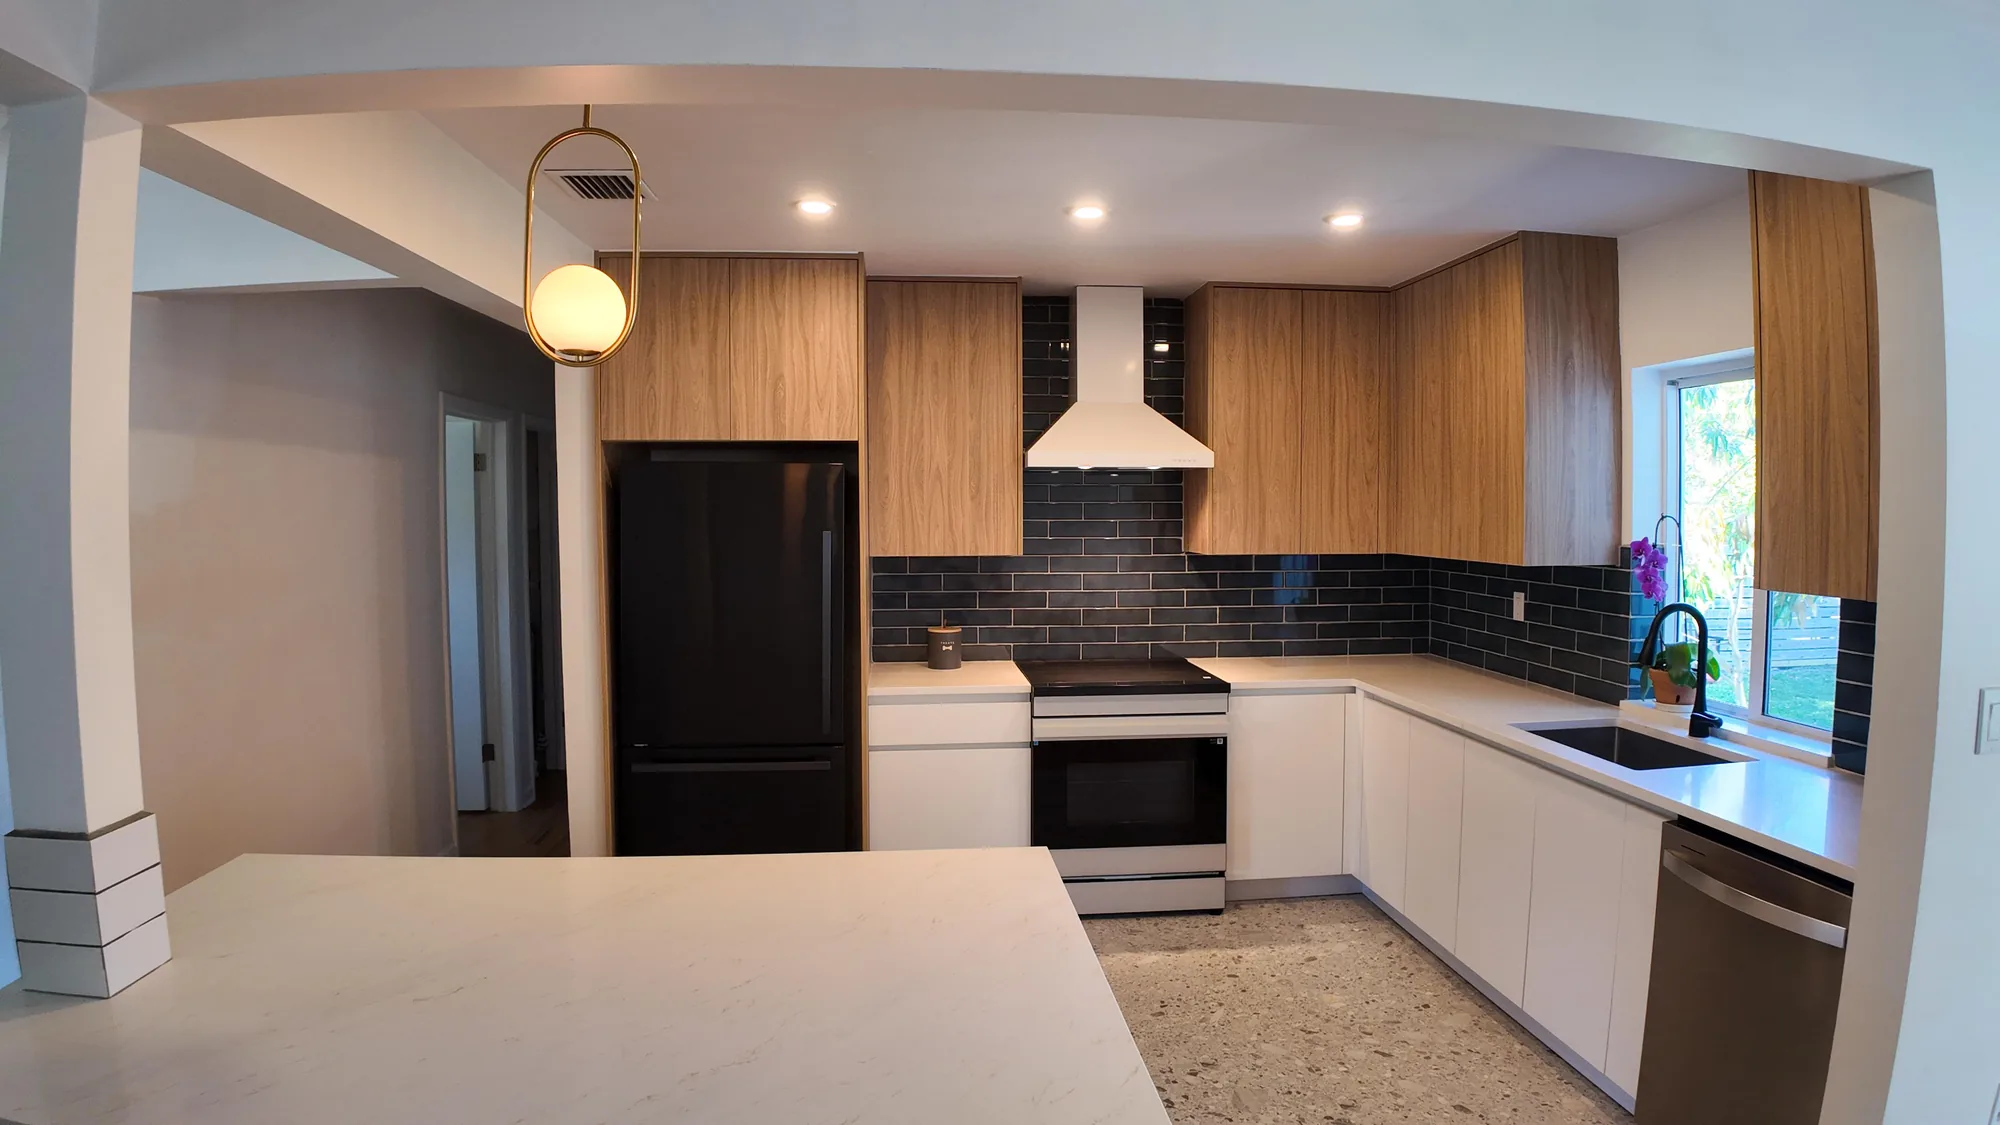
This kitchen was rebuilt as a full two-tone flat-slab installation, pairing wood-grain veneer wall cabinets and a full-height pantry/refrigerator surround with handleless matte white base cabinets. Light quartz-look countertops run the L-shaped perimeter and continue onto a large peninsula that faces the adjoining living space, with the counter edge finished square and clean where it meets the opening. A glossy dark charcoal-blue subway tile backsplash wraps the full run and carries up behind the range to meet a white wall-mounted chimney hood. Lighting was reworked with a grid of recessed cans across the sloped and beamed ceiling plus a brass oval-ring globe pendant over the peninsula. Plumbing and appliance work is visible as well: an undermount sink under the window with a matte black pull-down faucet, a slide-in electric range, integrated dishwasher panel run, and a speckled terrazzo-look floor carried throughout.
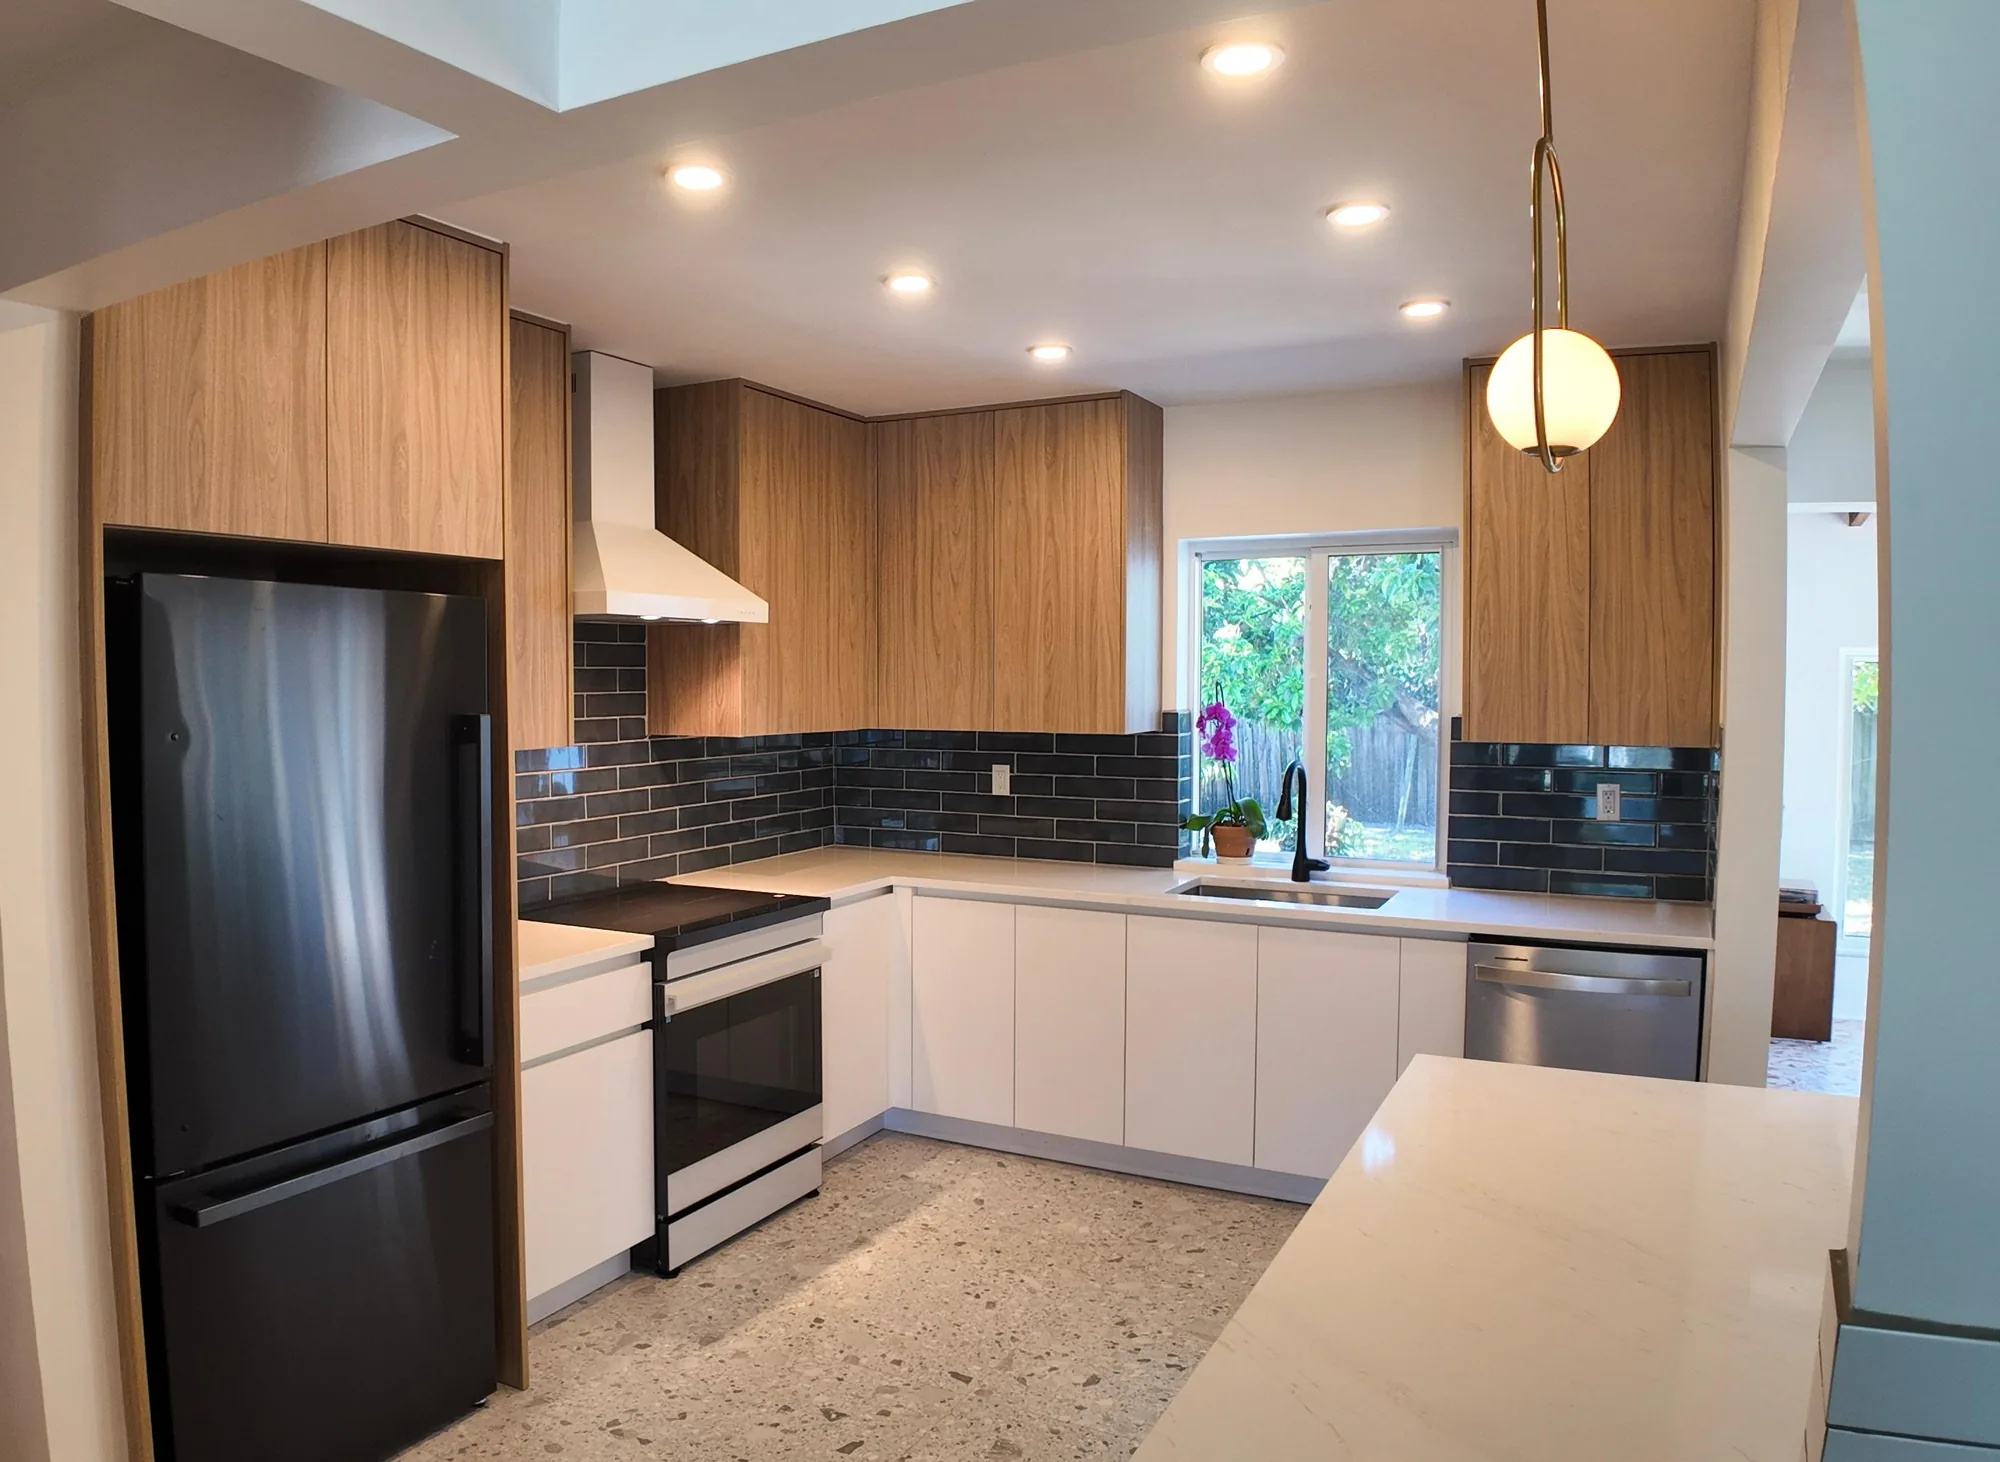
Style: Modern
We will look at the wall, the countertop edge and the electrical layout in person and tell you honestly what the prep will involve. Call (206) 825-2773 to arrange a visit.
Each of these performs differently in terms of maintenance, installation difficulty and how it handles heat and grease behind a cooking surface.
| Option | Best For | Considerations | Relative Cost |
|---|---|---|---|
| Glazed ceramic | Budget-conscious kitchens, classic subway looks, resale updates | Softer body chips more easily at cut edges; the glaze itself is essentially maintenance free and wipes clean | Lowest |
| Porcelain | High-use kitchens, large-format installations, stone-look and wood-look surfaces | Denser and harder to cut cleanly, so it requires a good wet saw; large formats demand a very flat wall | Low to moderate |
| Glass tile and mosaic | Reflecting light in kitchens with limited daylight or north-facing windows | Adhesive shows through, so it needs white thinset and full coverage; sanded grout will scratch the surface | Moderate |
| Natural stone such as marble, travertine or slate | Traditional and higher-end kitchens where veining and depth matter | Porous and needs sealing; marble etches from lemon juice, vinegar and wine regardless of sealer | Moderate to high |
| Handmade zellige and terracotta | Character homes and warm, tactile kitchens with simple cabinetry | Irregular by design, with high breakage during cutting and a slower, more skilled installation | High |
| Quartz, quartzite or sintered slab | Seamless full-height panels, especially behind ranges and matching the countertop | Requires templating and fabrication; outlet locations must be resolved before the slab is cut | Highest |
final material choice depends on site conditions and a written estimate
A typical backsplash follows this sequence, and knowing it helps you understand what is happening in your kitchen on any given day.
We measure the runs, check the wall for flatness and square, look at the countertop edge and the cabinet reveals, and confirm what sits behind the wall where cutting may be needed. Material selection happens alongside this, because a wall that is out of plane rules out certain large-format options.
Countertops get covered and taped, cabinet faces and appliances get protected, and floors are covered along the work path. If an existing backsplash is coming off, it comes off carefully, since old tile pulled aggressively takes drywall paper with it and creates more repair work than the fast demo saved.
This is the step that gets skipped on rushed jobs and the one that determines the result. Depending on the wall, it means skim coating and sanding flat, cutting out and patching damaged drywall, or installing cement backer where it is warranted, then priming so the mortar bonds correctly.
Box extenders go in, and if the plan calls for relocating outlets, adding under-cabinet power strips, or eliminating an outlet from a slab panel, that work is coordinated with a licensed electrician before tile goes up. Any electrical alteration is permitted and inspected through the proper jurisdiction rather than buried behind tile.
We snap control lines, set a temporary ledger where needed so the first course cannot sag while the mortar sets, and dry-lay the critical areas, particularly the field behind the range and any place the pattern has to resolve against a window or an end cabinet. Adjustments happen here, not after tiles are stuck to the wall.
Tile goes up with the correct trowel and notch for the material, combed in one direction and flattened where needed, with tiles back-buttered when the format calls for it. Outlet cuts, window returns and cabinet terminations are cut as we reach them so each piece is fitted to the actual condition rather than to a measurement taken earlier.
Once the mortar has cured, joints get grouted with the correct type for the joint width and the material, unsanded for tight joints and anything that scratches, epoxy where stain resistance behind a cooktop is a priority. Change-of-plane joints get color-matched flexible sealant, and porous materials are sealed after the grout has fully cured.
We remove haze, reinstall devices and plates, pull the protection, and walk the surface with you under the kitchen lighting you actually use at night. Anything you want addressed gets addressed then, while we are still set up and materials are on site.
Backsplash work is often the last visible step of a kitchen project, and it is worth having someone treat it as a finish trade rather than an afterthought.
Flattening a wall takes time that does not show up in a finished photo, which is exactly why it gets skipped. We build it into the schedule because no amount of careful tile setting compensates for a substrate that is out of plane.
We plan where cuts land, how the pattern meets the window and where the courses stack against the uppers, using dry runs on the critical walls. That planning is why a finished job has full tiles in the places you look at and small cuts in the places you do not.
Mid-century Eastside homes, older Seattle bungalows and newer Bellevue construction each present different wall conditions and different surprises behind the drywall. Knowing what is likely to be there before opening a wall means fewer schedule changes once the work has started.
A backsplash sits at the junction of countertop, cabinetry and electrical, and problems usually happen at those handoffs. We sequence around the counter fabricator and the electrician so the tile goes up when the conditions are right.
Metal profiles, mitered returns, window jamb treatment and how tile meets an open cabinet end are settled during planning and shown to you, not improvised on the last day. Those terminations are what people register as quality without knowing why.
Most backsplash projects happen in a kitchen the family is still using. We protect surfaces, control dust from cutting, cut outdoors or with proper collection where feasible, and leave the space usable at the end of each day.
A short walkthrough showing how layout, edge treatment and grout choices come together on a finished kitchen backsplash.
A walkthrough of a completed kitchen remodel showing cabinetry, island and finish detail.
A tour through a finished kitchen highlighting layout and storage decisions.
Most kitchen backsplashes are a multi-day job rather than a one-day job, and mortar cure time is the reason. Tile is typically set on one day, then the mortar needs to cure before grouting, and sealant and sealing follow after that. If the wall needs floating flat or repairing, add time at the front for that prep to dry, and complex patterns in fragile material extend the setting phase considerably.
Tile work itself is a finish and generally does not require a building permit. What can require one is the electrical work that often accompanies it, such as relocating outlets, adding circuits, or converting to under-cabinet power strips, and electrical work in Washington is permitted and inspected through the appropriate jurisdiction. We confirm what applies to your specific scope before work begins rather than assuming.
It is technically possible but rarely the right call in a kitchen. Tiling over tile adds thickness that pushes the finished surface past the countertop edge and past your outlet boxes, and it means bonding to a glazed surface that was never designed to receive mortar. Removing the old tile also lets us see and correct the wall underneath, which is usually where the real problem is.
Stopping at the underside of the upper cabinets is the standard and it works well in most kitchens. Running to the ceiling makes sense when there are no uppers on that wall, when the kitchen is visible from a living area in an open-concept layout, or when you want the range wall to read as a deliberate feature. It costs more in material and labor, and the transition where tile meets the ceiling needs to be a flexible joint rather than grout.
Epoxy grout is the better choice in the cooking zone if staining concerns you. It does not absorb grease or tomato sauce the way cement-based grout does, it holds its color, and it does not require sealing. The tradeoffs are cost and installation difficulty, since epoxy has a short working time and has to be cleaned off the tile face promptly, which is why some homeowners use it only behind the range and standard grout elsewhere.
Marble on a backsplash is far more reasonable than marble on a countertop, because a vertical surface does not take direct food contact. It still etches when acidic liquids splash onto it, and etching is a physical change to the surface that a sealer does not prevent. If you want the look with less maintenance, porcelain that reproduces marble veining has become convincingly good, and it is a common substitute in kitchens that see heavy daily use.
The options are to hide them, align them or match them. Under-cabinet power strips mounted to the bottom of the upper cabinets move receptacles out of the tile field entirely, which is the usual answer when a slab or a strong pattern is involved. Where outlets stay in the wall, we plan the layout so they land in a consistent relationship to the grout lines and use plates in a color that matches the tile, and any relocation is coordinated with a licensed electrician.
No, and in many kitchens matching produces a flatter result than contrasting. A full-height slab in the same material as the counter is a deliberate, cohesive look that works well with quiet stone, but if the countertop has strong movement, repeating it on the wall competes rather than complements. A common middle path is to run the counter material as a short return where it meets the wall, then use a different tile above it.
Bring us your material samples and your questions, and we will walk through layout options, edge details and grout choices for your kitchen. Reach us at (206) 825-2773.
Backsplash pricing varies more than most homeowners expect, and it is usually driven by these six factors rather than by the tile itself.
A flat, sound wall is ready for tile almost immediately. A wall with old mastic to grind off, plaster damage to repair, or a bow that needs floating flat can add a full day of skilled labor before any tile is set, and that labor is invisible in the finished job.
A standard ceramic subway tile cuts fast and forgives small errors. Glass chips, natural stone needs careful blade selection, and handmade tile breaks during cutting, so the same square footage takes substantially longer and requires more overage purchased up front.
Running bond is the baseline. Herringbone, chevron, basketweave and picture-framed range niches multiply the number of cuts, and a design that mixes a field tile with an accent panel behind the range effectively means installing two backsplashes with a clean transition between them.
Cost tracks the perimeter and the interruptions more than the area. Windows over the sink, an open end that needs a finished return, a range hood with an irregular profile, outlets and switches, and a wall that dies into a corner all take time that a plain uninterrupted run does not.
Leaving outlets where they are is straightforward. Relocating them, converting to under-cabinet power to keep a slab or feature wall uninterrupted, or bringing older circuits up to current requirements adds licensed electrical work, permitting and inspection to the project.
Standard cement grout is quick to install. Epoxy grout resists staining behind a cooktop and holds its color far better over time, but it works differently, sets faster and demands more labor to install and clean, while porous stone adds a sealing step and periodic maintenance afterward.
We do not quote backsplash work from photos or square footage alone, because wall condition is the single largest variable and it cannot be assessed remotely. Accurate pricing requires an on-site inspection of the wall, the countertop condition and the electrical layout, followed by a written estimate that itemizes prep, material and labor so you can see exactly what you are paying for.
We install backsplashes throughout Bellevue and the surrounding Eastside communities, including Kirkland, Redmond, Bothell, Issaquah, Sammamish, Newcastle and Mercer Island, along with Seattle and the north-end suburbs. The mix of mid-century homes, older Seattle neighborhoods and newer construction across this area means we see a wide range of wall conditions, which is exactly the variable that determines how a backsplash turns out.
Do not see your neighborhood? Call (206) 825-2773 — we regularly work throughout King County.
The countertop sets the constraints for the backsplash above it, so it is worth understanding those material tradeoffs before you pick a tile.
A useful look at where local kitchen design is heading, including full-height slab panels and the return of textured, handmade tile.
Covers how Pacific Northwest conditions affect material durability, which matters when you are weighing porous stone against sealed porcelain.
EXCELLENT Based on 57 reviews Posted on pinnyTrustindex verifies that the original source of the review is Google. Didn’t know what to expect at first but these guys blew the winds off my hat I mean seriously, I had a bathtub renovated to a built in shower and my God am I satisfied with their work. If anyone is considering going with these guys for a remodel I’d vouch for sure.Posted on Nathaniel CardenasTrustindex verifies that the original source of the review is Google. They did a good job on my Deck remodeling project, finished in such a short time and gave me a professional run-down on the material and labor cost. Highly recommend.Posted on Natalie GalvanTrustindex verifies that the original source of the review is Google. I usually don’t trust these companies but Sky Pro blew my expectations out of the water. I seriously am so glad they contacted me, I have 2 bathrooms in my home that both needed to be completely remodeled and they nailed my vision down for both. I couldn’t be happier with this and can recommend them to anyone, even locally.Posted on Samantha RoblesTrustindex verifies that the original source of the review is Google. I ended up going with Sky Pro for my roof project, they did an amazing job and the team didn’t fail to keep me assured the entire process through. 🙏🏽Posted on SophisticatedTrustindex verifies that the original source of the review is Google. Sky Pro came to do my concrete driveway project a couple weeks ago and, they were very respectful and easy to communicate with, very satisfied with their work.Posted on Tanner JacobsTrustindex verifies that the original source of the review is Google. These guy did a great job extending out our back patio. We have existing exposed aggregate and they matched the design perfectly. From the start Ben always made sure we were happy and all our questions were answered. We will definitely use them again for future concrete projects.Posted on Christian BlancoTrustindex verifies that the original source of the review is Google. Sky Pro came out and gave me a quote for my flooring project, they sent a wonderful contractor and he explained to me what was best regarding material costs. Definitely will be going with them! Contractor was actually really cool with the process and showed me some previews on how it should lookPosted on Pablo Blanco foloresTrustindex verifies that the original source of the review is Google. Got my deck looked at by SkyPro, ended up going with them for repairs and they did an amazing job. We made a deal with the pricing as well so I'm actually looking forward to booking with them soon when I wanna get my other project done.Posted on Sidney ArchieTrustindex verifies that the original source of the review is Google. SkyPro did my kitchen remodel project and I am so glad I went with them because now I’m walking into a palace every time I’m home. Really appreciate them!Verified by TrustindexTrustindex verified badge is the Universal Symbol of Trust. Only the greatest companies can get the verified badge who has a review score above 4.5, based on customer reviews over the past 12 months. Read more
Tell us about your kitchen, the material you are considering and whether an existing backsplash is coming out. We will follow up to schedule an on-site look and provide a written estimate.
Let us know how we can help you!
Sky Pro Remodeling — (206) 825-2773 · Contact us