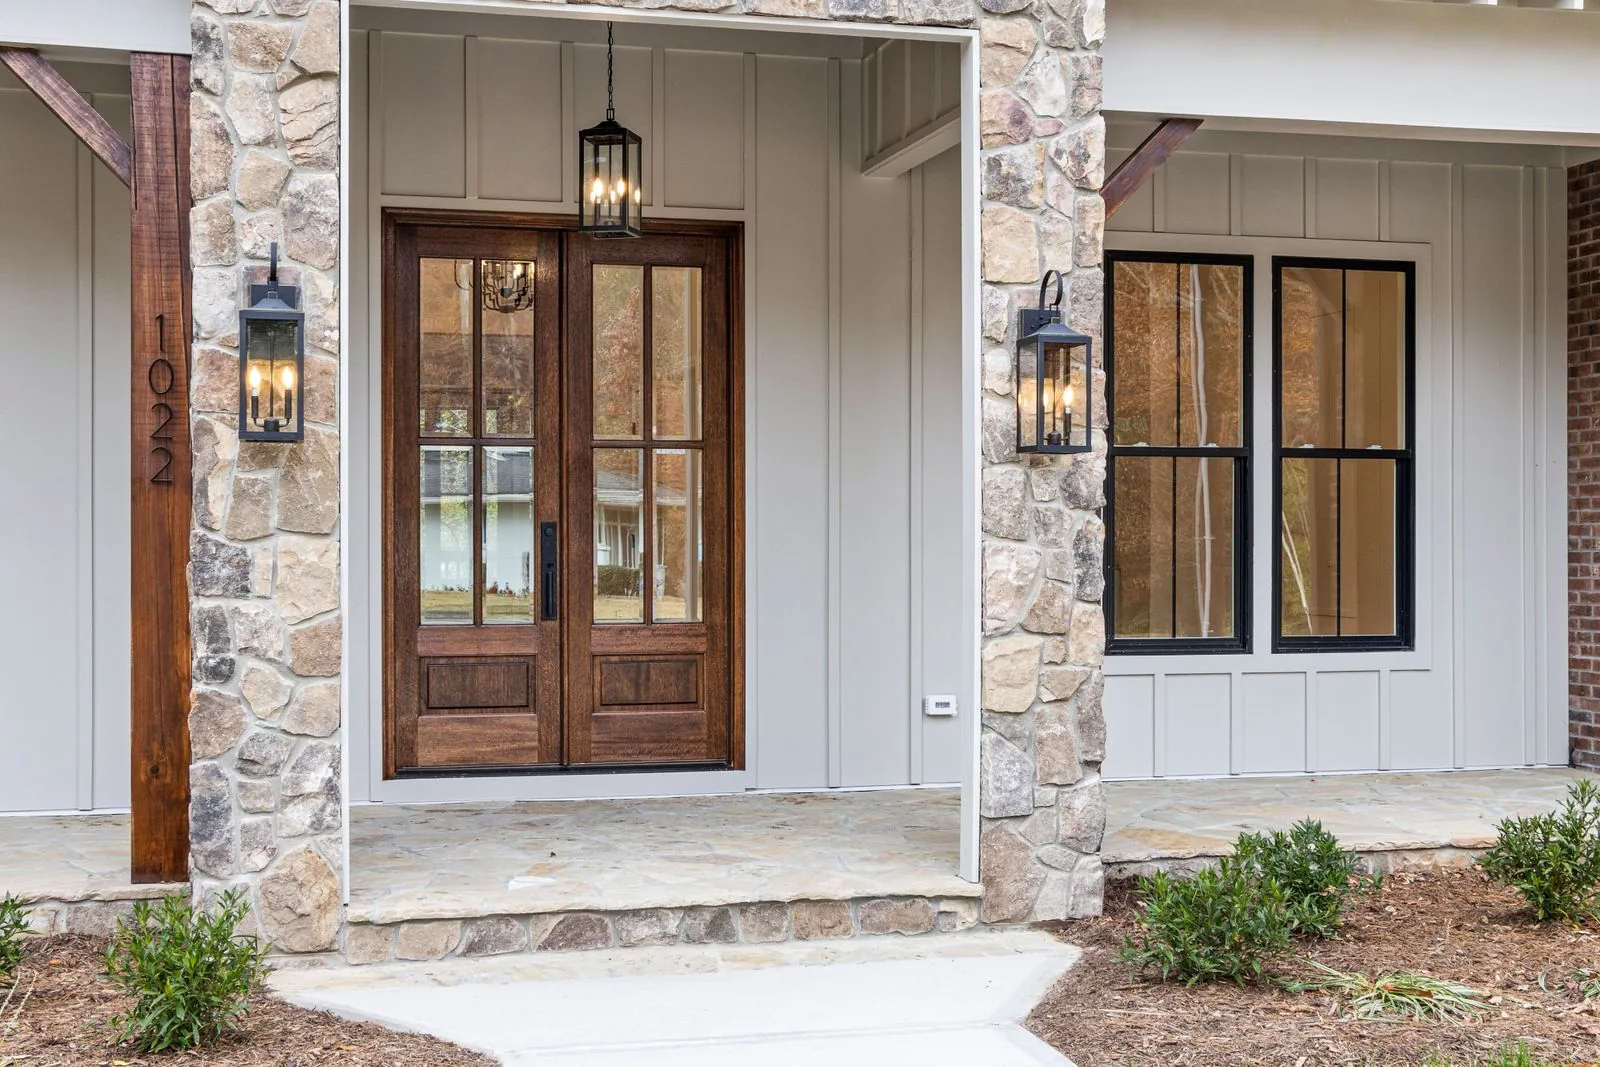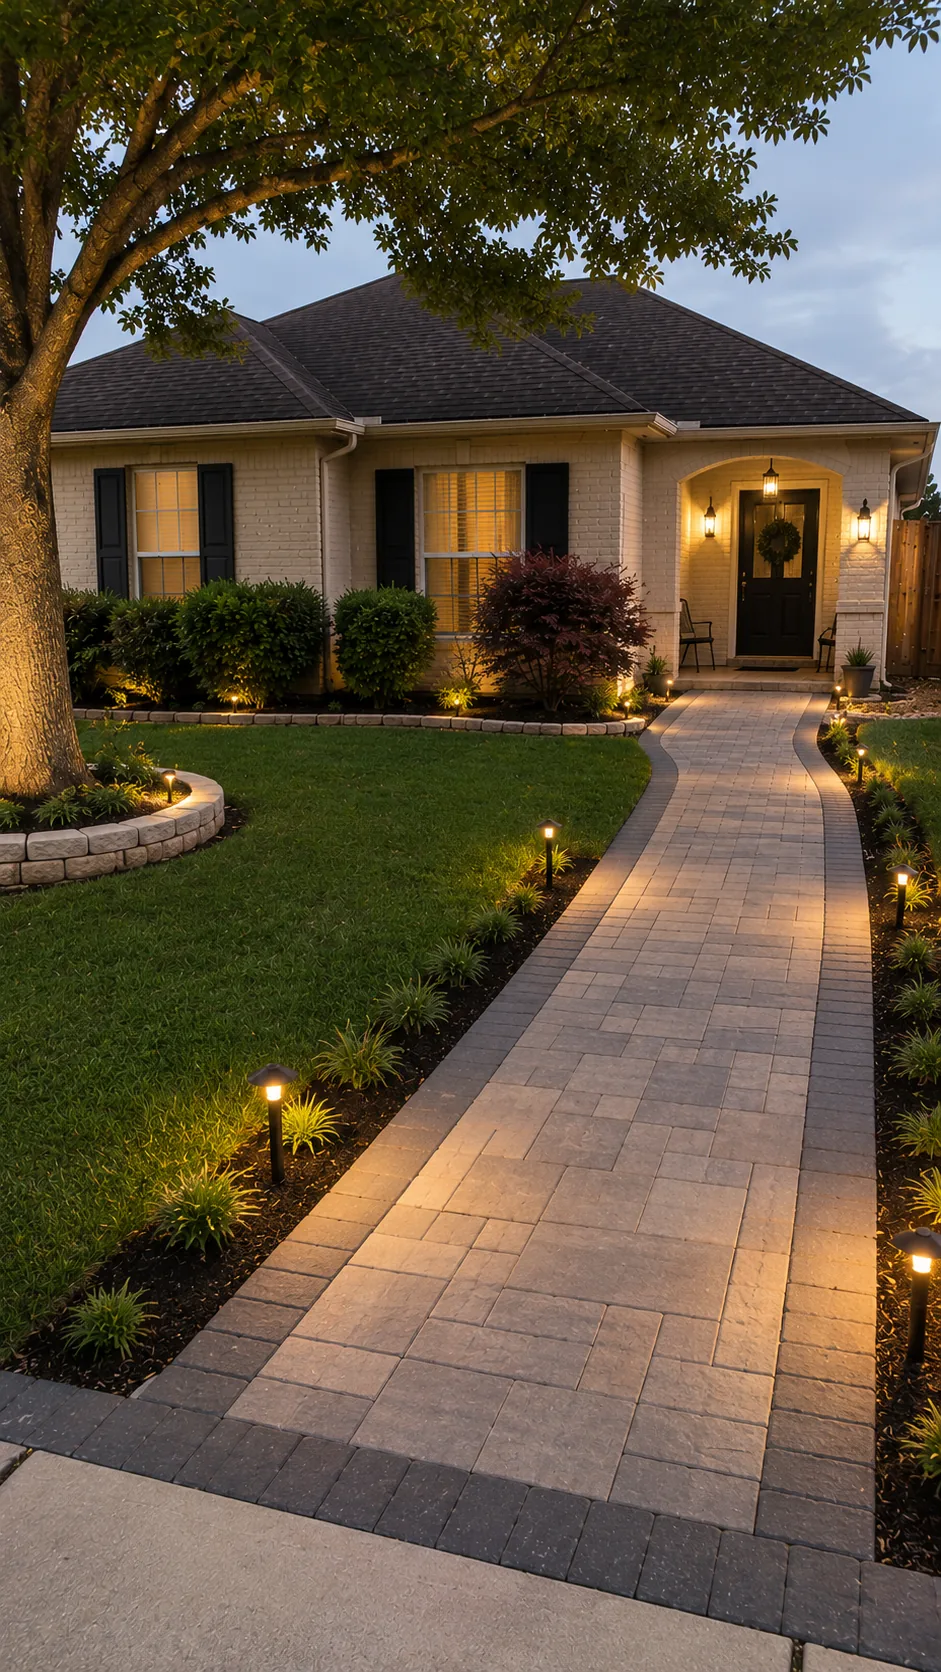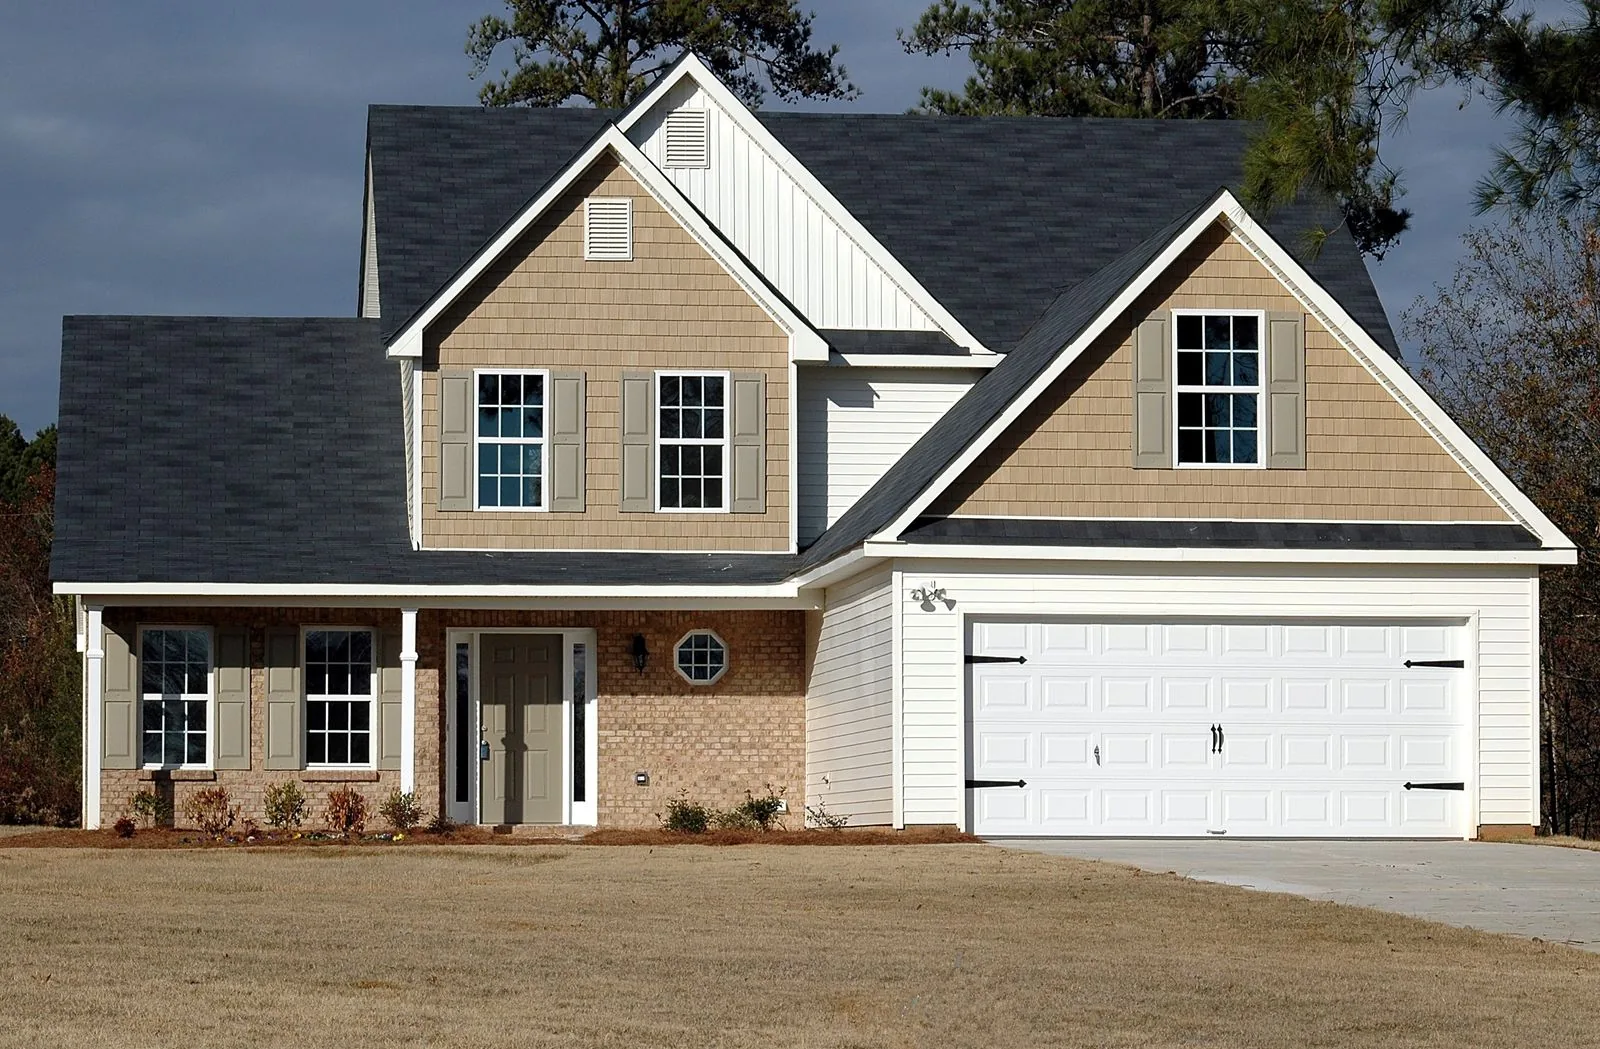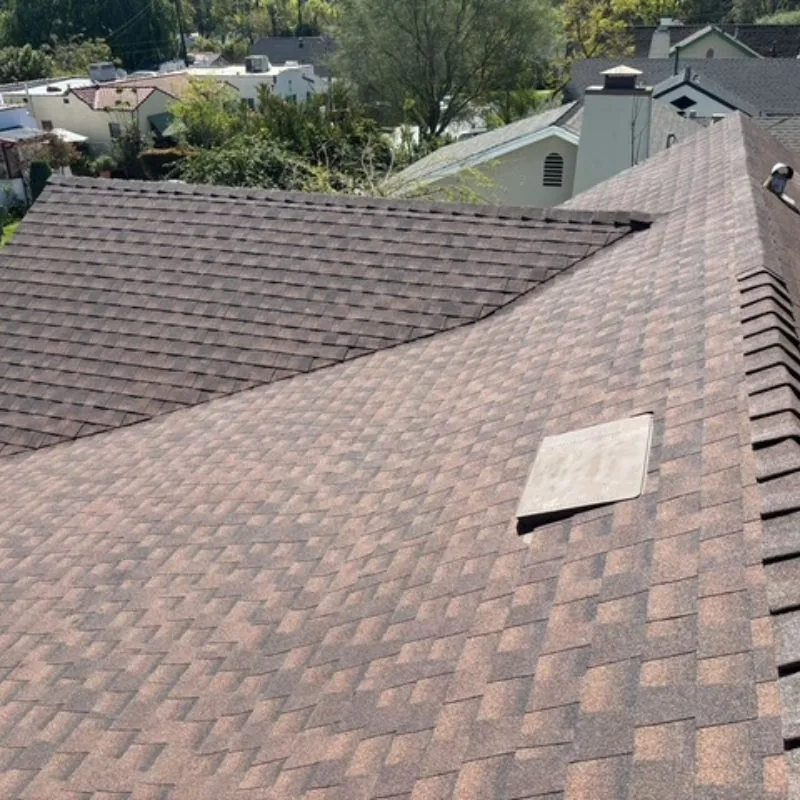
Exterior trim takes more water than any other part of a wall and gets replaced the least often. We install and repair fascia, soffit, rake boards, corner boards and window casing with the flashing, back-priming and sealing details that keep Puget Sound rain moving down and out.

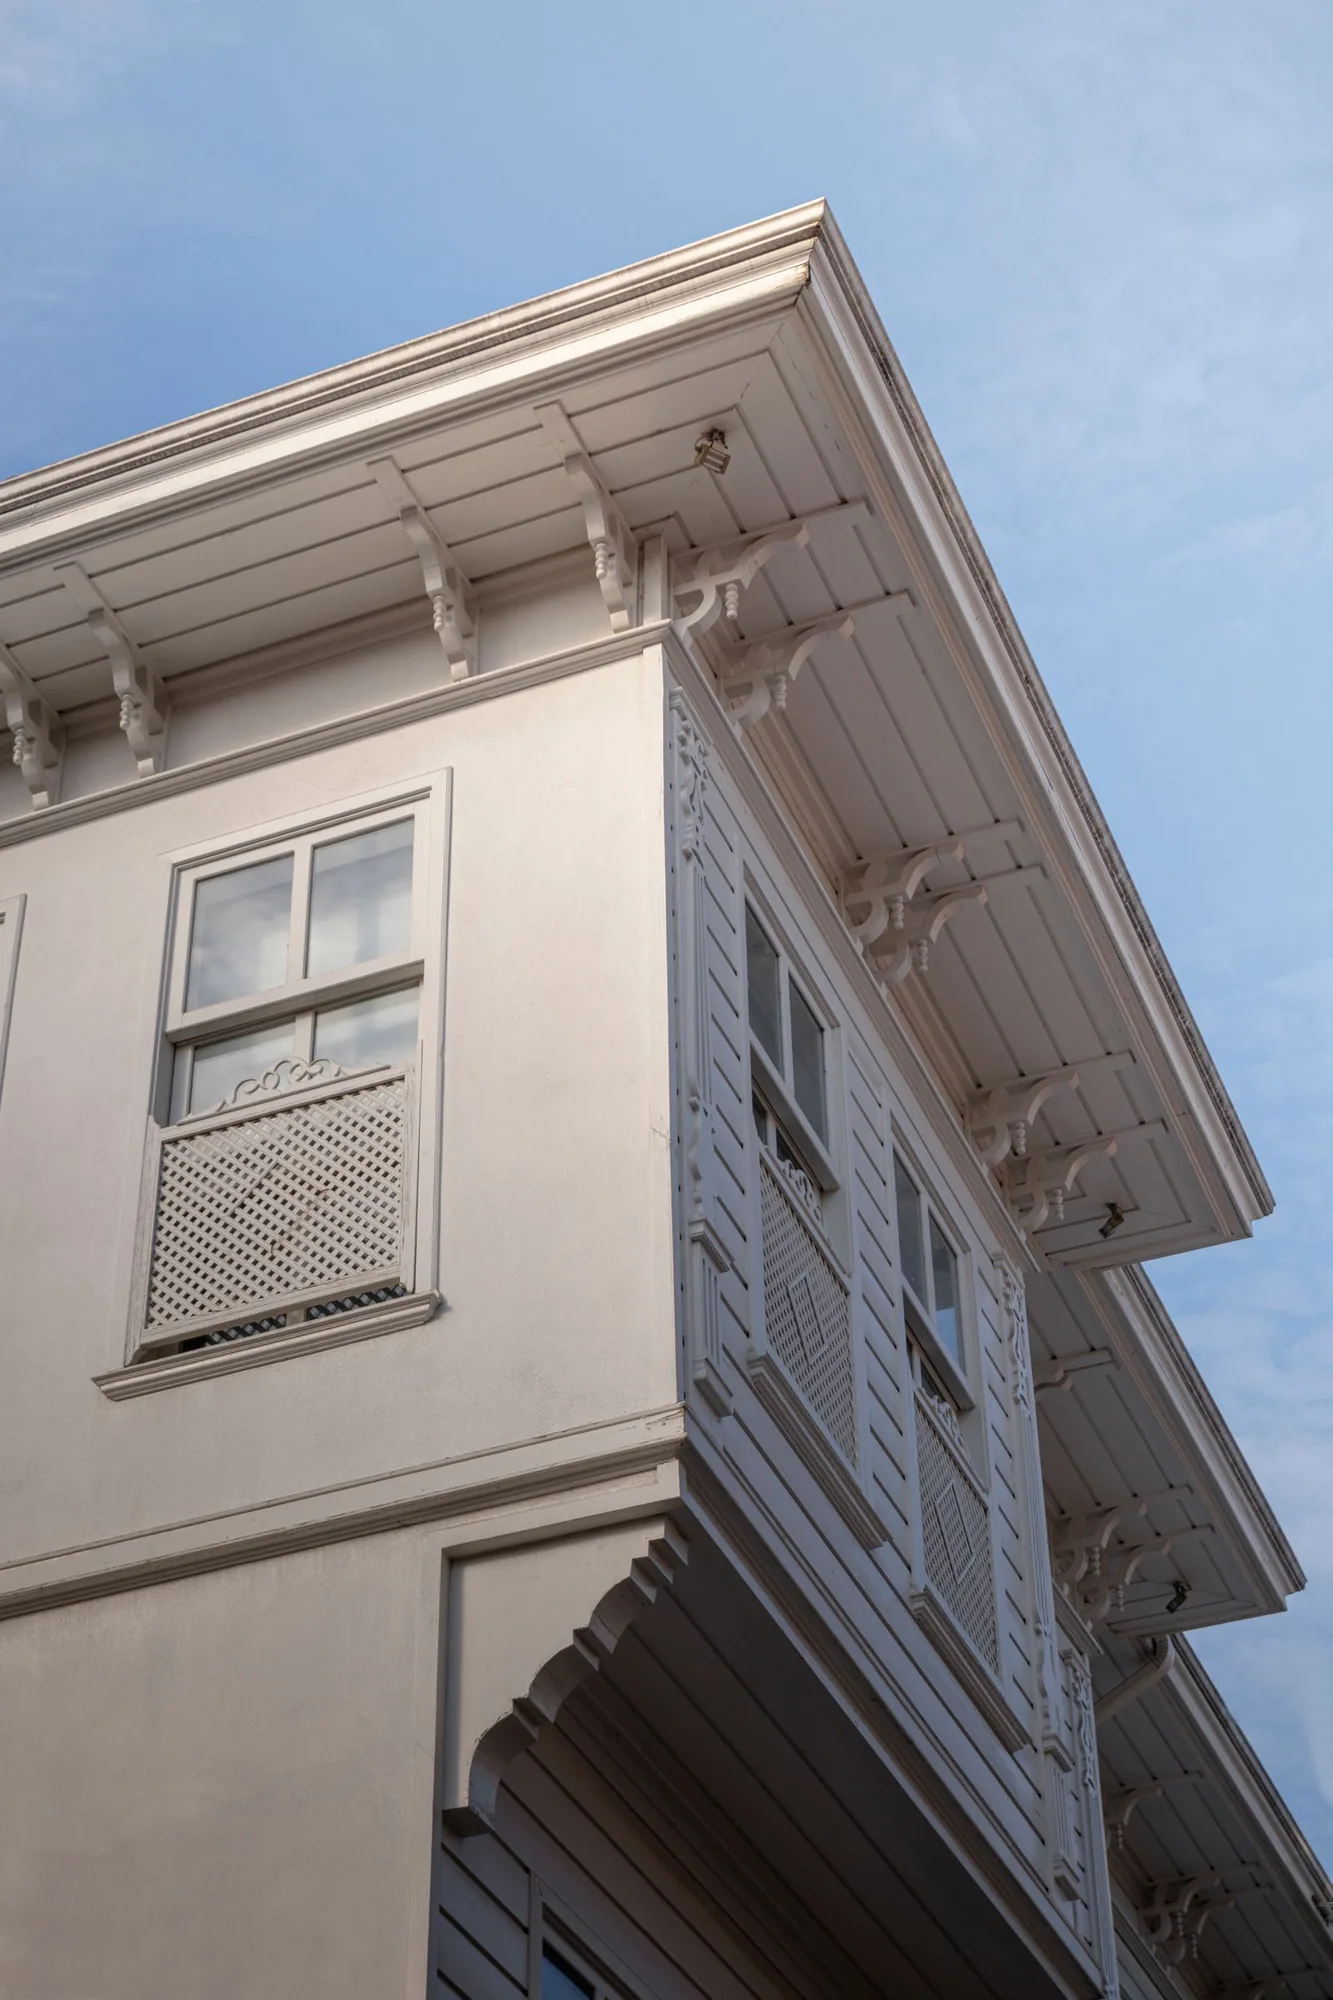
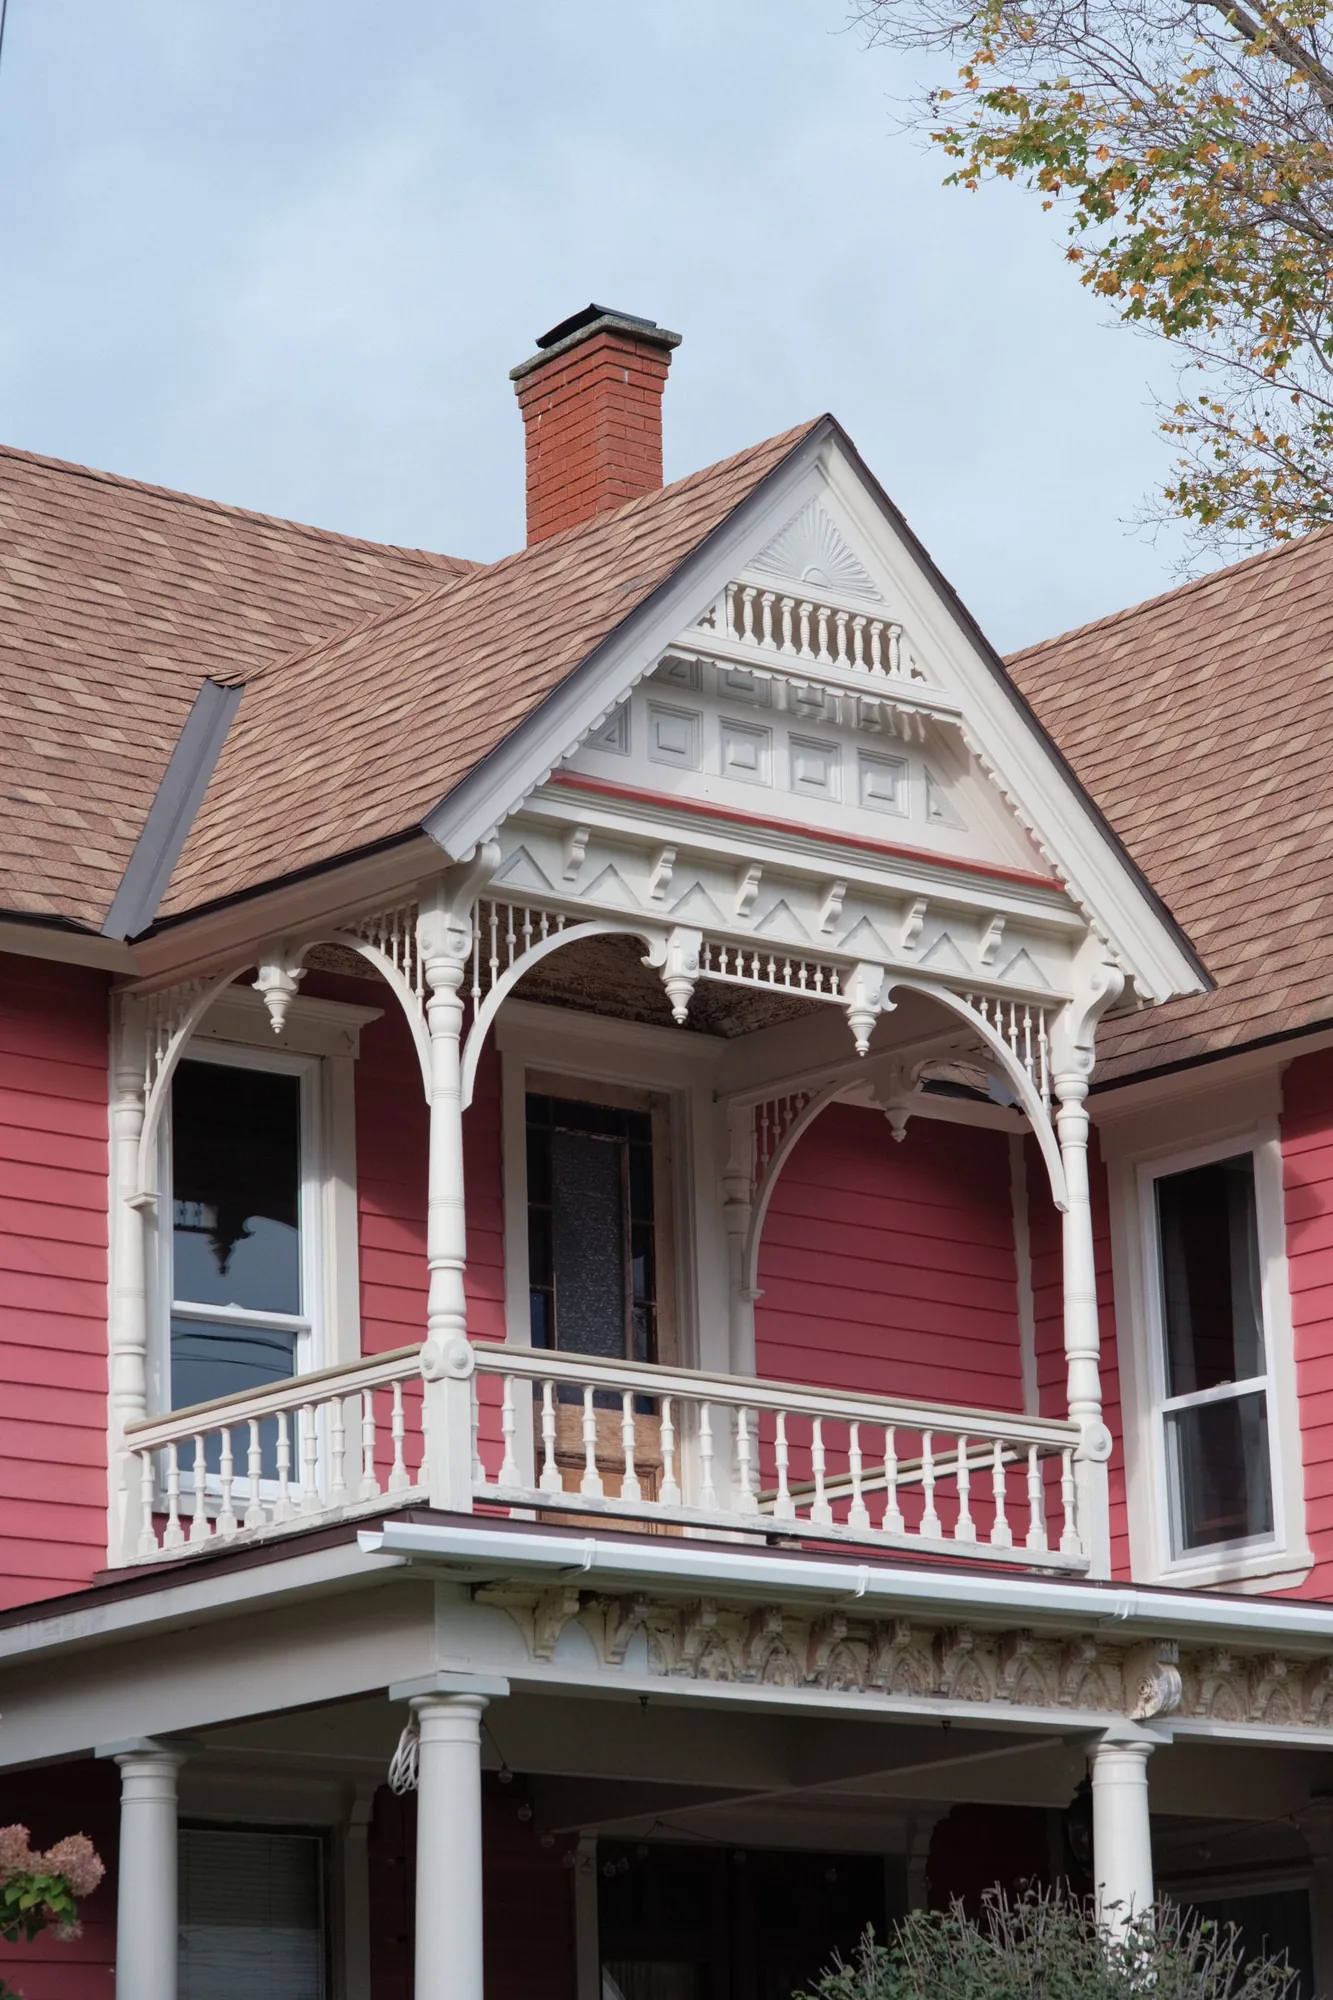
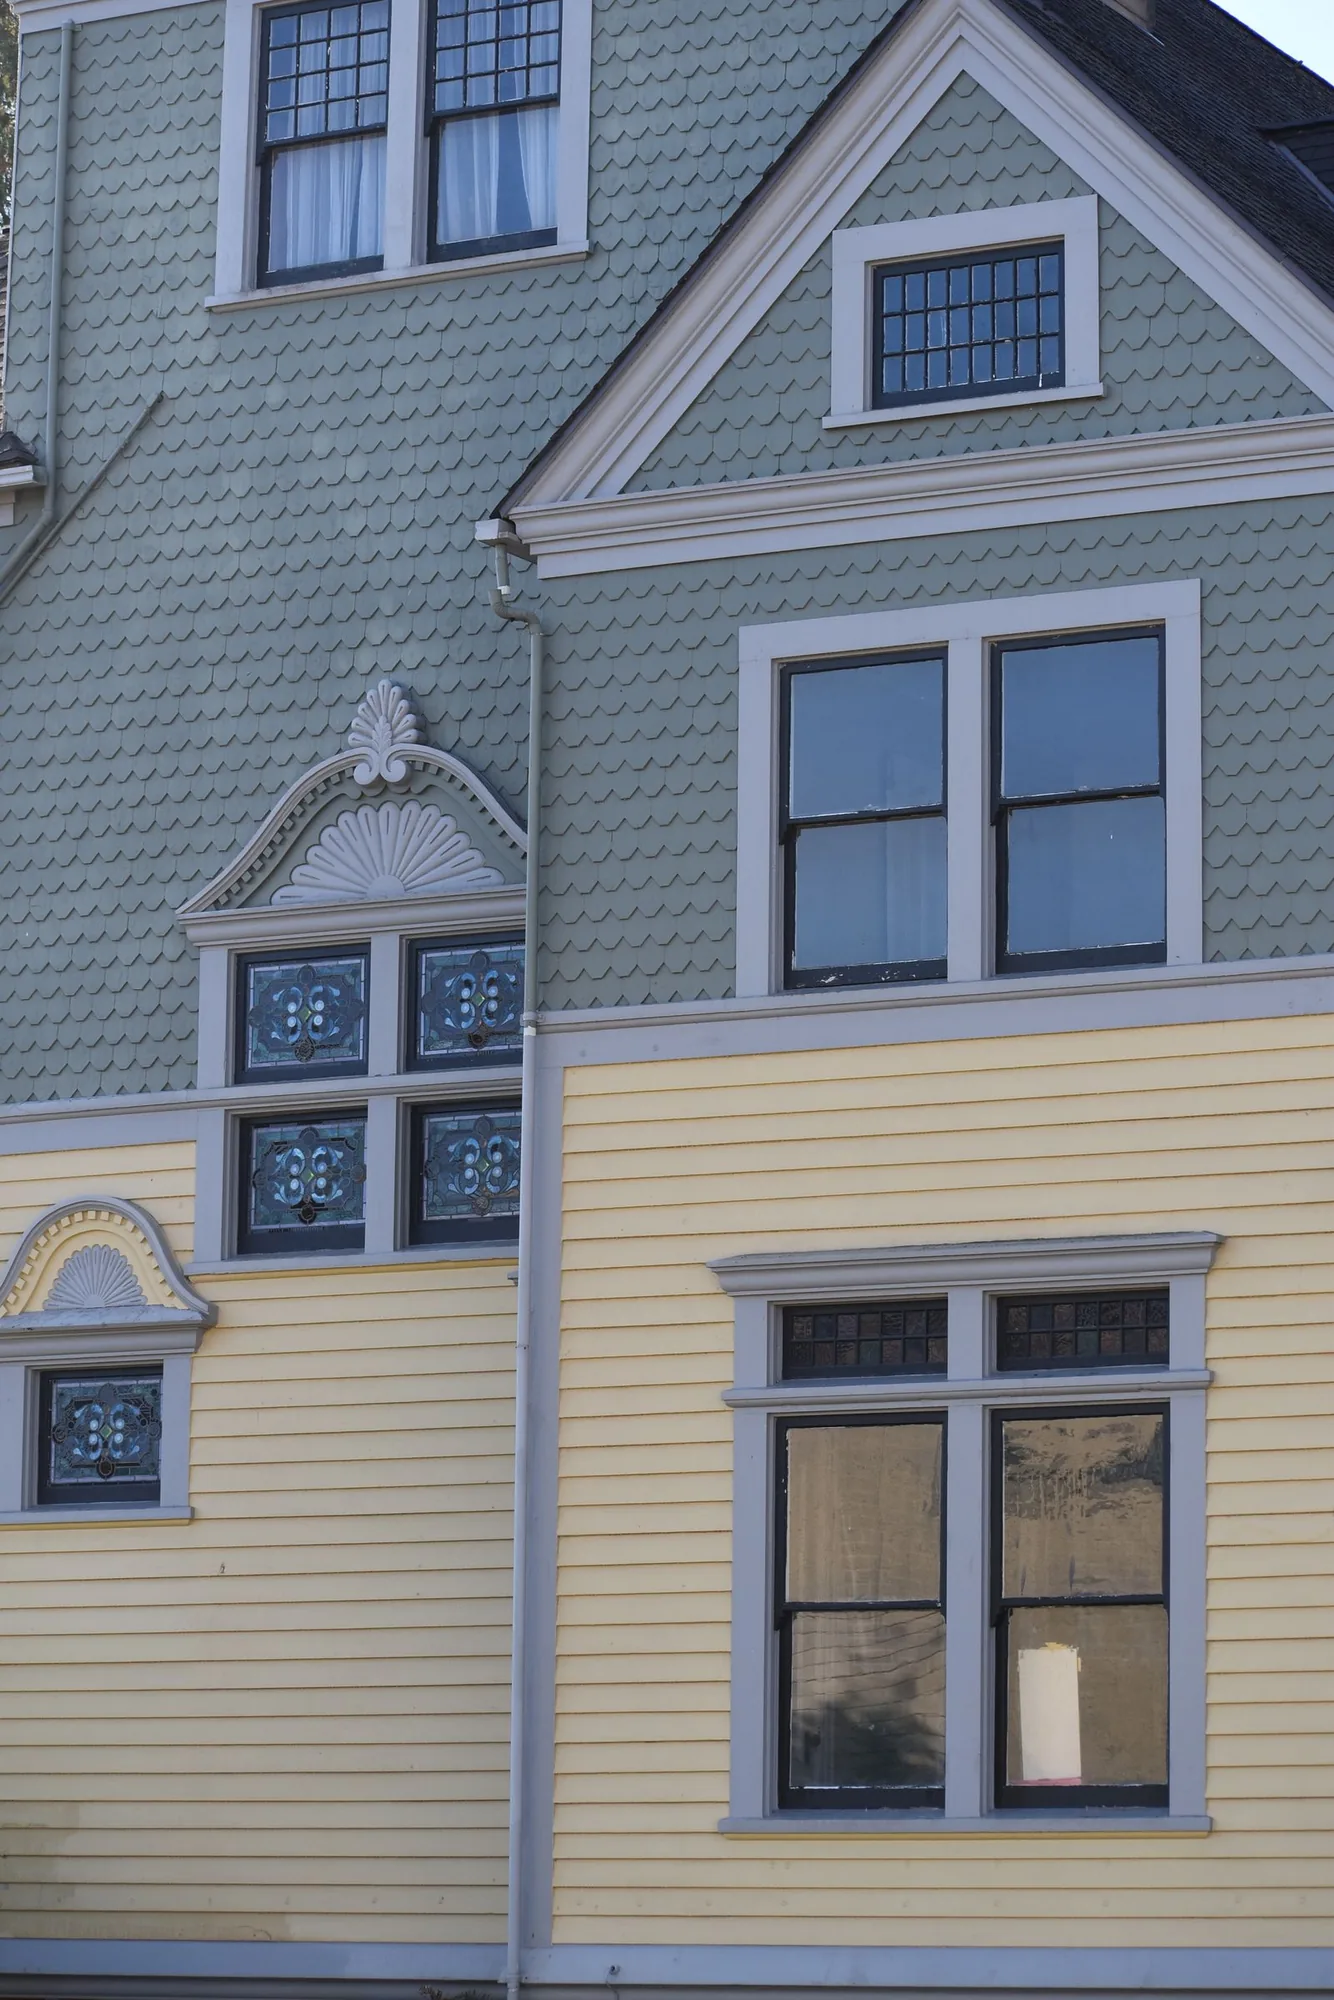
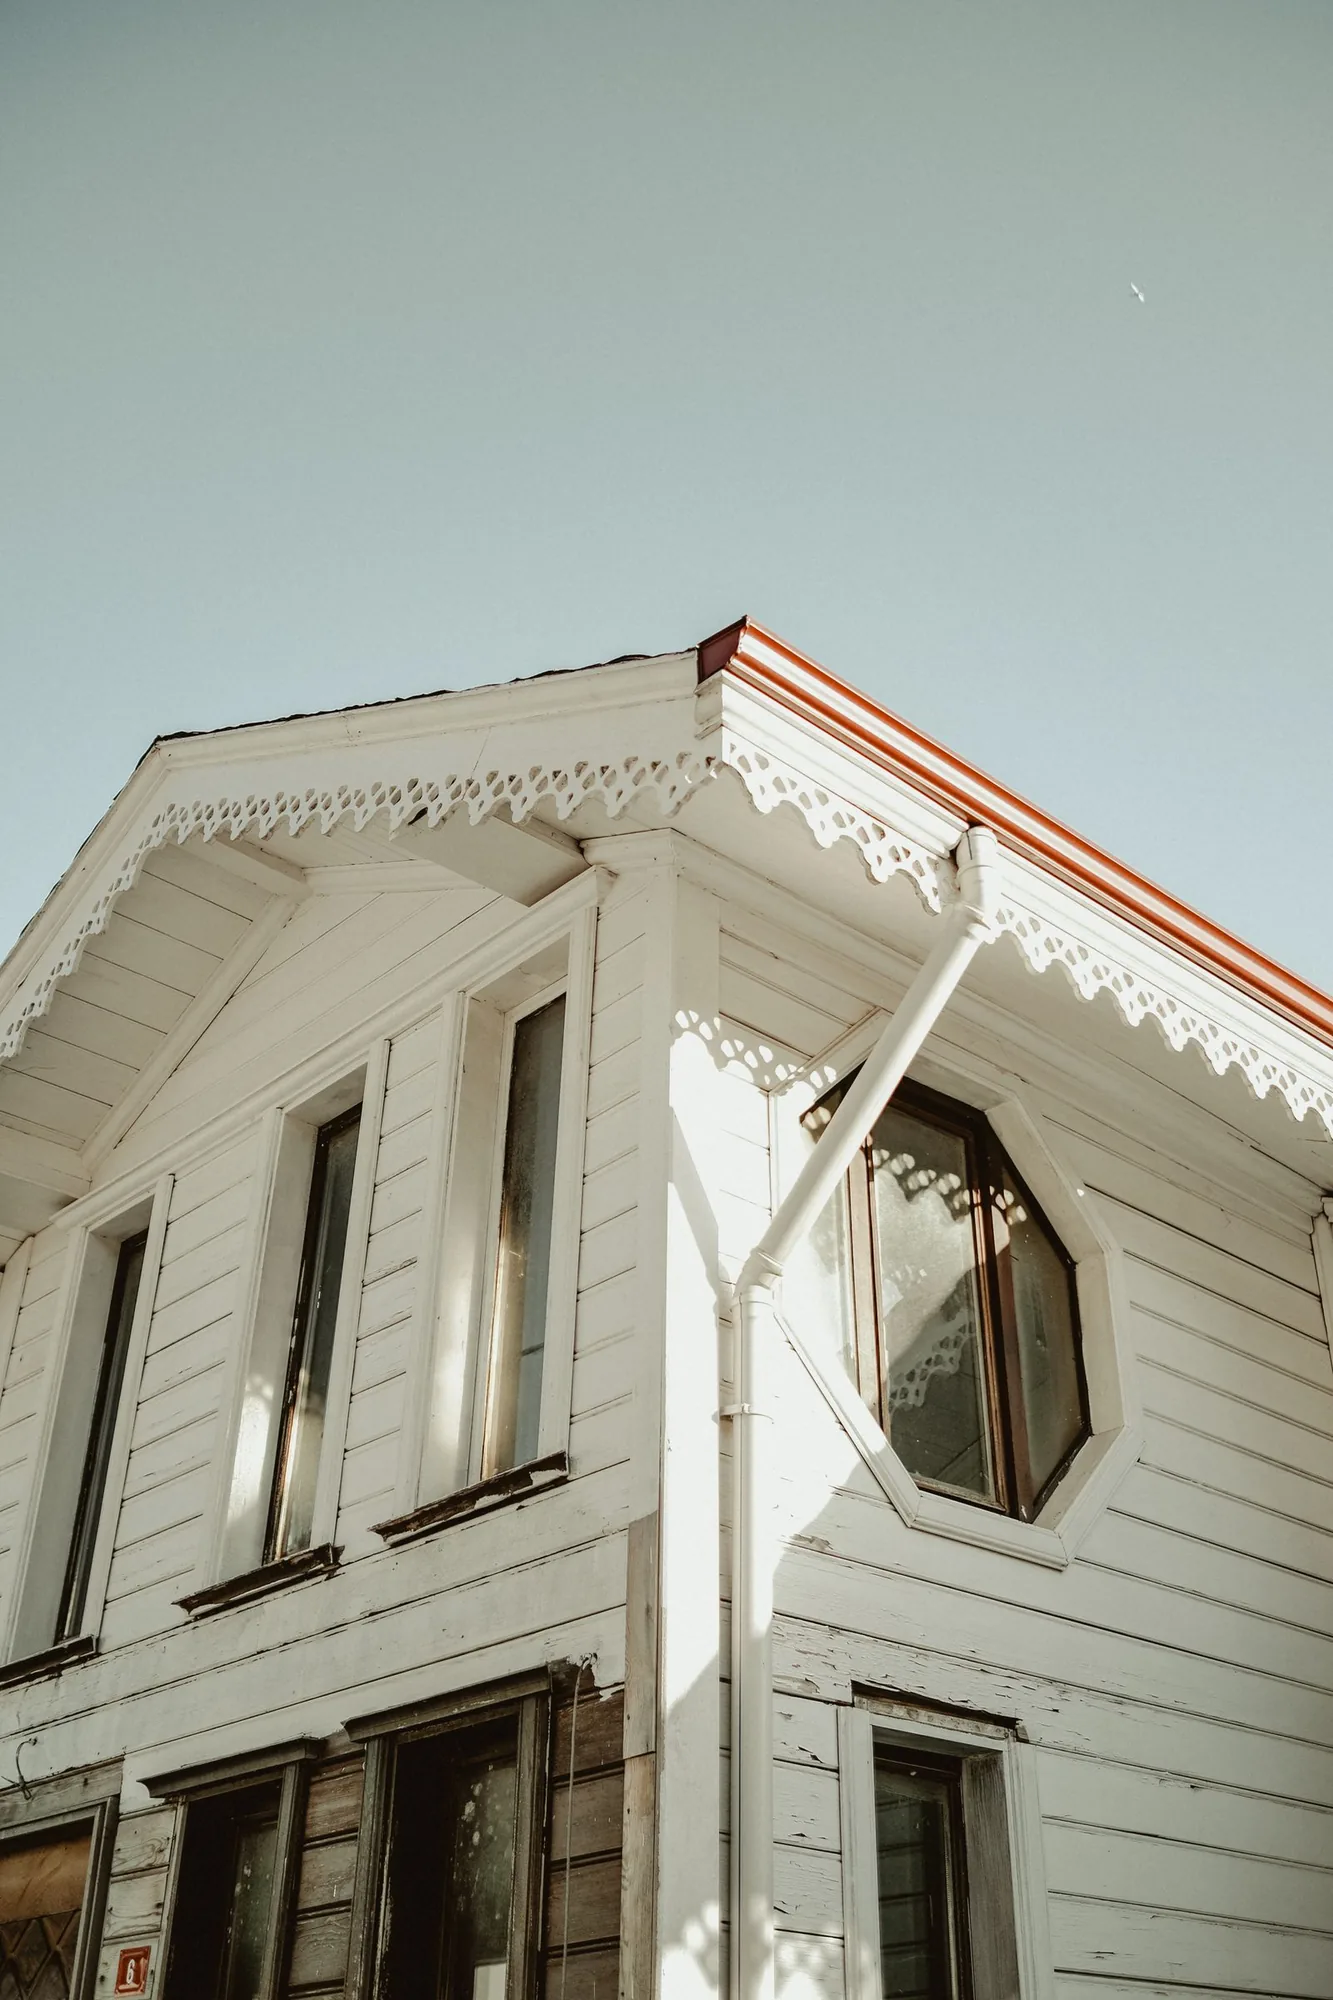

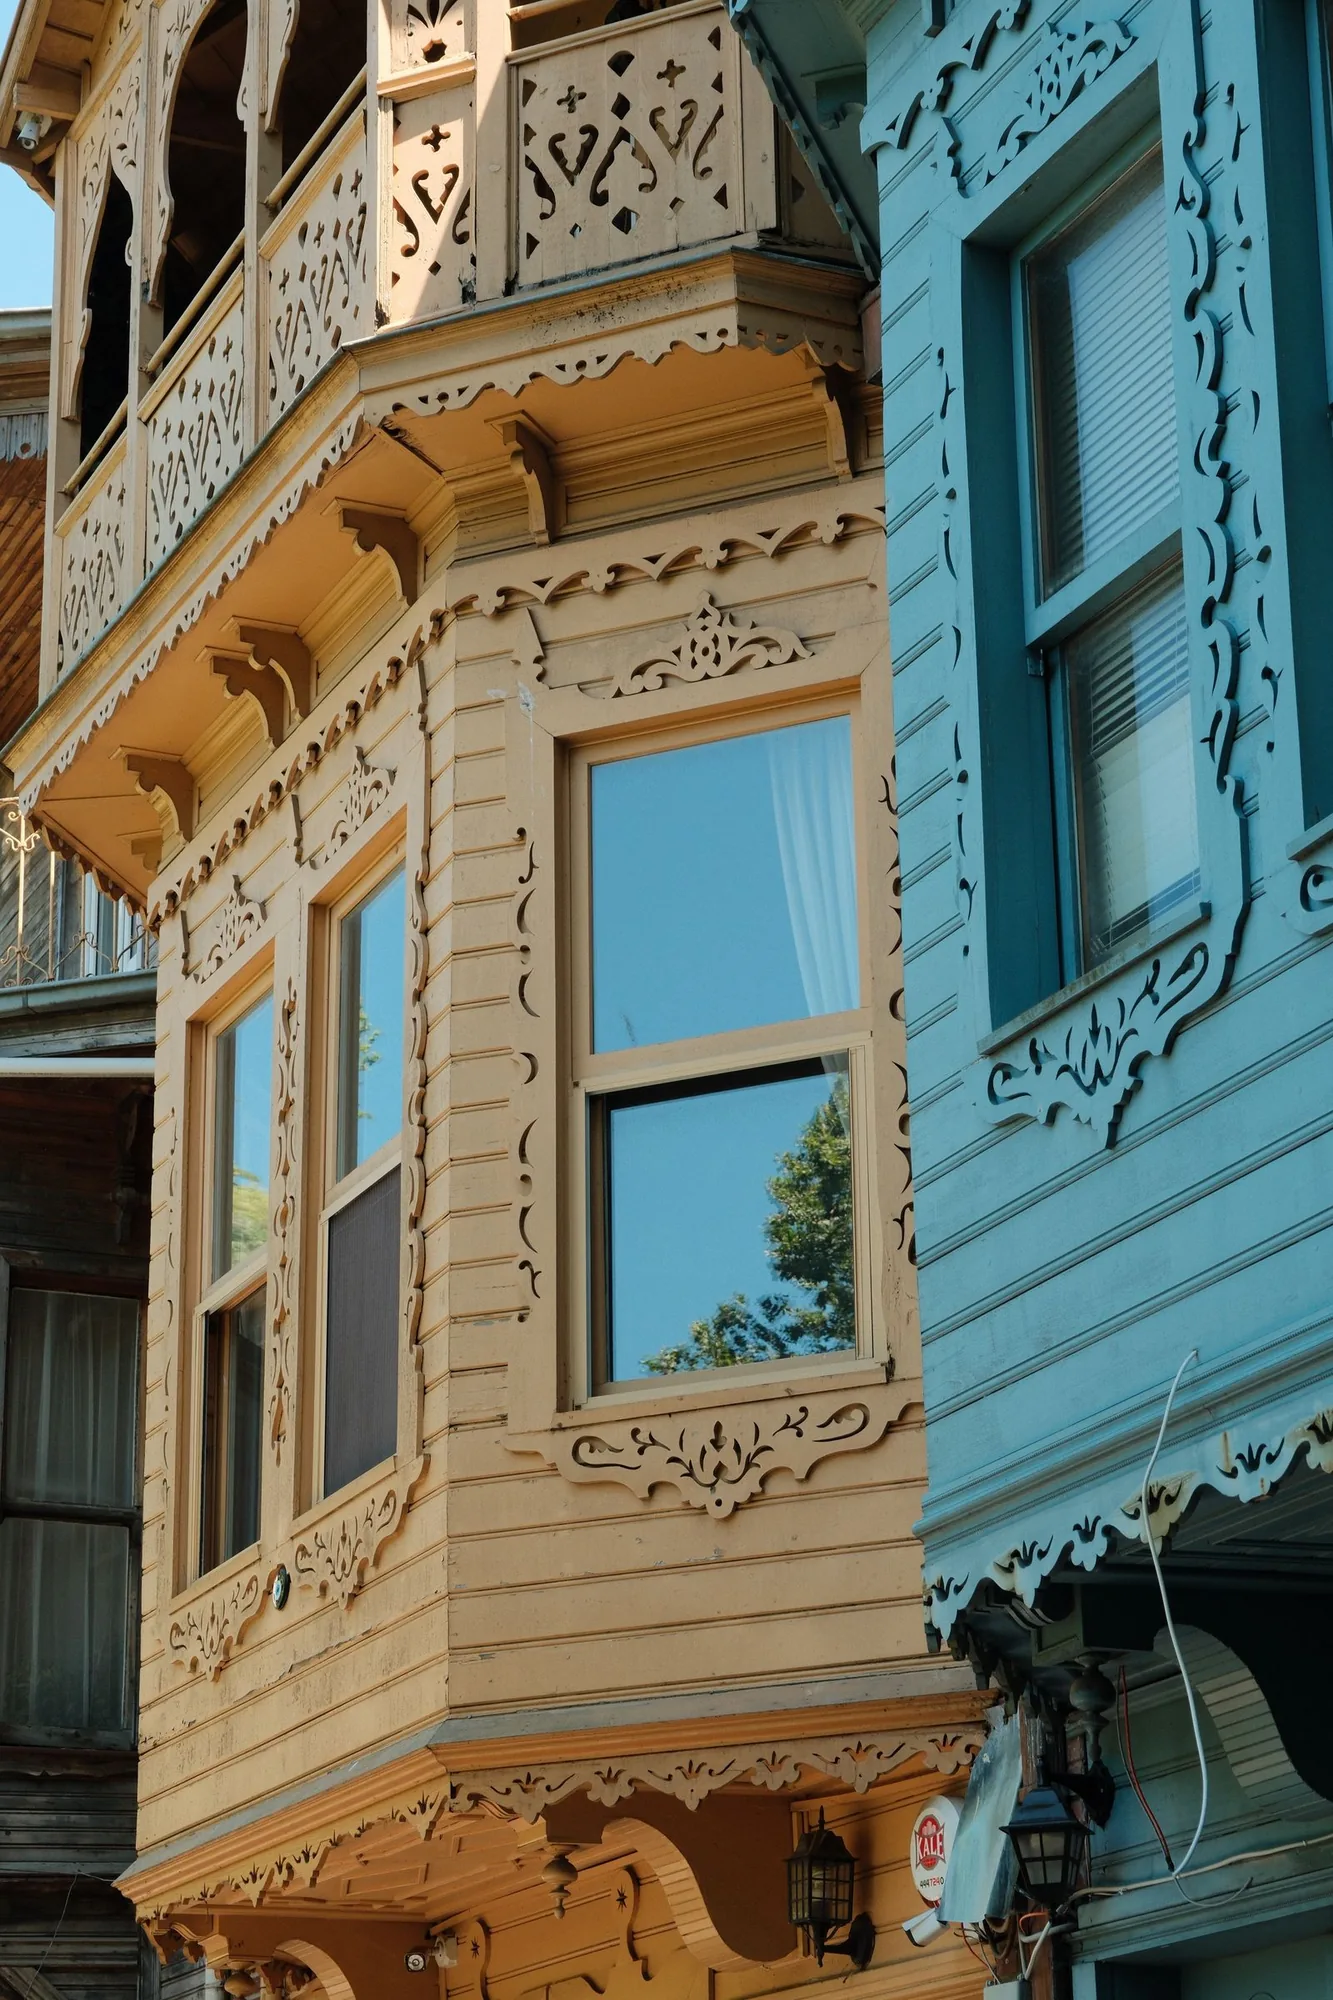
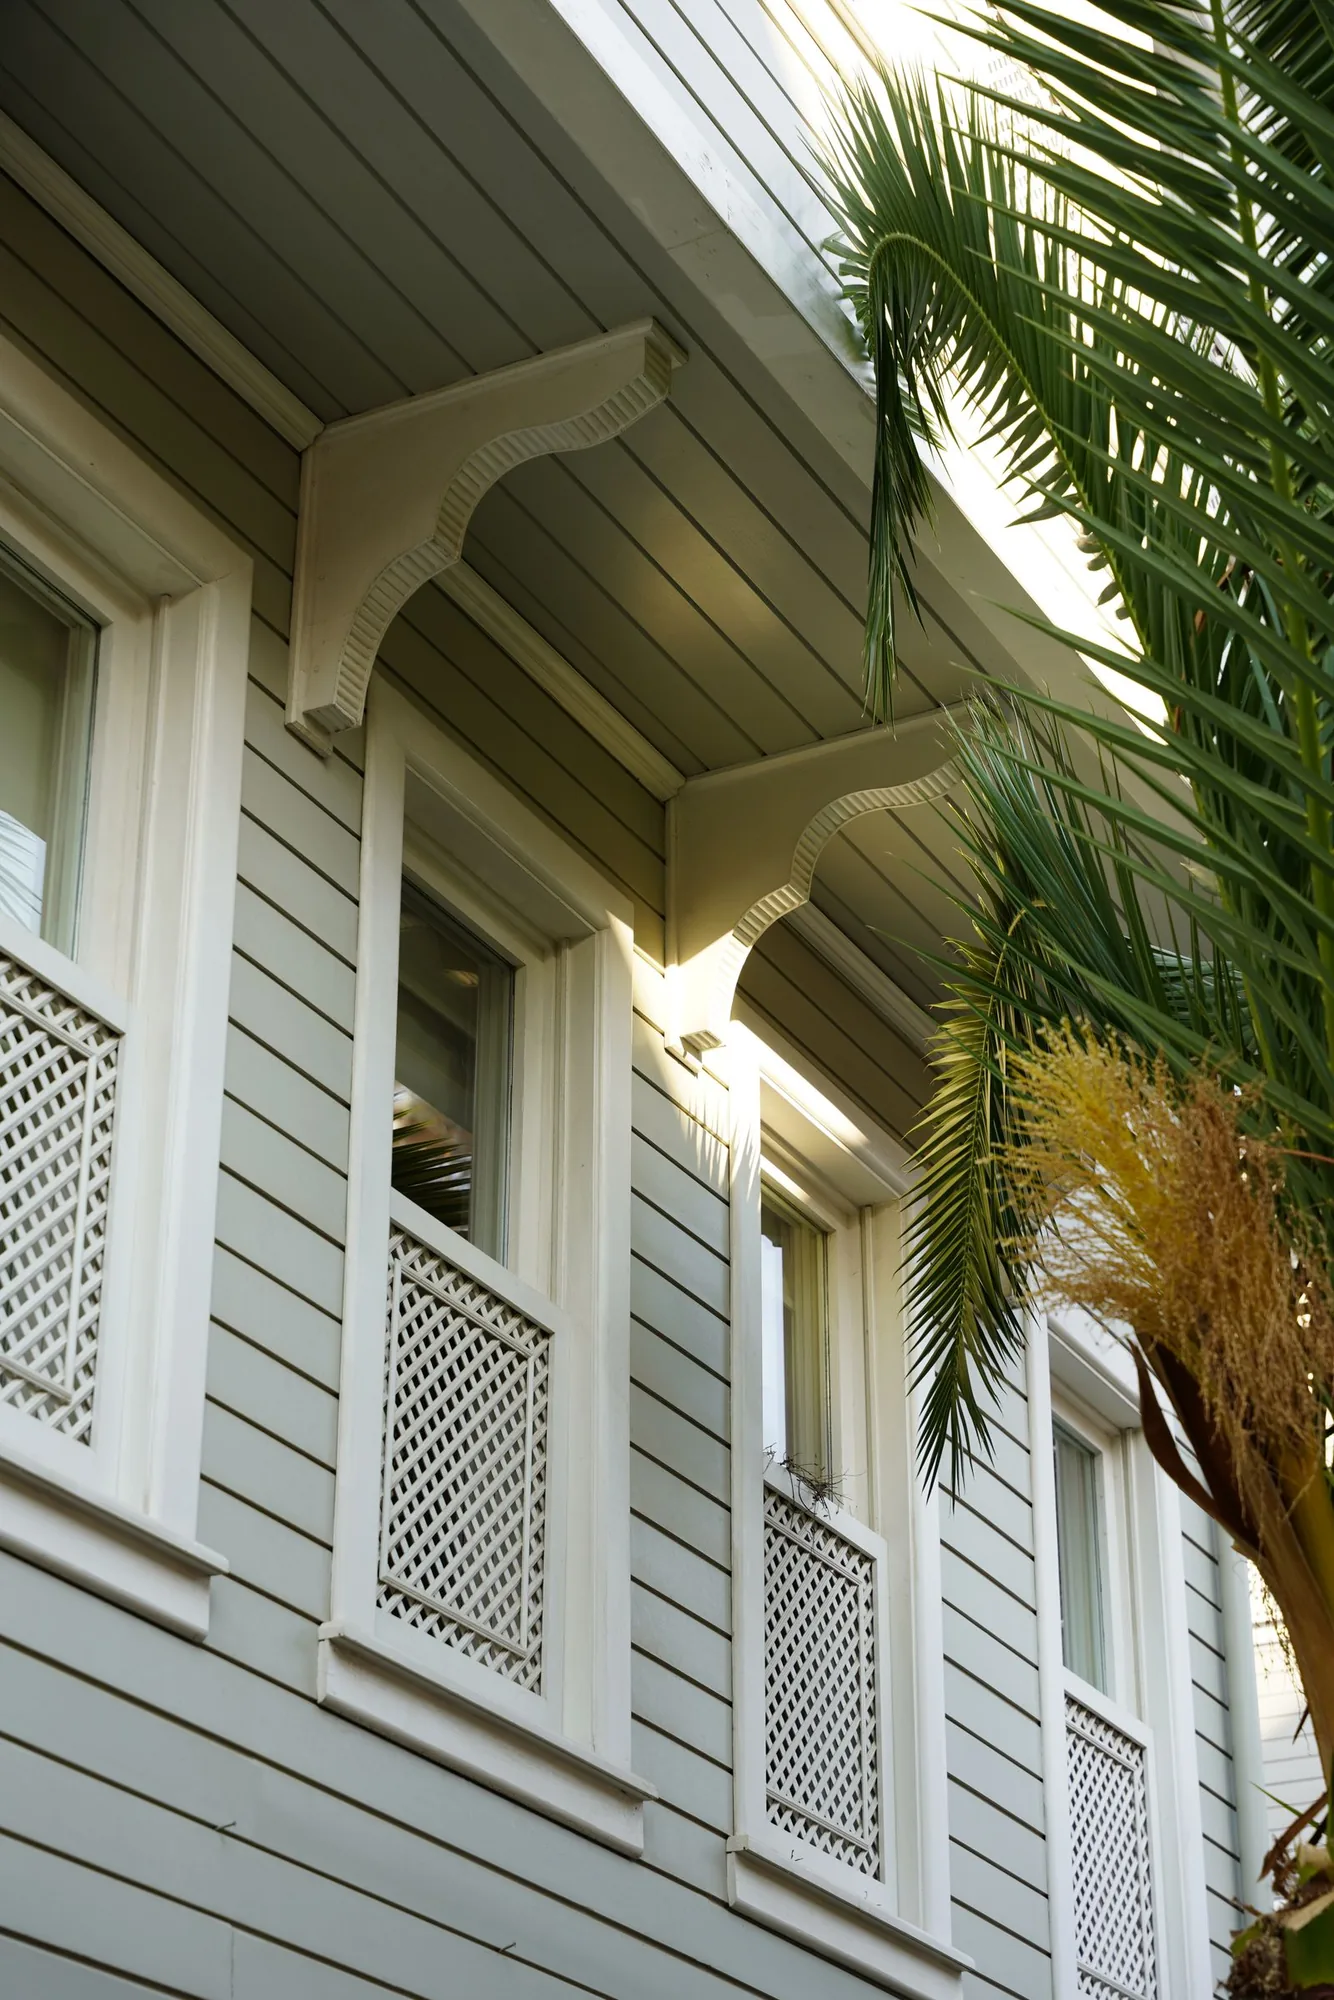
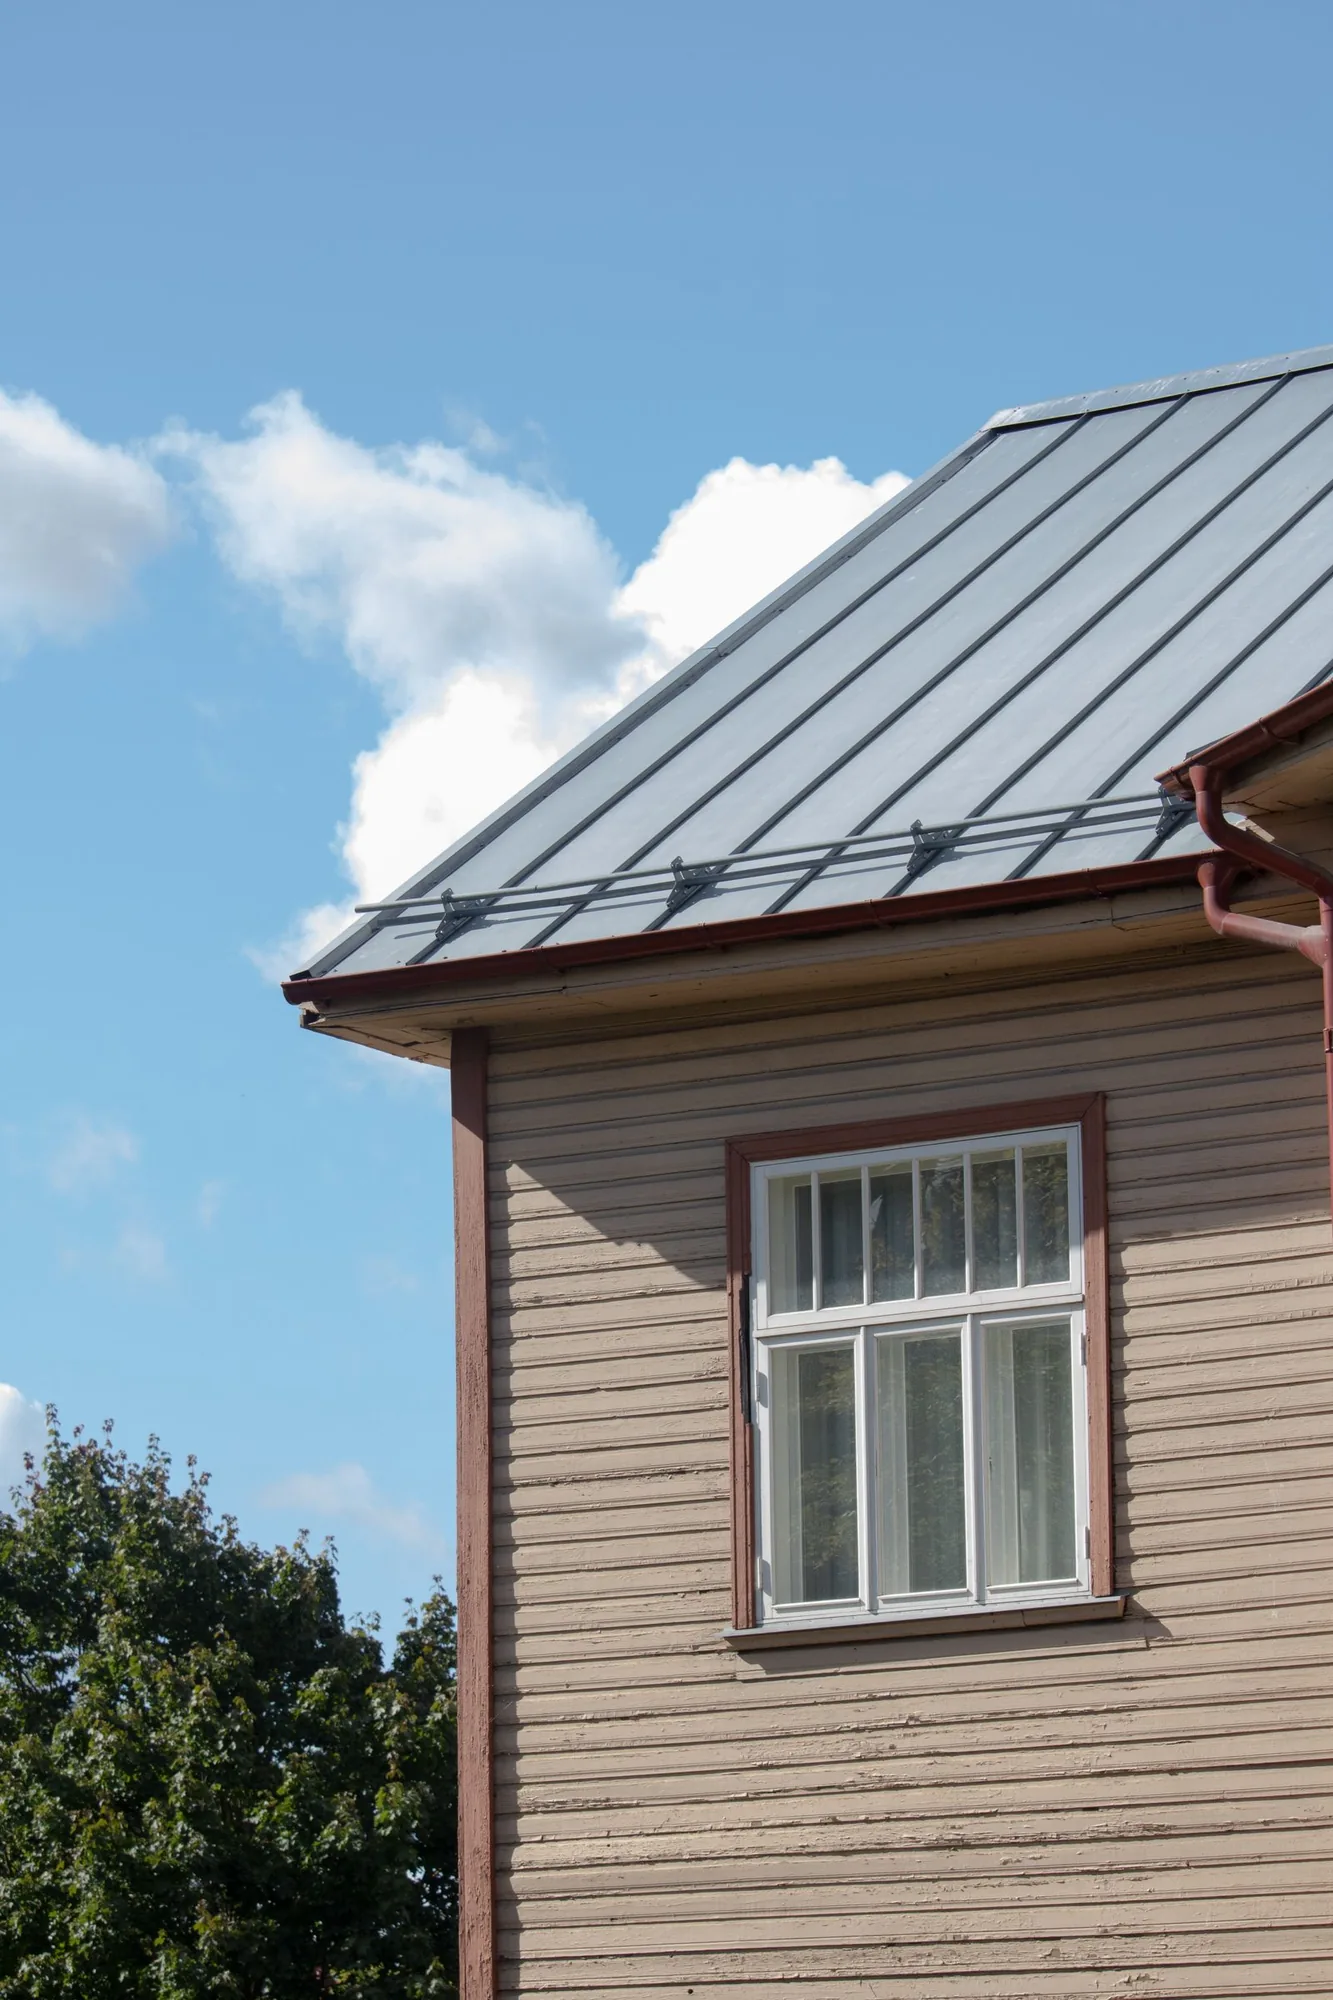
Trim is the finish carpentry on the outside of a house: the fascia your gutters hang from, the soffit closing the eave, the rake boards up the gable, the corner boards where walls meet, and the casing, sill and drip cap at every opening. It looks decorative, but it covers every seam in the siding. When trim fails, water does not stop at the trim.
The failure pattern here is predictable. Horizontal surfaces hold water instead of shedding it, north-facing boards stay damp for weeks and grow moss, and cut end grain wicks moisture the moment its seal breaks. Add a needle-clogged gutter and a fascia that was never primed on its back side, and you have the most common exterior repair call on the Eastside.
Older Bellevue, Kirkland and Redmond housing complicates it. Much of what went up between the 1950s and 1980s used wide cedar fascia, plywood soffit and minimal flashing, on the assumption that paint alone would carry the load. Those profiles are no longer stocked, so matching them takes measuring and milling rather than a trip to the lumber rack.
Scope ranges from one rotted board to a full perimeter replacement, and most jobs touch several of these.
The fascia carries your gutters and closes off the rafter tails, so it absorbs every overflow. We pull the gutter, replace the board, correct the drip edge behind it, then re-hang on sound wood.
Soffit closes the underside of the overhang and usually feeds intake air to the attic. We replace damaged panels and confirm insulation is not blocking the vent path where sheathing shows condensation staining.
Casing is where trim most often goes wrong, because the head detail has to shed water rather than just look finished. We install sloped sills, kerfed drip edges, and head flashing lapped under the weather barrier.
Outside corners, the frieze under the eave and any belly band between stories give siding a clean place to end. We set them proud of the siding plane so courses butt into them rather than relying on caulk.
Once the trim is off we probe sheathing, rim joist and rafter tails with an awl to find how far damage runs. Soft framing is cut back and sistered, and missing weather barrier is patched and lapped.
New trim is sealed on all six faces before installation, with a second pass on cut ends. Joints are treated according to the material rather than caulked shut everywhere.
Proportion is what makes a house read as one style or another, so matching the existing vocabulary usually beats picking the newest profile.
Wide flat casing, a heavy header capped with a projecting drip cap, exposed rafter tails and tapered column wraps. It suits the older bungalows through Seattle and the closer-in Eastside. Watch the depth: the header must genuinely overhang the casing below, or it looks flat and stops shedding water.
Deep overhangs, a tall plain fascia with a shadow board beneath, narrow casing, long horizontal lines. This is the default vocabulary across much of 1960s and 1970s Bellevue. Those fascia boards were often single wide cedar planks, so matching the face dimension today may take a two-piece build-up.
Trim reduced to a shadow gap, a metal reveal or a thin dark-stained cedar band, with windows detailed as flush openings. It fits modern builds where the siding does the visual work. Minimal trim is unforgiving of water management errors, since no wide board is covering a marginal flashing job.
Brickmould around openings, a molded sill with an apron, crown-topped headers and paneled pilasters at the entry. It works on the more formal two-story homes across the Eastside. Outdoor miters open as wood moves seasonally, so returns and corners should be glued and assembled rather than butted on the wall.
Wide corner boards, a heavy frieze under the eave and plain square-edge casing over vertical battens. It reads as a farmhouse without much millwork. Layout is the catch: battens have to land on the panel seams underneath, or they are not covering what they were meant to.
The sequence is built around finding the real extent of the damage before committing to a scope.
We check every run with an awl, concentrating on known trouble spots: gutter ends, roof-to-wall intersections missing a kickout flashing, window head casings, and skirt boards near grade.
Existing trim is measured for face width, thickness and edge detail. Where a dimension has been discontinued, we work out whether a stock board, a ripped board or a built-up assembly reproduces it.
You choose material and finish, and we write a scope separating confirmed work from contingencies like sheathing repair that can only be priced once the trim is off.
Beds, walkways and hardscape are covered, and ladders, staging or scaffold are set to suit the height and roof pitch. Gutters come down and are stored rather than worked around.
Boards come off carefully so the weather barrier is not shredded. We inspect framing and existing flashing, then review anything unexpected with you before going further.
This step decides whether the repair lasts. Missing head flashing is added, kickout flashing installed where a roof edge dumps against a wall, and the barrier shingle-lapped in the right direction.
Boards are sealed on all faces before they go up, ends sealed on site. We hold the specified expansion gaps, scarf long runs instead of butting them, and leave horizontal trim uncaulked underneath so water can weep out.
Coats go on within the paint manufacturer’s temperature and dew-point window, gutters are re-hung on new fascia with corrected slope, and we walk each elevation with you.
The sooner rotted trim is opened up, the smaller the repair behind it tends to be. Call (206) 825-2773 to schedule an on-site inspection.
Each option trades off appearance, movement, maintenance and tolerance for standing water.
| Option | Best For | Considerations | Relative Cost |
|---|---|---|---|
| Western red cedar | Matching original profiles and stained finishes | Rot resistant but not rot proof; tannins bleed through paint and stain fasteners unless stainless or hot-dipped galvanized nails are used; clear vertical grain outperforms knotty stock | Moderate to high |
| Primed finger-jointed pine | Painted trim on protected walls with deep overhangs | Inexpensive and easy to work, but the glue joints fail fast once water reaches them; demands disciplined back-priming and a maintained paint film | Low |
| Cellular PVC | Sills, water tables, fascia and anything that stays wet | Will not rot or absorb water; moves noticeably with temperature, so fastening intervals matter and butt joints should be bonded with PVC cement rather than caulk | High |
| Fiber cement trim | Whole-house replacement matched to fiber cement siding | Stable and holds factory paint well; heavy, dulls blades quickly, and the silica dust requires controlled cutting; butt joints need gapping and joint flashing | Moderate |
| Engineered wood trim | Full replacements wanting a wood-grain look for less | Lighter than fiber cement with good spanning strength; the treated surface must stay sealed, and every field-cut end needs sealer before it goes up | Moderate |
| Poly-ash composite | Skirt boards and splash-zone trim near grade | Handles moisture and soil contact better than most alternatives and machines like wood; heavy, and it needs expansion gapping similar to PVC | High |
Final material choice depends on site conditions and a written estimate.
Pricing is driven less by the boards than by access, discovery and finish work.
Cost tracks the total run being replaced, and wrapping all four sides is a different job from one gable. Continuous runs are also more efficient per foot than scattered short repairs.
Ladder-height work is least expensive. A steep pitch, a three-story wall or a tight setback against a neighbor’s fence can require scaffold or a lift, and that setup cost applies regardless of run length.
What sits behind the trim is unknown until it comes off. Replacing sheathing or rebuilding rafter tails adds framing labor nobody can price from the ground, which is why a sound estimate names it as a contingency.
PVC and poly-ash cost more per board than primed pine, and clear vertical-grain cedar costs more than knotty. The real comparison is what you spend now against how often you repaint or repair later.
A square-edge board is quick. Reproducing a molded historic profile or building up a wide mid-century fascia adds shop time, and custom milling adds lead time to the schedule.
Back-priming, sealing end grain and applying two coats is more labor than one field coat, and it is the difference between trim that holds and trim that peels. Cool damp stretches shrink the usable hours per day.
We do not quote exterior trim by phone or from photographs. Accurate pricing requires an on-site inspection of every elevation, probing for hidden damage, and a written estimate that spells out the confirmed scope and lists contingency items separately.
Trim is finish carpentry and water management at once, and it has to be done as both.
Anyone can nail up a board. The value is in the twenty minutes before that, when flashing, barrier laps and drip details get corrected.
Every piece is sealed on all faces, back and cut ends included, before it is fastened. Back-priming is the most commonly skipped step and the usual reason a repaint fails early.
Much of the Eastside was built with dimensions no longer stocked. We rip and build up to reproduce the original face width instead of substituting the closest thing and leaving a visible step.
Hidden rot cannot be measured from outside, so we flag likely trouble areas up front and show you photographs of the substrate before any added work is authorized.
Trim rarely stands alone. We sequence it with siding, gutters, roof edge details and painting so the flashing laps run in order and you are not staging the same wall twice.
You know who is on site, what is happening on which elevation, and when coatings go on. Questions get answered by someone who has looked at your house.
Push an awl into the board, especially near the ends and behind the gutter. Sound wood resists; rotted wood takes the tip easily and feels spongy. Peeling paint alone is often just a failed coating, but blistering from underneath or a gutter pulling away usually means the wood is already gone.
A common answer is both. Cedar is right when you are matching original profiles or want a stained finish with visible grain. PVC is better for sills, water tables and anything near grade, because it does not care how long it stays wet. Its tradeoff is thermal movement, so it needs correct fastening intervals and cemented joints.
Often yes, particularly fascia, soffit and rake boards that sit outside the siding plane. Corner boards and casing are harder, because the siding butts into them and the weather barrier laps around them. There we usually release a course or two of siding to reconnect the flashing rather than caulking over the seam.
Almost always a water path rather than a paint problem. The usual culprits are missing or reversed head flashing above the casing, a sill installed flat instead of sloped, or an unsealed cut end wicking moisture into the board. Moisture pushes out through the coating from behind, which is why it blisters rather than chalks.
Like-for-like trim repair is generally treated as maintenance and does not typically require a permit. That changes once work moves into structural repair, altered window openings, or a broader siding replacement. Requirements also differ between Bellevue, Kirkland, Redmond, unincorporated King County and Seattle, so we confirm what applies before starting.
Late spring through early fall gives the widest window, because of the coatings rather than the carpentry. Paints and stains have minimum application temperatures and need the surface above the dew point long enough to cure. Carpentry and flashing repair can still proceed under cover in the wet season when rot is spreading.
Usually, yes. Gutters hang on the fascia, so a sagging run generally means the fascia has softened around the hanger screws. Catch it early, because the sag keeps water standing against that same board. The fix is replacing the compromised fascia and correcting the drip edge behind it, not driving longer screws into failing wood.
Service life depends far more on the details than the material. Trim that is back-primed, sealed at every cut end, correctly flashed and kept out of standing water lasts decades in any common material, while the same board without those steps can fail within a few seasons. Plan on periodic recoating and clear gutters.
EXCELLENTTrustindex verifies that the original source of the review is Google. Didn’t know what to expect at first but these guys blew the winds off my hat I mean seriously, I had a bathtub renovated to a built in shower and my God am I satisfied with their work. If anyone is considering going with these guys for a remodel I’d vouch for sure.Posted onTrustindex verifies that the original source of the review is Google. They did a good job on my Deck remodeling project, finished in such a short time and gave me a professional run-down on the material and labor cost. Highly recommend.Posted onTrustindex verifies that the original source of the review is Google. I usually don’t trust these companies but Sky Pro blew my expectations out of the water. I seriously am so glad they contacted me, I have 2 bathrooms in my home that both needed to be completely remodeled and they nailed my vision down for both. I couldn’t be happier with this and can recommend them to anyone, even locally.Posted onTrustindex verifies that the original source of the review is Google. I ended up going with Sky Pro for my roof project, they did an amazing job and the team didn’t fail to keep me assured the entire process through. 🙏🏽Posted onTrustindex verifies that the original source of the review is Google. Sky Pro came to do my concrete driveway project a couple weeks ago and, they were very respectful and easy to communicate with, very satisfied with their work.Posted onTrustindex verifies that the original source of the review is Google. These guy did a great job extending out our back patio. We have existing exposed aggregate and they matched the design perfectly. From the start Ben always made sure we were happy and all our questions were answered. We will definitely use them again for future concrete projects.Posted onTrustindex verifies that the original source of the review is Google. Sky Pro came out and gave me a quote for my flooring project, they sent a wonderful contractor and he explained to me what was best regarding material costs. Definitely will be going with them! Contractor was actually really cool with the process and showed me some previews on how it should lookPosted onTrustindex verifies that the original source of the review is Google. Got my deck looked at by SkyPro, ended up going with them for repairs and they did an amazing job. We made a deal with the pricing as well so I'm actually looking forward to booking with them soon when I wanna get my other project done.Posted onTrustindex verifies that the original source of the review is Google. SkyPro did my kitchen remodel project and I am so glad I went with them because now I’m walking into a palace every time I’m home. Really appreciate them!Verified by TrustindexTrustindex verified badge is the Universal Symbol of Trust. Only the greatest companies can get the verified badge who has a review score above 4.5, based on customer reviews over the past 12 months. Read more
Service Areas
Sky Pro Remodeling handles exterior trim installation, repair and rot remediation throughout Bellevue and the surrounding Eastside, including Kirkland, Redmond, Sammamish, Issaquah, Bothell and Mercer Island. We also work across greater Seattle and north toward Lynnwood and Everett, where the same wet-season detailing challenges apply.
Do not see your neighborhood? Call (206) 825-2773 — we regularly work throughout King County.
We will walk every elevation, probe for hidden damage and put the confirmed work and any contingencies in writing. Reach us at (206) 825-2773.
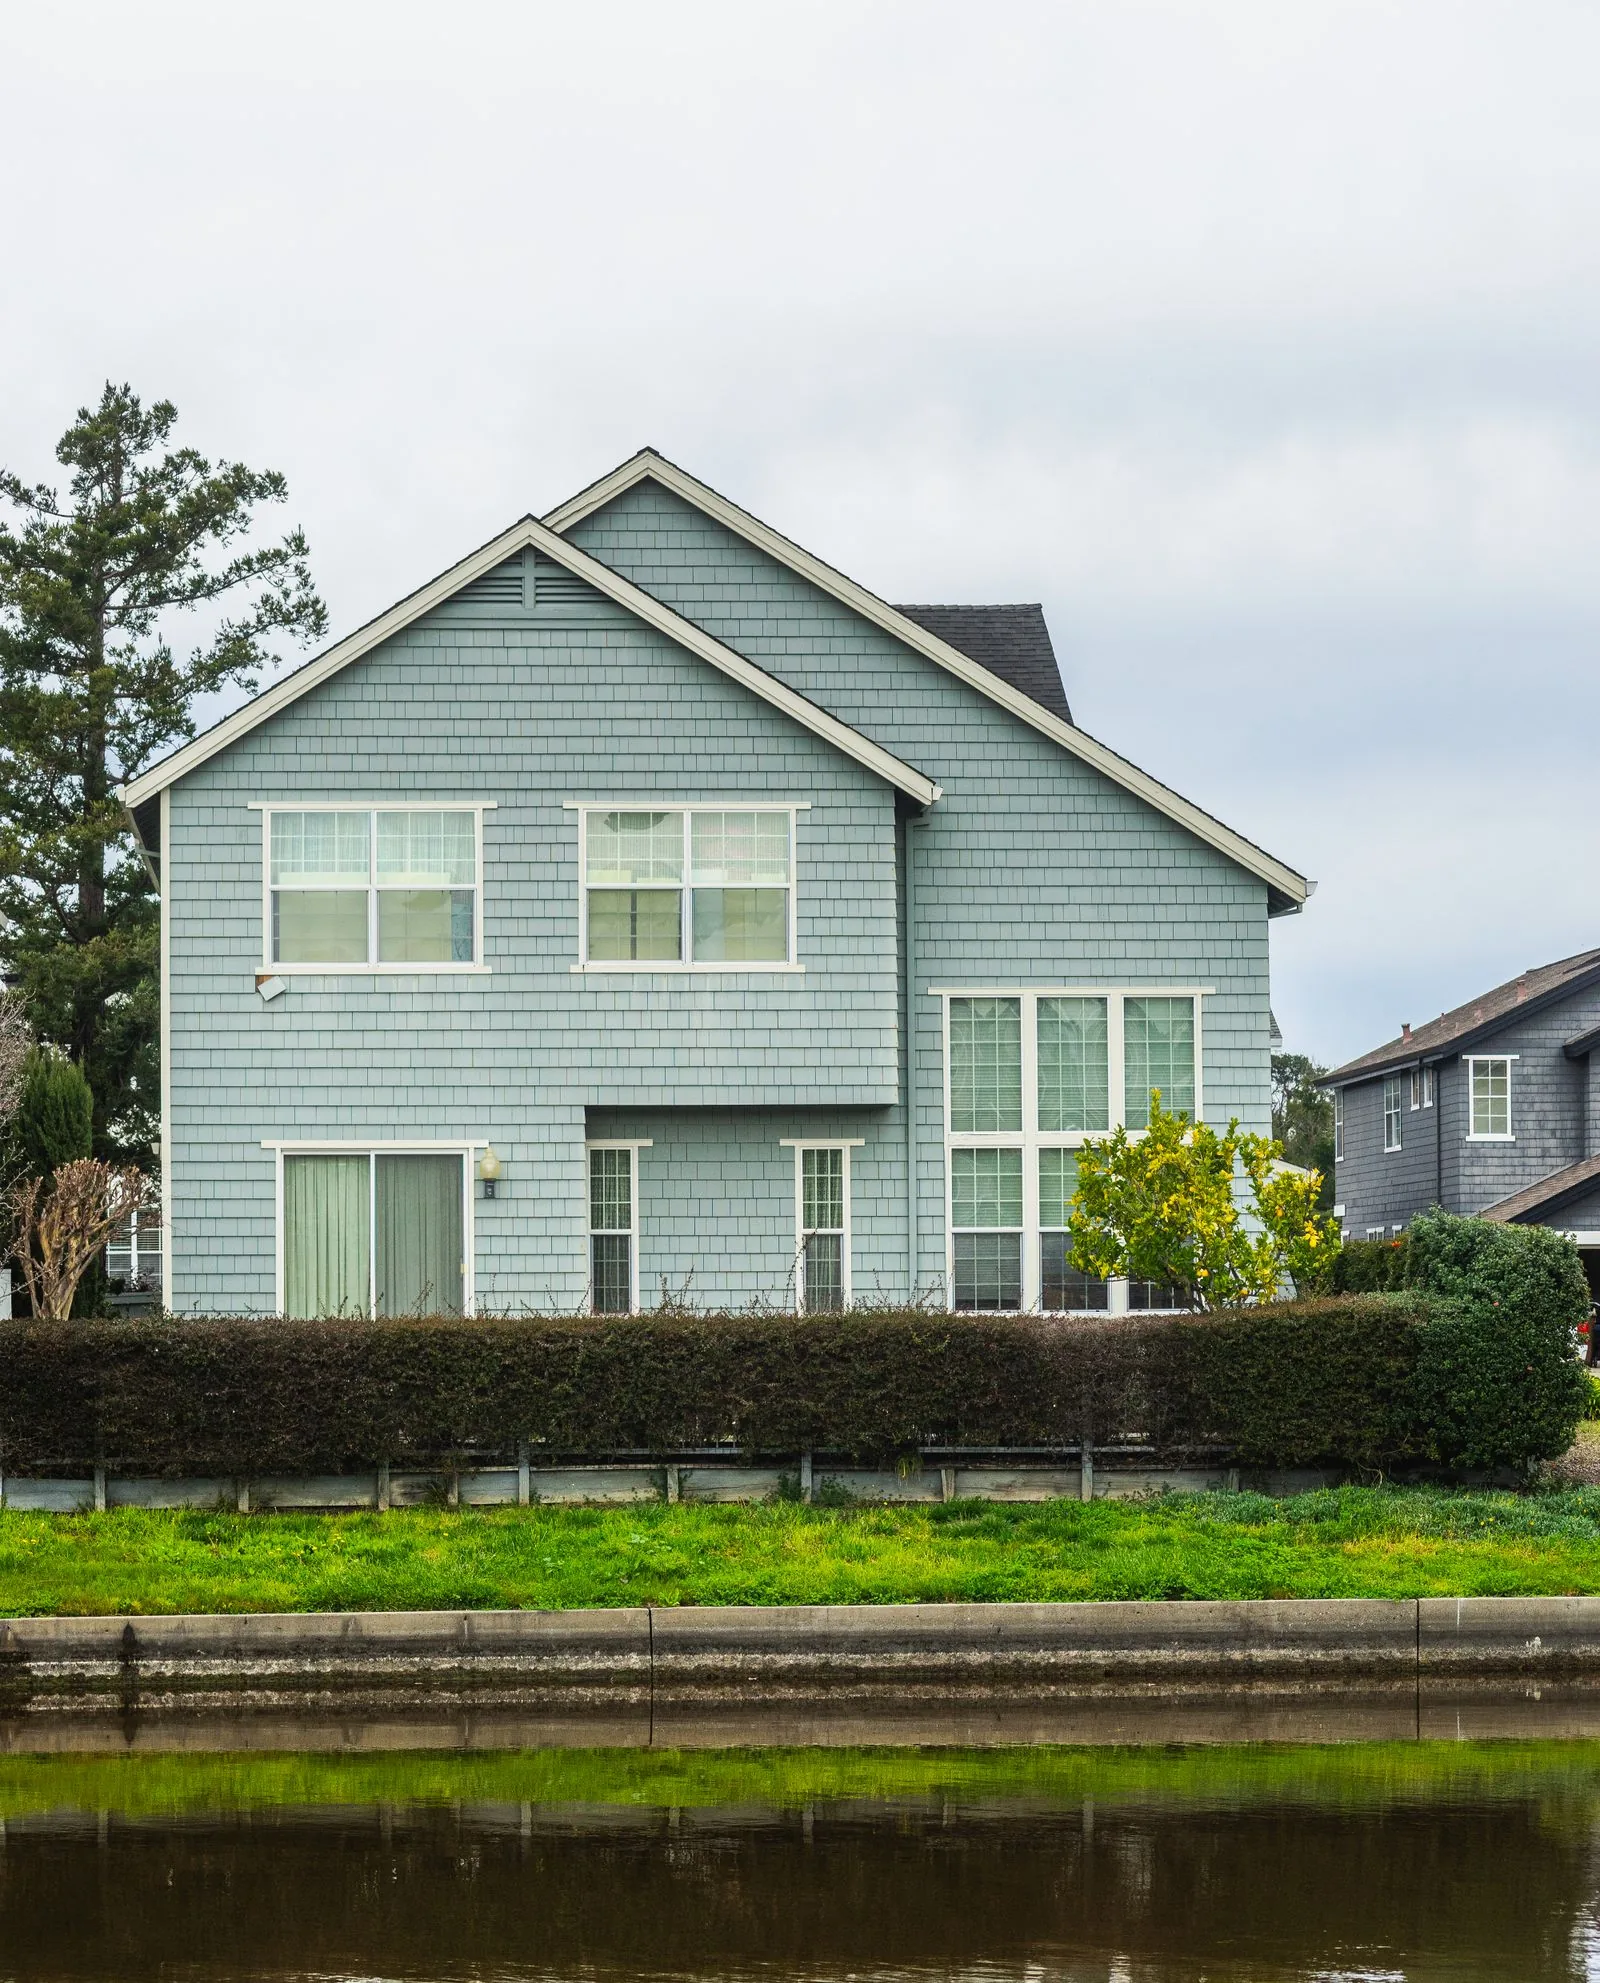
Trim and siding share the same flashing and barrier system, worth reading if you are weighing whether to do both at once.
Learn moreA broader look at how materials hold up in a wet, mild climate, the same calculation behind picking a trim material.
Learn moreUseful background if your house predates modern flashing practice and you expect surprises once the trim comes off.
Learn moreTell us what you are seeing and which parts of the house are affected, and we will arrange a time to look in person. Photos help, though we will still inspect on site before pricing.
Let us know how we can help you!