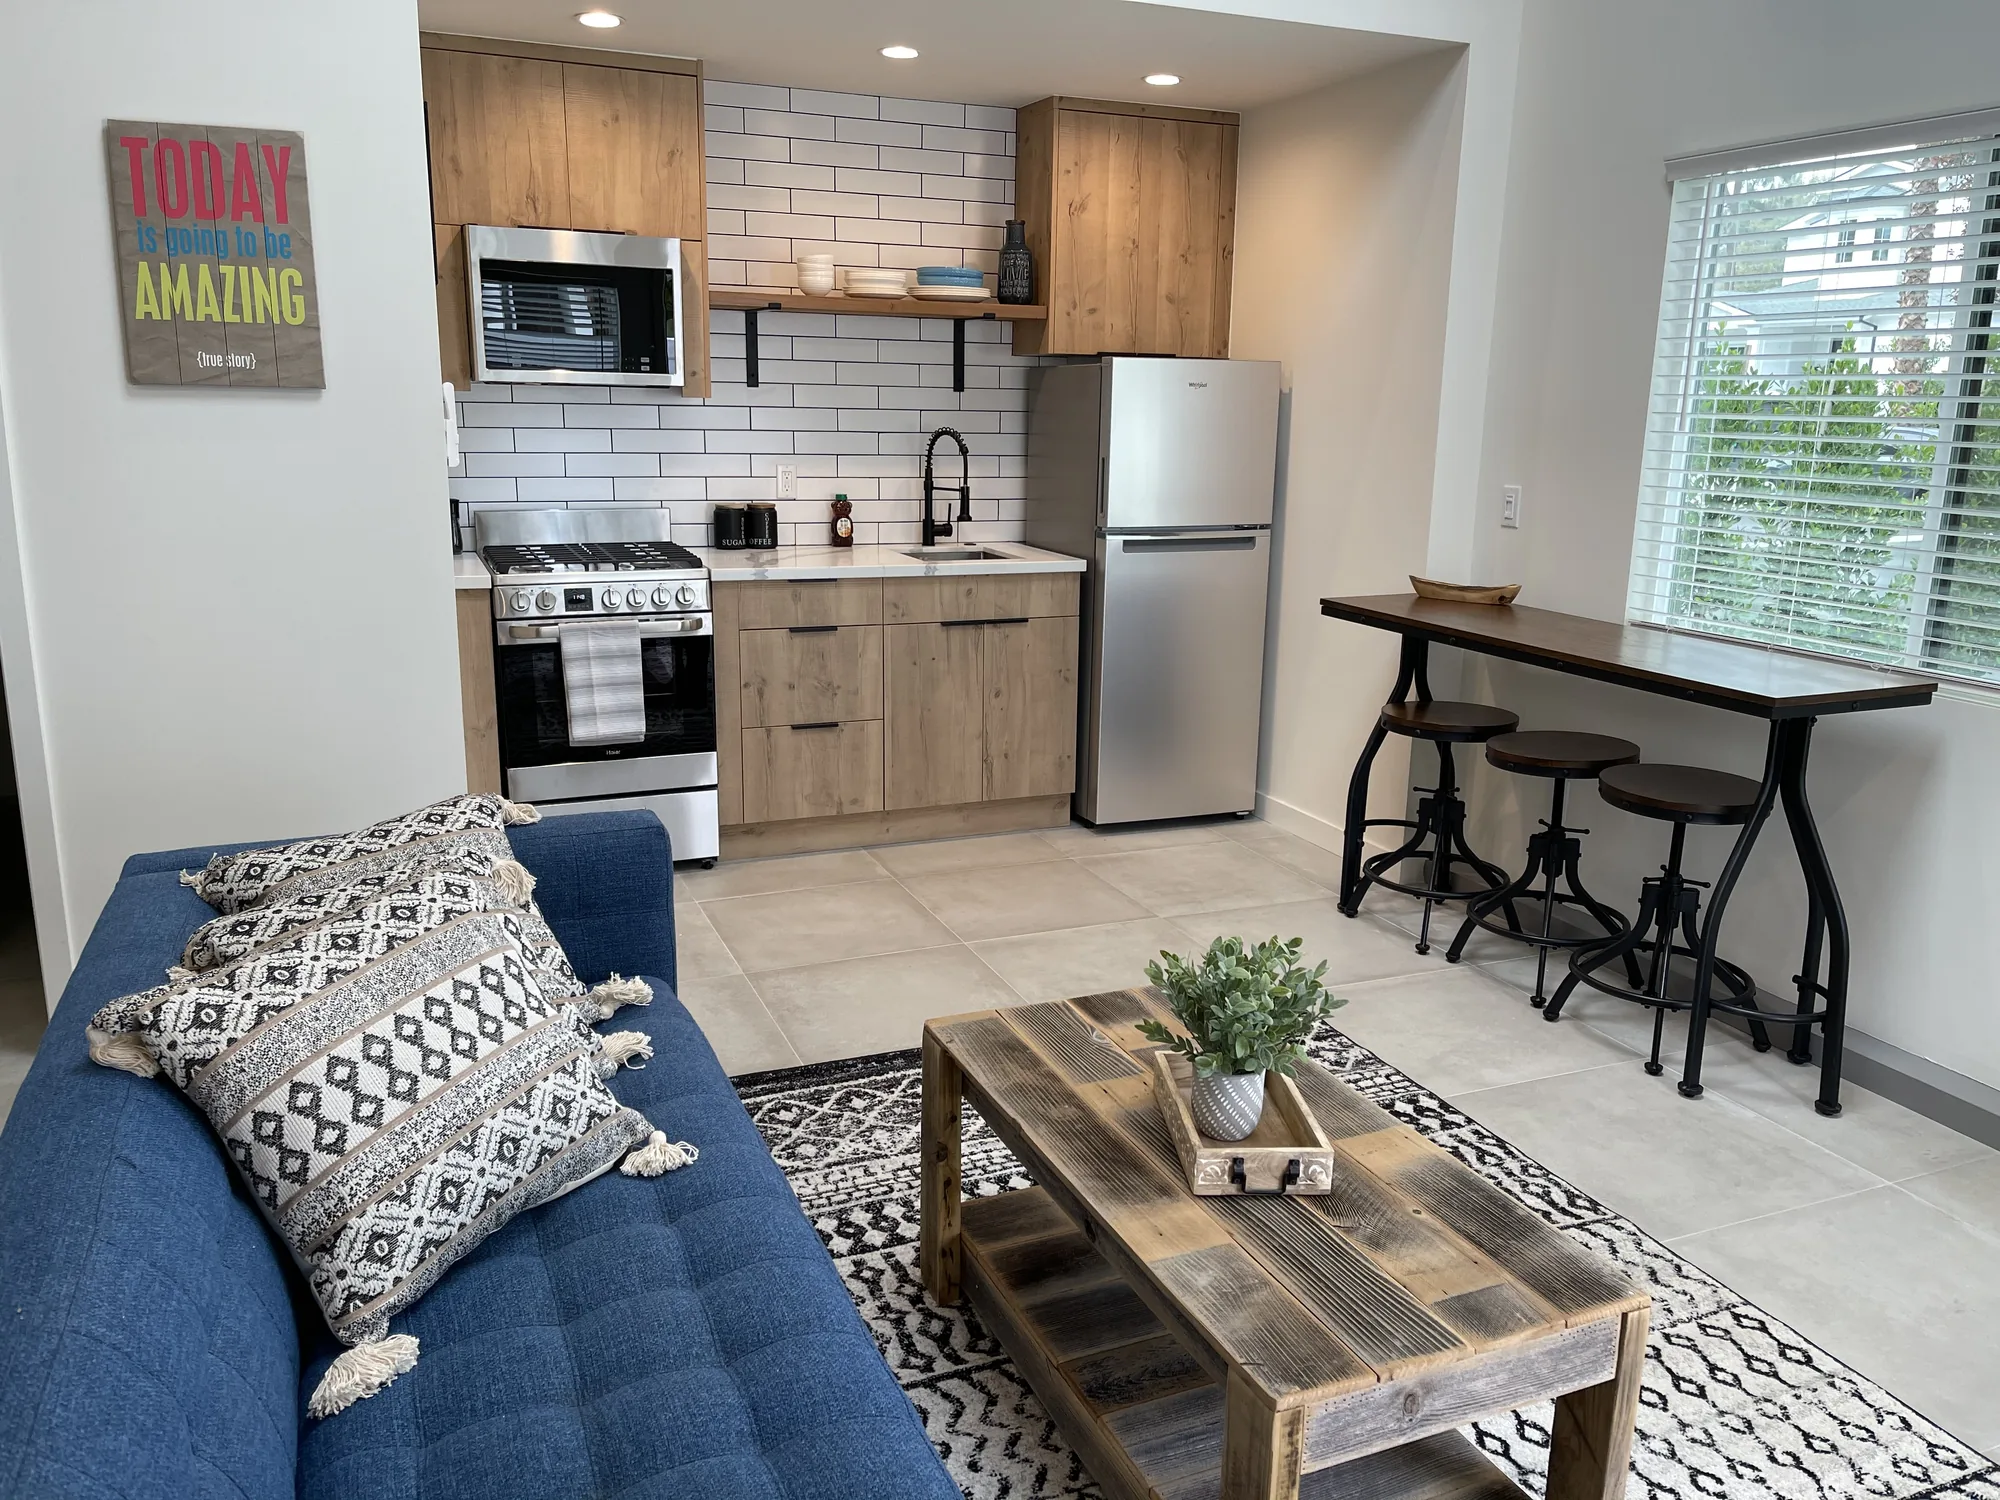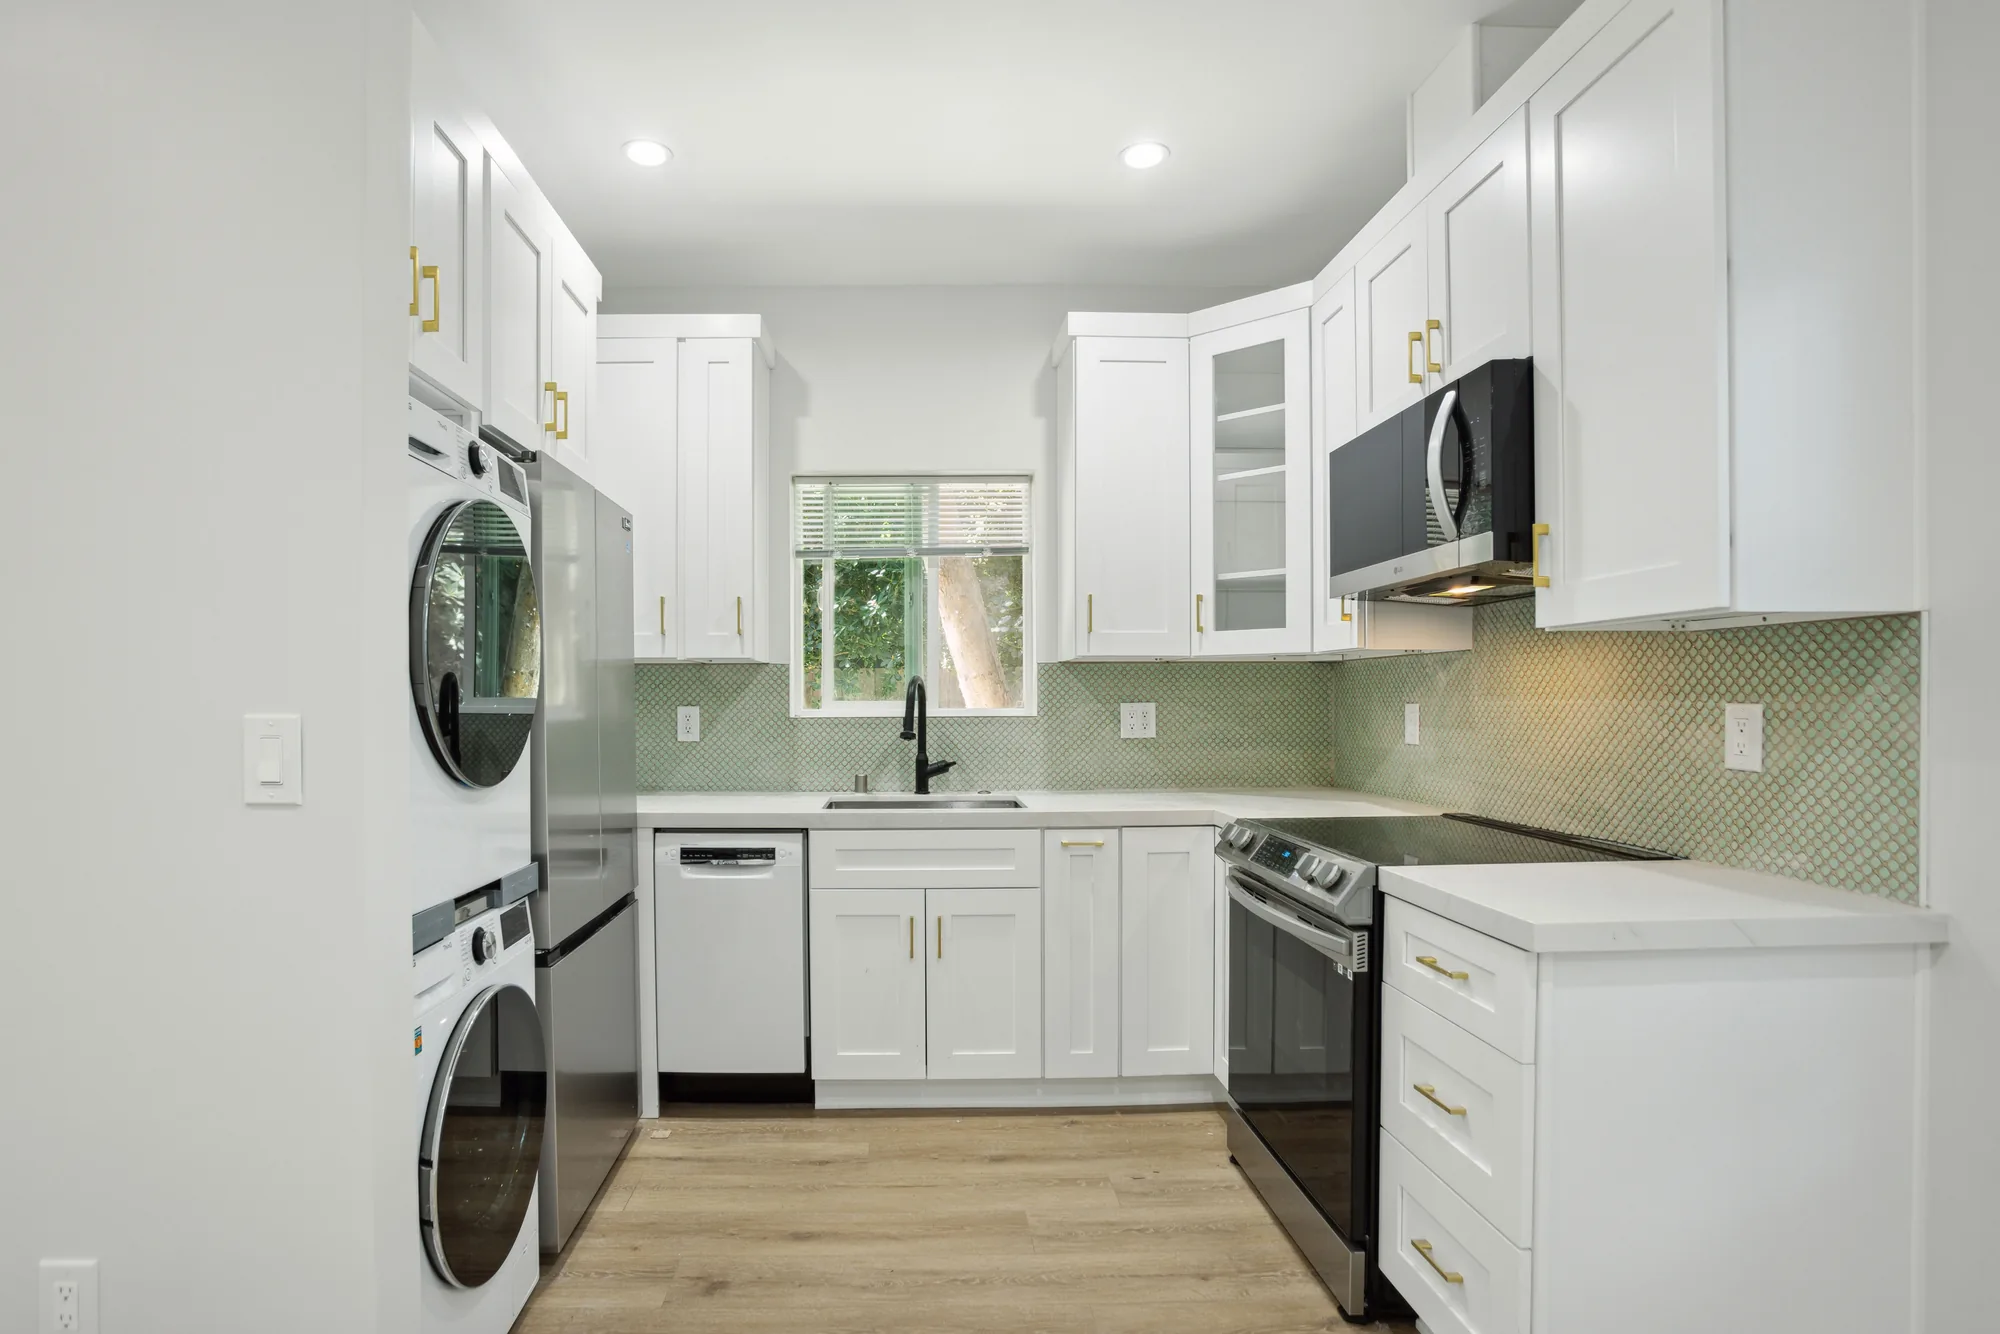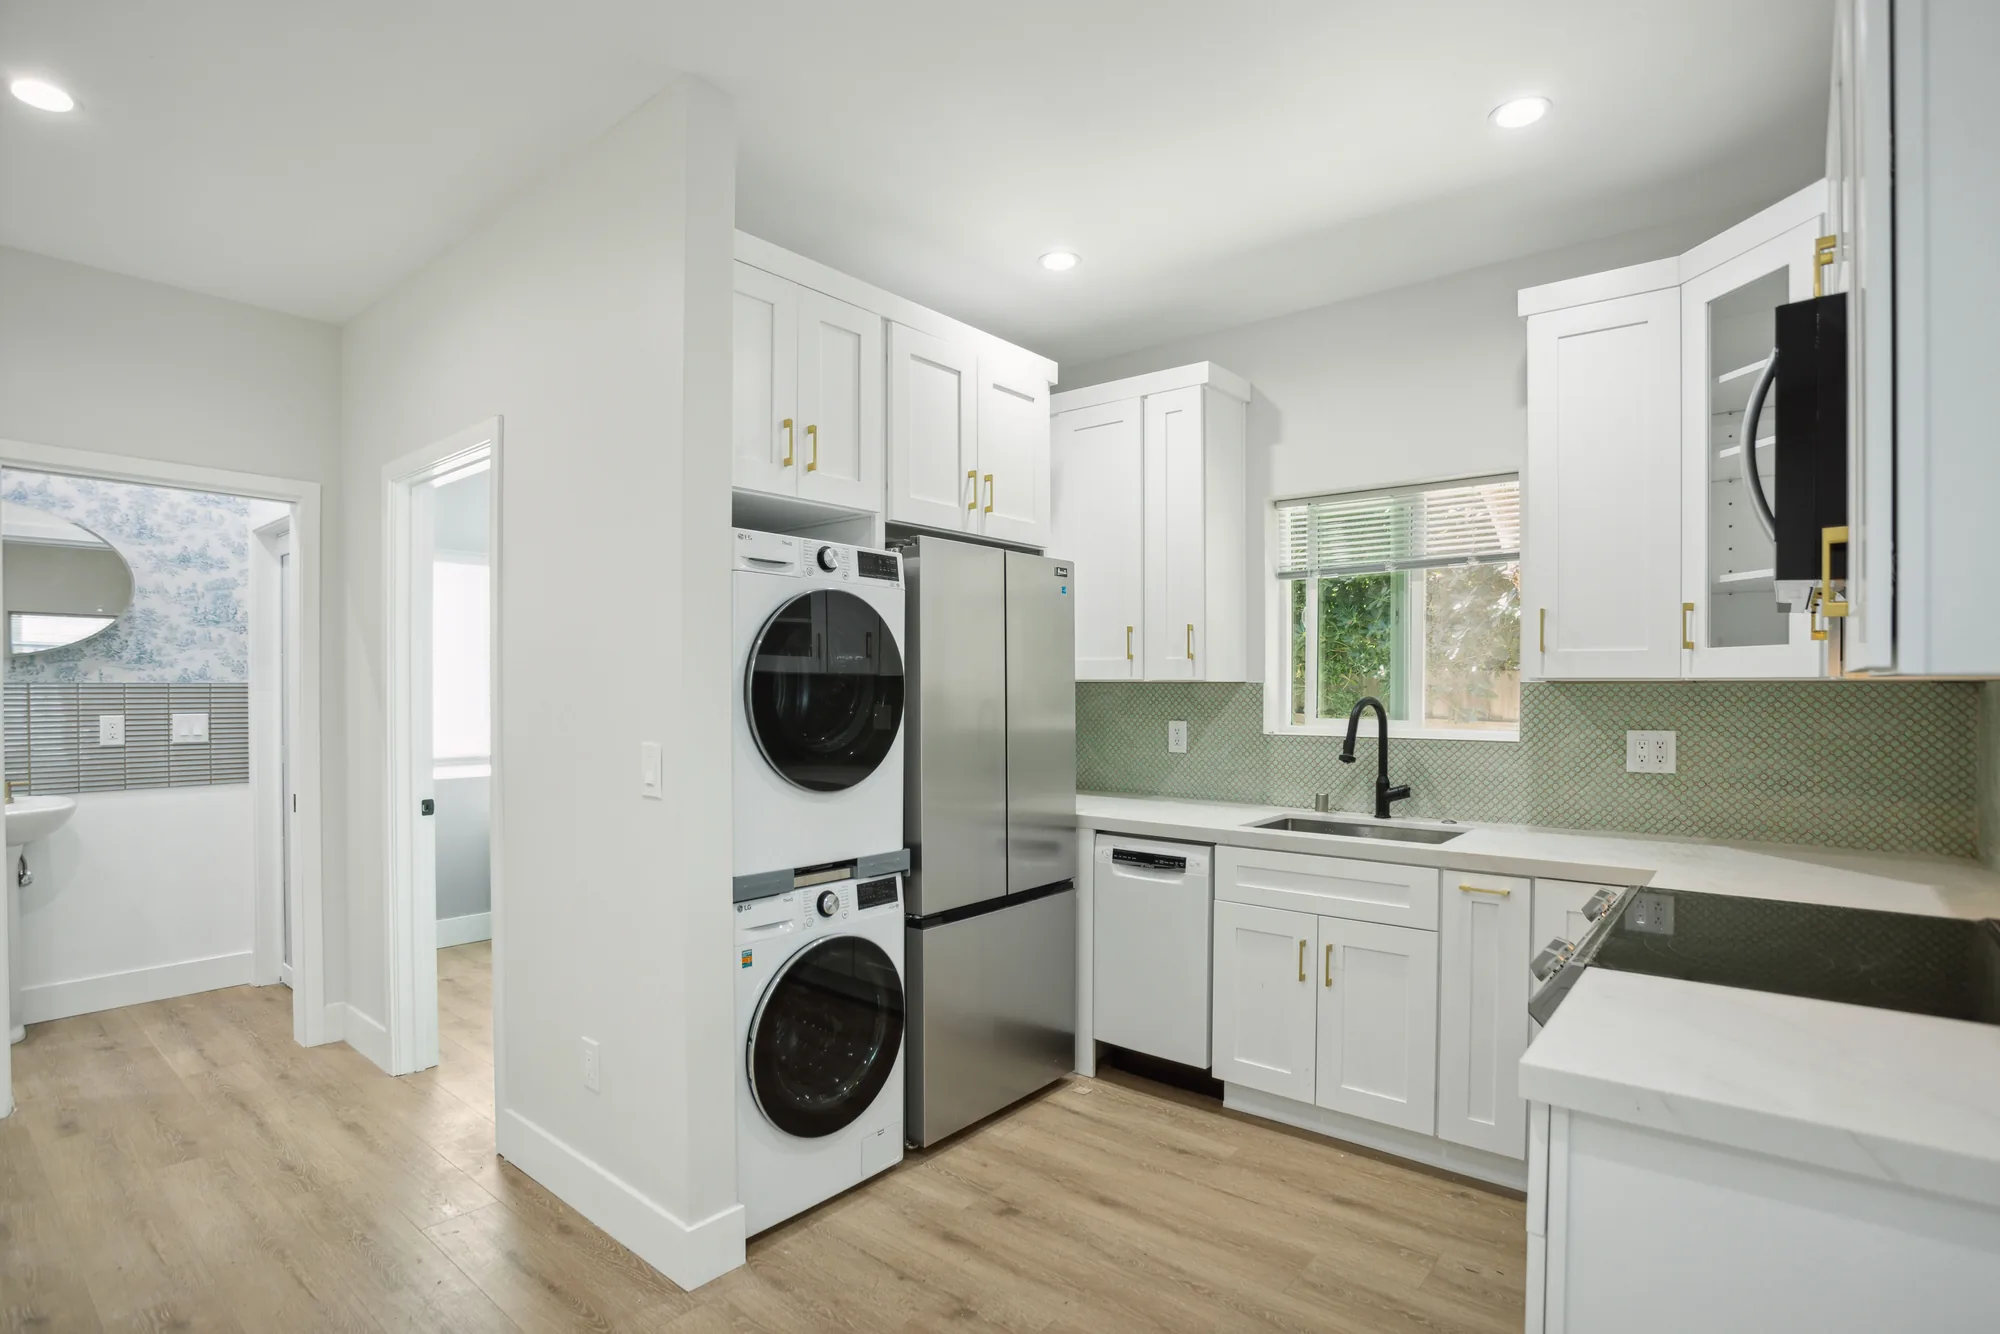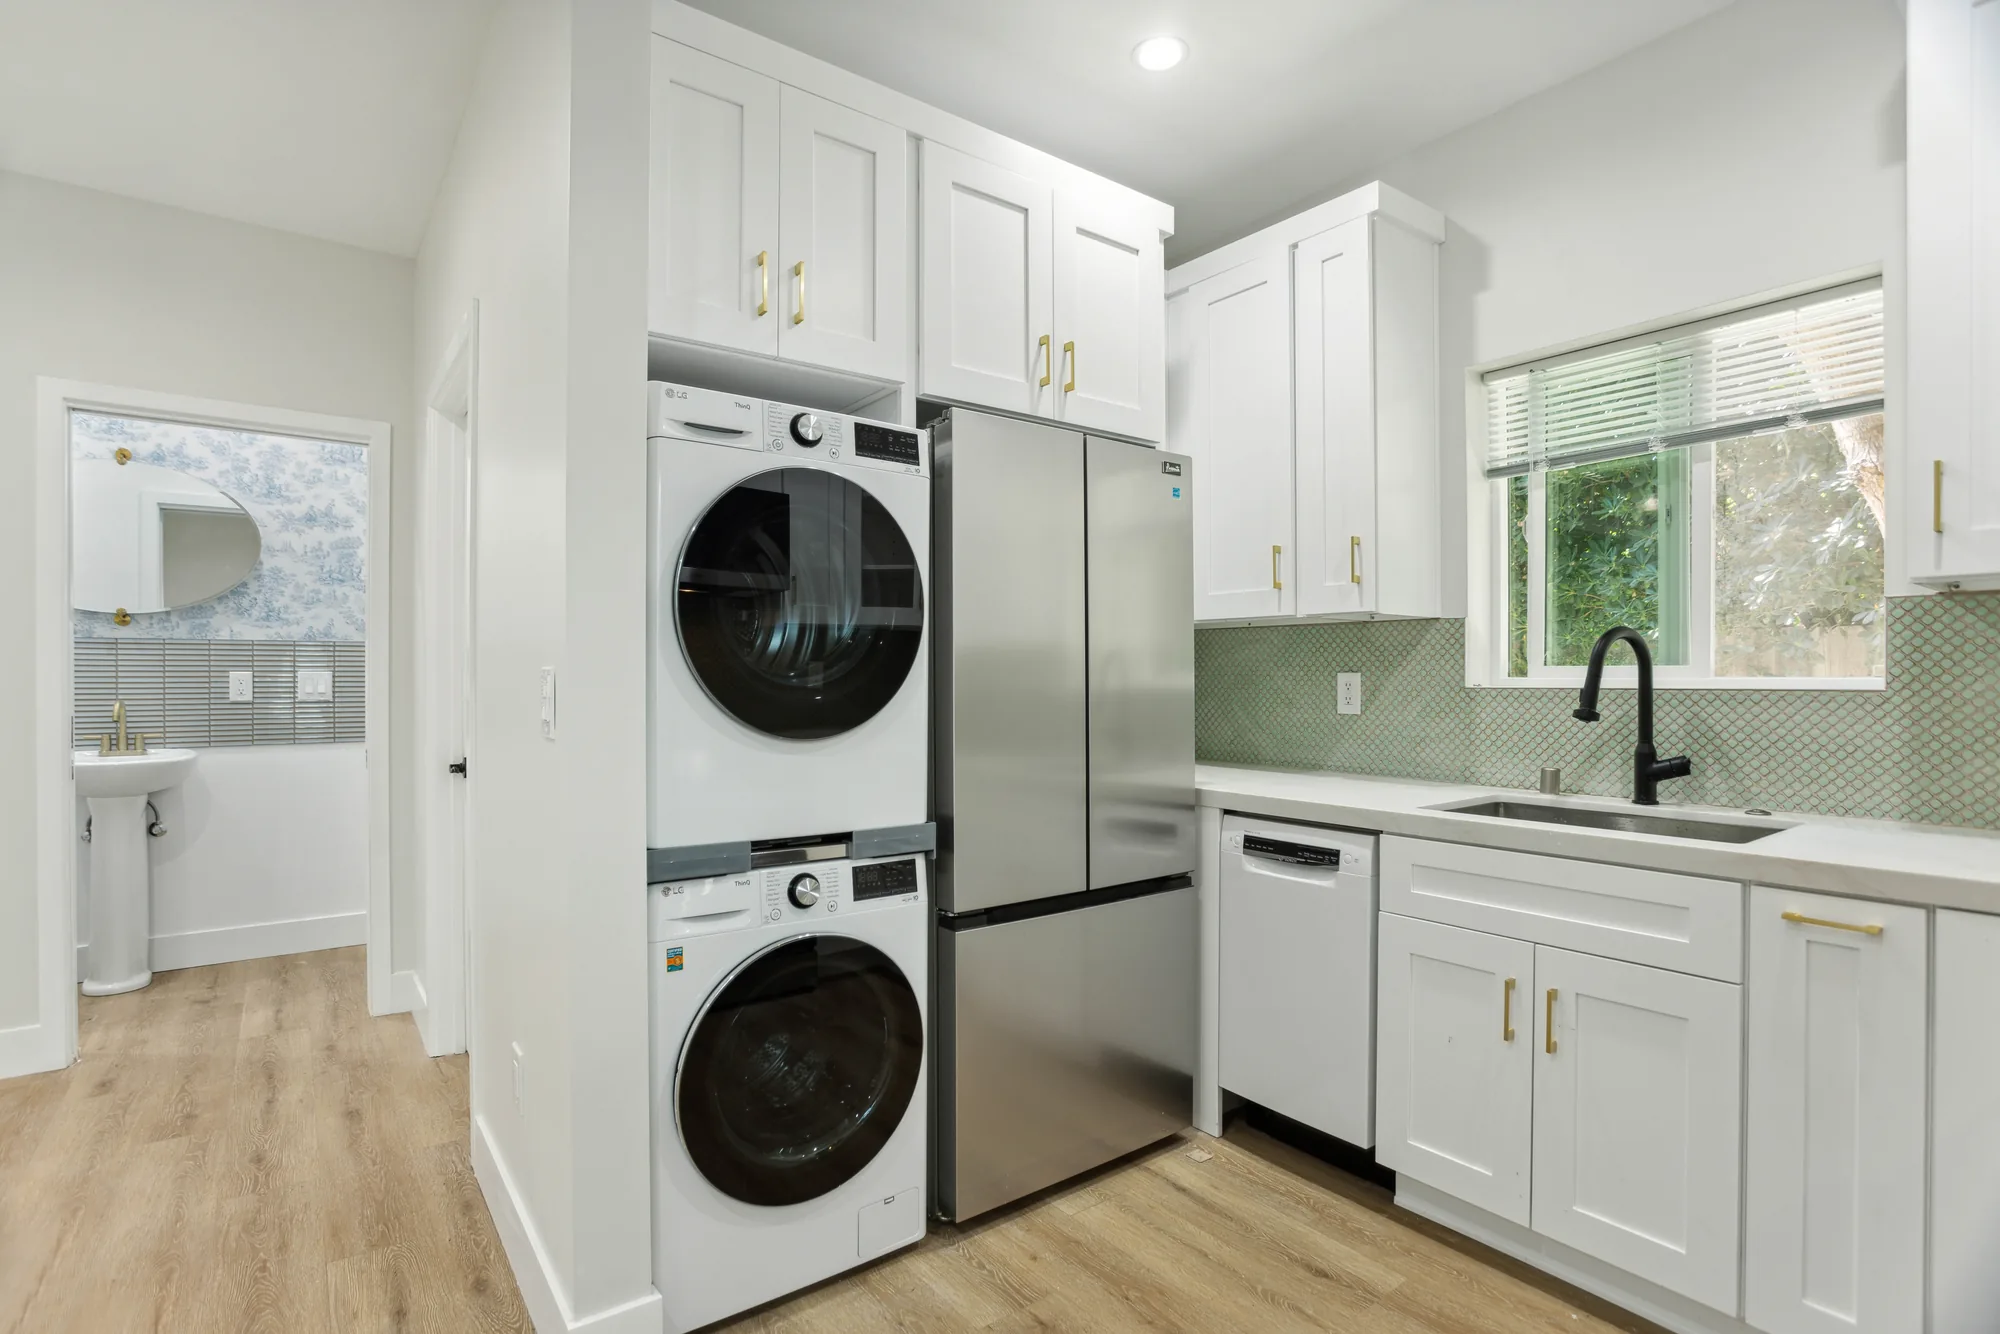
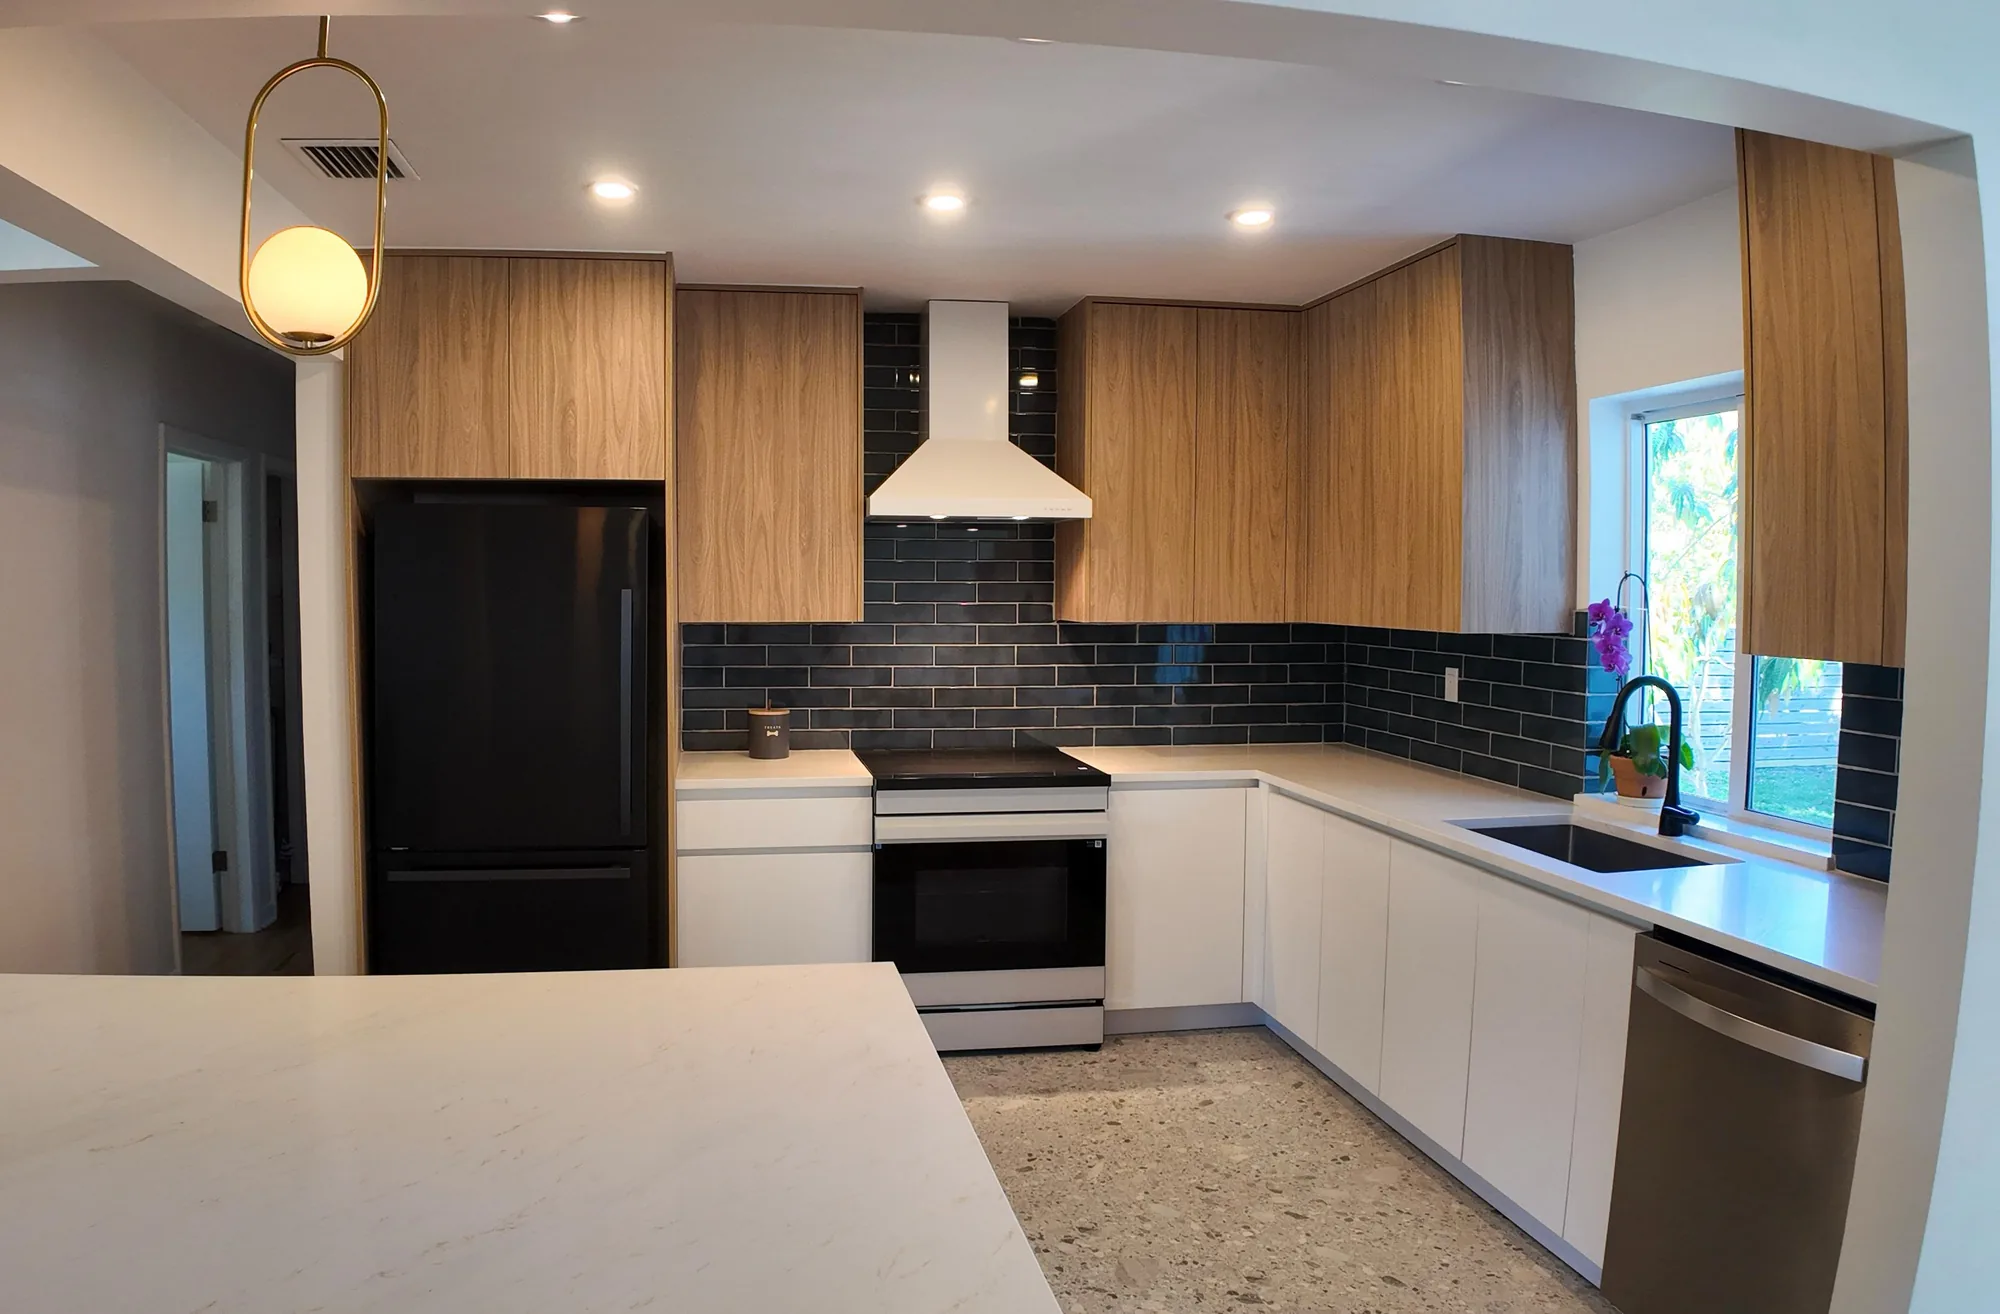
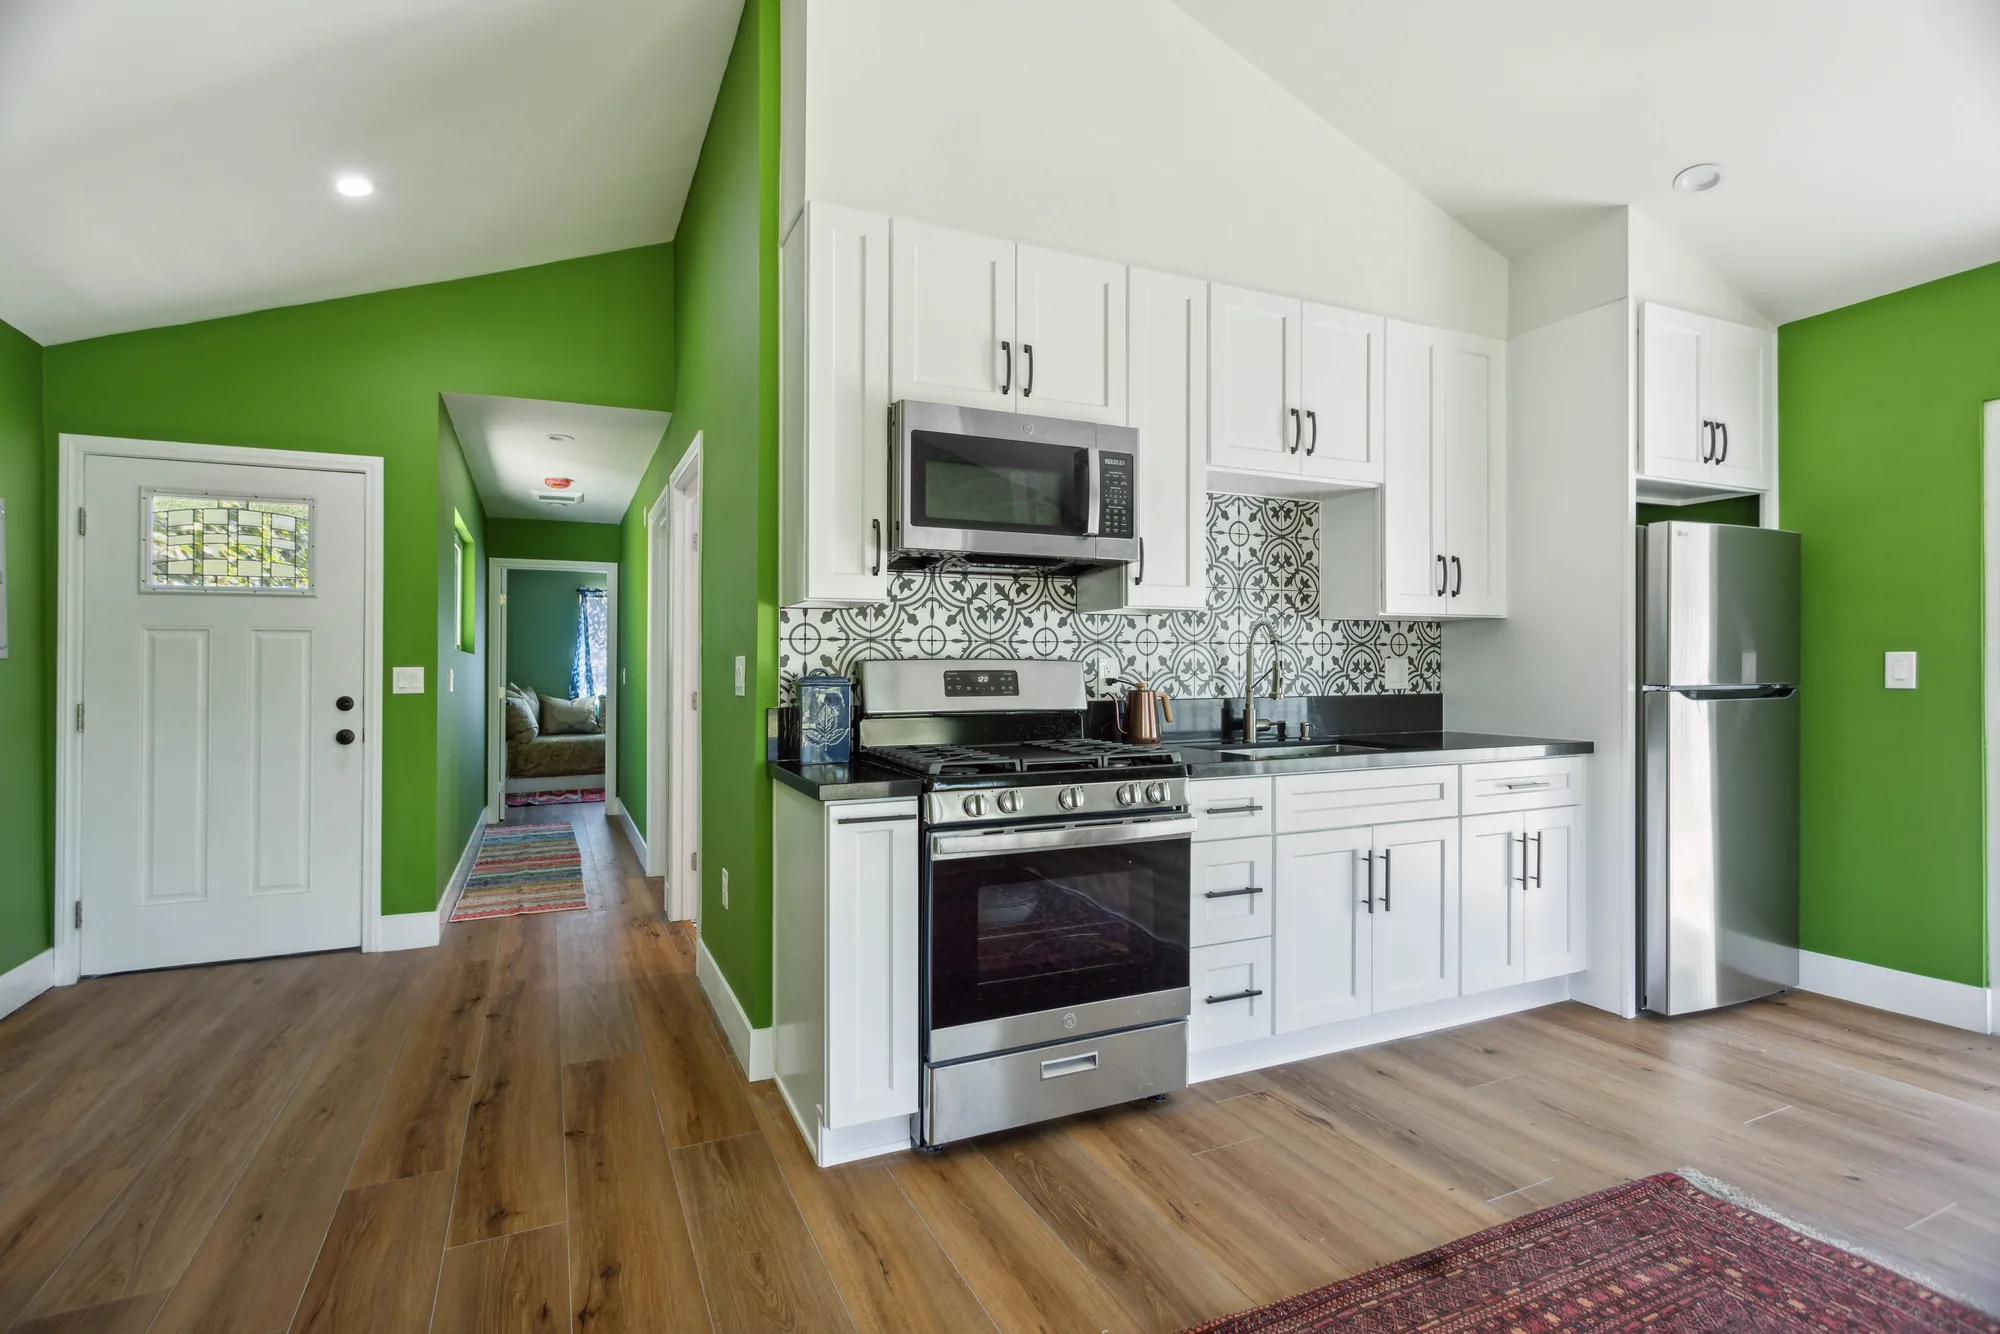
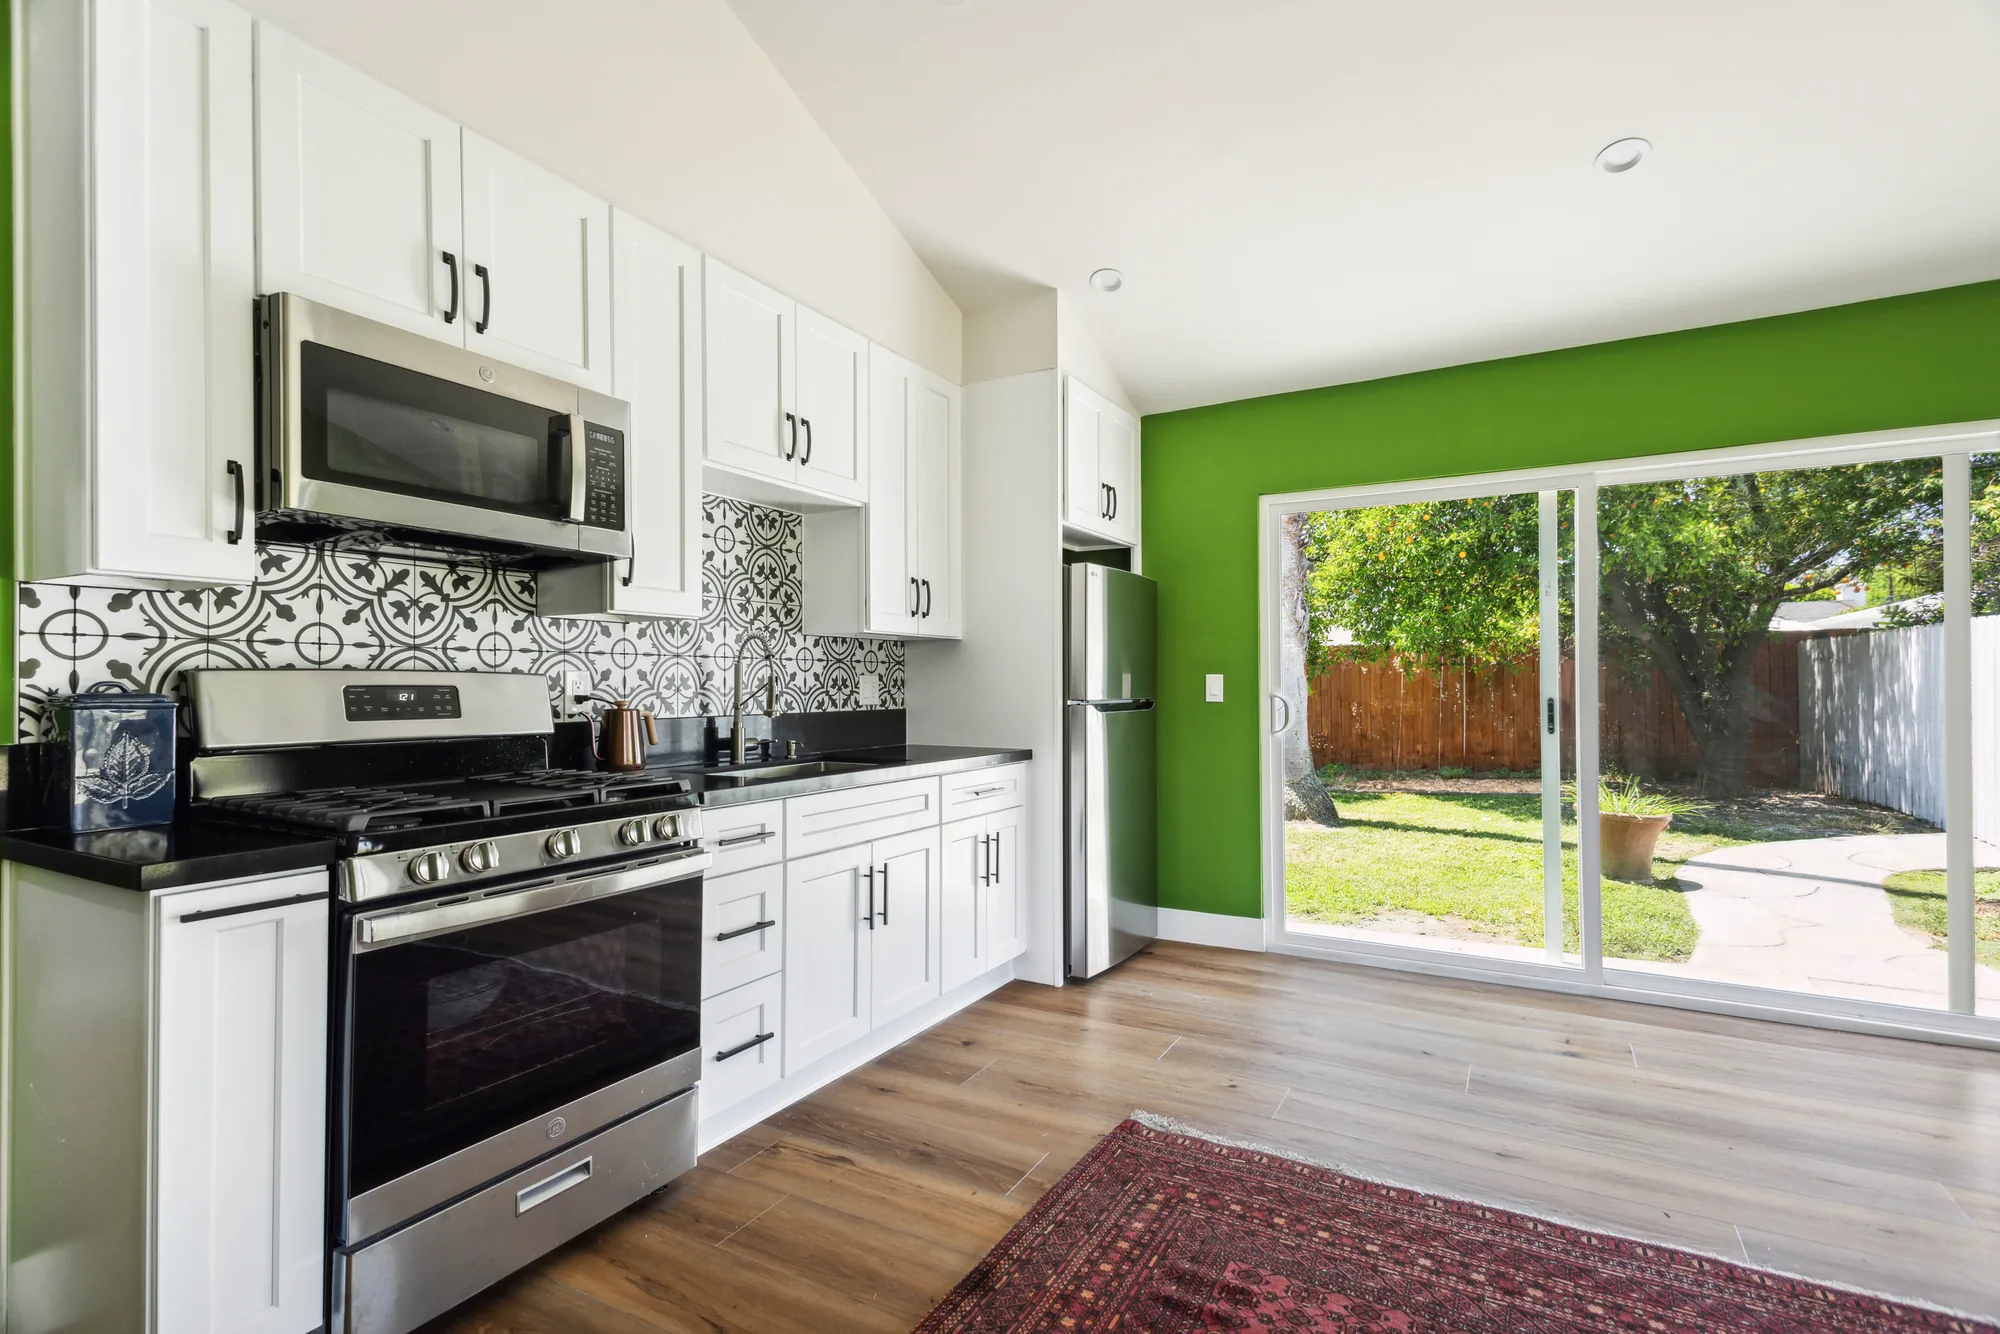
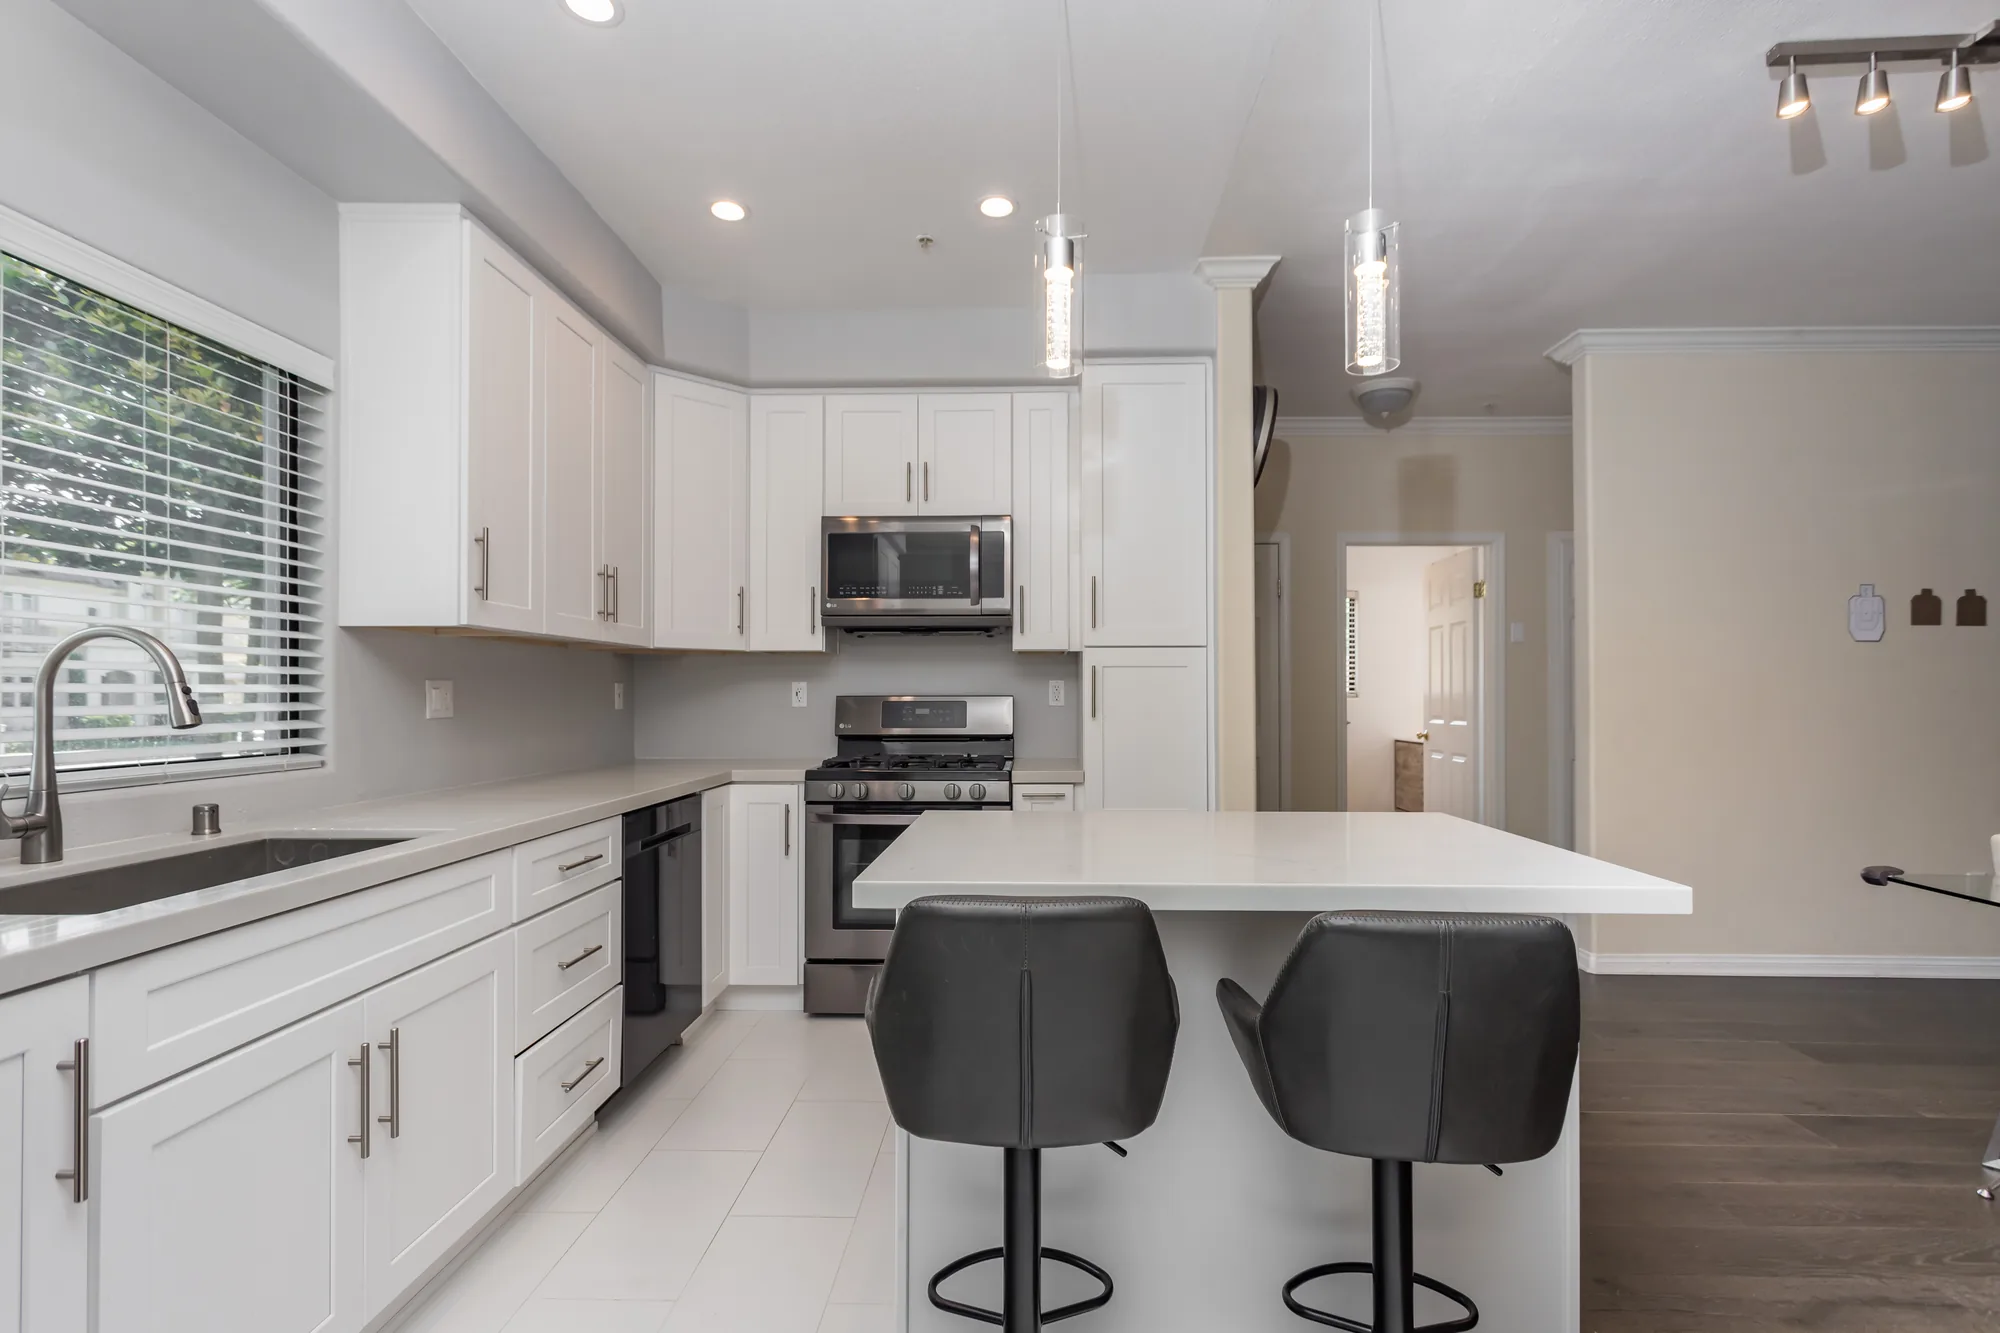
Wide view of a finished white kitchen with a seated island, two glass pendants, and gray bar stools.
Kitchen Remodeling

Kitchen Layout Design That Fits How You Actually Cook

The layout is the only part of a kitchen you cannot swap out later without tearing into walls, floors, and plumbing again. We plan the floor plan first, verify what the structure and mechanical systems will actually allow, and hand you drawings a builder can price and build from.

Overview

Why the Floor Plan Decides Everything Else


Cabinet doors, counter slabs, tile, and hardware are all finishes. You can change your mind about any of them and the cost is contained. The layout is different. Where the drain line runs, which direction the joists span, where the range can vent to the outside, and which wall carries roof load are the decisions that set the ceiling on what your kitchen can ever become. Get those right and a modest budget produces a kitchen that works for twenty years. Get them wrong and no amount of expensive stone fixes a walkway you have to turn sideways to pass through.

That matters more here than in newer parts of the country. A large share of Eastside housing stock went up between the 1950s and the 1970s, and the kitchens in those ramblers and split-levels were designed as closed service rooms with one cook, one entrance, and a single window over the sink. Ceilings are often eight feet. Electrical panels were sized for an era before induction cooktops and beverage refrigerators. Drain and vent stacks were stacked economically on one wet wall, which is exactly the wall most people now want to open up. None of that makes a good layout impossible. It just means the plan has to be drawn against real conditions rather than a showroom rendering.

A layout design engagement is the work of finding those constraints before you own them. We measure what is actually there, test two or three genuinely different arrangements against how your household moves through the room, check each one against structural and mechanical reality, and then document the winner clearly enough that trades can bid it and inspectors can review it. You end up making the expensive decisions on paper, where changing your mind is free.

What You Get

What a Layout Design Engagement Covers


Layout work is a defined scope with real deliverables, not a sketch on the back of an estimate.

As-built measurement and documentation

We field measure the existing kitchen and the rooms it connects to, including window and door openings, ceiling height, soffits, floor level, and the location of every visible mechanical element. Old houses are rarely square, and a plan drawn from assumed dimensions will not survive first contact with the framing.

Work zone and traffic analysis

We map how the room is really used, which usually means separating the cooking zone, the cleanup zone, the cold storage and unloading zone, and the prep zone rather than chasing a single work triangle. The goal is to keep through traffic, especially the path from the garage or back door, out of the space between the cooktop and the sink.

Clearance and circulation verification

Every proposed arrangement gets checked against standard kitchen planning clearances, including walkway widths, the space required for a dishwasher door and a person to stand behind it, and landing area beside the refrigerator, cooktop, and oven. This is where paper layouts that look generous usually fail, and it is far cheaper to catch it now.

Structural and mechanical feasibility review

Before a wall comes out of the drawing, we determine whether it is bearing, whether it functions as a shear wall, and what would have to replace it. We also trace plumbing, ducting, and panel capacity so that a plan calling for a relocated sink or a high-output hood is a plan that can actually be built.

Appliance, storage, and cabinet block planning

Layouts are drawn around specific appliance dimensions and door swings rather than generic boxes, because a counter-depth refrigerator and a standard-depth one produce different aisles. Storage is planned by function, so that dishes land near the dishwasher and pantry goods land near the unloading path from the car.

Daylight and lighting layout

Window placement, ceiling fixture locations, and undercabinet runs are planned together, because the layout determines where shadows fall on a work surface. In a region with long grey stretches from October through April, a kitchen that reads well in July can feel like a basement in February if the light plan was an afterthought.

Completed Project

White Shaker and Quartz Kitchen Remodel


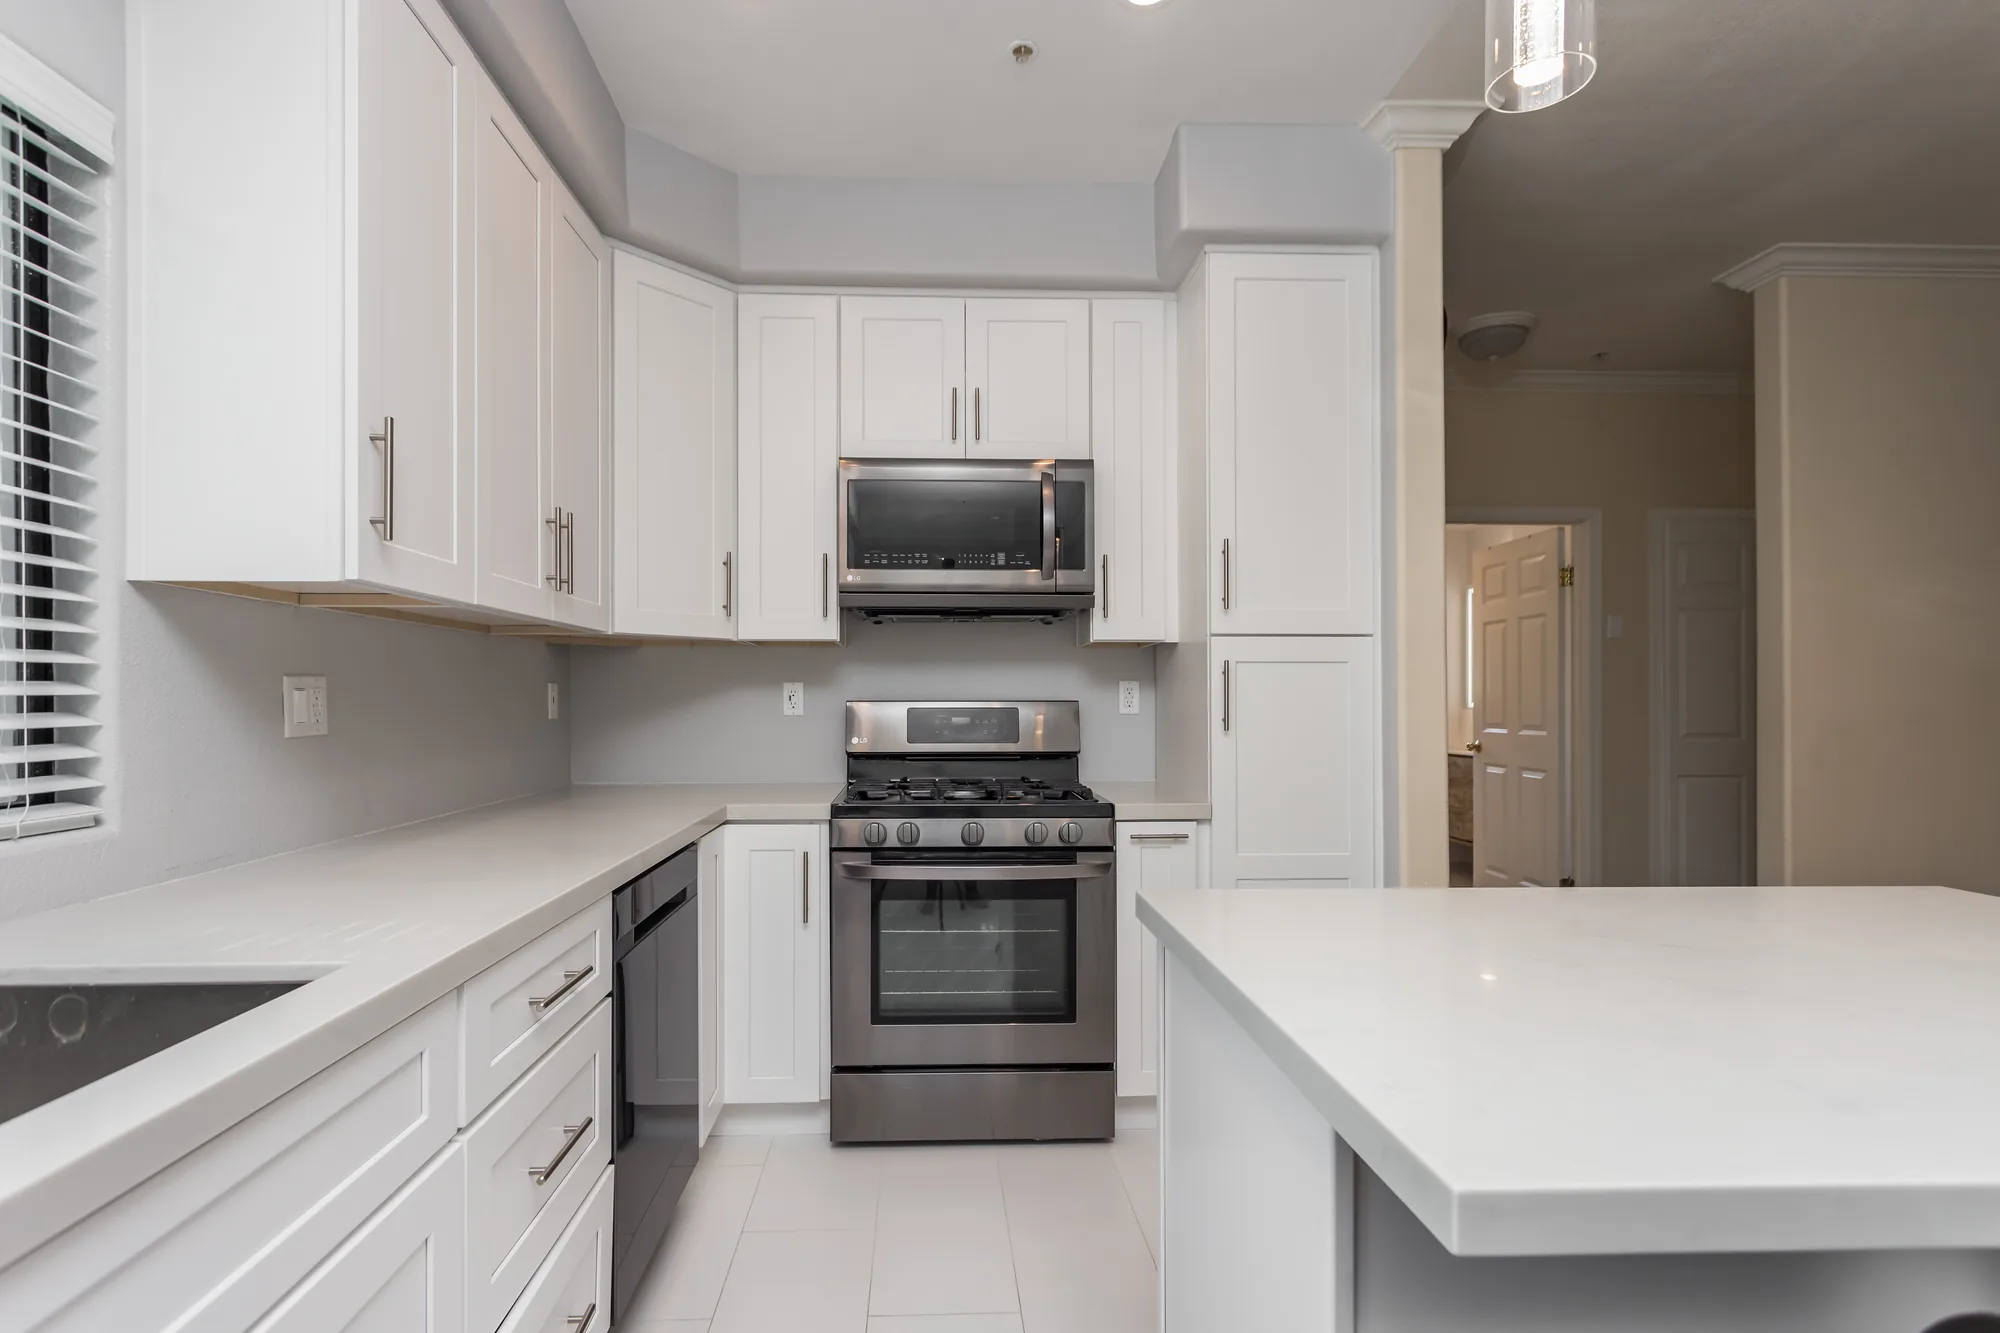
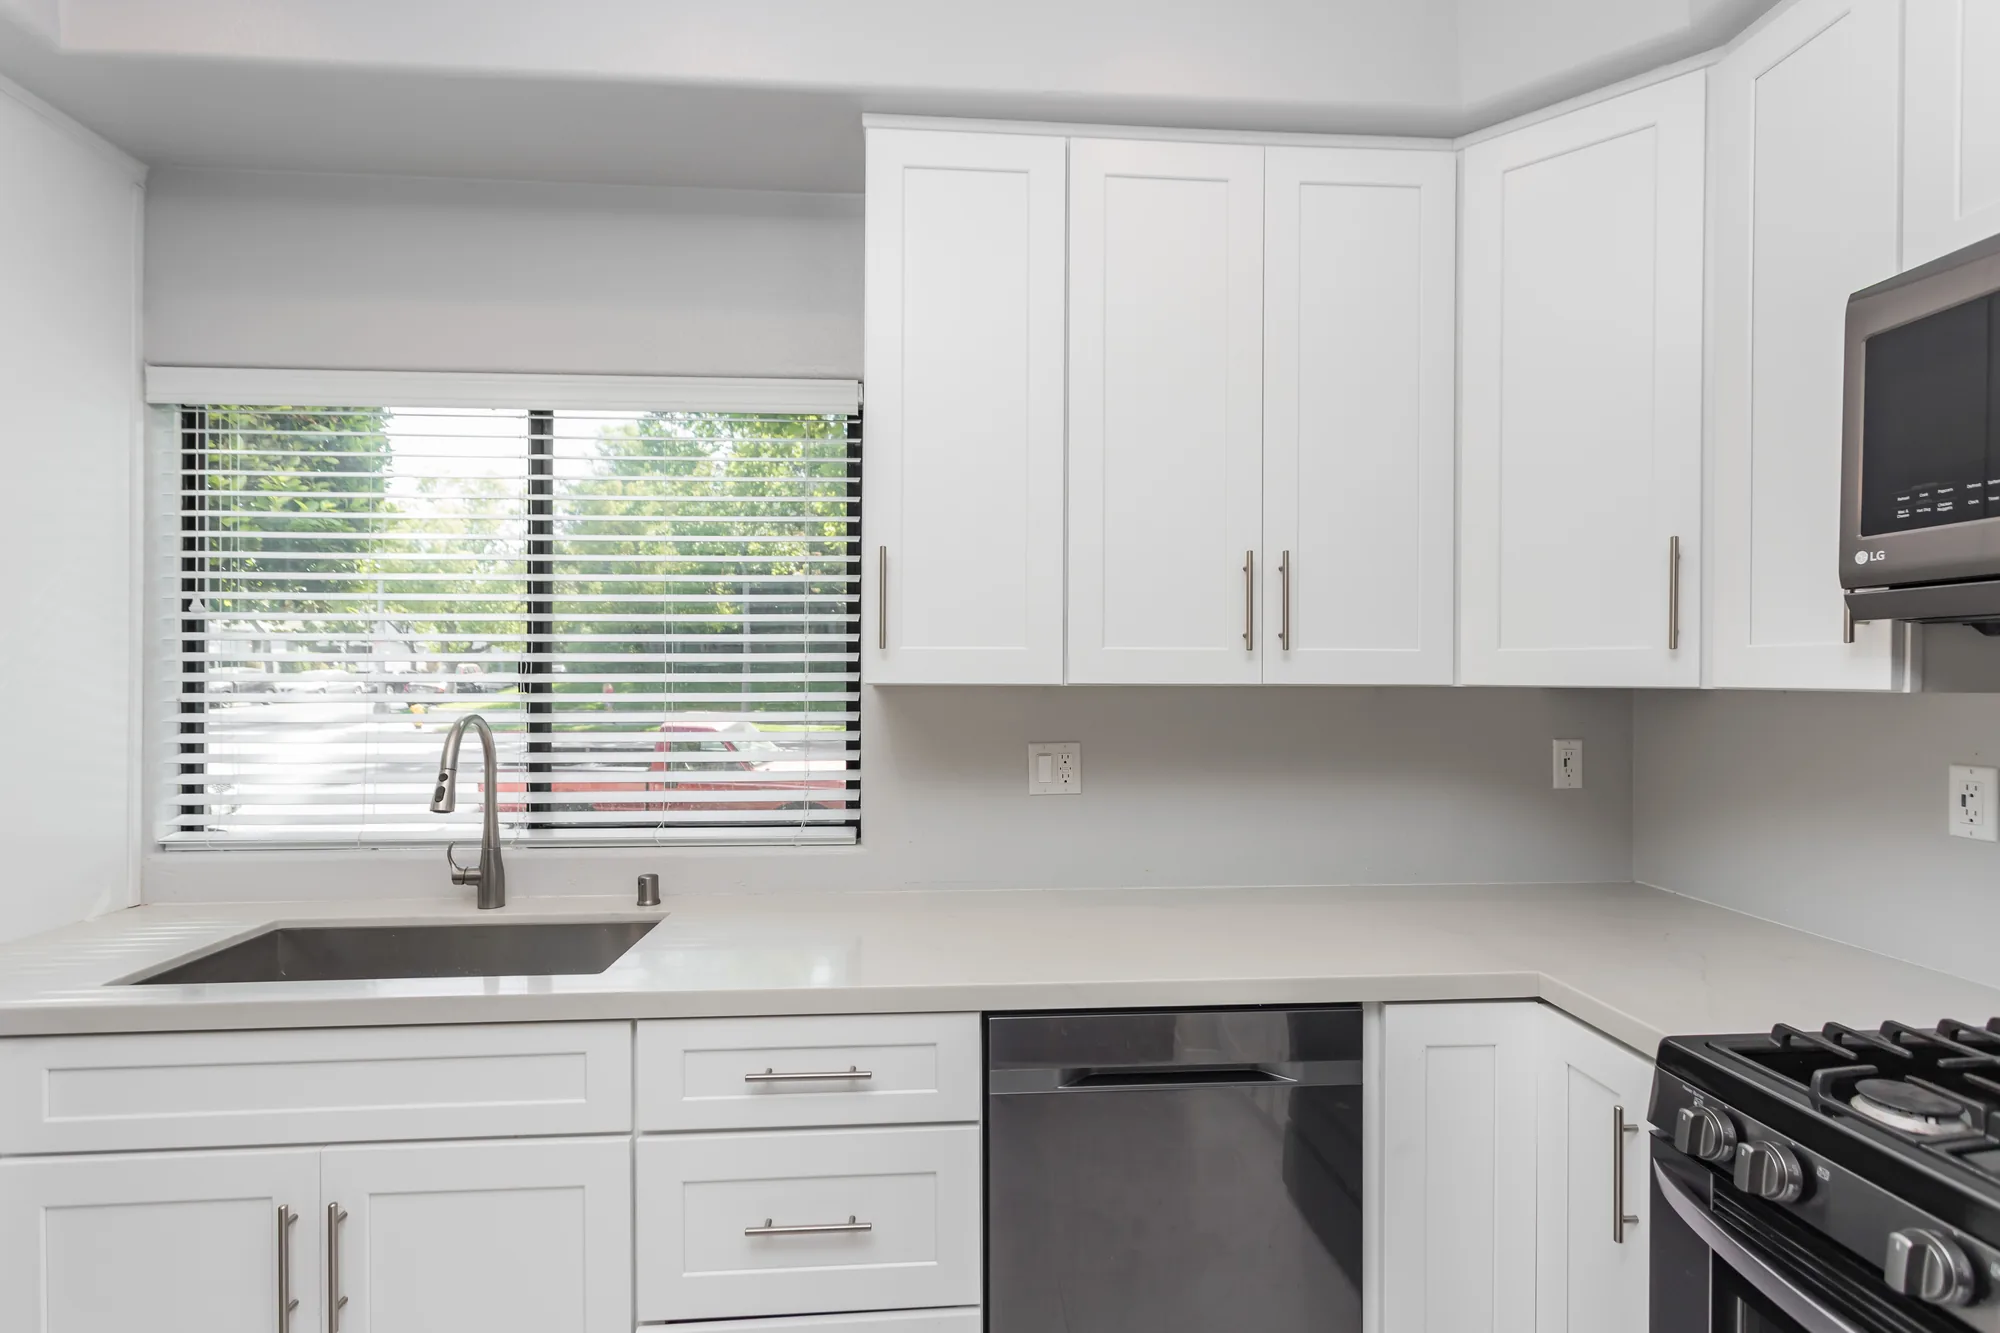
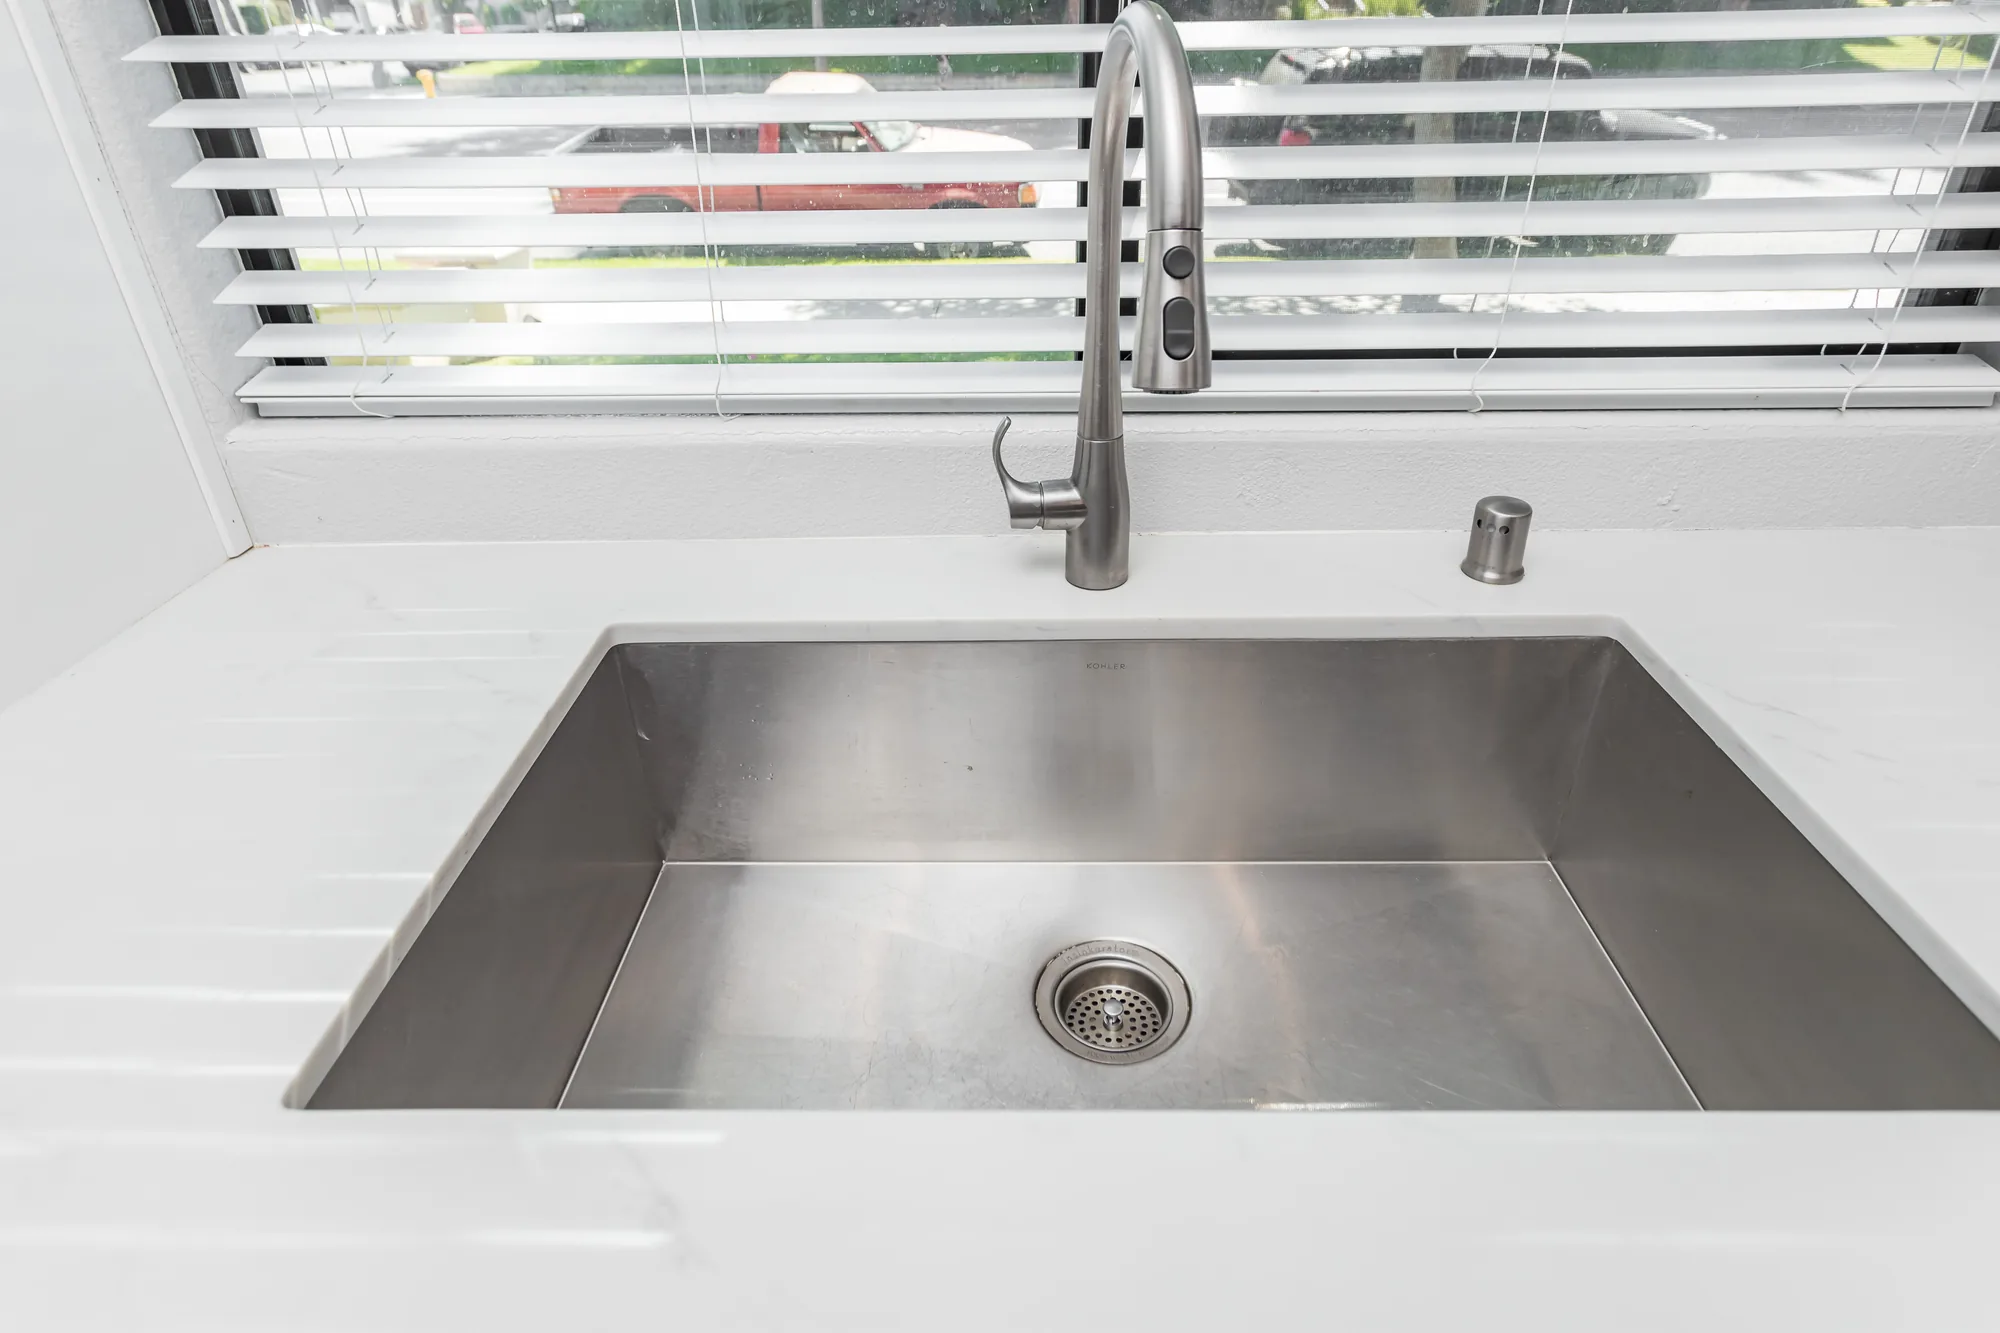
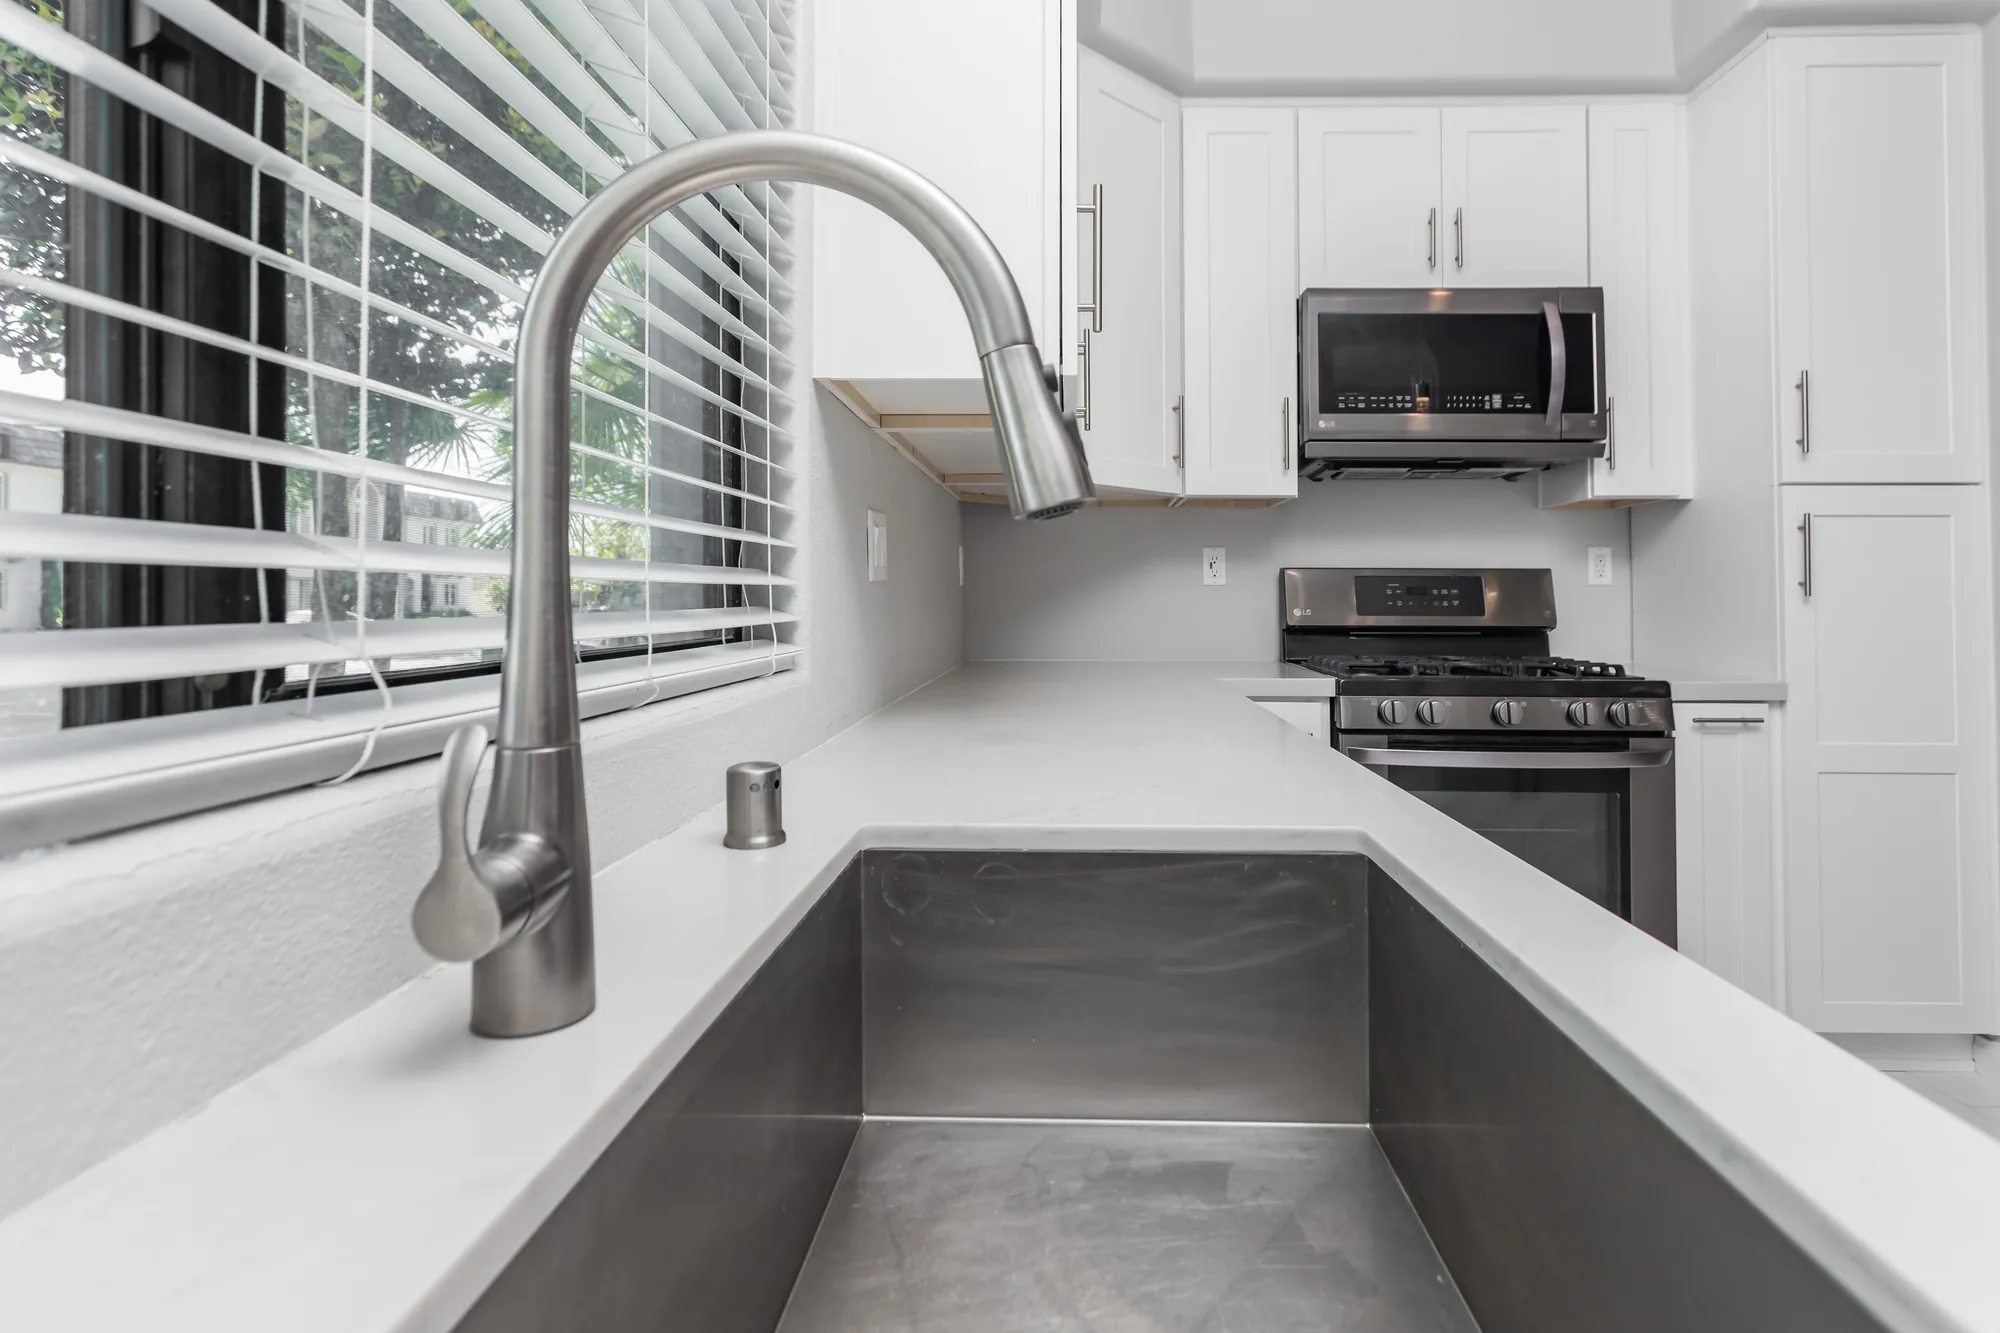
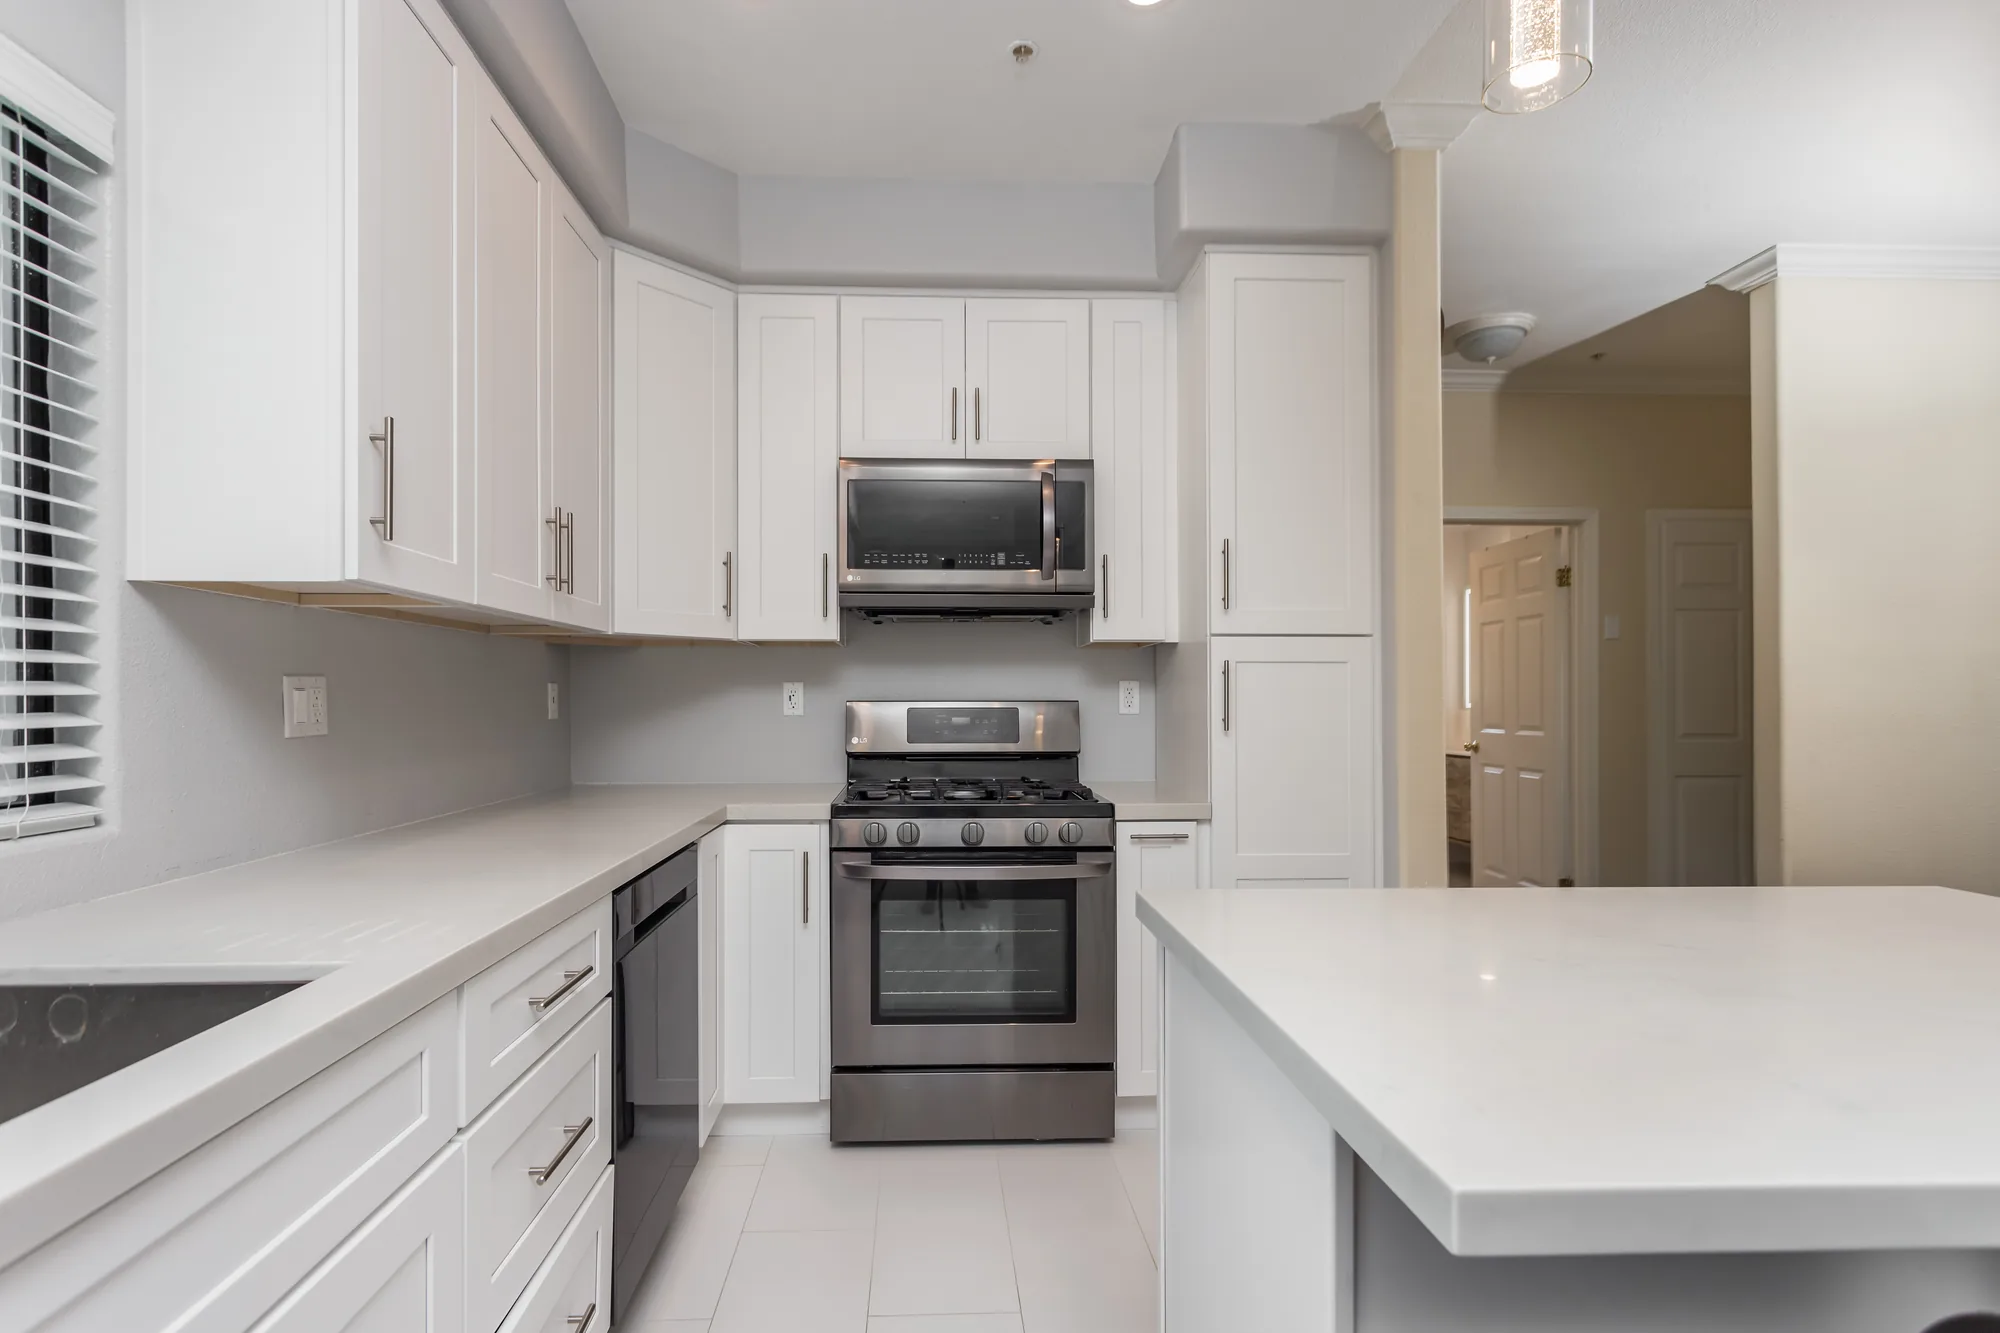
This kitchen was rebuilt with a full run of white shaker cabinetry, including uppers to the soffit, deep drawer banks, and a tall pantry cabinet flanking the range wall. Light stone-look quartz-style countertops were installed with a clean square edge across the perimeter and carried onto a new seated island with a paneled base and integrated outlet. The plumbing package includes a large undermount single-bowl stainless sink with a pull-down brushed nickel faucet and a matching counter-mounted soap dispenser. Appliance work covers a stainless gas range with an over-the-range microwave, a stainless dishwasher integrated into the cabinet run, and a french-door refrigerator set into its own cabinet bay. Lighting and finishes were updated throughout with recessed cans, a pair of clear glass pendants over the island, brushed nickel bar pulls, and large-format light tile flooring.
Style: Transitional

Work Completed

  • Full white shaker cabinet package with uppers, drawer banks, and tall pantry
  • Light stone-look quartz-style countertops with square edge profile
  • New seated island with paneled base and integrated electrical outlet
  • Large undermount single-bowl stainless sink with pull-down faucet
  • Stainless gas range with over-the-range microwave installed
  • Stainless dishwasher and french-door refrigerator integrated into cabinet run
  • Recessed can lighting plus clear glass pendants over the island
  • Large-format light tile flooring laid through the kitchen

Materials & Finishes

  • White painted shaker cabinetry
  • Light stone-look quartz-style countertop
  • Brushed nickel bar pull hardware
  • Brushed nickel pull-down kitchen faucet
  • Undermount stainless steel sink
  • Stainless steel appliances
  • Large-format light tile flooring
  • Clear glass pendant light fixtures
  • Dark wood-look plank flooring in adjoining room
  • Light gray painted walls
Finished kitchen seen through a doorway with a french-door refrigerator, island, and pendant lights.
Framed from the adjoining room, this view captures the refrigerator bay, island seating, and pendant lighting together.
Finished white shaker kitchen with a stainless gas range, microwave, and light quartz-look island counter.
The completed range wall pairs white shaker cabinetry and a tall pantry with a light stone-look countertop that carries onto the island.
Kitchen sink run below a blinded window with white upper cabinets and a stainless dishwasher alongside.
The sink wall shows the undermount stainless sink, pull-down faucet, and the new upper cabinet run wrapping the corner.
Close view of a deep undermount stainless sink set into a light countertop with a pull-down faucet.
A detail shot of the deep single-bowl undermount sink, pull-down faucet, and matching counter-mounted soap dispenser.
View along a light countertop from the undermount sink toward a stainless gas range and microwave.
The countertop run sweeps from the sink to the range, showing the seamless corner and clean square edge detail.
Completed Project

Two-Tone Shaker Kitchen with Teal Herringbone Backsplash


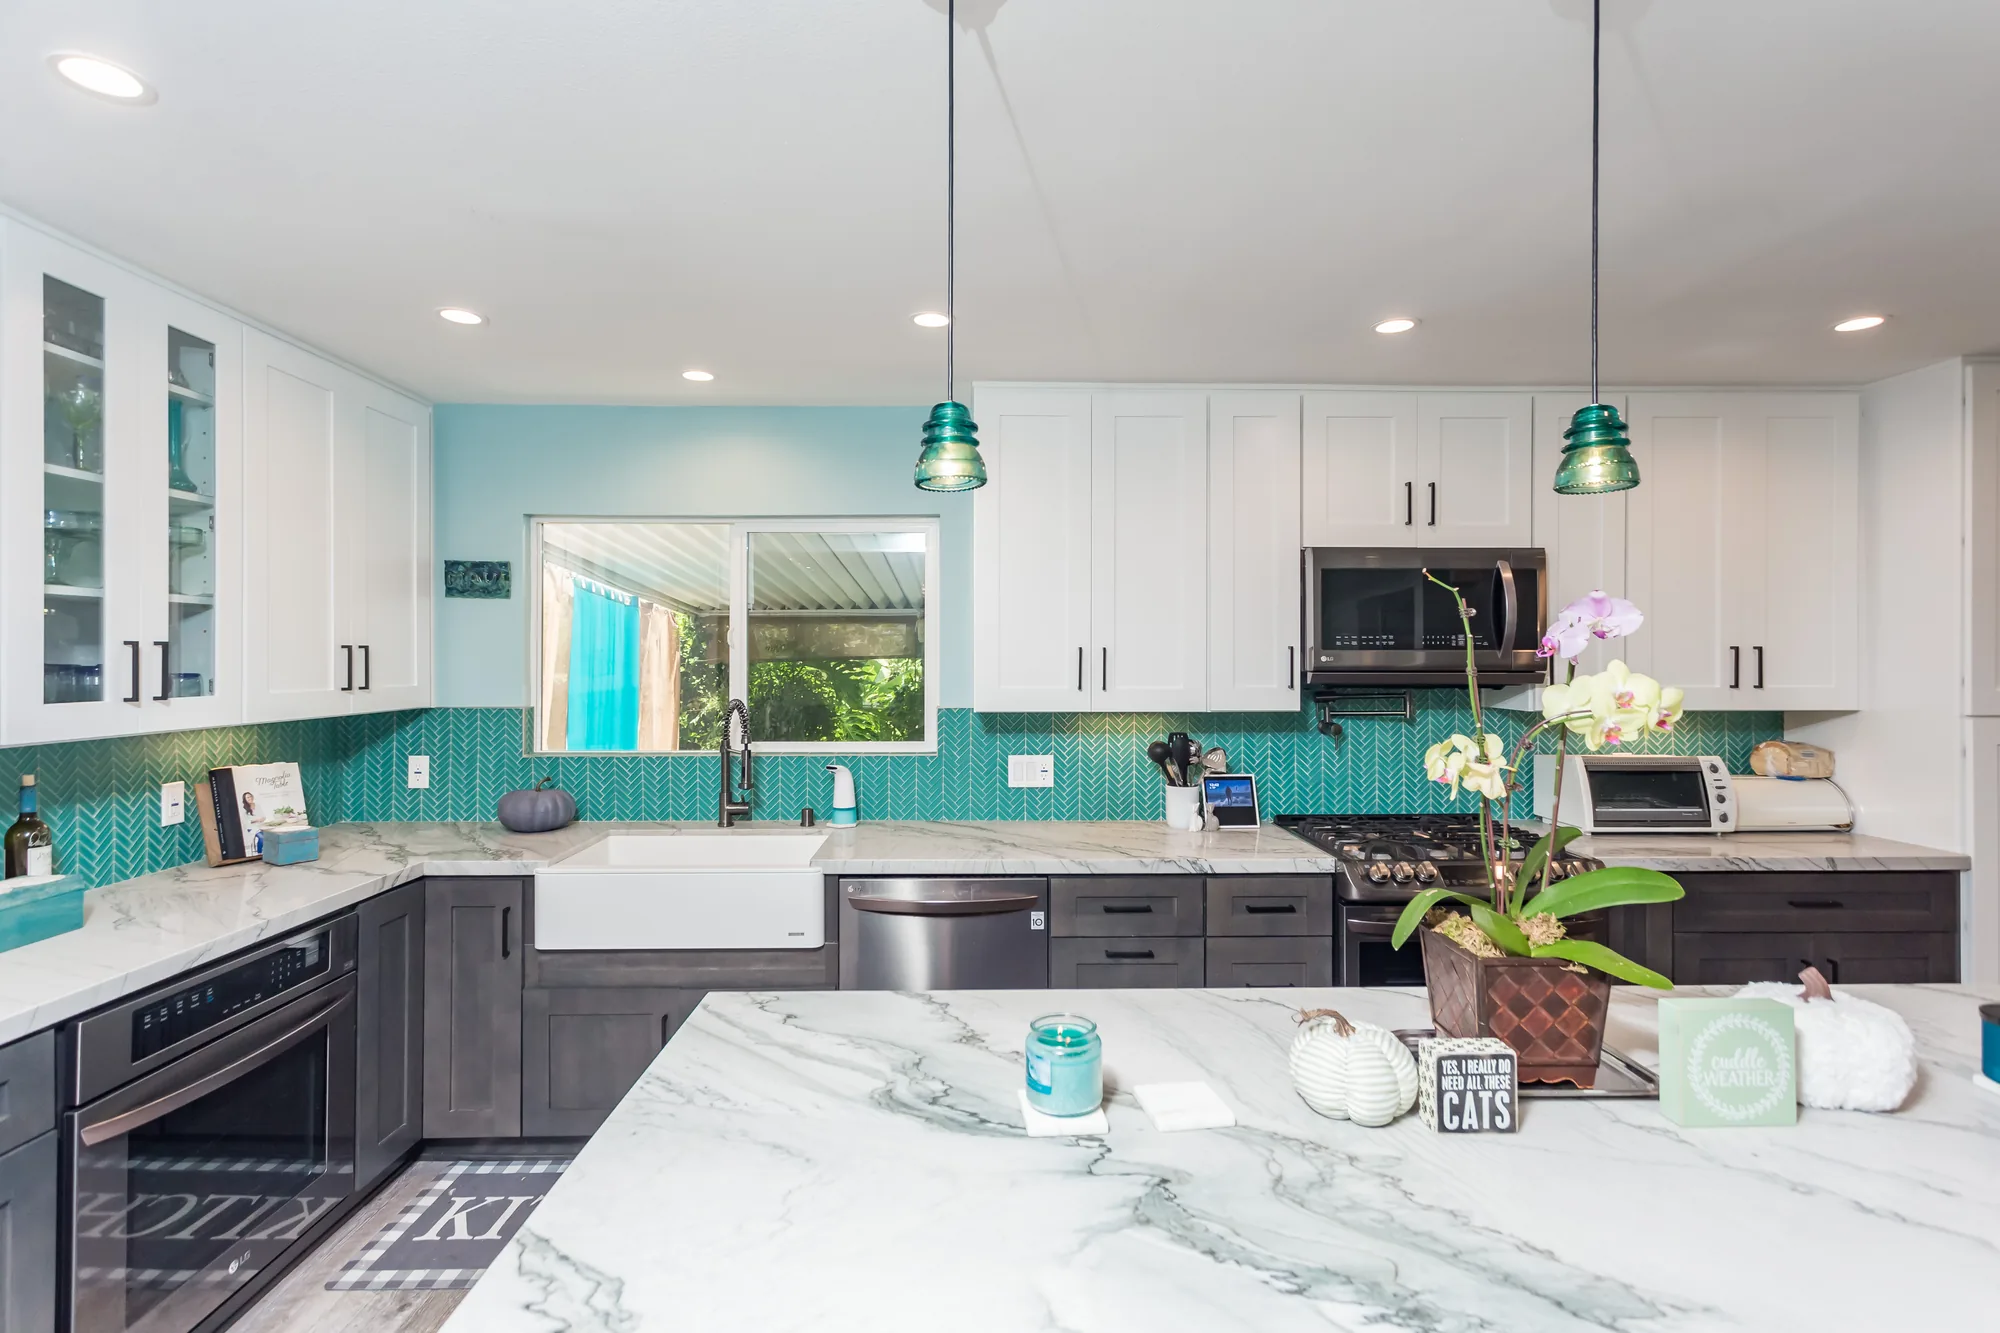
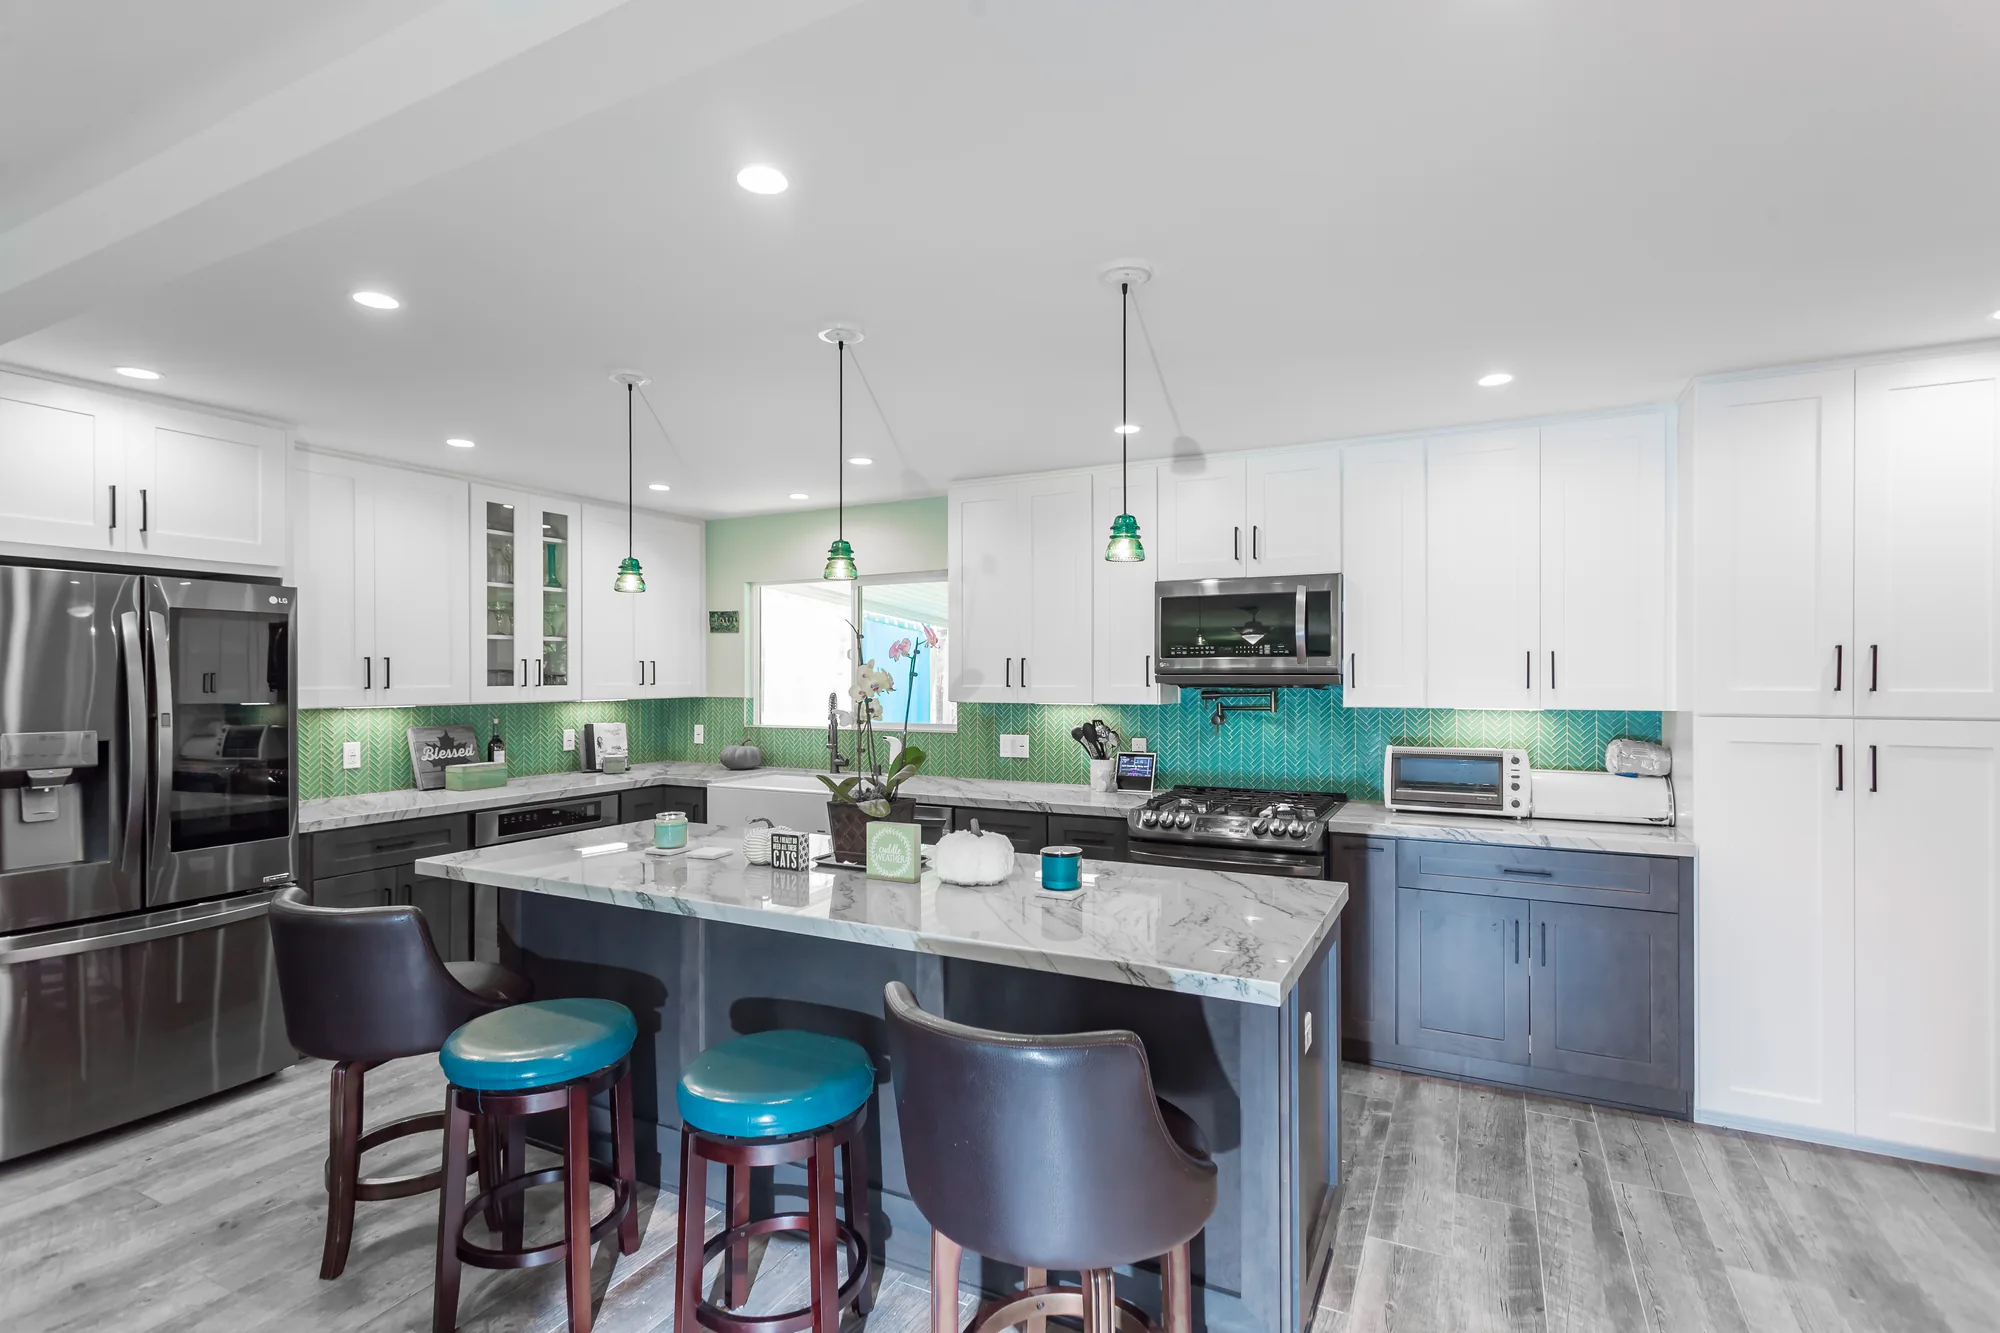
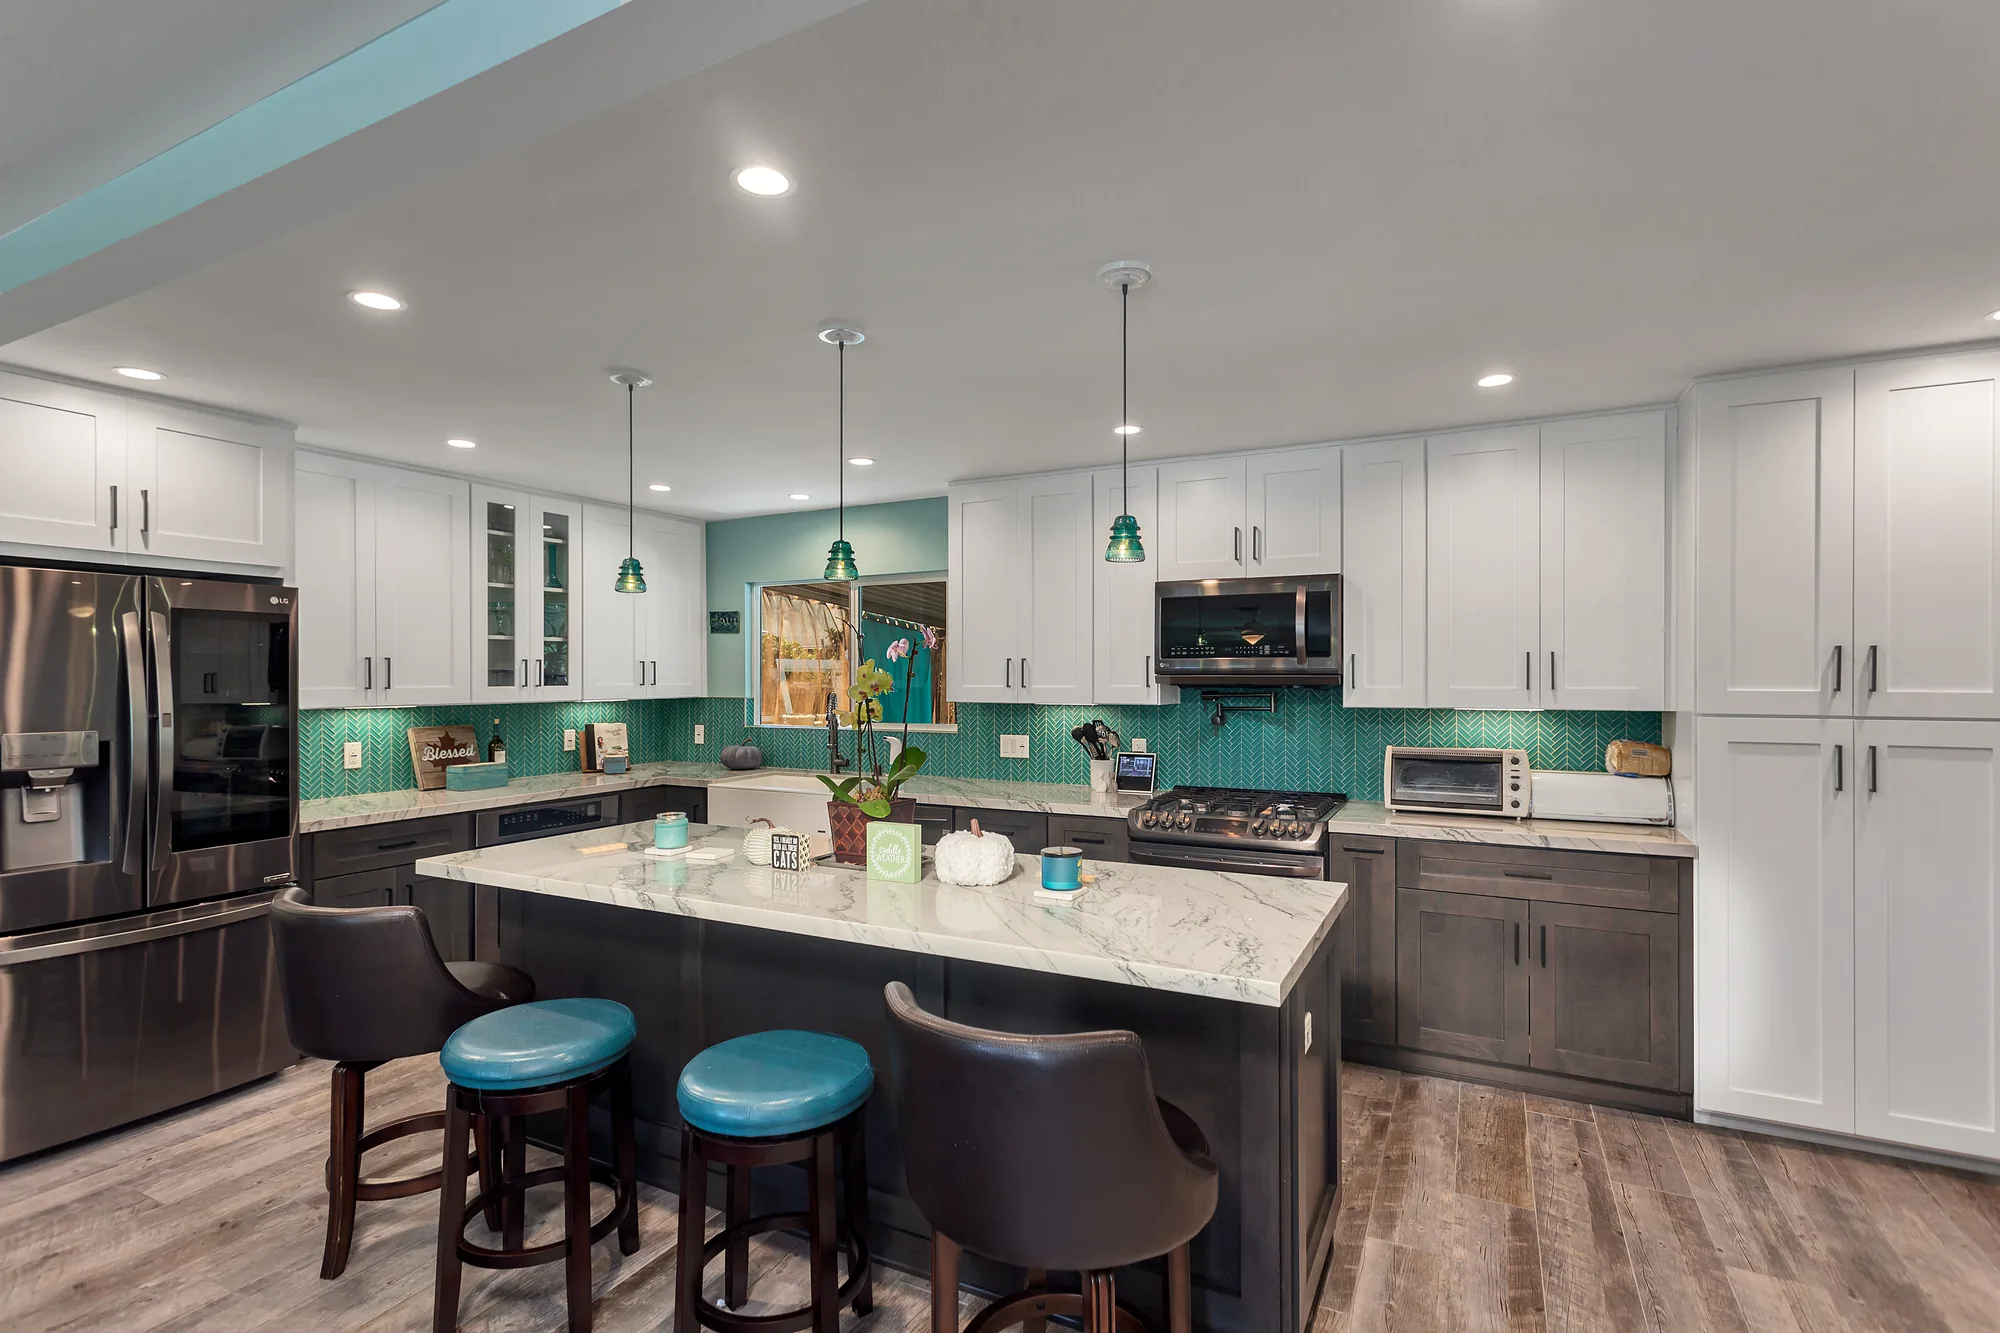
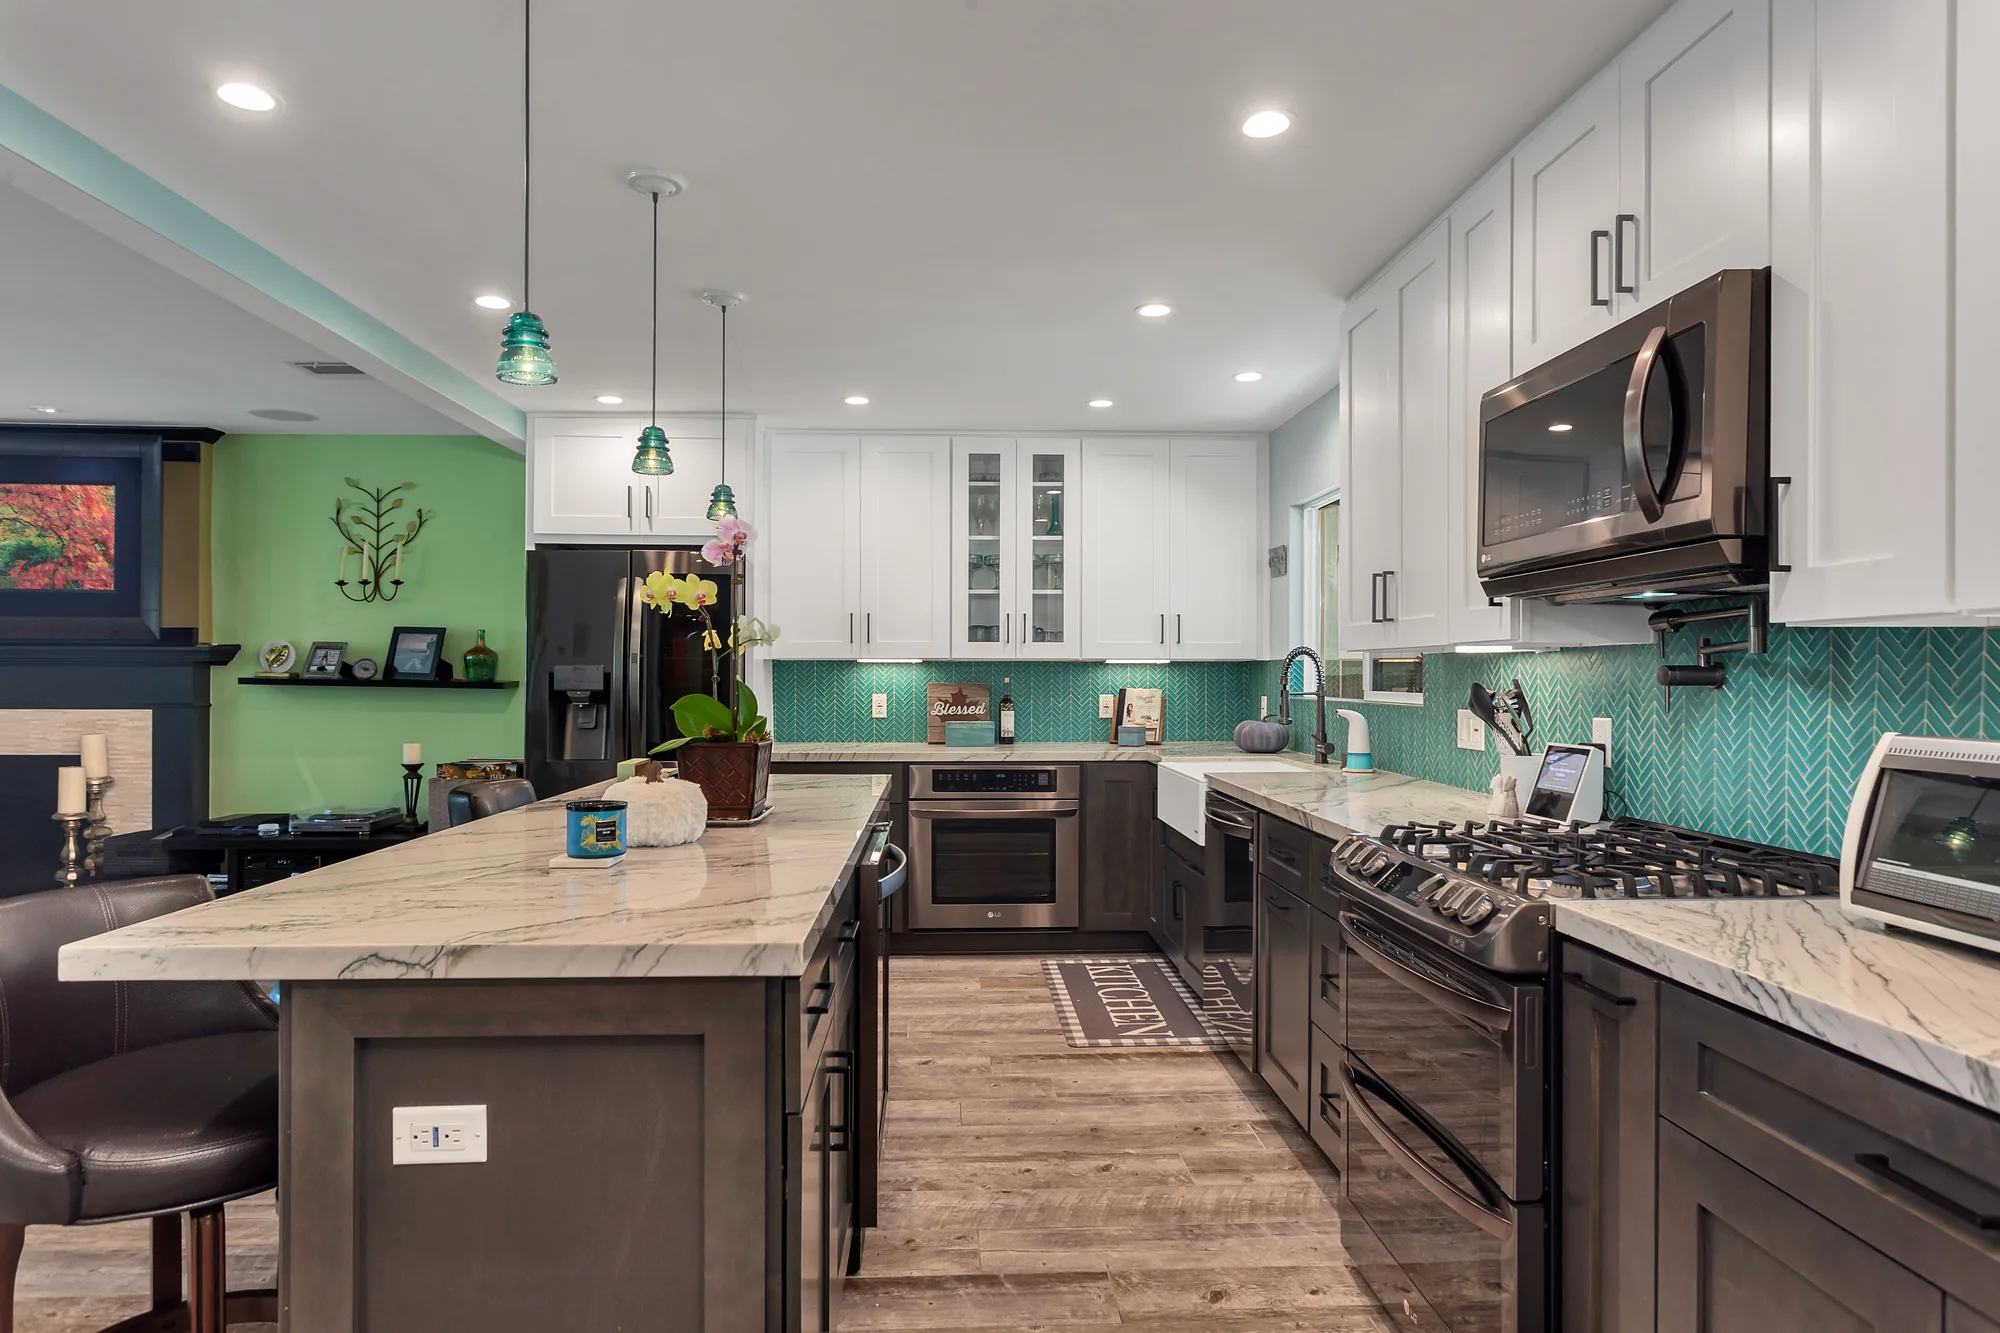
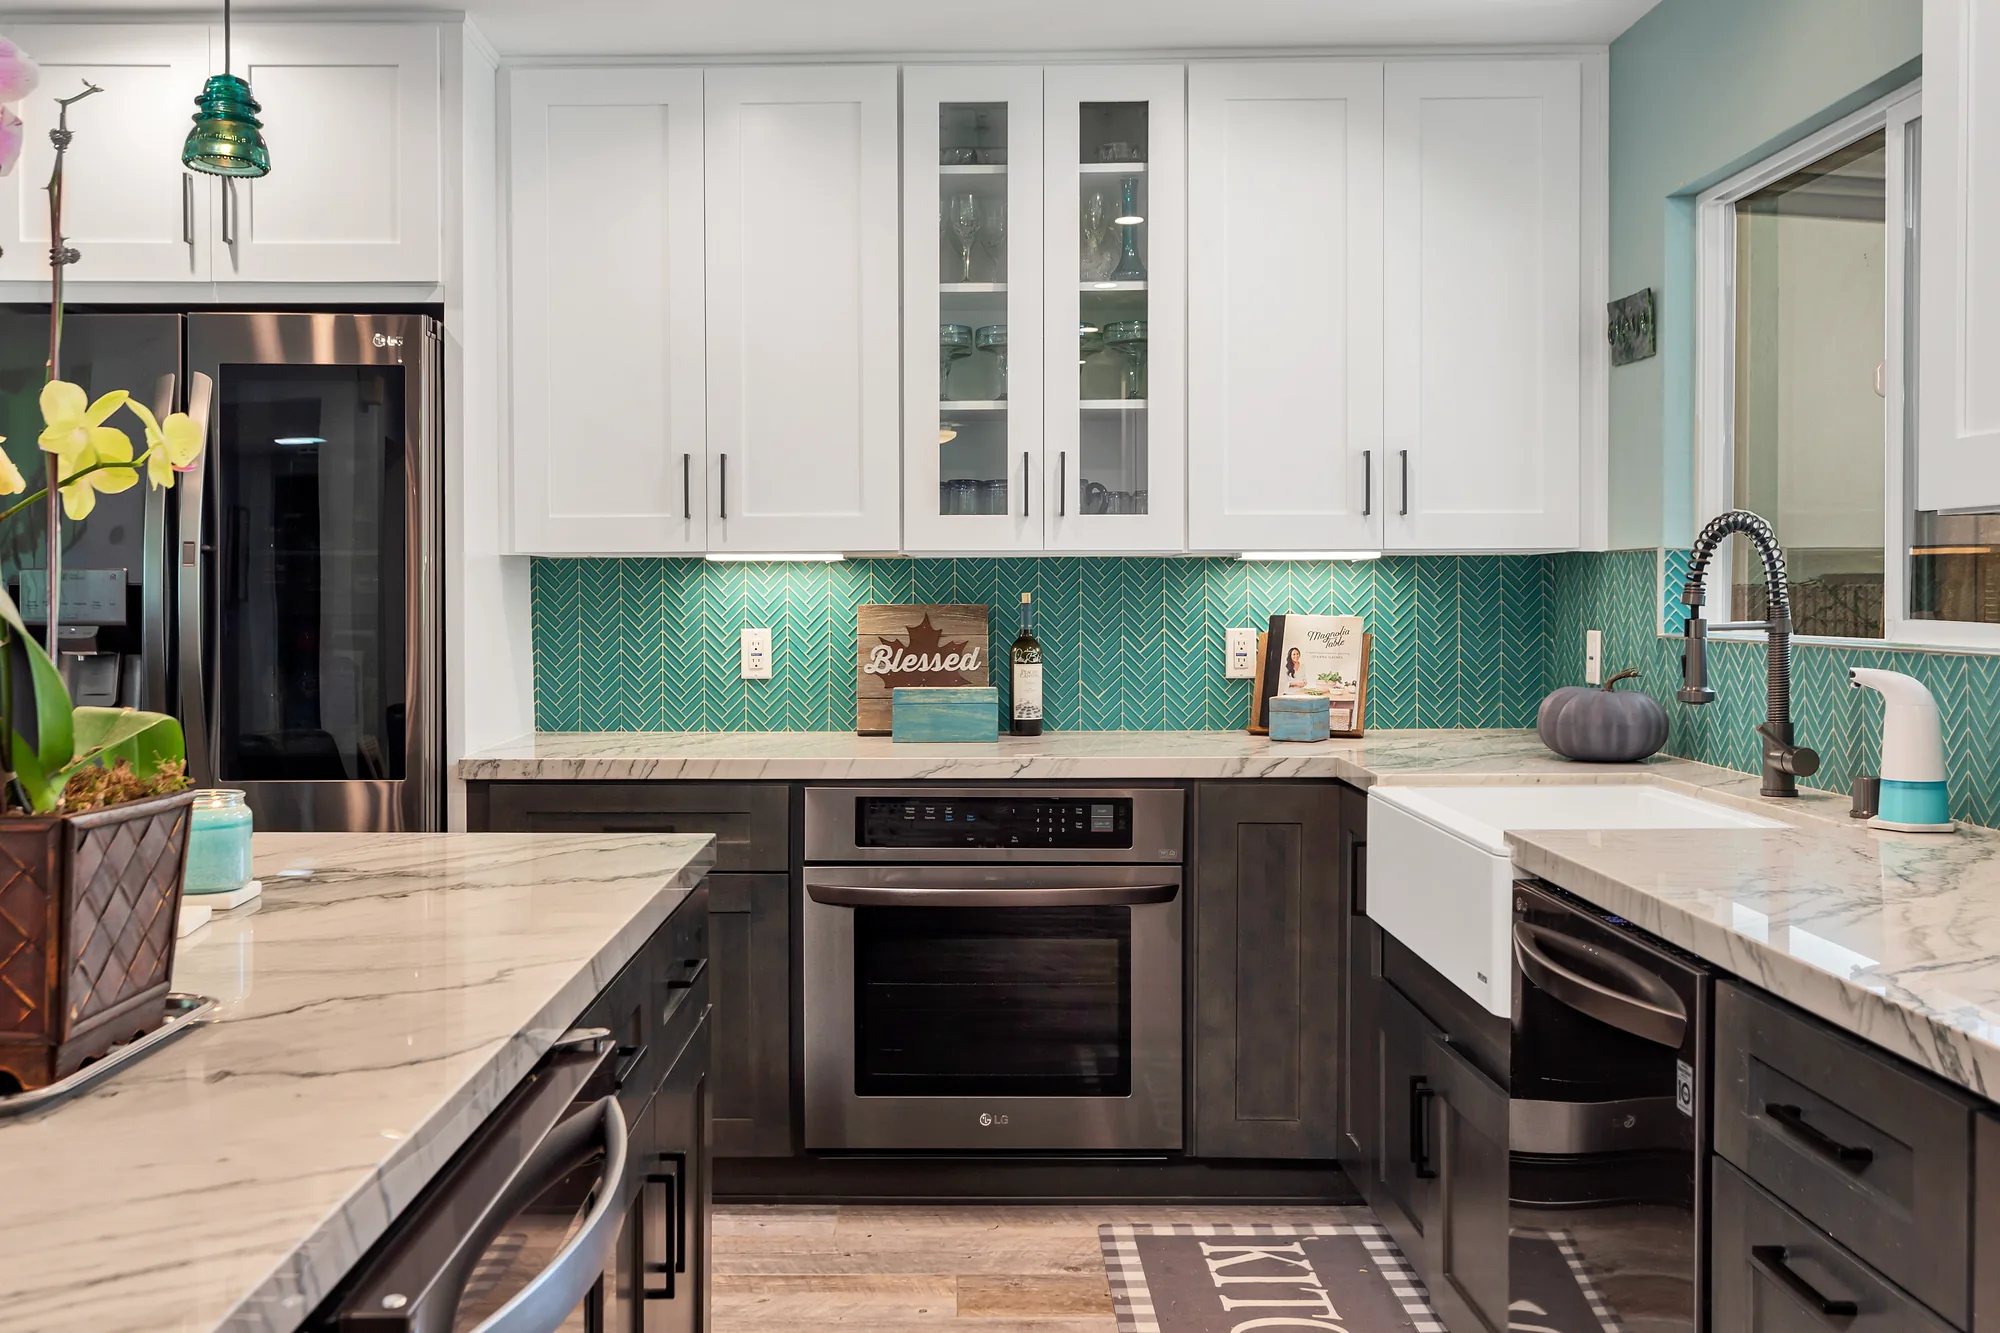
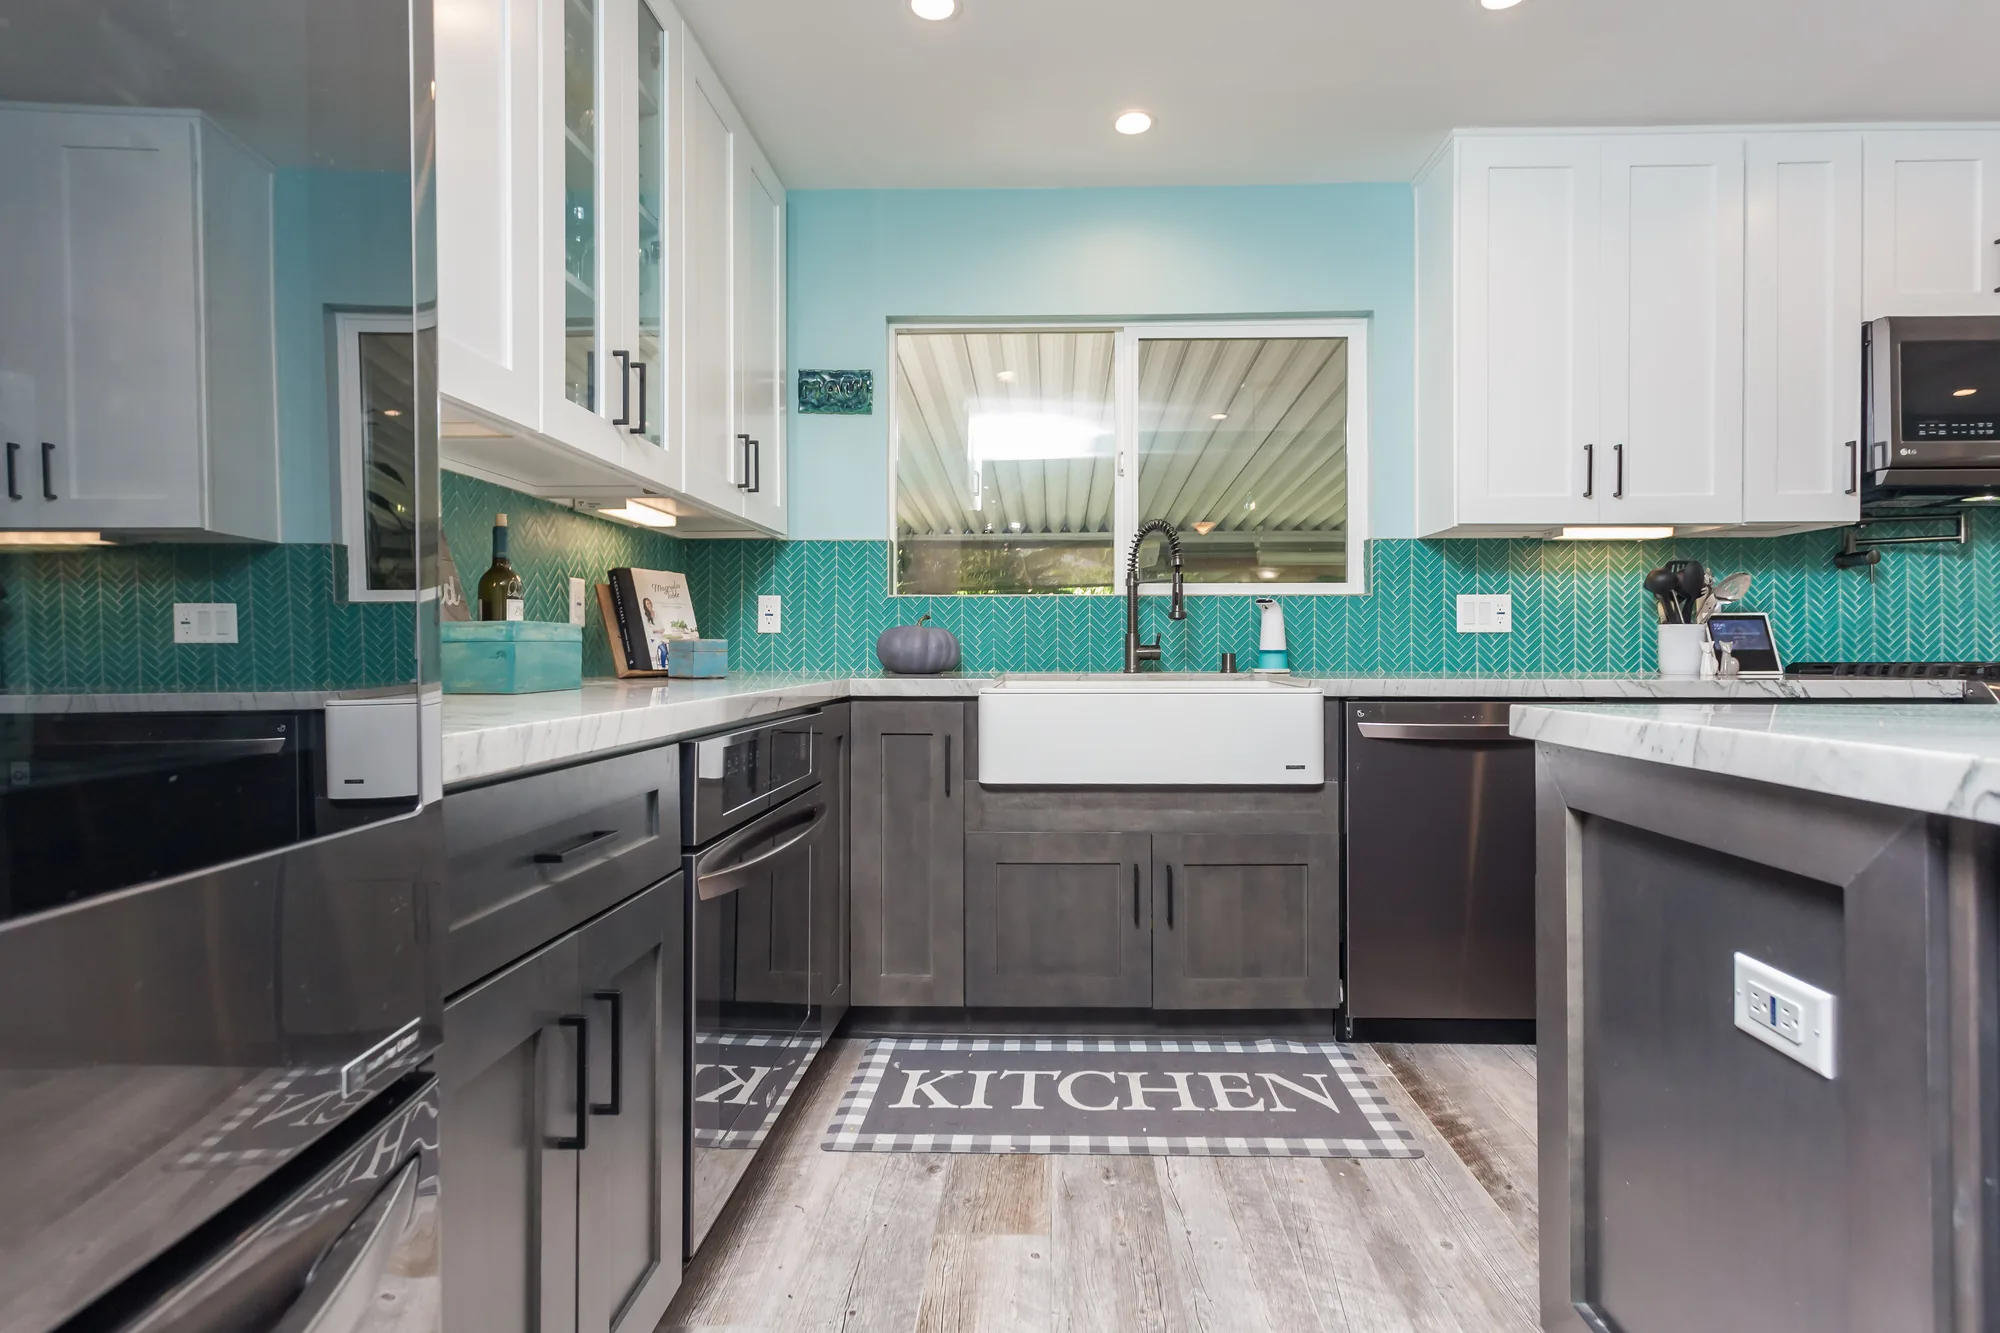
This kitchen was rebuilt as a full-height two-tone cabinetry package, pairing painted white shaker wall cabinets with gray-stained shaker base cabinets and a large seated island. Countertops throughout are a white stone with heavy gray veining, run in long uninterrupted slabs across the perimeter and the island, with a mitered thick edge and a tight undermount cut at the sink. The backsplash is a teal glass mosaic set in a herringbone pattern, carried full height behind the range and wrapped around the window opening and into the corners. Appliance work included a slide-in gas range with an over-range microwave and a backsplash-mounted pot filler, a separate built-in wall oven, a dishwasher, and a glass-door beverage cooler built into the base run. Finish work is visible in the crisp reveals at the glass-front upper doors, the level toe-kick and drawer alignment, under-cabinet lighting, a full recessed can layout, and wood-look plank flooring laid continuous through the kitchen into the adjoining living space.
Style: Transitional

Work Completed

  • Full cabinet replacement in two-tone shaker: white painted uppers, gray-stained bases
  • Large seated island with veined stone top and four-stool overhang
  • White stone countertops with dramatic gray veining on island and perimeter
  • Teal glass herringbone mosaic backsplash run full height behind the range
  • White apron-front farmhouse sink with dark coil-spring pull-down faucet
  • Slide-in gas range, over-range microwave, and backsplash-mounted pot filler
  • Built-in wall oven, dishwasher, and glass-door beverage cooler integrated into the base run
  • Recessed can lighting, under-cabinet lighting, and three glass pendants over the island

Materials & Finishes

  • White painted shaker wall cabinets
  • Gray-stained shaker base cabinets and island
  • Glass-front upper cabinet doors
  • White stone countertops with gray veining (marble-look)
  • Teal glass mosaic tile in herringbone layout
  • White apron-front farmhouse sink
  • Dark gunmetal coil-spring pull-down faucet
  • Matte black bar pulls and drawer handles
  • Green glass insulator-style pendant lights
  • Gray wood-look plank flooring
  • Stainless steel appliances
  • Teal upholstered and brown leather counter stools
Stainless gas range and over-range microwave set into teal herringbone tile with a pot filler.
The gas range is centered under the microwave with a backsplash-mounted pot filler above.
Range wall with white shaker cabinets, microwave, and teal tile running the full backsplash height.
Teal herringbone tile carries full height across the cooking wall.
Gas range flanked by gray shaker drawer bases and white stone counters under white upper cabinets.
Deep drawer banks flank the range on both sides of the cooking wall.
White farmhouse sink and window flanked by teal tile, gray cabinets, and a stainless dishwasher.
The apron-front sink sits centered under the window with tile wrapping the opening.
Close-up of a gray shaker drawer and door with matte black bar pulls beside plank flooring.
Detail of the shaker drawer face, matte black pulls, and countertop edge.
Floor-level view down the kitchen showing gray cabinets, plank flooring, and stainless appliances.
Low view down the working aisle showing the continuous plank flooring.
Design Direction

Six Configurations Worth Considering


Most kitchens resolve into one of a handful of proven arrangements, and the right one depends on the shape of the room, the walls you can move, and how many people cook at once.

Galley

Two parallel runs of cabinetry facing each other across a single aisle, with the cook working in a tight, efficient corridor. It is the most space-efficient plan there is and works well in narrow footprints and townhouses, but the aisle width is unforgiving. If two people cook, or if the galley doubles as a hallway to a back door, the plan needs a wider aisle than the minimum or it becomes a bottleneck.

L-shape

Two perpendicular runs meeting at a corner, leaving the rest of the room open for a table or seating. It adapts well to older ramblers where one wall carries the plumbing and the adjacent wall can be opened up, and it keeps traffic out of the work area naturally. The corner cabinet is the weak point, and the plan should specify a blind corner pull-out or a lazy susan rather than leaving dead cubic feet.

U-shape

Three connected runs wrapping the cook on three sides, giving the most continuous counter and storage per square foot of any closed plan. It suits households that cook seriously and want everything within a pivot. The risk is enclosure, so a U-shape in a small room usually needs at least one leg reduced to a peninsula, or upper cabinets replaced with open shelving on the window wall, to avoid feeling boxed in during dark months.

L-shape with island

The most requested plan on the Eastside, pairing two working walls with a freestanding island for prep, seating, and sometimes a second sink or cooktop. It handles open-concept living well because the island edge defines the kitchen without a wall. It only works if the room can give up enough width for aisles on all sides of the island, and undersized islands squeezed into rooms that cannot support them are the single most common layout regret we are asked to fix.

Peninsula or G-shape

A U-shape with a fourth partial run, or an L with a connected counter extending into the room, creating a barrier and seating without requiring island clearances on four sides. This is often the honest answer when a homeowner wants island function in a room that is genuinely too narrow for one. Because it is attached to the cabinet run, plumbing and power are usually simpler to route than to a freestanding island.

Single-wall with island

All primary appliances and storage on one wall, with an island carrying prep space and often the sink, producing a clean, gallery-like look favored in modern and view-oriented homes. It concentrates the wet and vent infrastructure on one wall, which can simplify a remodel considerably. Storage is the tradeoff, so this plan usually depends on a full-height pantry wall or an adjacent butler pantry to make up the difference.

Not Sure Which Layout Your Kitchen Can Support?

A site visit answers the structural and plumbing questions that determine your real options. Call (206) 825-2773 and we will walk the room with you.

How We Work

How a Plan Comes Together, Step by Step


The sequence matters, because each stage narrows the options the next one has to consider.

Household and cooking interview

We ask how many people cook at once, whether groceries come in through the garage or the front, where children do homework, how often the room hosts guests, and what specifically fails in the kitchen you have now. Complaints are more useful than wish lists, because a complaint identifies a constraint that a new plan has to solve.

Field measurement and as-built drawing

The existing conditions are measured and drawn accurately, including out-of-square walls, floor slope, soffit depths, and the location of windows relative to interior corners. Where accessible, we note joist direction, panel location and capacity, and the visible path of the main drain and vent.

Constraint mapping

Before designing anything, we identify what cannot move cheaply: bearing walls, the plumbing stack, the exterior wall available for hood ducting, and any beams or posts already in place. This produces a short list of fixed points, and good layouts are built around them rather than fighting them.

Concept options

You get two or three meaningfully different arrangements rather than one plan with minor variations, because comparing real alternatives is how people discover what they actually want. Each option is presented with its own tradeoffs stated plainly, including what it would cost you in structural work or storage.

Selection and refinement

One direction is chosen and developed in detail, with appliance models pinned down, cabinet runs blocked out, clearances verified, and elevations drawn. This is the stage where a tape-out on your existing floor is worth doing, especially if an island is involved.

Structural and trade coordination

If the plan removes or alters a wall, a licensed structural engineer sizes the replacement beam and specifies posts, footings, and connections, including the lateral bracing that Washington’s seismic requirements make relevant when a shear wall is affected. Plumbing, electrical, and HVAC routes are reviewed against the plan so surprises surface now rather than mid-demolition.

Permit documentation and submittal

Structural alterations, relocated plumbing, and added circuits generally require a permit through the City of Bellevue, the relevant city for other Eastside addresses, or King County for unincorporated areas. The drawing set is assembled to what the reviewing jurisdiction asks for, and review time is a real part of the schedule that no contractor can compress.

Handoff to construction

The approved plan set becomes the document everyone builds and bids from, so cabinet shop, plumber, electrician, and framer are working from the same dimensions. Field conditions revealed at demolition are documented as revisions rather than verbal changes, which keeps the scope and the price traceable.

Materials & Finishes

Ways to See the Plan Before Anything Is Built


Layout design produces documents rather than materials, and the level of documentation you choose affects both confidence and cost.

OptionBest ForConsiderationsRelative Cost
Hand concept sketchesEarly exploration of several very different arrangementsFast and useful for narrowing direction, but not dimensioned enough to price or build fromLowest
Dimensioned 2D floor plan and elevationsThe working core of almost every projectRequired for accurate bidding, cabinet ordering, and trade coordination; less intuitive for homeowners to readModerate
3D renderingsConfirming how finishes, sightlines, and ceiling height will actually feelExcellent for catching proportion problems early; renderings should always be tied to the dimensioned plan, not drawn independentlyModerate to high
Full-scale tape-out on the existing floorTesting aisle widths and island size with your own body in the real roomCosts almost nothing and settles island debates faster than any drawing, though it cannot show vertical conditionsLowest
Permit drawing setAny plan involving structural change, moved plumbing, or added electrical loadContent and detail are set by the reviewing jurisdiction, and review timelines are outside the contractor’s controlHigher
Structural engineering packageRemoving or altering a bearing or shear wallPrepared by a licensed engineer and generally required for permit review; specifies beam sizing, posts, and connectionsHigher
Cabinet shop drawingsCustom or semi-custom cabinetry ordered to exact field dimensionsProduced after demolition reveals true conditions in many cases, which is why the construction schedule sequences them lateVaries with cabinet scope

Final material choice depends on site conditions and a written estimate.

Project Video

See Layout Thinking in Practice


A walkthrough of how floor plan decisions show up in a finished kitchen, from aisle widths to where the light lands.

Kitchen Remodel Walkthrough

A walkthrough of a completed kitchen remodel showing cabinetry, island and finish detail.

Kitchen Design Tour

A tour through a finished kitchen highlighting layout and storage decisions.

Investment

What Moves the Cost of a Layout Redesign


Design fees and the construction cost the design implies are driven by a handful of specific variables.

Whether walls come out

Keeping the existing footprint and simply rearranging cabinetry is a fundamentally different project from opening a kitchen into a living room. Wall removal brings in engineering, a beam and its supports, drywall and ceiling repair, and often flooring that has to be woven together across two rooms.

How far the wet and vent points move

Relocating a sink or a dishwasher means new drain lines that must maintain proper fall and be properly vented, which is straightforward over a crawlspace and considerably more involved over a slab or a finished basement ceiling. Moving a range to an interior wall raises the separate question of how the hood will get to the outside.

Electrical service and circuit capacity

Modern kitchen layouts add dedicated circuits for appliances, island outlets, and lighting, and older panels frequently do not have the space or capacity to absorb them. A panel upgrade is a legitimate line item that a layout can trigger without anyone intending it.

The number of options and revisions

Exploring several genuinely different concepts takes more design hours than developing a direction you have already settled on. Revision cycles late in the process, after elevations and appliance specifications are set, cost more than changes made at the concept stage.

Level of documentation required

A dimensioned plan for a straightforward cabinet reconfiguration is a smaller deliverable than a permit set with structural details, elevations, and electrical layouts. The reviewing jurisdiction, not the homeowner, generally sets the floor on how much drawing is required.

Existing conditions and the age of the house

Older homes turn up conditions that affect the plan: undersized framing, knob-and-tube remnants, cast iron drains, asbestos-containing sheet flooring or joint compound, and floors that are out of level enough to matter for a long cabinet run. Discovering these during design is far less expensive than discovering them after demolition has begun.

No honest number can be given from a photo or a phone call. Accurate pricing requires an on-site inspection of your actual conditions and a written estimate that lists scope and assumptions.

Why Sky Pro

Reasons Homeowners Bring Us In at the Planning Stage


Layout mistakes are the most expensive kind to correct, and the correction almost always means demolition.

The plan is checked against the structure first

We establish what is bearing, what is shear, and what the plumbing will allow before we draw a kitchen that depends on those things being different. A design that has not been tested against the framing is a wish, not a plan.

Options are presented with tradeoffs stated

Every layout gives something up, and you deserve to know what before you choose. We say plainly which plan costs storage, which one costs structural work, and which one puts traffic where you did not want it.

Clearances are verified, not assumed

Aisle widths, appliance door swings, and landing space are dimensioned and checked on every option we present. This is the difference between an island that works and one you shuffle sideways past for the next fifteen years.

Built by people who also swing hammers

Because we build what we draw, the plans do not contain details that look elegant on screen and prove unbuildable in a wall cavity. Constructability is checked as the design develops rather than discovered by a frustrated framer.

Regional conditions are treated as design inputs

Hood ducting to a rain-exposed exterior, makeup air in a tightly sealed house, a mudroom transition that keeps wet boots out of the cooking zone, and light planning for a long dark season are handled in the layout, not patched afterward.

Documentation that survives the project

You end up owning a dimensioned set that trades can bid apples to apples and that inspectors can review. It also means the plan does not live only in one person’s head, which matters if scheduling or personnel change mid-project.

Ready to Put a Real Floor Plan on Paper?

Bring us your frustrations with the kitchen you have now, and we will draw the alternatives worth considering. Reach us at (206) 825-2773.

Common Questions

Frequently Asked Questions


Do I need a full layout redesign, or can I keep my existing footprint?

If your current kitchen frustrates you only in its finishes and storage, keeping the footprint is usually the better value. Reface or replace cabinets in place, add pull-outs and drawer organization, improve lighting, and you avoid the entire cost of moving plumbing and touching structure. A layout redesign earns its cost when the frustration is spatial: two people cannot work at once, traffic cuts through the cooking zone, the refrigerator door blocks the only aisle, or the room is closed off from where the household actually lives. The interview stage exists to tell those two situations apart honestly.

Can I remove the wall between my kitchen and living room?

Usually yes, but the question is what has to replace it. If the wall is bearing, a properly sized beam and posts carrying load down to adequate footings must take over, and that path has to be traced all the way to the foundation rather than stopping at the floor above the crawlspace. If the wall also functions as a shear wall, Washington’s seismic requirements mean the lateral resistance it provided has to be replaced too, often through hold-downs, a portal frame, or added bracing elsewhere. A licensed structural engineer sizes all of that, and the work will generally require a permit and inspection.

How far can I move the sink or the range?

The sink is limited by drainage more than by supply. A drain line needs consistent fall toward the main and proper venting, so a short move along the same wall is often simple while a move to an island across the room may require a vent solution and enough depth below the floor to maintain slope. Homes over a crawlspace usually have more freedom than homes over a slab or a finished basement. The range is limited by ducting and gas or electrical supply, and moving a vented hood to an interior wall means finding a duct route to the exterior with as few turns as possible.

What is the minimum room size for an island?

Think in terms of aisles rather than island size. You need working clearance on every side people will use, and that clearance is measured from the island edge to the face of the opposing counter or appliance, not to the wall. A one-cook kitchen needs meaningfully more than a simple walkway on the working side, and two cooks need more still. Tape the island footprint on your existing floor, put the tape down for the aisles too, and walk it with the refrigerator and dishwasher doors open. Many rooms that seem large enough are not, and a well-designed peninsula delivers most of the benefit without the four-sided clearance requirement.

How long does the design phase take before construction can start?

Design generally runs in weeks rather than days, and the schedule is driven more by decision-making than by drafting. Measurement and concept work move quickly; what stretches timelines is revision cycles, waiting on appliance selections that dimensions depend on, and structural engineering. If a permit is required, jurisdictional review adds time that is entirely outside a contractor’s control, and it is worth building that into your expectations rather than treating it as a delay. Choosing appliances early is the single most effective thing a homeowner can do to keep the design phase moving.

Do I need a permit just to have a layout designed?

No. Design and drawing are not permitted activities, and you can plan freely. The permit question attaches to the construction the plan calls for. Cosmetic work such as replacing cabinets in the same locations often does not require one, while structural alterations, relocated plumbing, and new electrical circuits generally do. Requirements vary by jurisdiction, so a Bellevue address, an unincorporated King County address, and a Seattle address may be reviewed under different processes for the same scope of work.

My kitchen is dark for half the year. Can a layout change fix that?

Layout can do a great deal, though it is rarely the window alone. Removing or shortening upper cabinets on a window wall, borrowing daylight from an adjacent room by opening a wall, and relocating the primary prep surface so the cook is not working in their own shadow all make measurable difference. Beyond that, plan light in layers rather than relying on a central fixture: undercabinet lighting on every work surface, dedicated fixtures over the island and sink, and a general ambient layer. Finish selection interacts with this, since matte and satin surfaces distribute low winter light more evenly than high gloss, which mostly reflects the fixture back at you.

What is the most common layout mistake you see in older Eastside kitchens?

An island forced into a room that cannot support it. The island is the feature people arrive wanting, and it is often drawn before anyone verifies the aisles, so the finished kitchen has a beautiful centerpiece that everyone has to edge around. The second most common is putting the main traffic path from the garage or back door straight through the space between the sink and the range, which turns the cooking zone into a hallway. Both are trivial to prevent at the drawing stage and expensive to correct once cabinets and flooring are installed.

Client Reviews

What Our Clients Say


Service Areas

Where We Plan Kitchens


We provide kitchen layout design for homeowners throughout Bellevue and the wider Eastside, including Kirkland, Redmond, Sammamish, Issaquah, Mercer Island, Newcastle, Renton, and Bothell, along with neighborhoods across greater Seattle. The mid-century ramblers, split-levels, and 1980s two-stories that make up much of this housing stock share a set of recurring layout constraints, and knowing them in advance shortens the path from first measurement to a workable plan.

Do not see your neighborhood? Call (206) 825-2773 — we regularly work throughout King County.

Where We Work

Serving Bellevue and the Greater Seattle Area


Our layout design work covers Bellevue, the surrounding Eastside cities, and the greater Seattle area.

Related Services

Further Reading Before You Commit to a Plan


Small Kitchen Remodel Ideas That Maximize Space

Practical moves for getting more function out of a tight footprint when expanding the room is not an option.

5 Game-Changing Benefits of Adding a Kitchen Island to Your Remodel

Worth reading before you decide whether your room can genuinely support an island or would be better served by a peninsula.

Tips for Remodeling Older Homes in Bellevue

Covers the existing-condition surprises common in older Eastside houses that a layout plan needs to account for early.

Get Started

Request a Layout Consultation


Tell us about your kitchen, what does not work about it, and what you are hoping to change. We will follow up to schedule an on-site measurement and a conversation about which layouts your home can actually accommodate.

Appointment Request Form

Let us know how we can help you!

Click To Call