Bathroom Remodeling

Custom Bathroom Vanities and Cabinetry for Bellevue Homes


A bathroom vanity lives in the wettest room in the house, and most of them fail from the inside out long before the doors go out of style. Sky Pro Remodeling specifies and installs bathroom cabinetry built for that environment, with plywood boxes, moisture-tolerant finishes and installations scribed to the walls and floors you actually have.

  • Custom vanity cabinetry
  • Plywood box construction
  • Floating and furniture styles
  • Moisture-rated finish systems
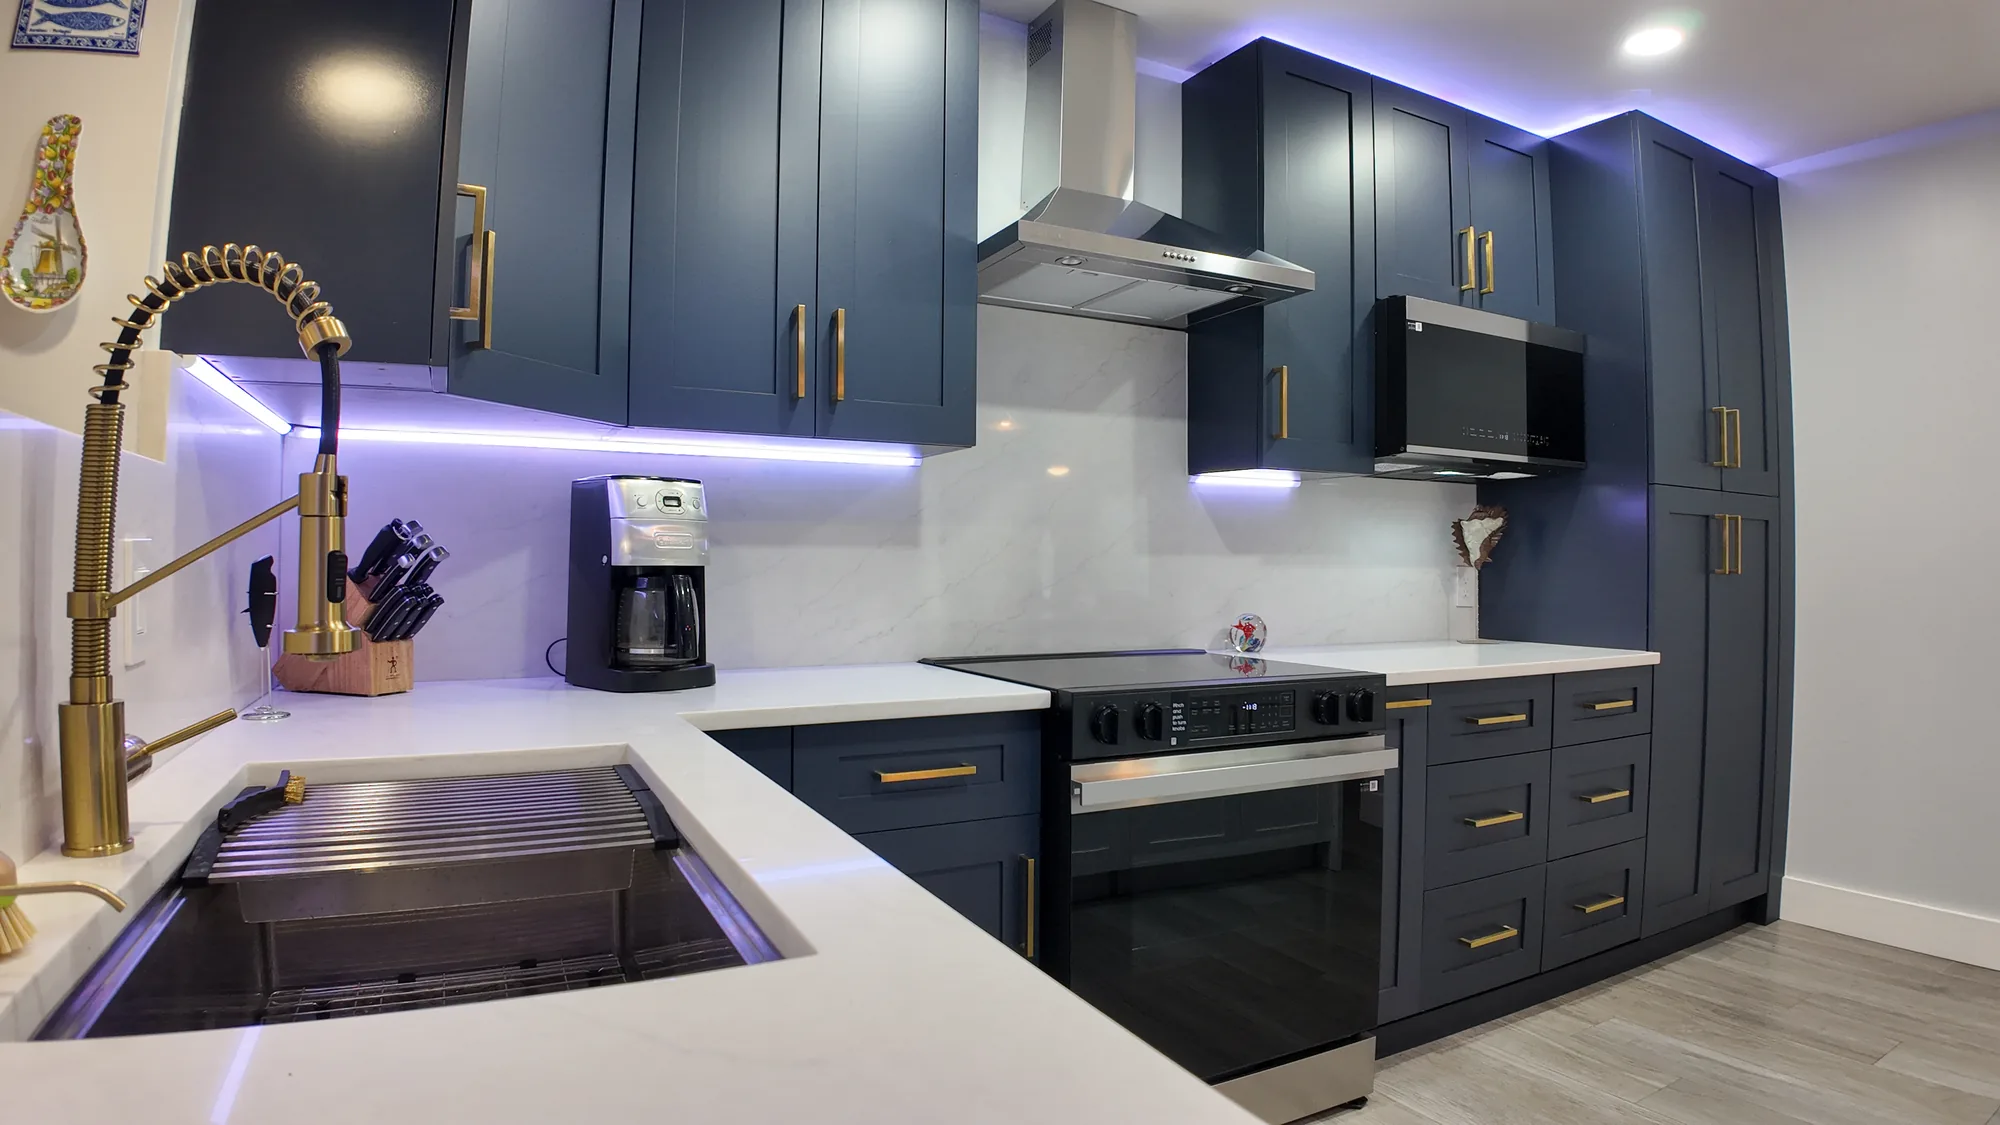
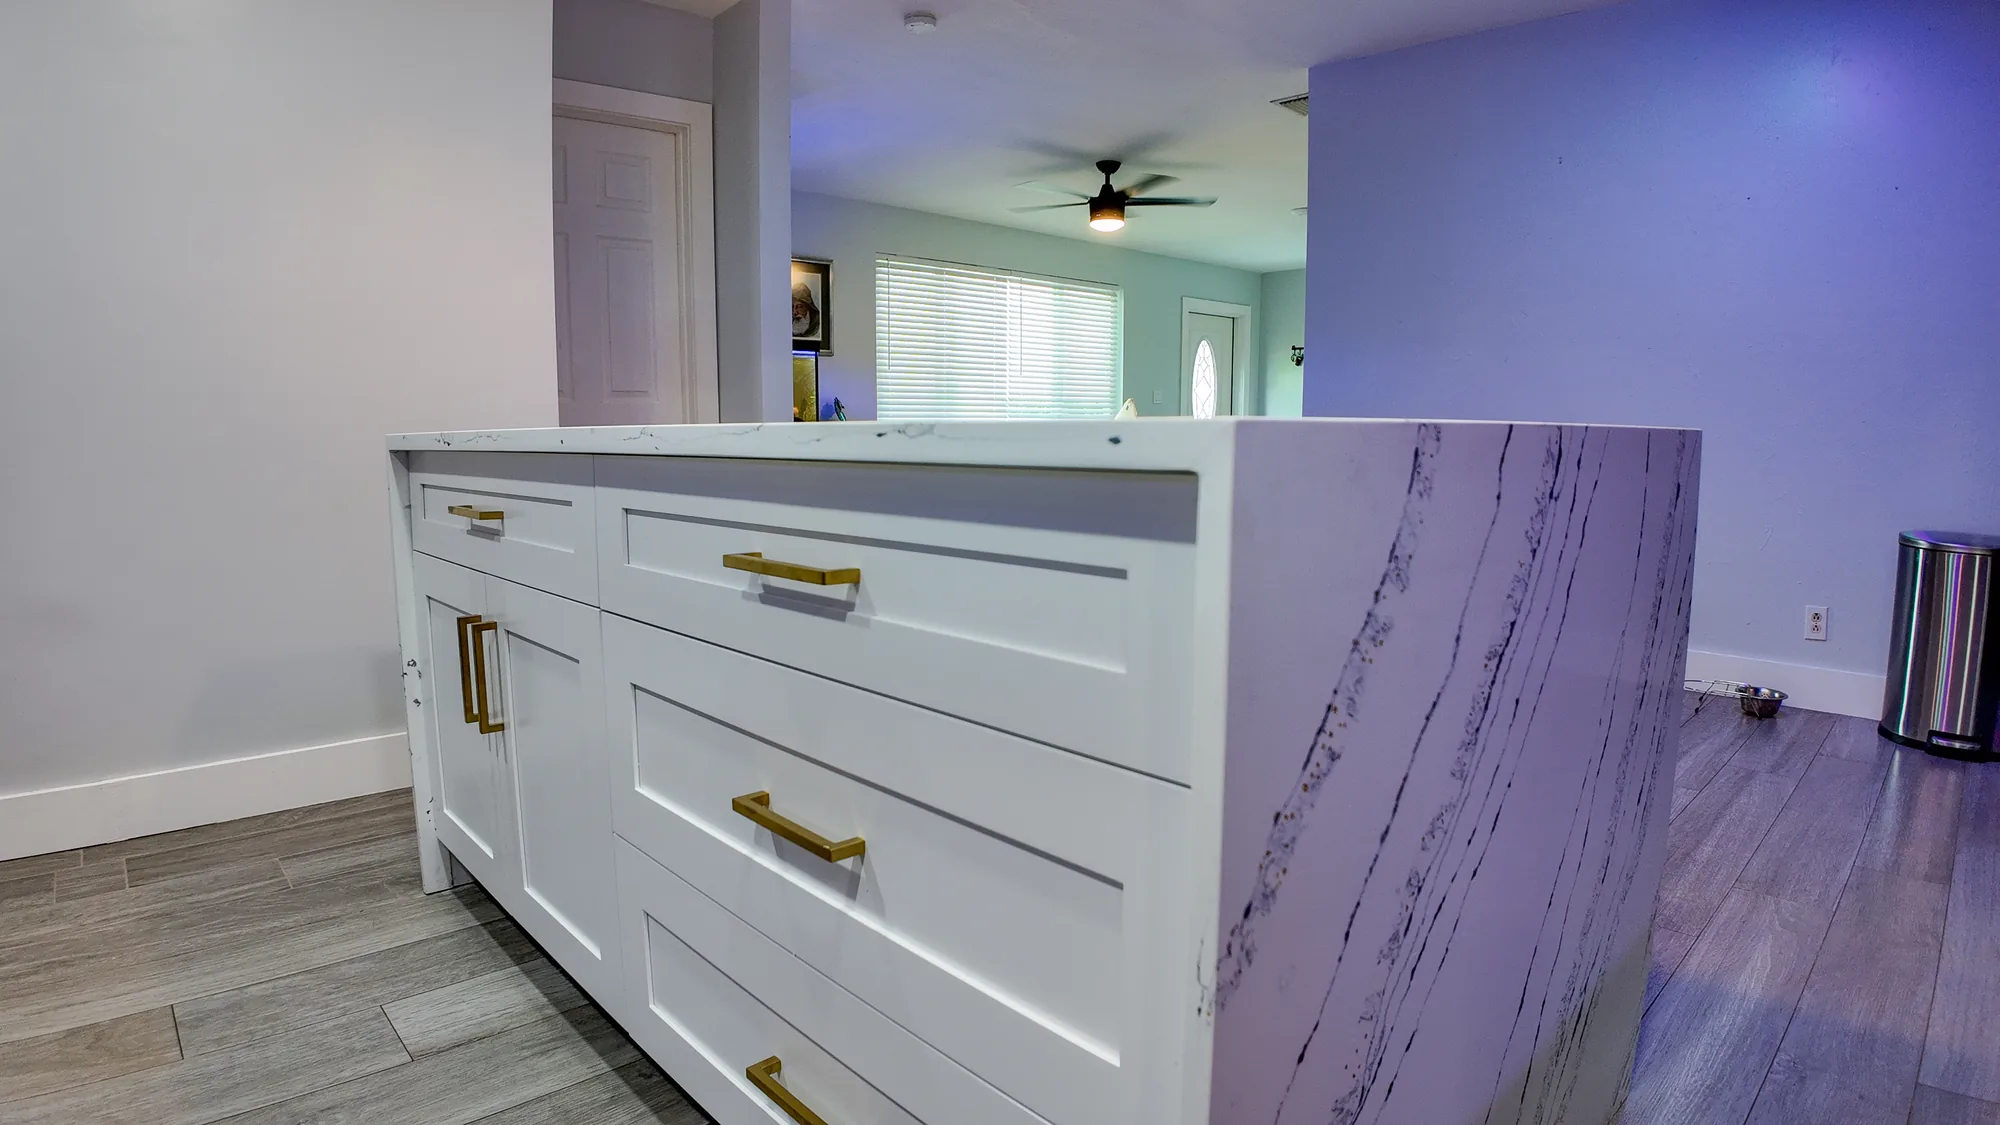
Close view along the island countertop showing heavy gray veining and teal upholstered stools.Galley view showing a glass-door beverage cooler, built-in wall oven, and stainless gas cooktop.Detail of a white single-bowl sink with a dark coil-spring faucet against teal herringbone tile.Stainless gas range and over-range microwave set into teal herringbone tile with a pot filler.Range wall with white shaker cabinets, microwave, and teal tile running the full backsplash height.Gas range flanked by gray shaker drawer bases and white stone counters under white upper cabinets.White farmhouse sink and window flanked by teal tile, gray cabinets, and a stainless dishwasher.Kitchen corner with an undermount stainless sink, brass faucet, dishwasher and a range with chimney hood.View across the sink toward a stainless range, chimney hood, wall microwave and floor-to-ceiling pantry.Back of the kitchen island in white shaker cabinetry with brass pulls and a quartz waterfall end panel.Close view along the island countertop showing heavy gray veining and teal upholstered stools.Galley view showing a glass-door beverage cooler, built-in wall oven, and stainless gas cooktop.Detail of a white single-bowl sink with a dark coil-spring faucet against teal herringbone tile.Stainless gas range and over-range microwave set into teal herringbone tile with a pot filler.Range wall with white shaker cabinets, microwave, and teal tile running the full backsplash height.Gas range flanked by gray shaker drawer bases and white stone counters under white upper cabinets.White farmhouse sink and window flanked by teal tile, gray cabinets, and a stainless dishwasher.Kitchen corner with an undermount stainless sink, brass faucet, dishwasher and a range with chimney hood.View across the sink toward a stainless range, chimney hood, wall microwave and floor-to-ceiling pantry.Back of the kitchen island in white shaker cabinetry with brass pulls and a quartz waterfall end panel.
Overview

Why Bathroom Cabinetry Is Its Own Trade


Kitchen and bathroom cabinets look like the same product, and they are not. A vanity sits a few feet from a shower that runs hot twice a day, takes standing water at the sink deck and toe kick, and shares a small room with an exhaust fan that was probably undersized when it was installed. The box is also cut open at the back for a drain and supply lines, which is exactly where moisture gets in.

The biggest durability decision is what the box is made of. A particleboard carcass with a melamine skin looks identical to plywood on day one and behaves completely differently the first time a supply line weeps. Particleboard swells irreversibly and never dries back flat, which is why so many vanities have a soft, bubbled cabinet bottom under the sink while the doors still look new. Plywood absorbs water more slowly, recovers, and keeps holding hinge and slide screws after decades of cycling.

The finish matters more here than most homeowners expect. Bathrooms in the Puget Sound region run at high humidity for much of the fall and winter, and painted wood doors move seasonally. A catalyzed or conversion varnish system, applied to all six sides including the back and the inside of the door rails, resists moisture penetration and hairline cracking far better than a site-brushed paint job.

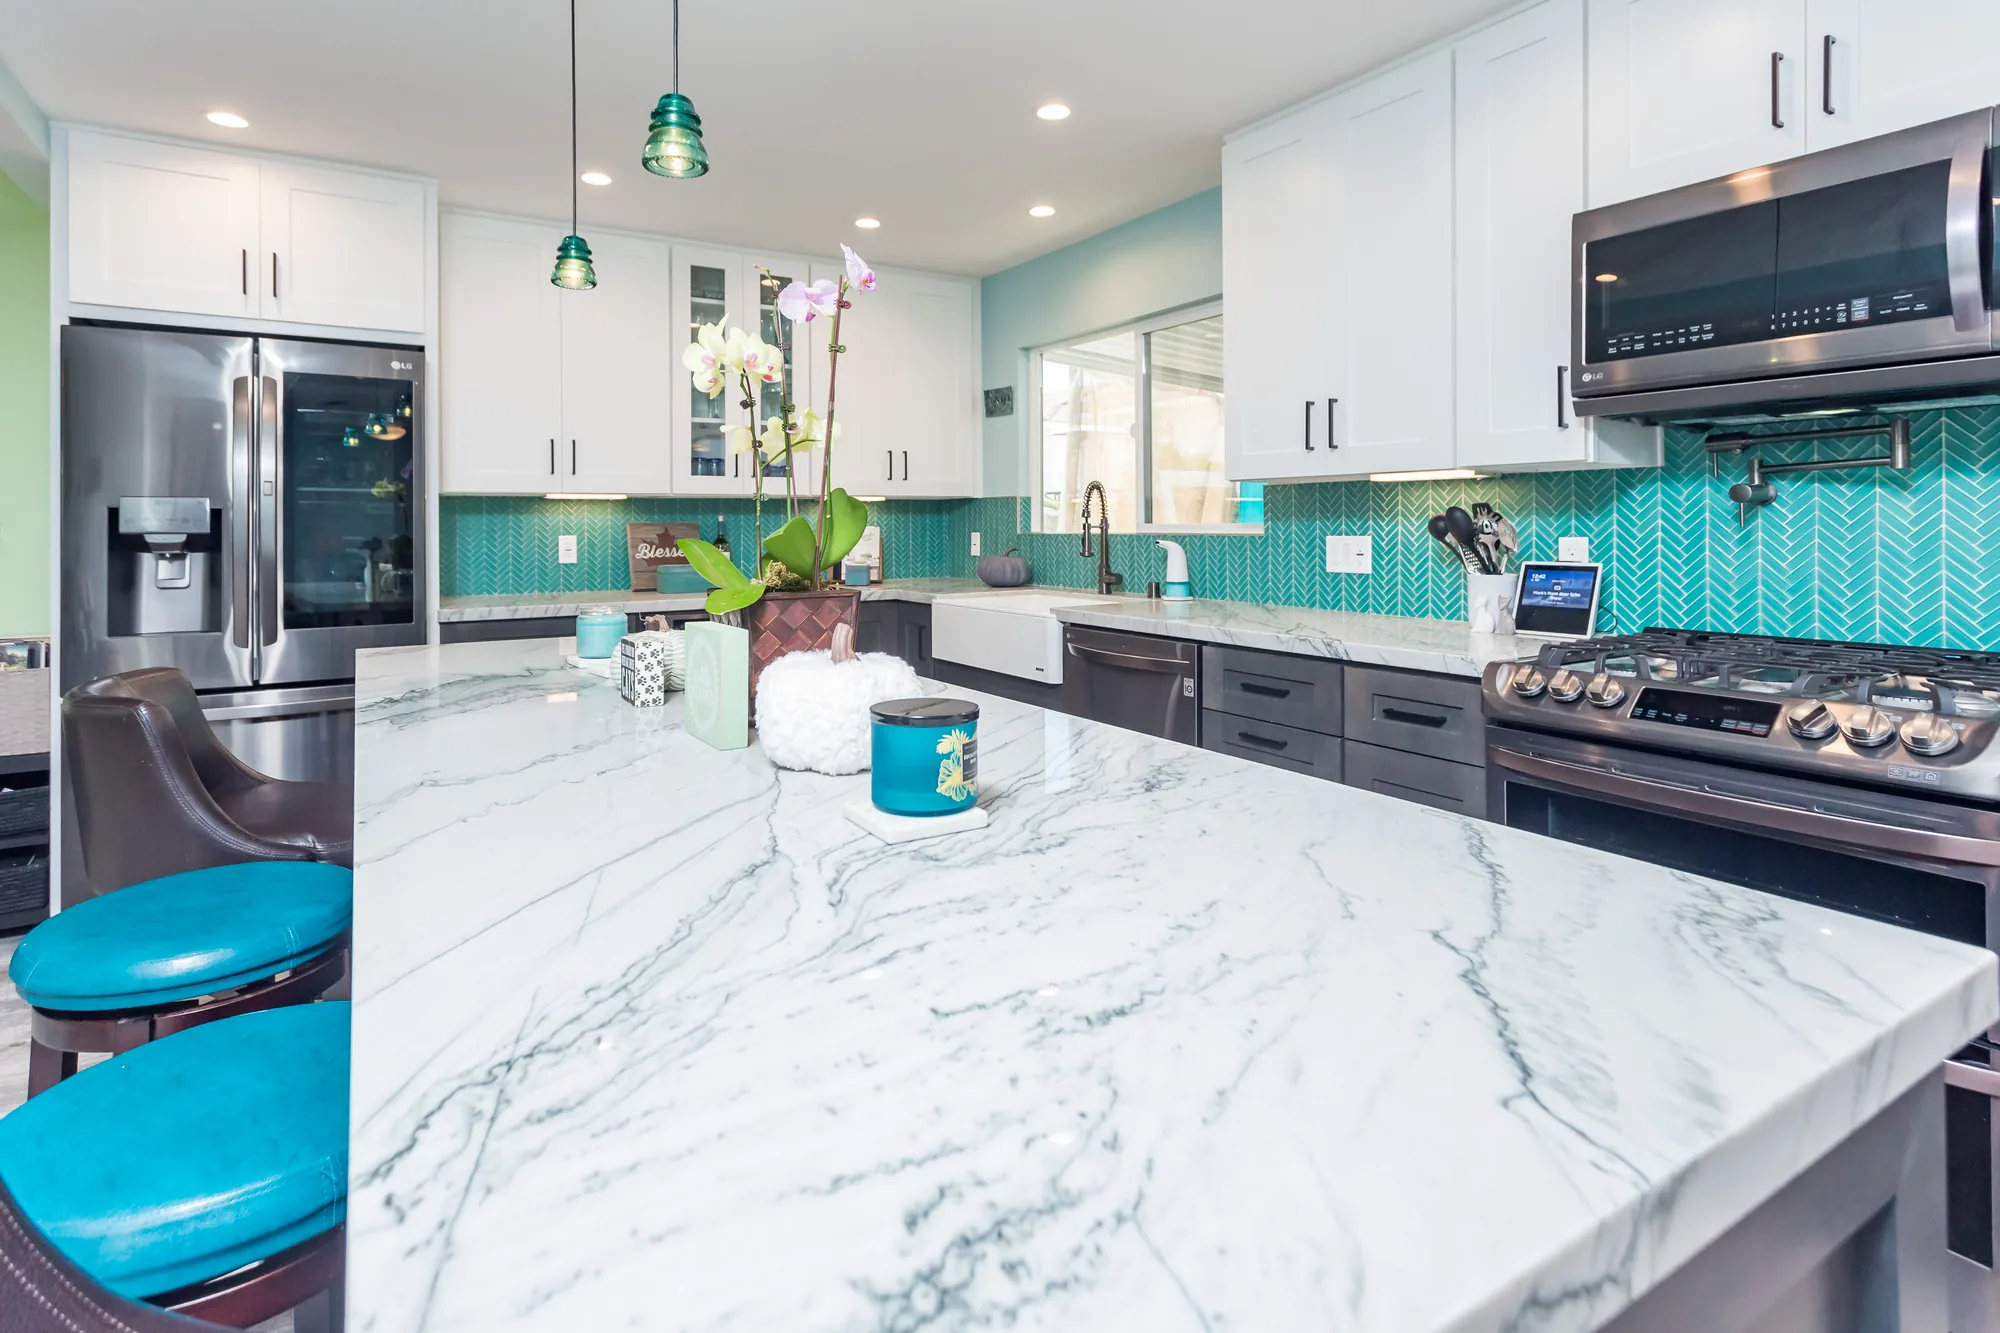
Close view along the island countertop showing heavy gray veining and teal upholstered stools.
What You Get

What the Cabinetry Scope Covers


Vanity work runs from measurement through final hardware adjustment, and every stage has to line up with the plumbing, tile and electrical around it.

Field measurement and layout

We measure at multiple heights, check walls for plumb and floors for level, and locate the existing drain and supply rough-ins before anything is ordered. Those numbers decide whether a stock width works or the cabinet has to be built to size.

Specification and sourcing

Box construction, door style, overlay, finish system and hardware are selected together to suit the design and the moisture load. Unusual widths, angled walls and wall-hung mounting get cabinetry ordered to size rather than padded out with oversized fillers.

Removal of existing cabinetry

The old vanity, top and backsplash come out after the water is shut off and the trap is broken down, without tearing up the wall behind. Any water damage or framing issue found underneath is documented before new work starts.

Wall and floor preparation

Drywall damaged behind a leaking vanity is cut back and replaced, and blocking is added wherever a floating cabinet needs it. Floors are checked so the box sits level instead of rocking under the countertop.

Setting, shimming and scribing

Cabinets are leveled in both directions, fastened into framing rather than drywall alone, and ganged tight so door and drawer gaps read consistently. End panels and fillers are scribed to the wall so no shadow line opens at an out-of-plumb corner.

Interiors and hardware

Drawer banks are laid out around the drain, with notched or shortened boxes where the trap intrudes, plus dividers or outlets where they earn the space. Soft-close slides and hinges are adjusted after the countertop is set, not before.

Design Direction

Vanity Configurations Worth Considering


Configuration is usually decided by floor area, plumbing location and who uses the room, not by a look chosen in isolation.

Floating wall-hung vanity

Carried entirely by the wall with open floor beneath, which makes a small bathroom read larger and the floor far easier to keep dry. It suits modern rooms with continuous tile. The consideration is structural: the wall needs solid blocking installed before the drywall closes, sized for the cabinet, a stone top and anything a person leans on it.

Furniture-style freestanding vanity

Raised on legs with finished ends and a visible apron, reading as furniture rather than built-in casework. It works well in powder rooms and older Eastside houses with traditional trim, where a wall-to-wall built-in feels heavy. Open legs mean less enclosed storage and an exposed trap, so the plumbing has to be neat enough to look at.

Full-overlay painted Shaker

Flat recessed panels with a narrow, consistent reveal, clean enough for a contemporary room and traditional enough for an older one. It is the most broadly usable choice for family and guest baths. Pick the rail width deliberately, because a wide-rail Shaker on a narrow vanity door leaves a panel so small the door looks clumsy.

Inset cabinetry

Doors and drawer fronts sit flush inside the face frame for a crisp, tailored look associated with better millwork. It suits a high-end or period-sensitive bathroom where the cabinetry is the focal point. Inset is also the least forgiving construction in a humid room, since a reveal that thin turns into a rubbing door with very little seasonal movement.

Slab front in wood veneer

A flat door in rift white oak, walnut or similar gives a warm, quiet surface with no profile to catch dust or standing water. It reads especially well under the flat grey daylight common here, where heavy shadow lines from a profiled door can look dull. Specify veneer sequencing so grain runs continuously across adjacent doors and drawers.

Double vanity with center tower

Two sinks flanking a storage tower give each user a zone and add the vertical storage most master baths lack. It needs enough wall length that neither sink is jammed against an end wall or a door swing. A full-height tower is top-heavy and should be anchored into framing, which also suits seismic expectations for tall casework in this region.

Completed Project

White Shaker and Quartz Kitchen Remodel


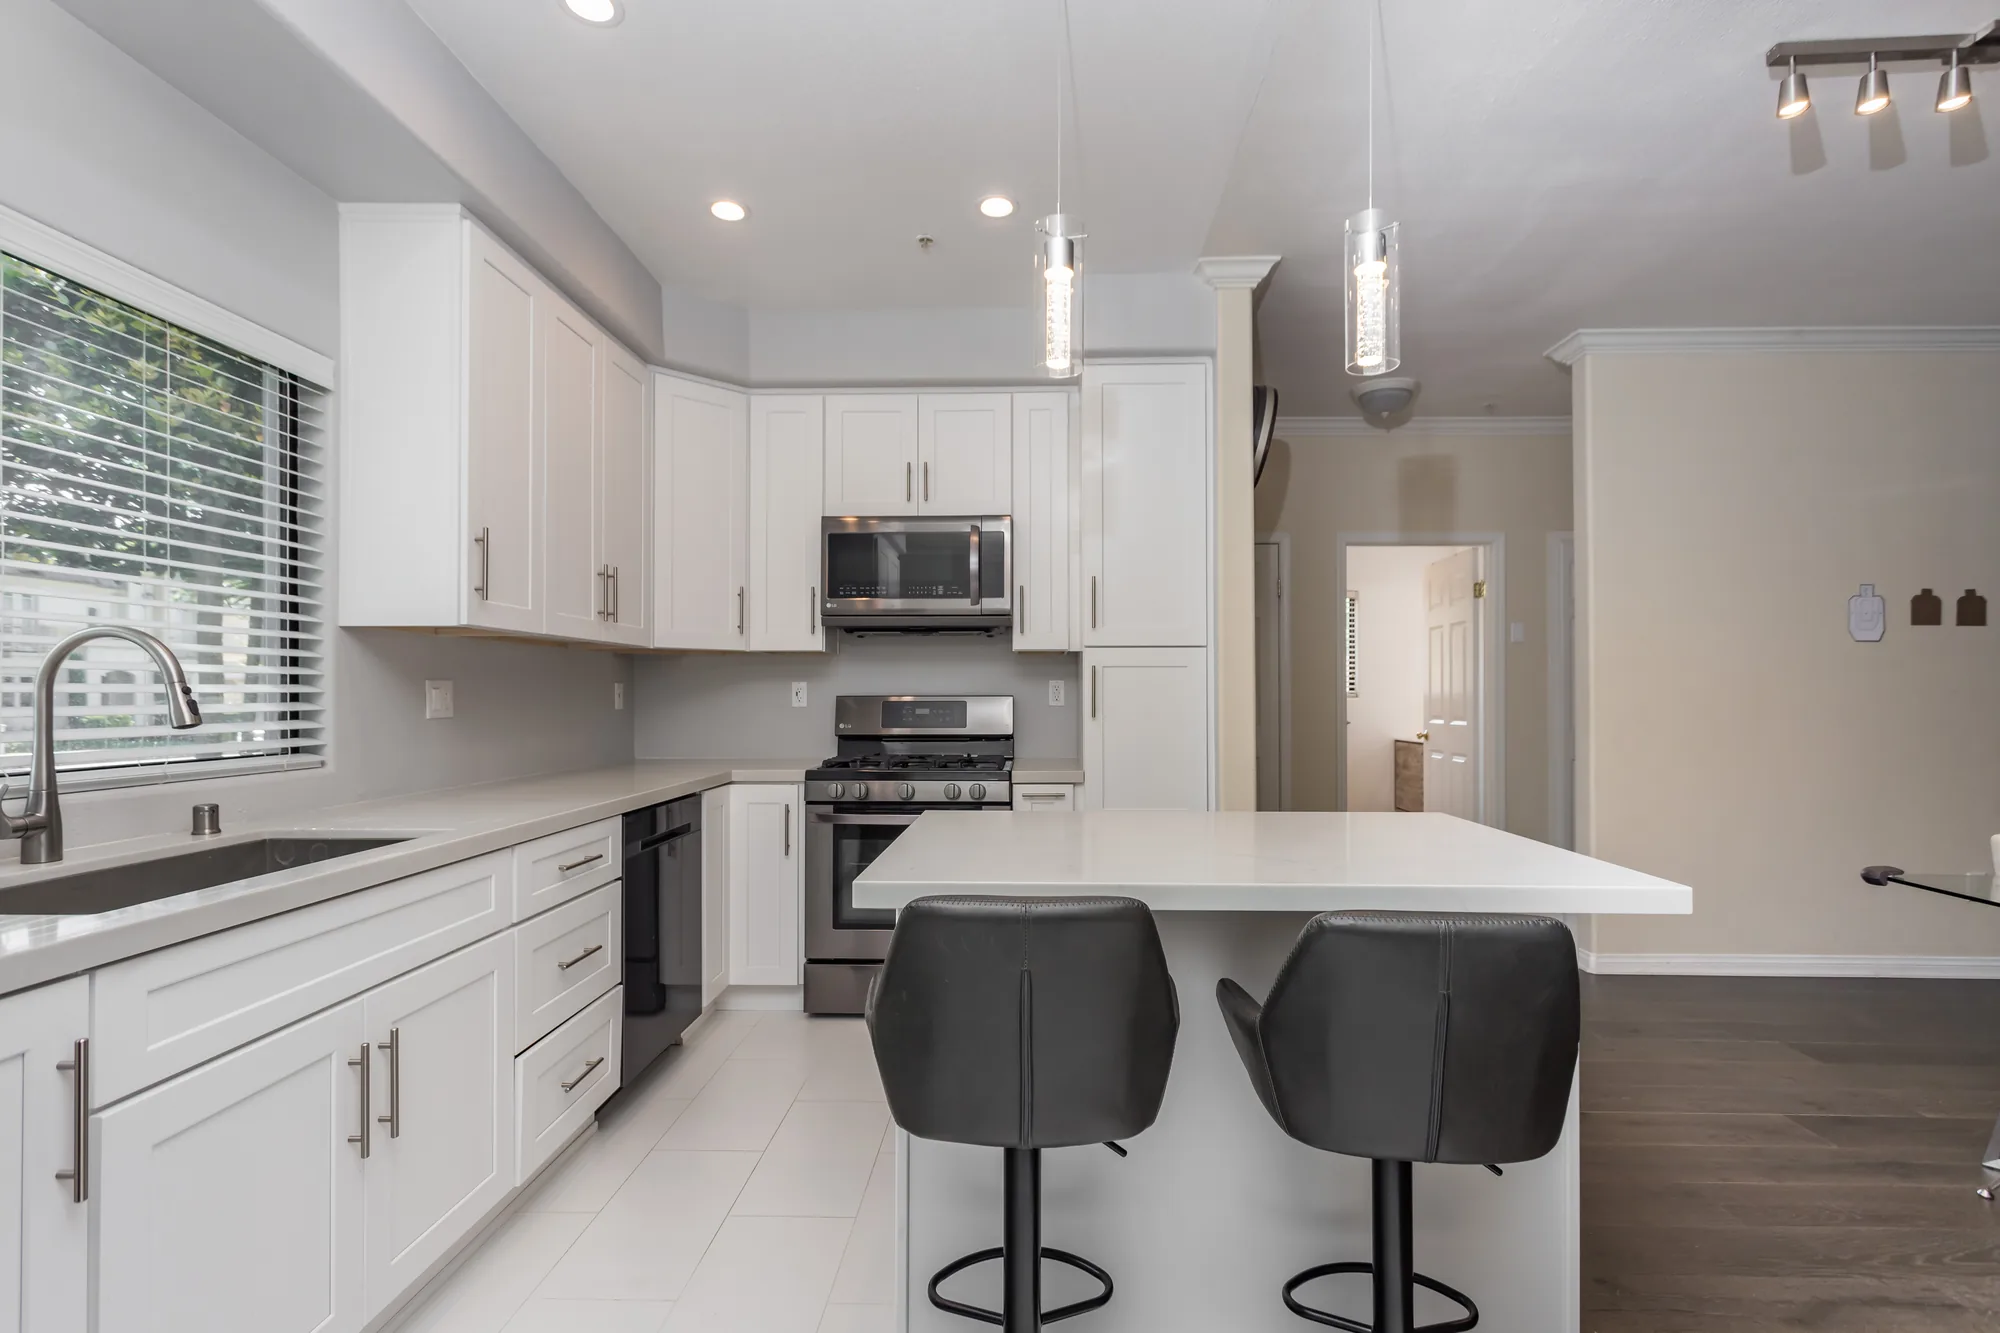
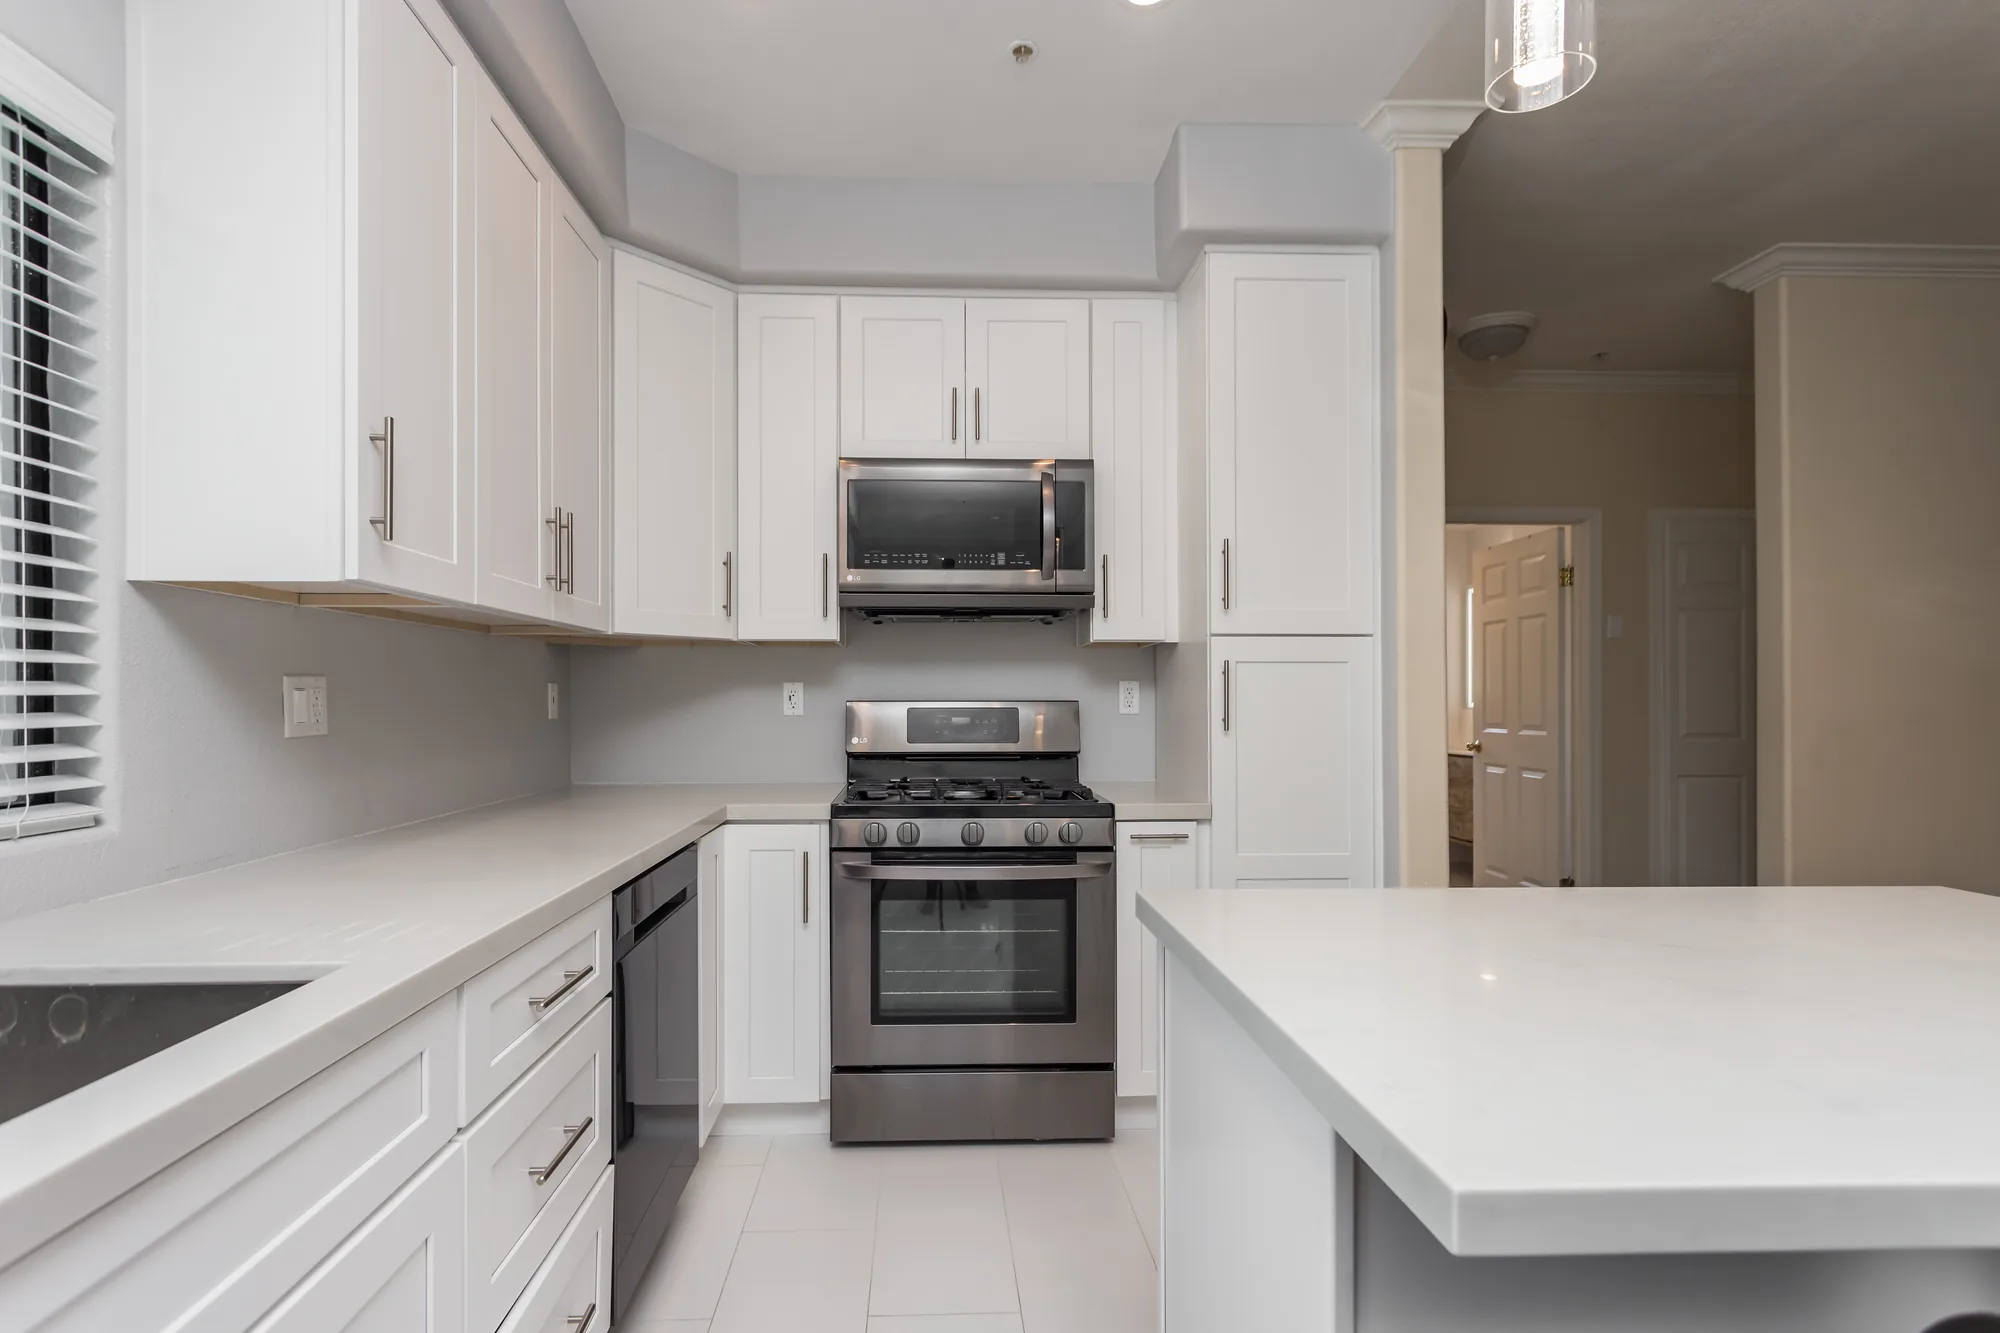
This kitchen was rebuilt with a full run of white shaker cabinetry, including uppers to the soffit, deep drawer banks, and a tall pantry cabinet flanking the range wall. Light stone-look quartz-style countertops were installed with a clean square edge across the perimeter and carried onto a new seated island with a paneled base and integrated outlet. The plumbing package includes a large undermount single-bowl stainless sink with a pull-down brushed nickel faucet and a matching counter-mounted soap dispenser. Appliance work covers a stainless gas range with an over-the-range microwave, a stainless dishwasher integrated into the cabinet run, and a french-door refrigerator set into its own cabinet bay. Lighting and finishes were updated throughout with recessed cans, a pair of clear glass pendants over the island, brushed nickel bar pulls, and large-format light tile flooring.
Style: Transitional

Work Completed

  • Full white shaker cabinet package with uppers, drawer banks, and tall pantry
  • Light stone-look quartz-style countertops with square edge profile
  • New seated island with paneled base and integrated electrical outlet
  • Large undermount single-bowl stainless sink with pull-down faucet
  • Stainless gas range with over-the-range microwave installed
  • Stainless dishwasher and french-door refrigerator integrated into cabinet run
  • Recessed can lighting plus clear glass pendants over the island
  • Large-format light tile flooring laid through the kitchen

Materials & Finishes

  • White painted shaker cabinetry
  • Light stone-look quartz-style countertop
  • Brushed nickel bar pull hardware
  • Brushed nickel pull-down kitchen faucet
  • Undermount stainless steel sink
  • Stainless steel appliances
  • Large-format light tile flooring
  • Clear glass pendant light fixtures
  • Dark wood-look plank flooring in adjoining room
  • Light gray painted walls
Wide view of a finished white kitchen with a seated island, two glass pendants, and gray bar stools.
A wide establishing view shows the island seating, glass pendant lighting, and the kitchen’s connection to the adjoining living space.
Finished white shaker kitchen with a stainless gas range, microwave, and light quartz-look island counter.
The completed range wall pairs white shaker cabinetry and a tall pantry with a light stone-look countertop that carries onto the island.
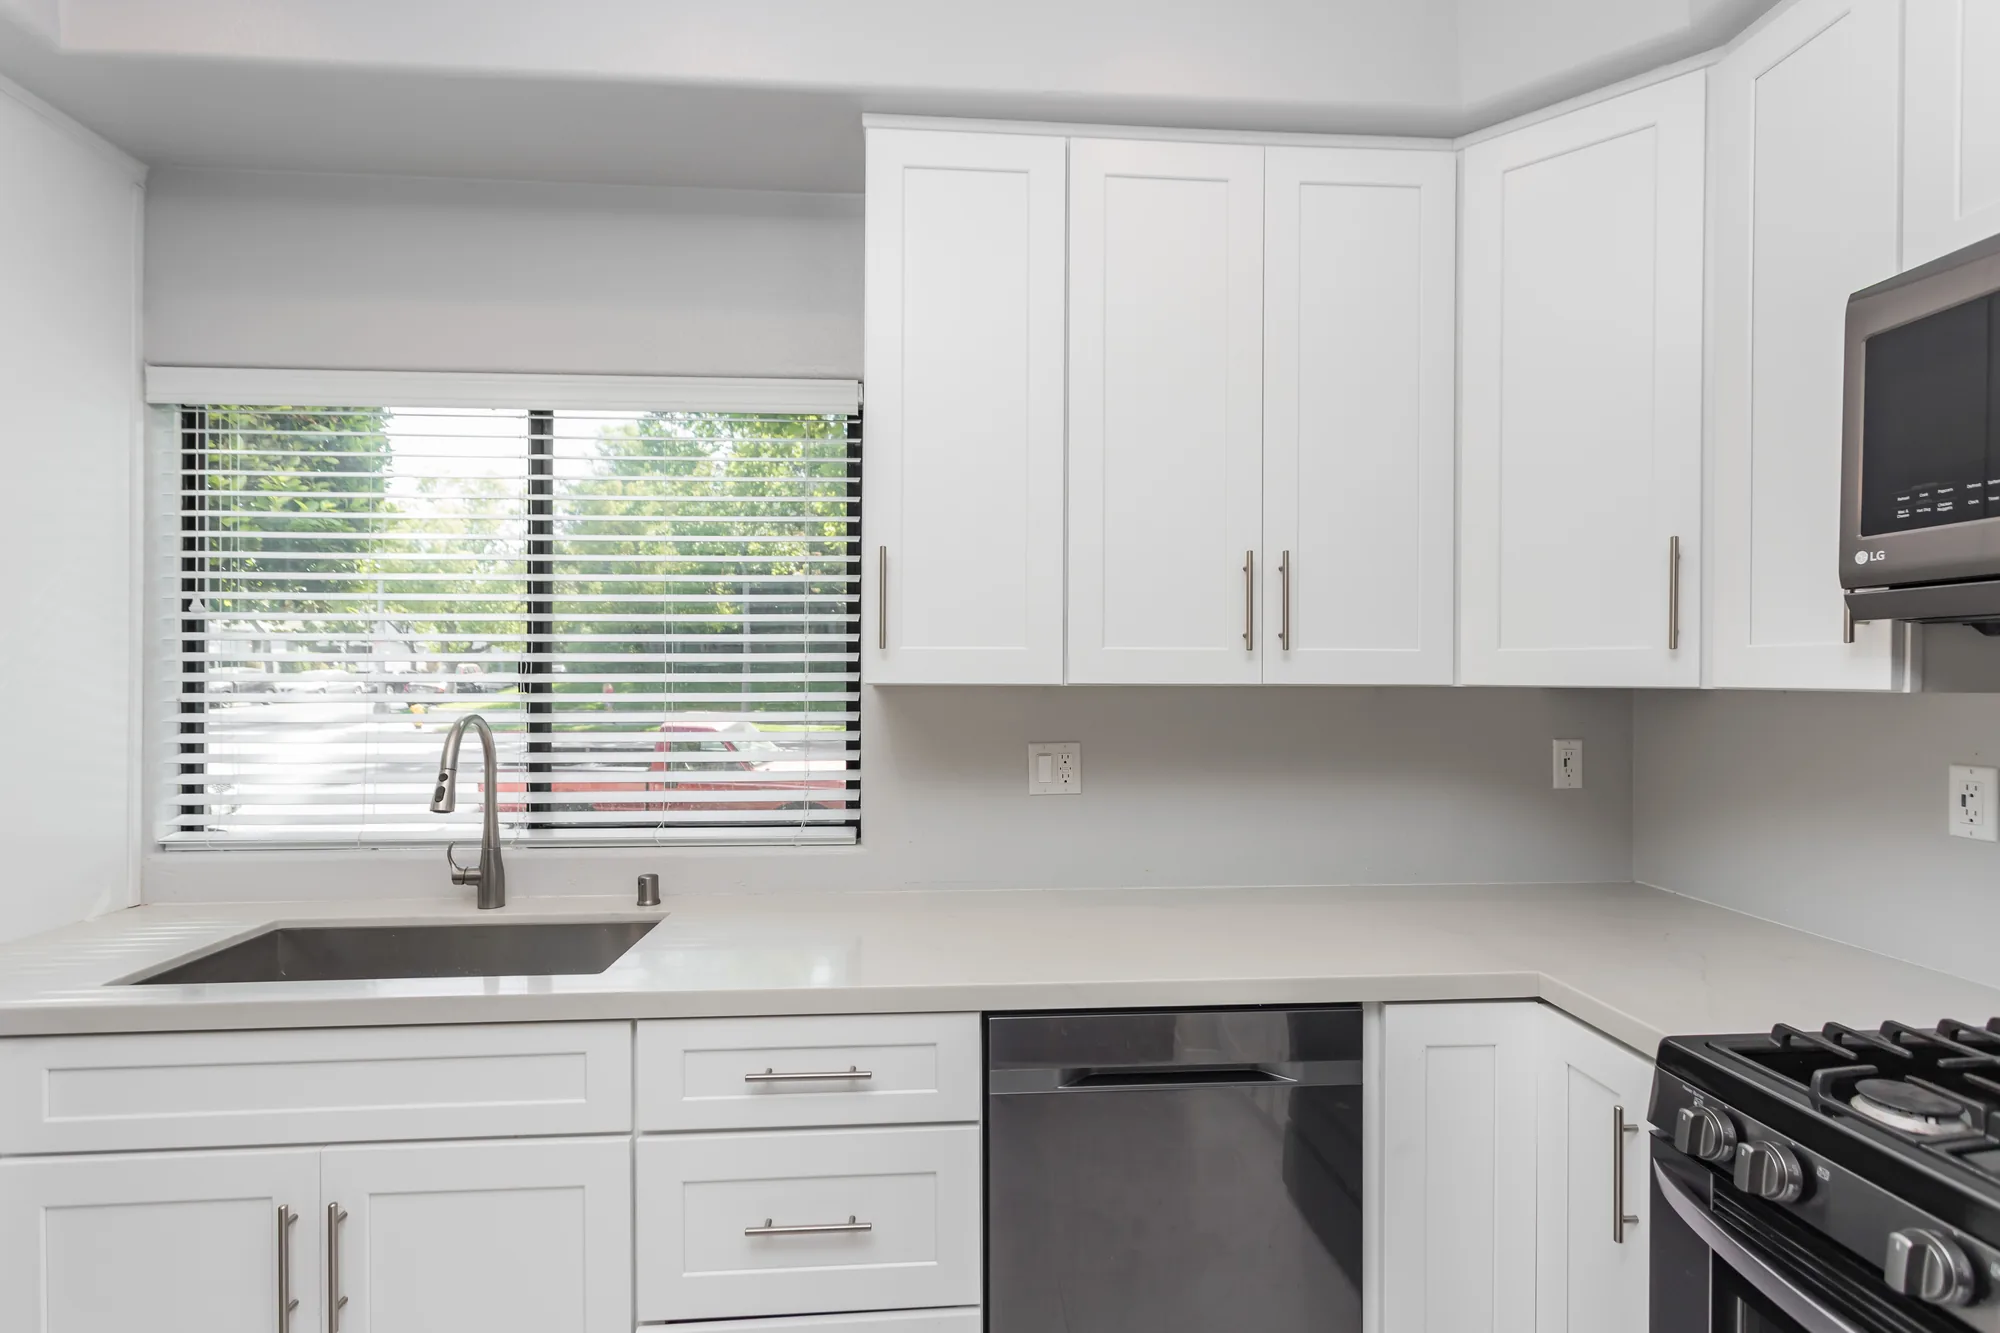
Kitchen sink run below a blinded window with white upper cabinets and a stainless dishwasher alongside.
The sink wall shows the undermount stainless sink, pull-down faucet, and the new upper cabinet run wrapping the corner.
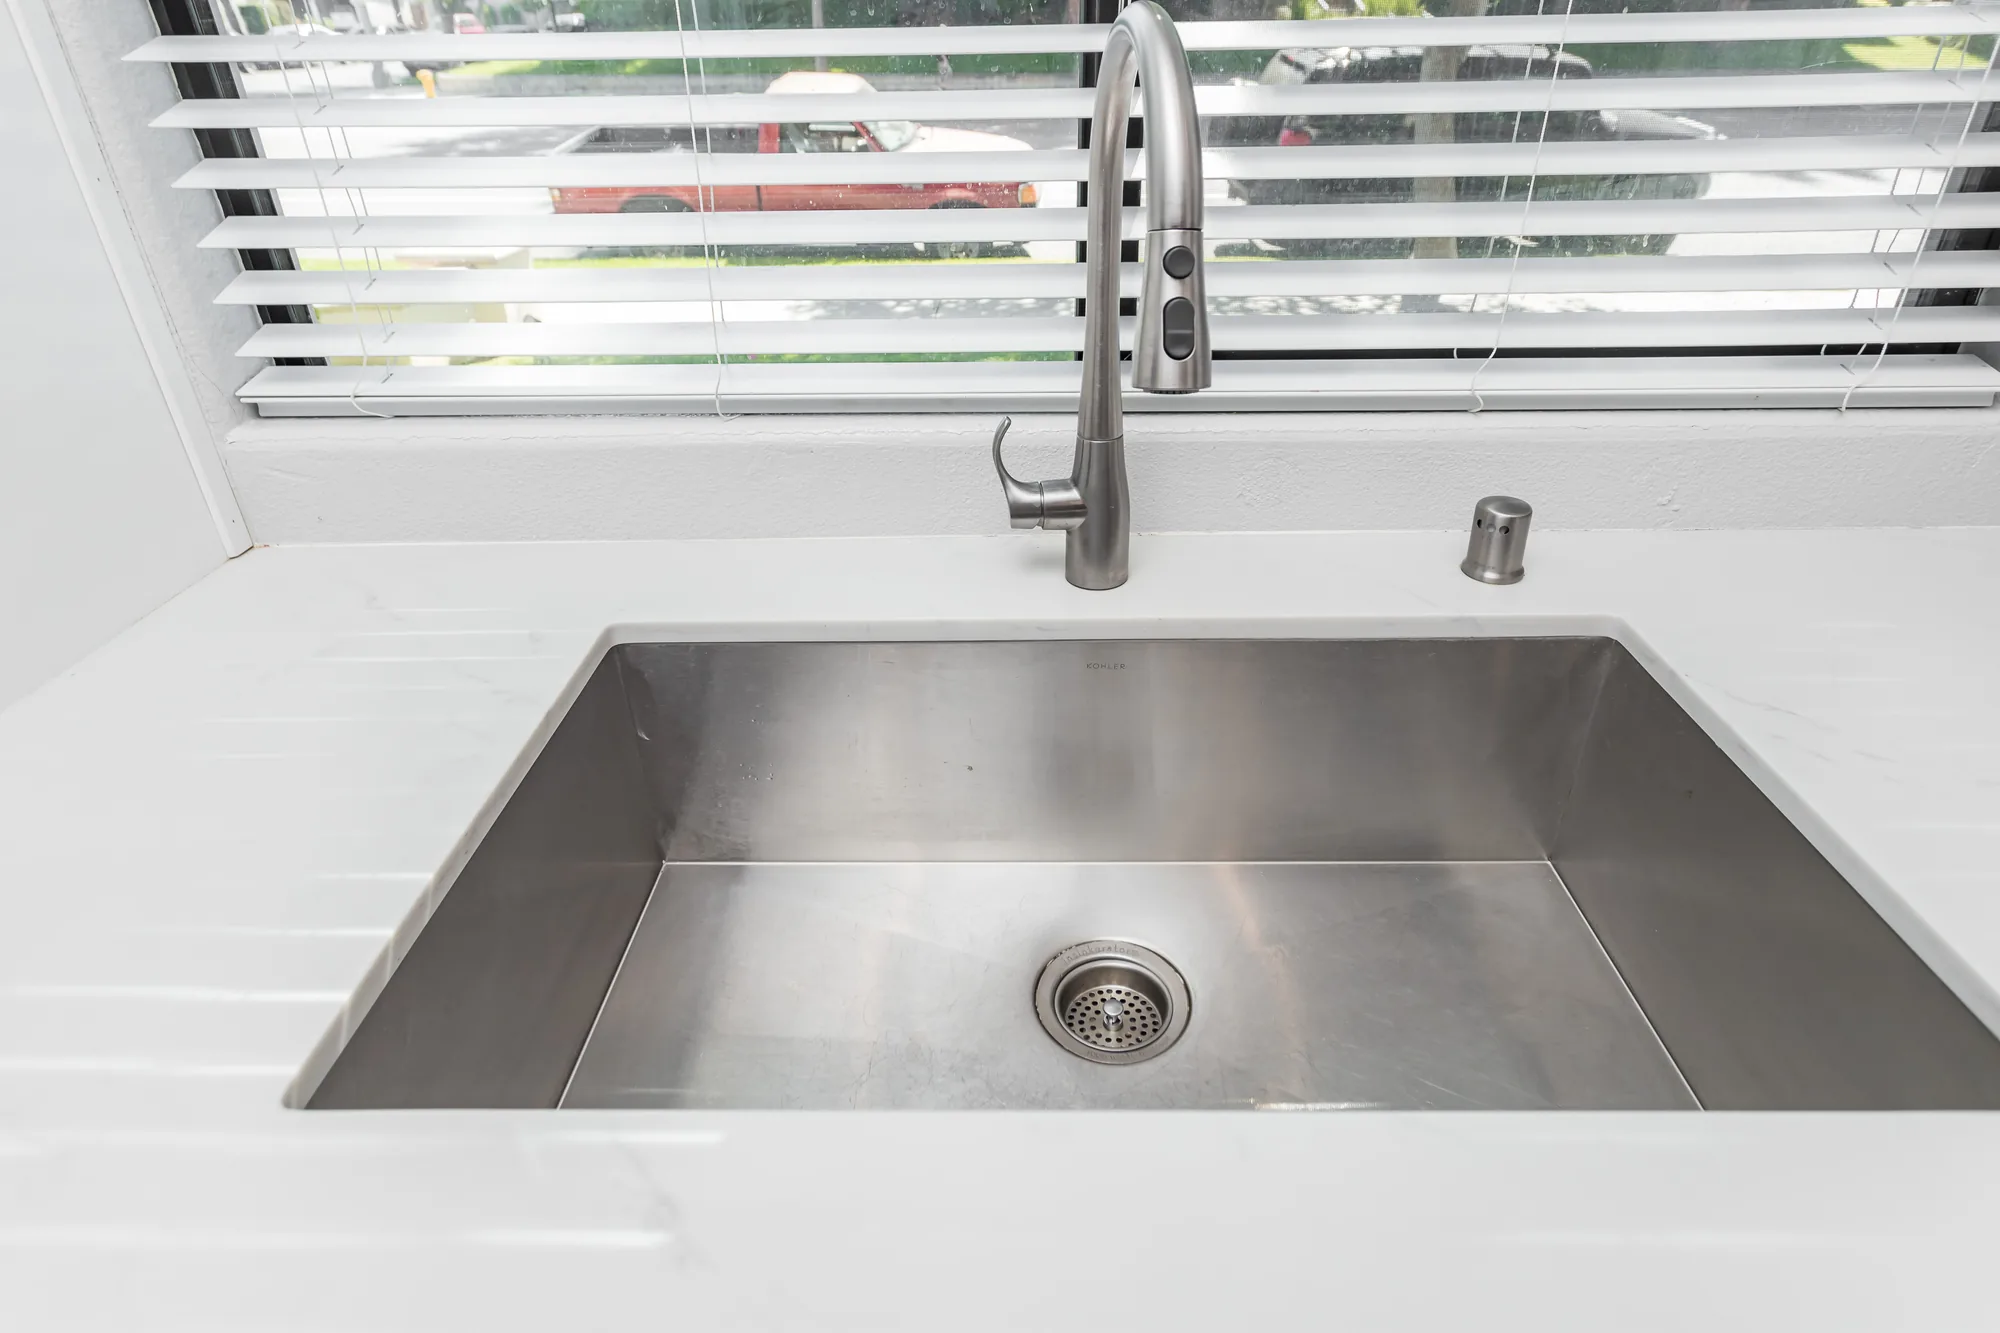
Close view of a deep undermount stainless sink set into a light countertop with a pull-down faucet.
A detail shot of the deep single-bowl undermount sink, pull-down faucet, and matching counter-mounted soap dispenser.
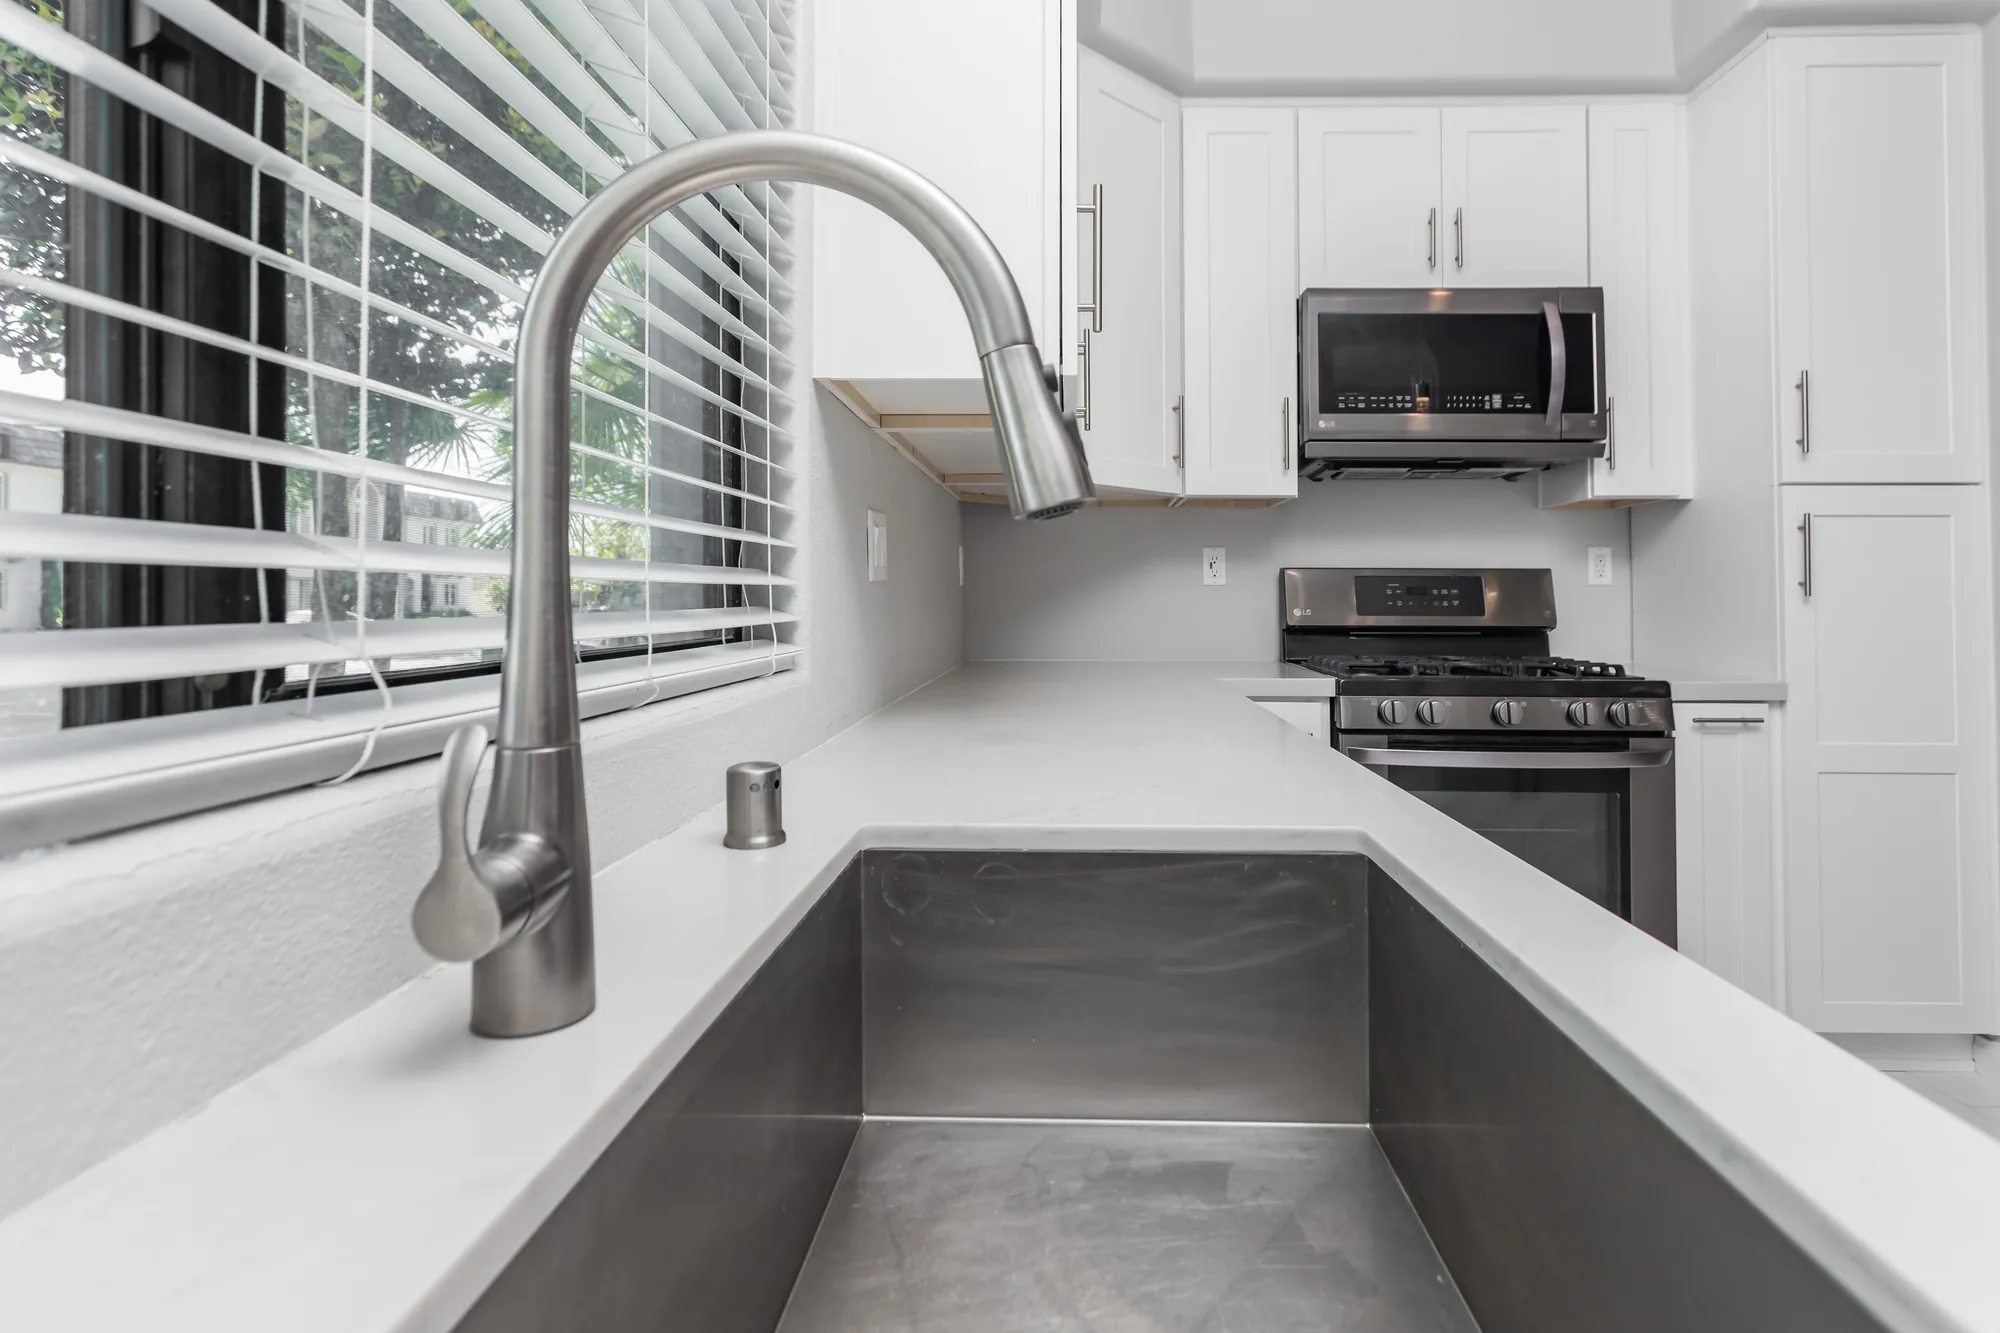
View along a light countertop from the undermount sink toward a stainless gas range and microwave.
The countertop run sweeps from the sink to the range, showing the seamless corner and clean square edge detail.
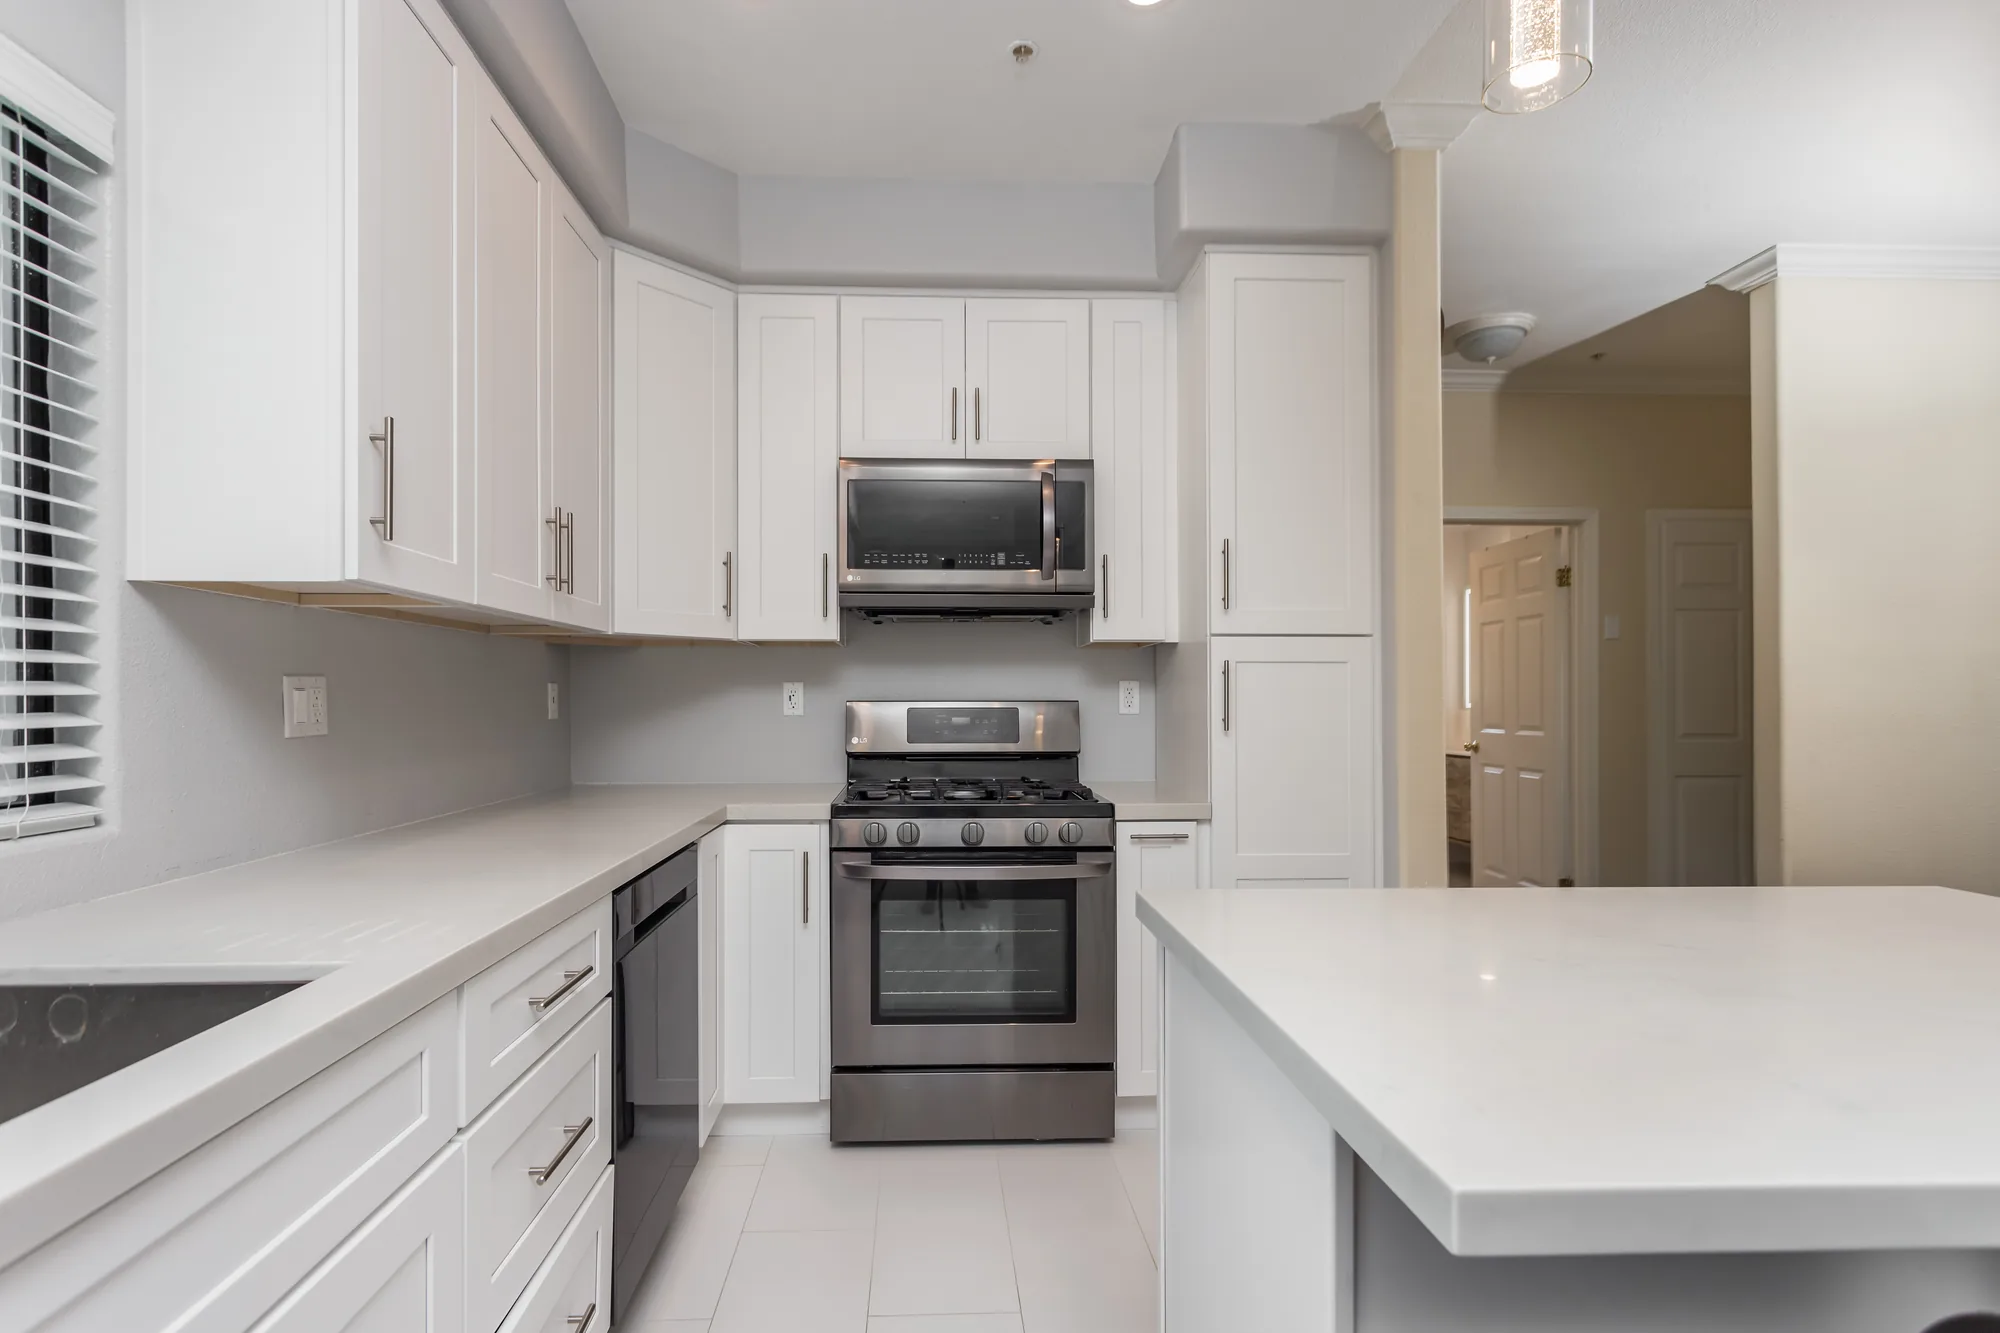
Completed kitchen range wall with white cabinets, tall pantry, stainless range, and light countertops.
The finished range and pantry wall shows the full cabinet elevation with the island counter in the foreground.
Completed Project

Two-Tone Shaker Kitchen with Teal Herringbone Backsplash


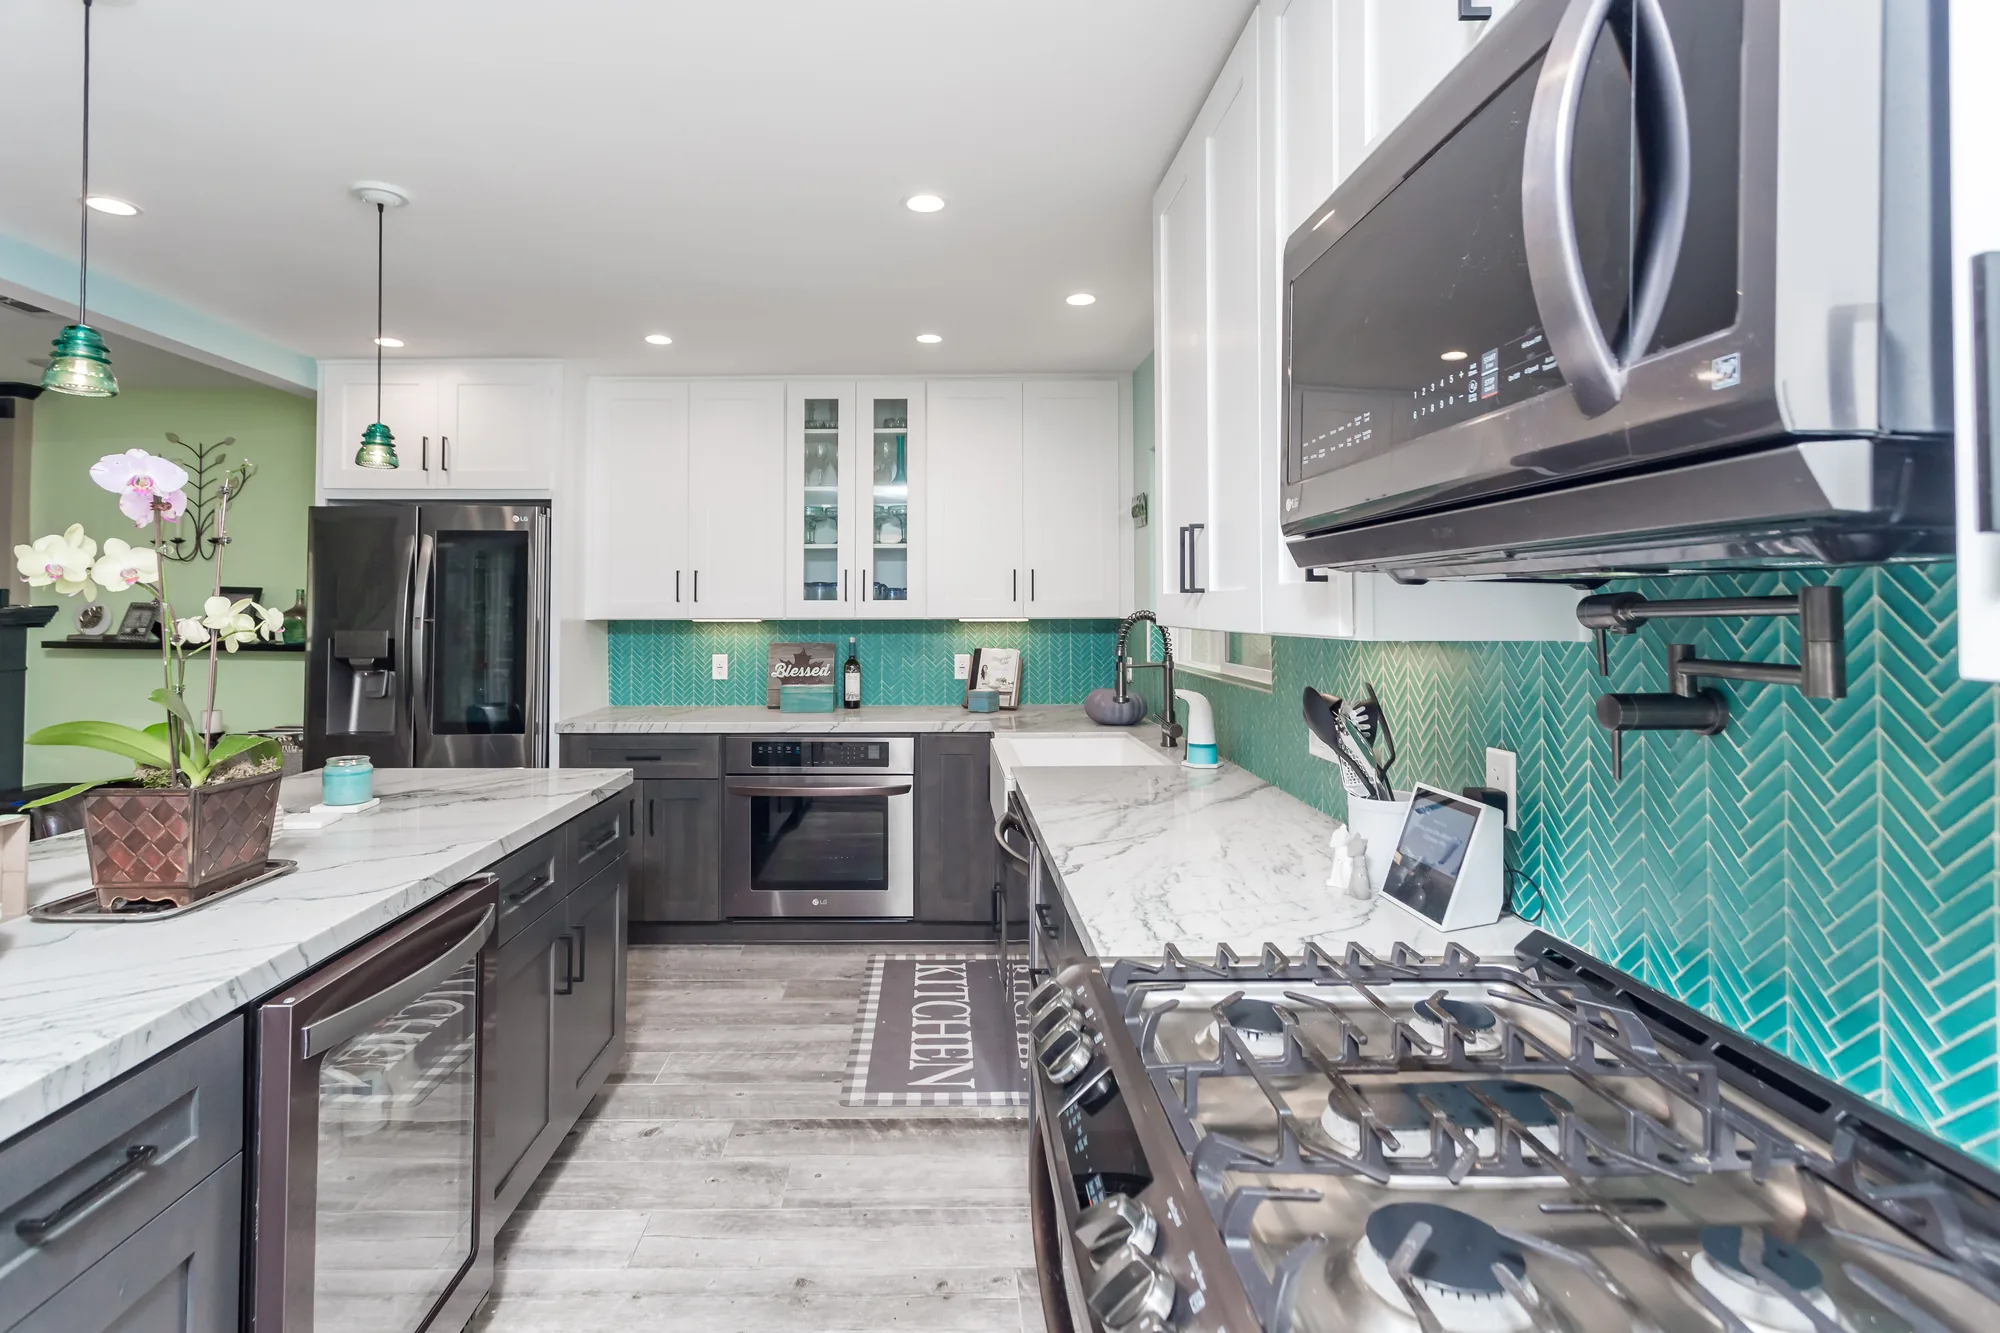
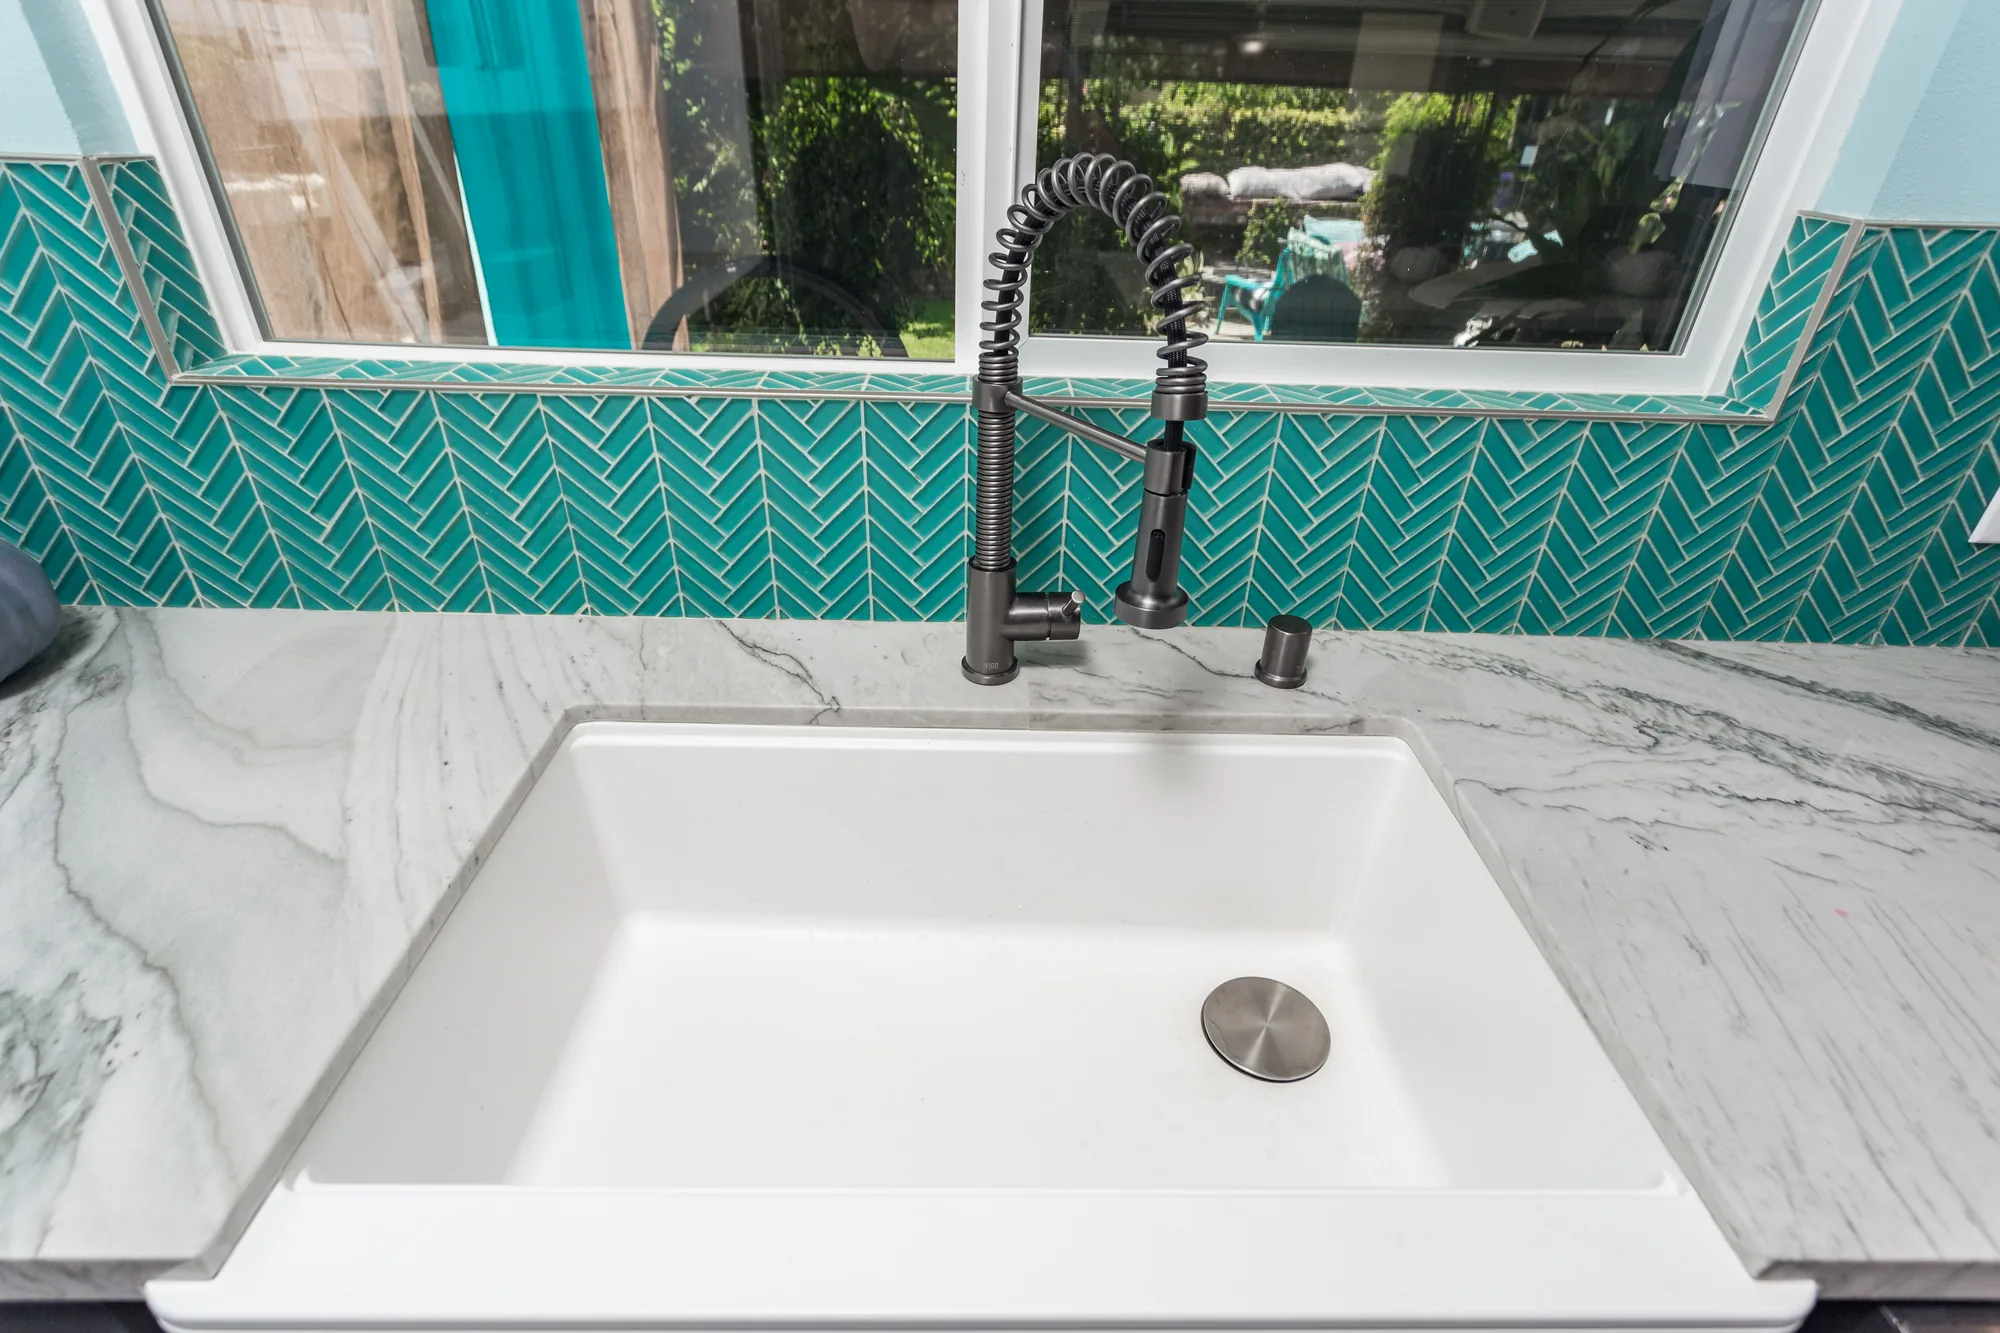
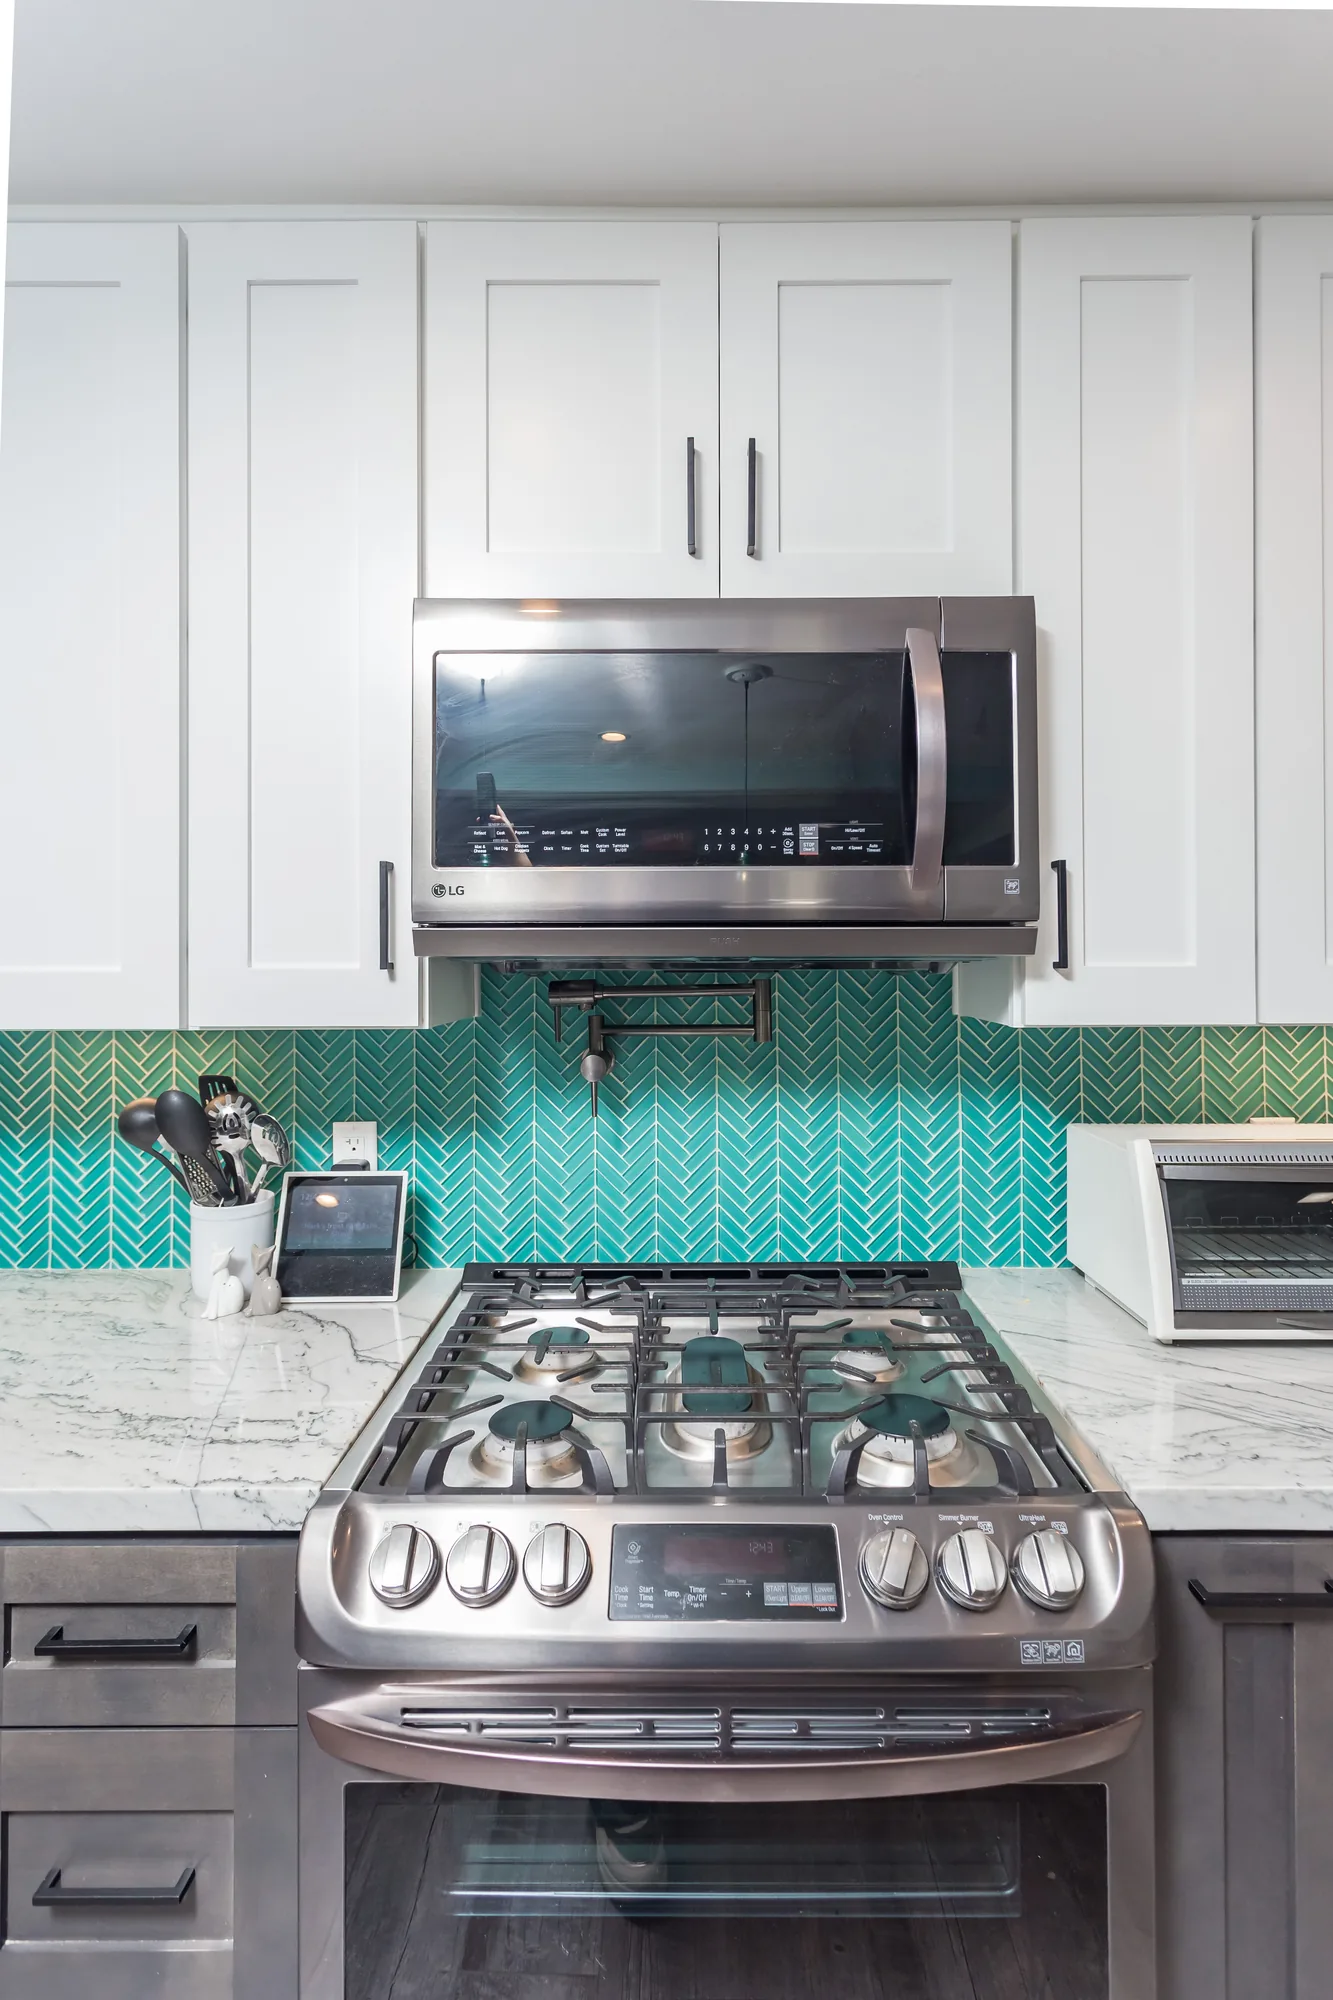
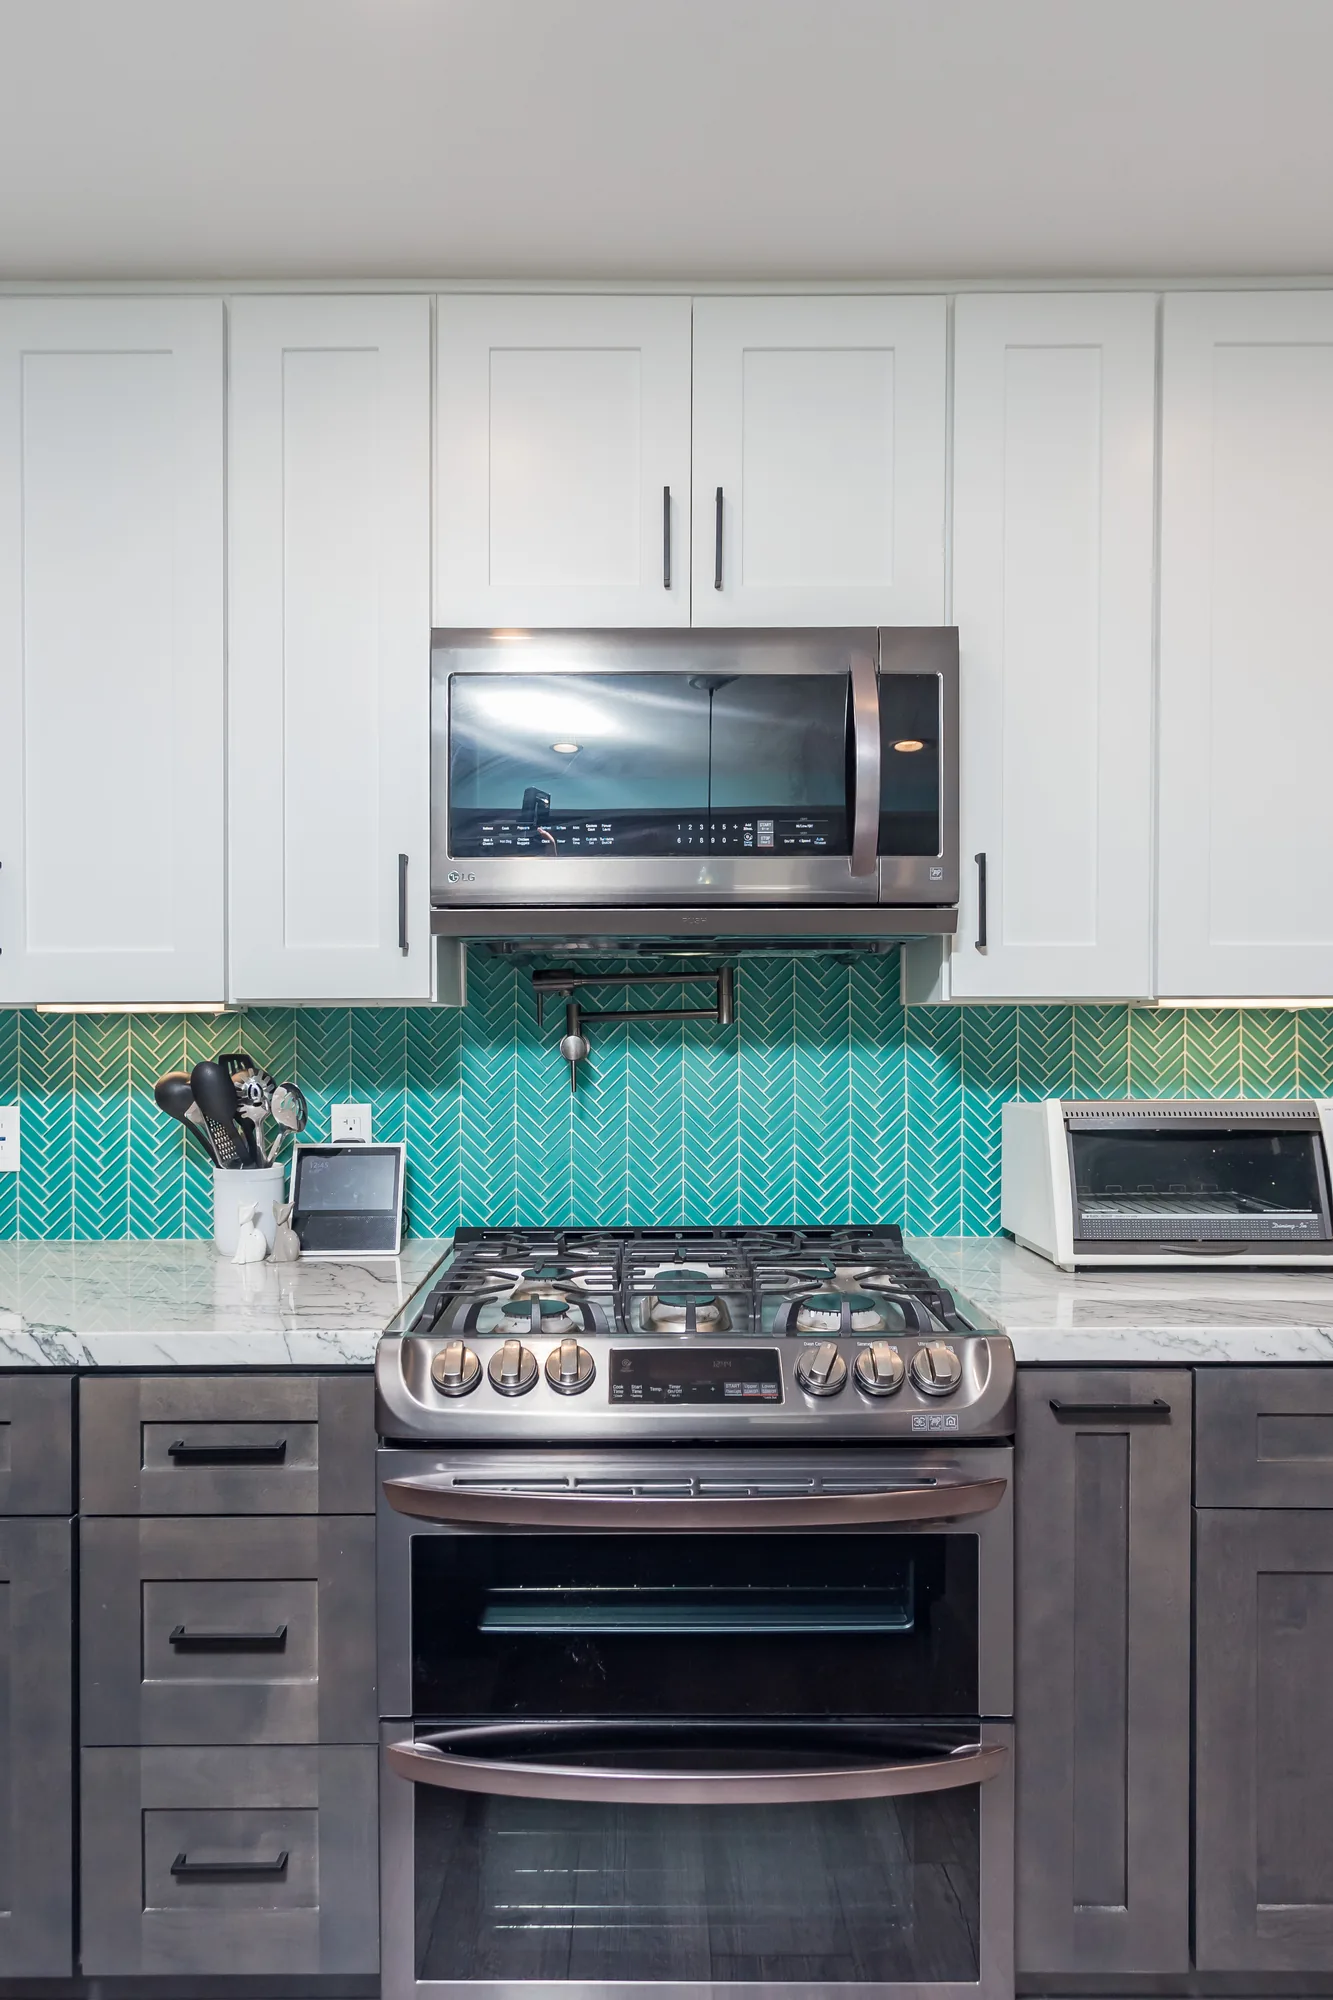
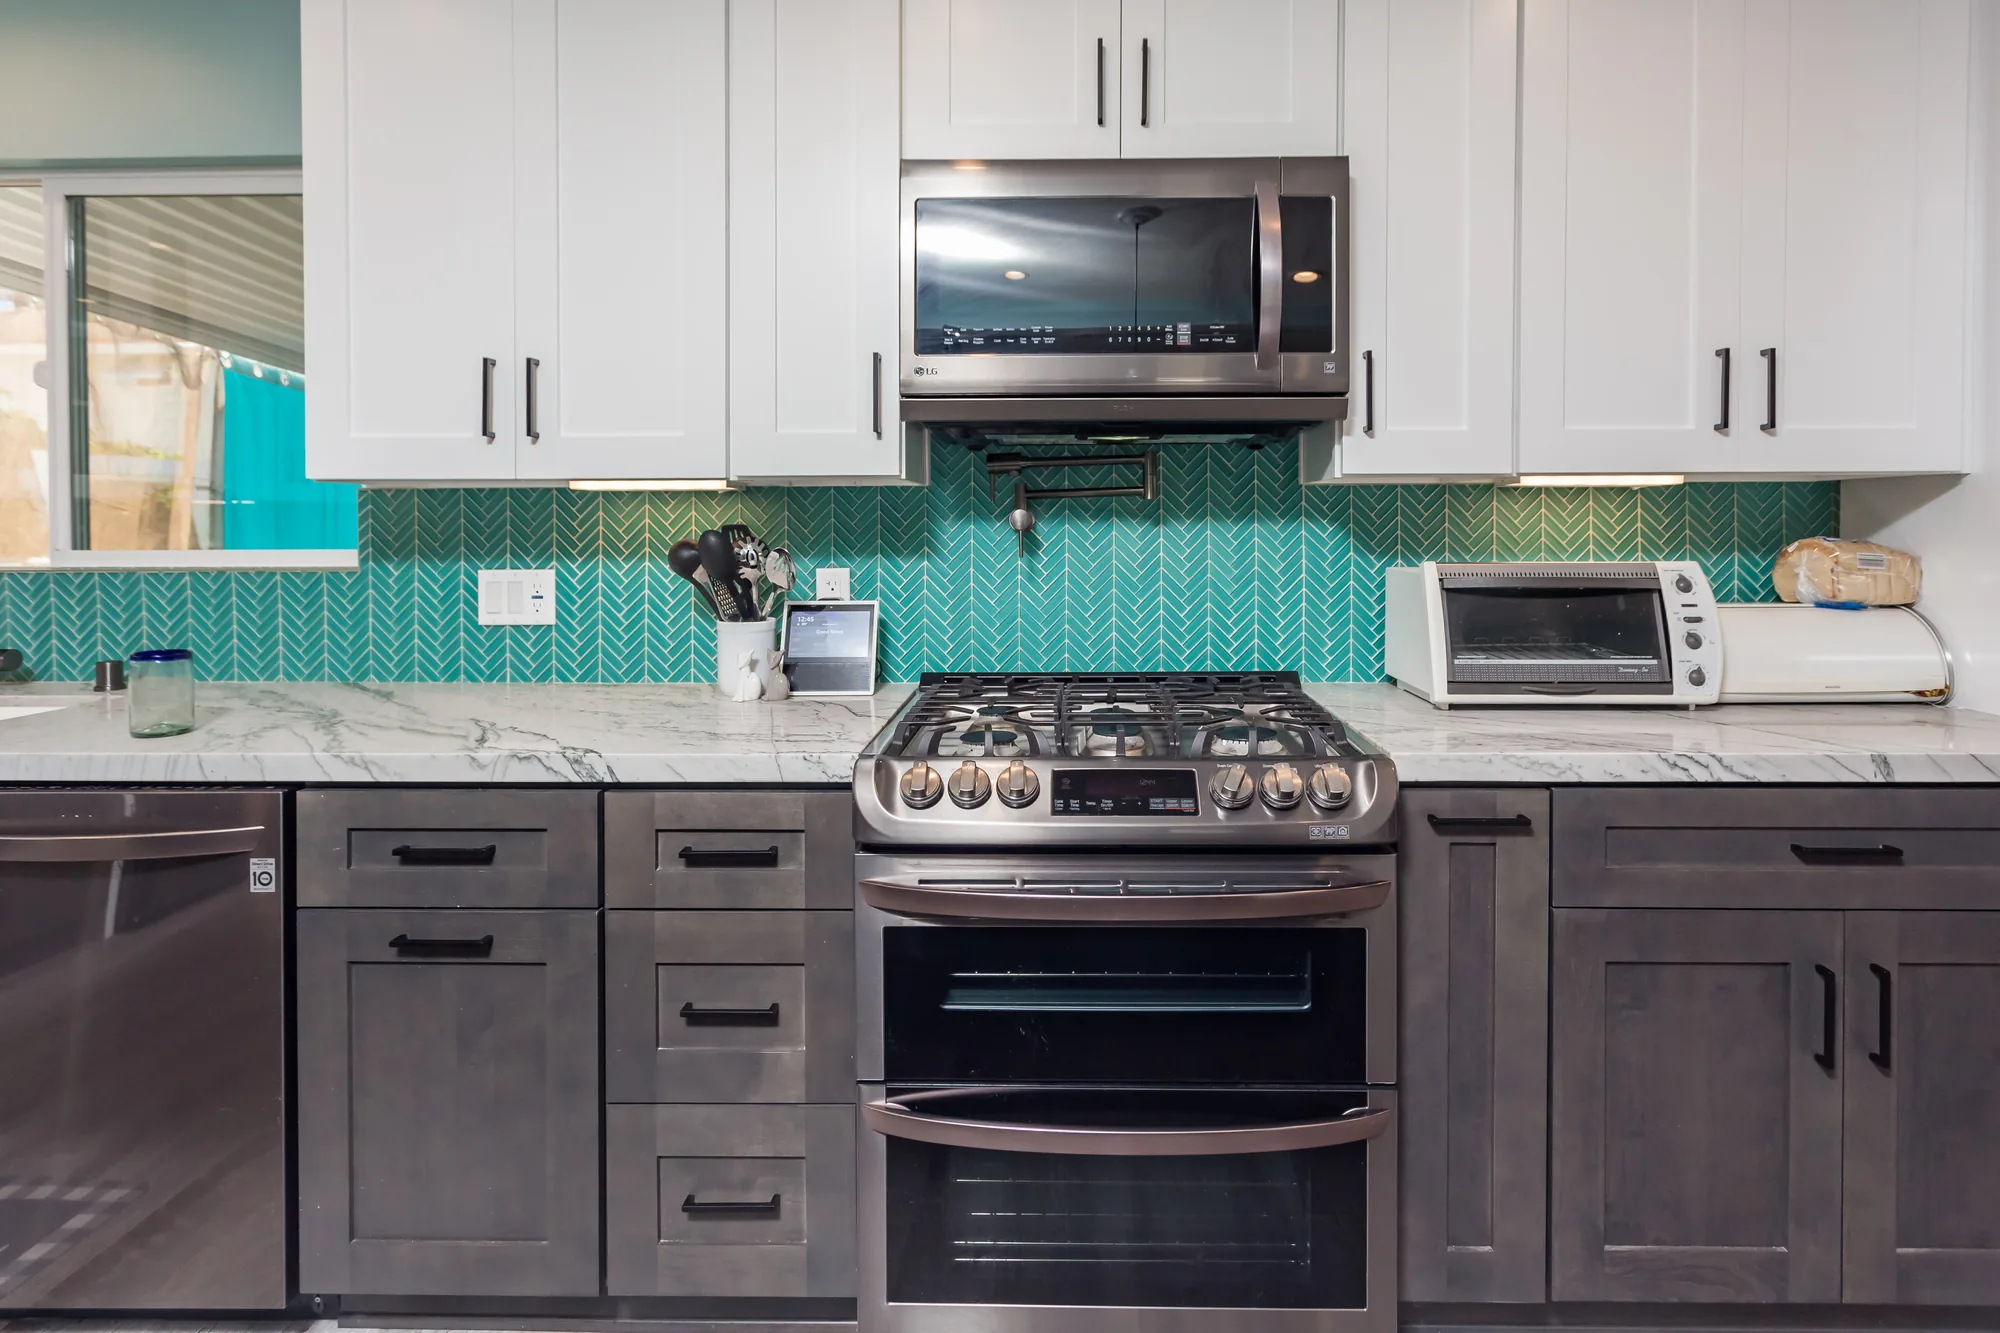
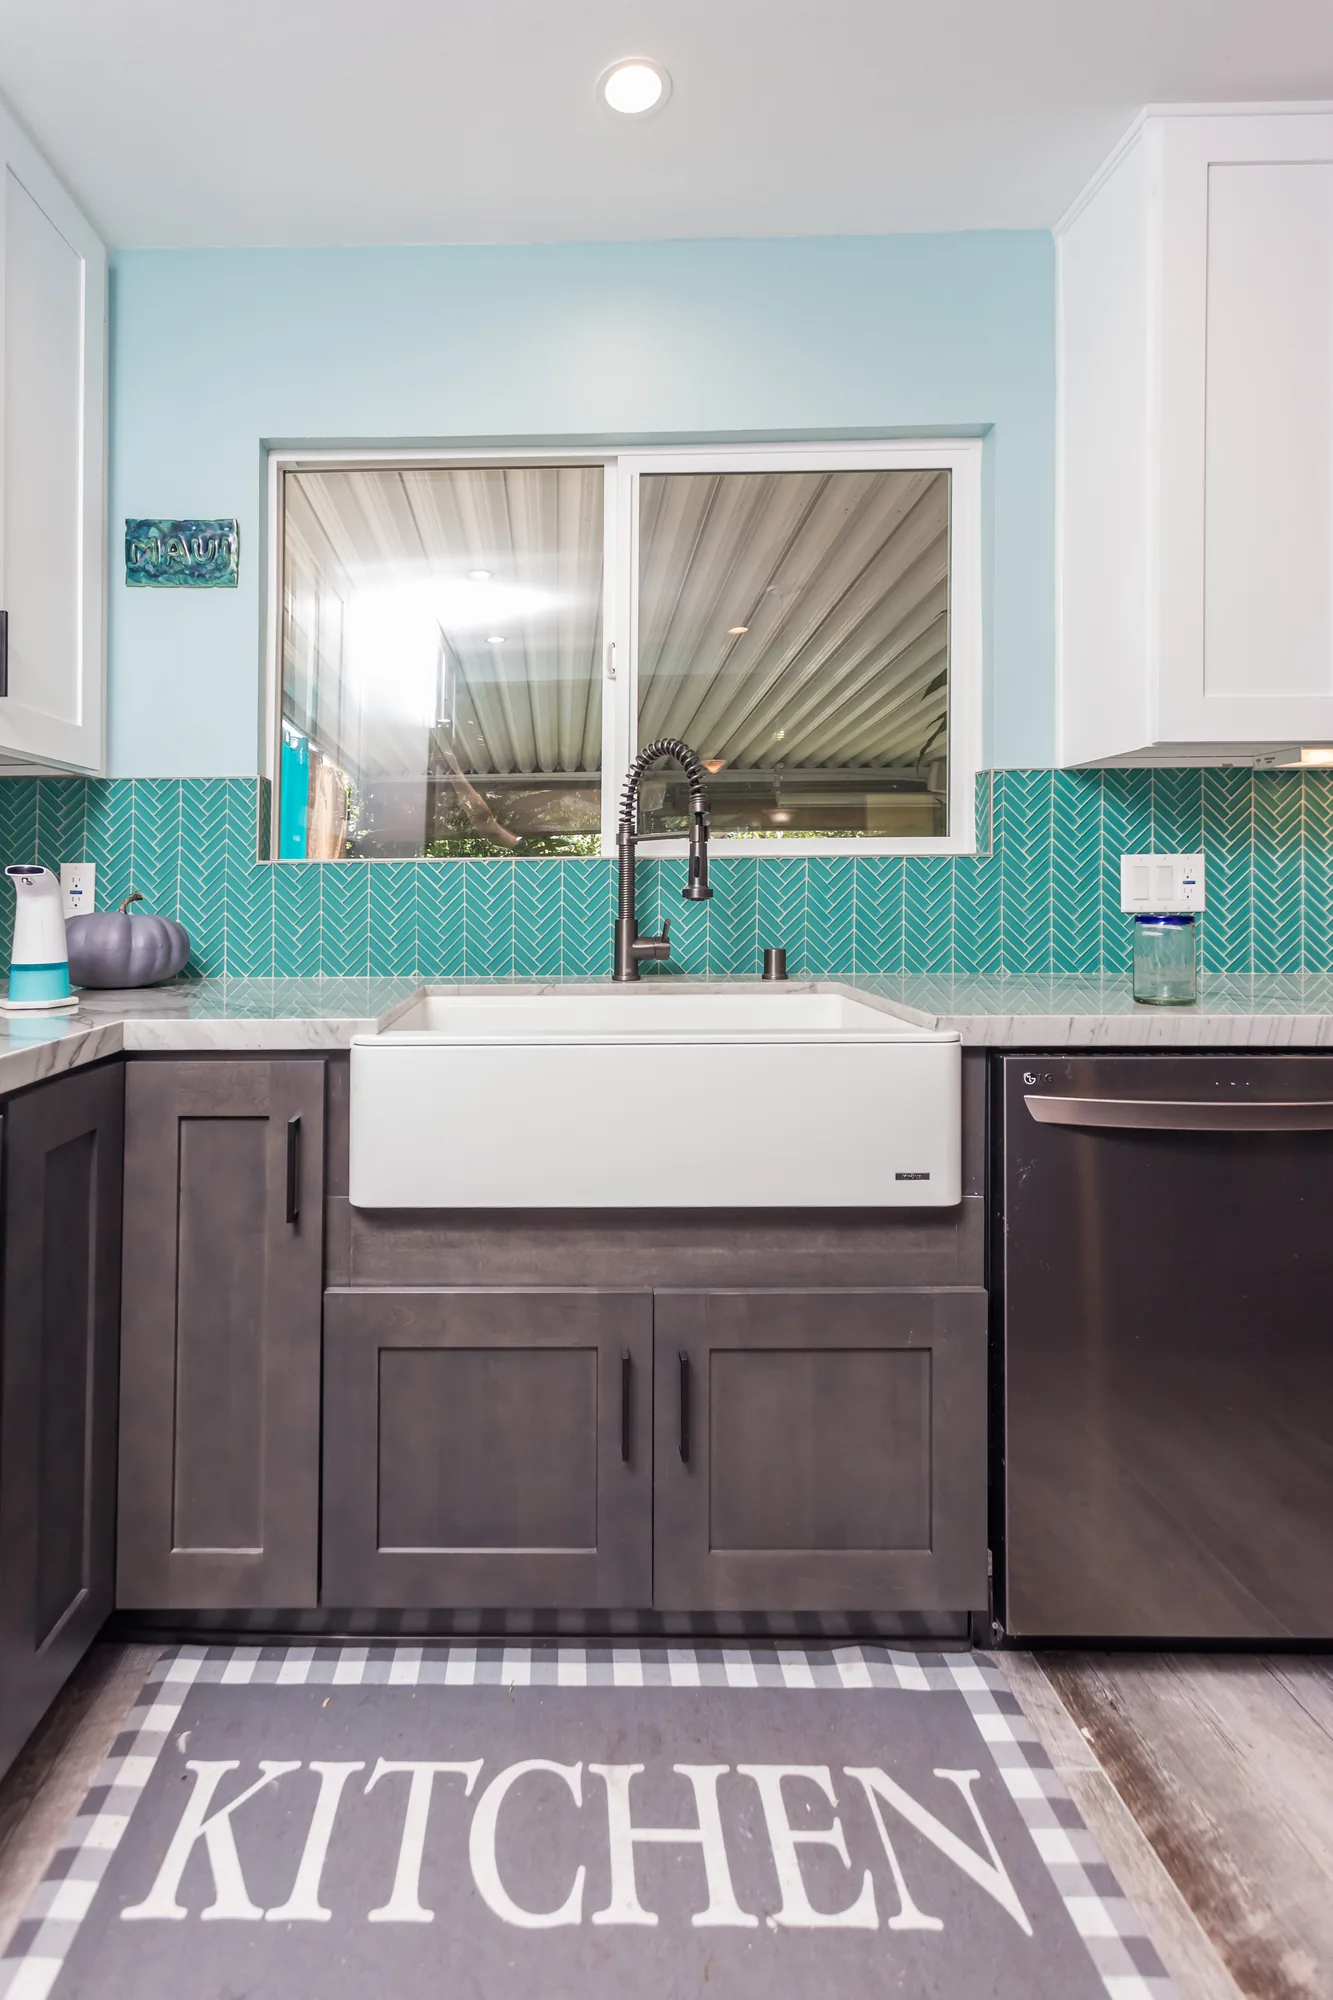
This kitchen was rebuilt as a full-height two-tone cabinetry package, pairing painted white shaker wall cabinets with gray-stained shaker base cabinets and a large seated island. Countertops throughout are a white stone with heavy gray veining, run in long uninterrupted slabs across the perimeter and the island, with a mitered thick edge and a tight undermount cut at the sink. The backsplash is a teal glass mosaic set in a herringbone pattern, carried full height behind the range and wrapped around the window opening and into the corners. Appliance work included a slide-in gas range with an over-range microwave and a backsplash-mounted pot filler, a separate built-in wall oven, a dishwasher, and a glass-door beverage cooler built into the base run. Finish work is visible in the crisp reveals at the glass-front upper doors, the level toe-kick and drawer alignment, under-cabinet lighting, a full recessed can layout, and wood-look plank flooring laid continuous through the kitchen into the adjoining living space.
Style: Transitional

Work Completed

  • Full cabinet replacement in two-tone shaker: white painted uppers, gray-stained bases
  • Large seated island with veined stone top and four-stool overhang
  • White stone countertops with dramatic gray veining on island and perimeter
  • Teal glass herringbone mosaic backsplash run full height behind the range
  • White apron-front farmhouse sink with dark coil-spring pull-down faucet
  • Slide-in gas range, over-range microwave, and backsplash-mounted pot filler
  • Built-in wall oven, dishwasher, and glass-door beverage cooler integrated into the base run
  • Recessed can lighting, under-cabinet lighting, and three glass pendants over the island

Materials & Finishes

  • White painted shaker wall cabinets
  • Gray-stained shaker base cabinets and island
  • Glass-front upper cabinet doors
  • White stone countertops with gray veining (marble-look)
  • Teal glass mosaic tile in herringbone layout
  • White apron-front farmhouse sink
  • Dark gunmetal coil-spring pull-down faucet
  • Matte black bar pulls and drawer handles
  • Green glass insulator-style pendant lights
  • Gray wood-look plank flooring
  • Stainless steel appliances
  • Teal upholstered and brown leather counter stools
Close view along the island countertop showing heavy gray veining and teal upholstered stools.
The slab veining reads across the full island length.
Galley view showing a glass-door beverage cooler, built-in wall oven, and stainless gas cooktop.
A glass-door beverage cooler is built into the base cabinet run beside the island.
Detail of a white single-bowl sink with a dark coil-spring faucet against teal herringbone tile.
Close detail of the sink basin, coil-spring faucet, and tight countertop cut.
Stainless gas range and over-range microwave set into teal herringbone tile with a pot filler.
The gas range is centered under the microwave with a backsplash-mounted pot filler above.
Range wall with white shaker cabinets, microwave, and teal tile running the full backsplash height.
Teal herringbone tile carries full height across the cooking wall.
Gas range flanked by gray shaker drawer bases and white stone counters under white upper cabinets.
Deep drawer banks flank the range on both sides of the cooking wall.
Get Started

Get Your Vanity Measured Properly

Most cabinetry problems trace back to something missed at measurement. Call (206) 825-2773 to have your plumbing rough-in, wall condition and storage needs checked before anything is ordered.

Materials & Finishes

Cabinet Construction and Material Options


These are the substrate and door choices that determine how a vanity ages in a wet Pacific Northwest bathroom.

OptionBest ForConsiderationsRelative Cost
Furniture-grade plywood boxCabinets expected to outlast several finish updatesResists water intrusion and recovers from incidental wetting; keeps holding hinge and slide screws long termHigher
Melamine-faced particleboard boxBudget-driven guest baths and rentalsFine until water reaches an unsealed edge, then swells permanently; screw holes strip after repeated hardware adjustmentLower
MDF doors, catalyzed paintPainted vanities wanting a dead-flat, seam-free faceNo grain telegraphing and no panel joints to crack; heavy, and any edge left unsealed will wick moistureModerate
Solid hardwood doors and face framesStained or clear finishes, and inset constructionRepairable and refinishable; moves with seasonal humidity, so reveals must be set with that movement allowed forHigher
Wood veneer over engineered coreModern slab fronts in oak or walnutStays flatter than solid wood in a humid room and allows grain matching across a run; edge banding quality governs wearModerate to higher
Thermofoil or rigid vinyl frontsLow-maintenance light-colored frontsSeamless and easy to wipe, but the film can delaminate where sustained steam hits it, and damage means replacement, not refinishingLower to moderate
Marine-grade or exterior-rated plywoodWall-hung units and baths with poor ventilation or leak historyVoid-free core and waterproof glue line give the best moisture performance in sheet goods; often unnecessary in a well-ventilated roomHighest

Final material choice depends on site conditions and a written estimate.

How We Work

How the Work Actually Runs


Cabinetry is scheduled around plumbing and tile, and the sequence below is what keeps those trades from undoing each other.

1

Walkthrough and existing conditions

We look at the current vanity, the rough-in height and location, the exhaust fan, and signs of past water damage. In older Eastside houses this is where we learn whether the drain stub will conflict with a drawer bank.

2

Configuration decisions

Sink count, cabinet height, the split between doors and drawers, and whether the unit floats, stands on legs or builds in. Comfort height is common now, but the right number depends on who uses the room.

3

Verification and ordering

Dimensions are confirmed against the framed opening, allowing for tile thickness if tile goes in first. Cabinetry, panels and hardware are ordered together so finishes come from one production run.

4

Demolition and prep

Water off, trap and supplies disconnected, old vanity and top removed intact where possible. Wall and floor damage is repaired and blocking installed before anything new is set.

5

Plumbing and electrical coordination

If a drain or supply has to move for a drawer bank or a second sink, that happens before the cabinet is set. In-cabinet outlets are roughed in now, since adding one later means opening a finished box.

6

Setting and fastening

Boxes are shimmed level and plumb, fastened into studs, and ganged with faces aligned. This step decides whether the countertop sits without stress and whether the doors will ever line up.

7

Countertop template and install

Stone and engineered tops are templated after the cabinets are set, never off the plan, so the template captures the real wall line. Undermount sinks are attached and the top is set and sealed.

8

Hardware, adjustment and punch list

Pulls are drilled from a jig for consistent placement, then hinges and slides are tuned until reveals are even and doors close square. We walk the room with you and correct anything marked before calling it complete.

Why Sky Pro

Reasons Homeowners Bring This Work to Us


Cabinetry gets judged from a foot away every morning, and these details separate a good installation from an adequate one.

Specified for the climate, not the catalog

Substrate, finish and edge sealing are chosen with regional humidity and real bathroom use in mind. That includes saying plainly when a cheaper option is genuinely fine for your room.

Tight installation tolerances

Cabinets are set level, fastened into framing and scribed to walls that are rarely straight in a house built decades ago. Even reveals come from that setting work, not from the brand on the box.

Plumbing conflicts found before ordering

Drain and supply heights are checked against the proposed drawer layout at measurement. That avoids the common ending where a drawer bank arrives and the top drawers will not clear the trap.

Support planned, not improvised

Floating vanities get real blocking sized for the cabinet, the stone and the load a person puts on it. Tall towers are anchored into framing, which is both good practice and appropriate in a seismic region.

One point of accountability

Cabinetry, countertop, plumbing and tile have to arrive in the right order or someone cuts into finished work. We sequence them instead of leaving you to referee between vendors.

Storage designed around your routine

Where the hair dryer lives, whether towels are stored in the bath or the hall, and how many people share the sink at 7 a.m. all change the interior layout. We ask before the cabinet is drawn.

Watch the Work

See the Craftsmanship Up Close


A short walkthrough of finished bathroom work shows fit, reveals and finish quality better than photographs can.

Kitchen Project Highlights

Highlights from a completed kitchen remodel.

Kitchen Remodel — On-Site Clip 1

On-site footage from a completed kitchen remodel showing cabinetry, counters and finish work.

Common Questions

Frequently Asked Questions


How can I tell whether a vanity has a plywood or particleboard box?

Look at the raw cut edge around the plumbing opening at the back of the cabinet. Plywood shows distinct thin layers stacked through the thickness, particleboard shows a uniform field of pressed chips, and MDF shows a smooth featureless core. If every edge is covered by banding, the specification sheet should state the box material outright, and a supplier who will not put it in writing is telling you something.

Is a floating vanity a bad idea in an older house?

No, but it requires opening the wall to install proper blocking, which changes the scope. A wall-hung cabinet transfers its own weight, a heavy stone top and whatever a person leans on it into the framing, so it needs solid backing across the studs rather than drywall anchors. This usually gets handled during the same demolition that exposes the plumbing wall. If the wall cannot be opened, a furniture-style vanity on legs gives similar visual openness without the structural requirement.

What vanity height should I choose?

Older vanities were commonly built around thirty inches to the top of the cabinet, while taller comfort-height units are now more common because they suit most adults without stooping. The number that matters is the finished countertop height, so account for stone thickness and any tile going under the cabinet. If children or someone who prefers to sit at the sink use the room, taller is not automatically better. We usually settle this by having people stand at a mock-up height before ordering.

Can I have drawers under the sink instead of an open cabinet?

Yes, and it is one of the most worthwhile upgrades in a bathroom, because drawers make the back of the cabinet reachable instead of a lost cavity. The constraint is the P-trap and supply lines sitting in the middle of the box at a fixed height. The usual answers are a notched drawer that wraps the trap, a shortened drawer at trap level, or shifting the drain so drawers run full depth. Which one applies depends on where your rough-in sits.

Do I need a permit to replace a bathroom vanity?

A straight replacement in the same location reusing the existing rough-in is typically treated as a fixture swap rather than permitted construction. Once you relocate a drain, add a second sink, run new supply lines or add electrical circuits, a plumbing or electrical permit may apply. Requirements differ between Bellevue, Redmond, Kirkland, unincorporated King County and Seattle, so we confirm the jurisdiction before scheduling rather than assuming.

Why do painted cabinet doors crack at the corners?

Because a five-piece painted door is separate rails, stiles and a panel that move at different rates as humidity changes. The paint film spans those joints, so seasonal movement shows up as a fine line at the corners. It is a characteristic of the construction rather than a defect, and it is more visible in a wet room through a Pacific Northwest winter. If an uninterrupted painted face matters to you, a one-piece MDF door removes the joint entirely.

Should I choose the finish under bathroom lighting?

Yes, and it is worth insisting on. Cabinet color reads very differently under bright neutral showroom lighting than in a small bathroom with one fixture and grey overcast daylight through a north window, which describes a great many days here. Warm-leaning whites and greiges in particular can go muddy. Take the door sample home, set it against your tile and countertop, and look at it in the morning, at night, and on a dark day.

How long is the bathroom out of service?

The cabinet installation itself is short, but realistic downtime is driven by the countertop, since stone is templated only after the cabinets are set and then needs fabrication time before it returns. The sink cannot be plumbed until the top is in. Tile, plumbing relocation or repairs found at demolition extend the window further. We give a sequence and projected schedule in the estimate so you can plan around it.

Start Your Project

Talk Through Your Cabinetry Options

Whether you are replacing one vanity or planning storage for a full master bath, we will walk you through the construction and finish choices in plain terms. Reach us at (206) 825-2773.

Investment

What Moves the Cost of a Vanity Project


Two vanities of the same width can differ enormously in price, and it is almost always one of these variables doing the work.

Box construction and substrate

Plywood and marine-grade cores cost meaningfully more than particleboard. This is the line worth protecting, because it decides whether the cabinet survives its first plumbing leak.

Stock, semi-custom or built to size

A stock width that fits the opening is the cheapest path. Once the cabinet must be built to a dimension, wrap an angled wall or hang off the wall, it moves into semi-custom or custom pricing.

Door style, overlay and finish

Inset demands tighter tolerances and more labor in both fabrication and installation than full-overlay. Multi-step catalyzed finishes and custom color matching add cost over a standard factory color.

Drawer count and interior fittings

Drawers cost more than doors because each is a separate box on hardware, and drawers near a P-trap need notching or shortening. Dividers, hampers and integrated outlets each add fabrication time.

Plumbing and electrical changes

Leaving the sink where it is keeps the scope tight. Moving a drain, going from one sink to two, or adding a circuit brings other trades in and can mean opening a wall or floor.

Conditions behind the old unit

Rot in the subfloor, a soft base plate or long-wet drywall all have to be repaired before new cabinetry goes in. Bathrooms with slow leaks or chronic under-ventilation are the most likely to reveal this at demolition.

No responsible number can come from a photo or a room size. Accurate pricing requires an on-site inspection of your plumbing, framing and existing conditions, followed by a written estimate itemizing cabinetry, hardware, countertop, plumbing work and any repairs uncovered during demolition.

Service Areas

Where We Install Bathroom Cabinetry


Sky Pro Remodeling works throughout Bellevue and the surrounding Eastside, including Kirkland, Redmond, Sammamish, Issaquah, Mercer Island, Bothell and Newcastle, along with Seattle and the north end suburbs. Housing stock varies widely across this area, from mid-century ramblers with original plumbing rough-ins to recent construction with open framing, and the cabinetry approach changes accordingly.

Do not see your neighborhood? Call (206) 825-2773 — we regularly work throughout King County.

Client Reviews

What Our Clients Say


Where We Work

Serving Bellevue and the Greater Seattle Area


Vanity and bathroom cabinetry work is available across Bellevue, the Eastside and the greater Seattle area.

Contact Us Today

Request a Bathroom Cabinetry Consultation


Send a few details about your bathroom and what you would like to change, and we will follow up to arrange an on-site visit. There is no cost to have the space looked at and your options explained.

Appointment Request Form

Let us know how we can help you!

Click To Call