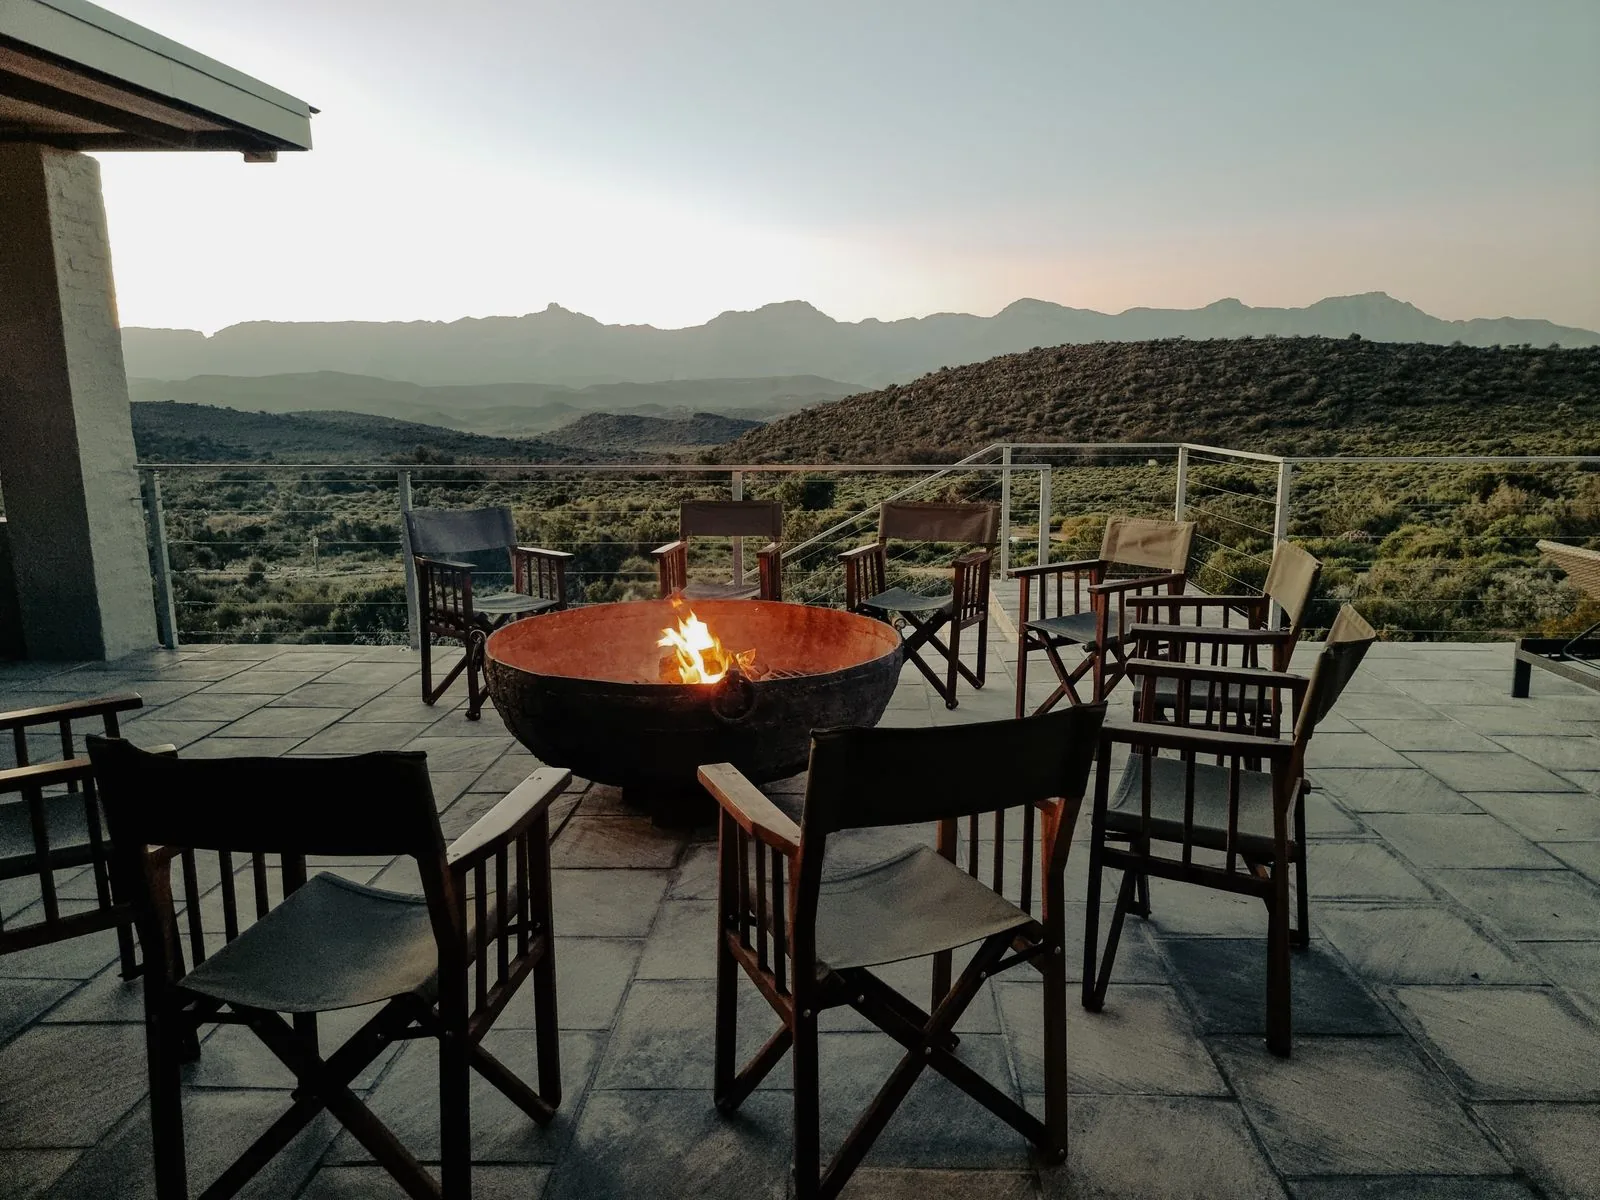
A fire pit is the one backyard feature that still gets used in October and March around here, but only if it was built for rain. Sky Pro Remodeling installs gas and wood-burning fire pits across Bellevue and the Eastside, handling base, drainage, clearances and gas work as one job.


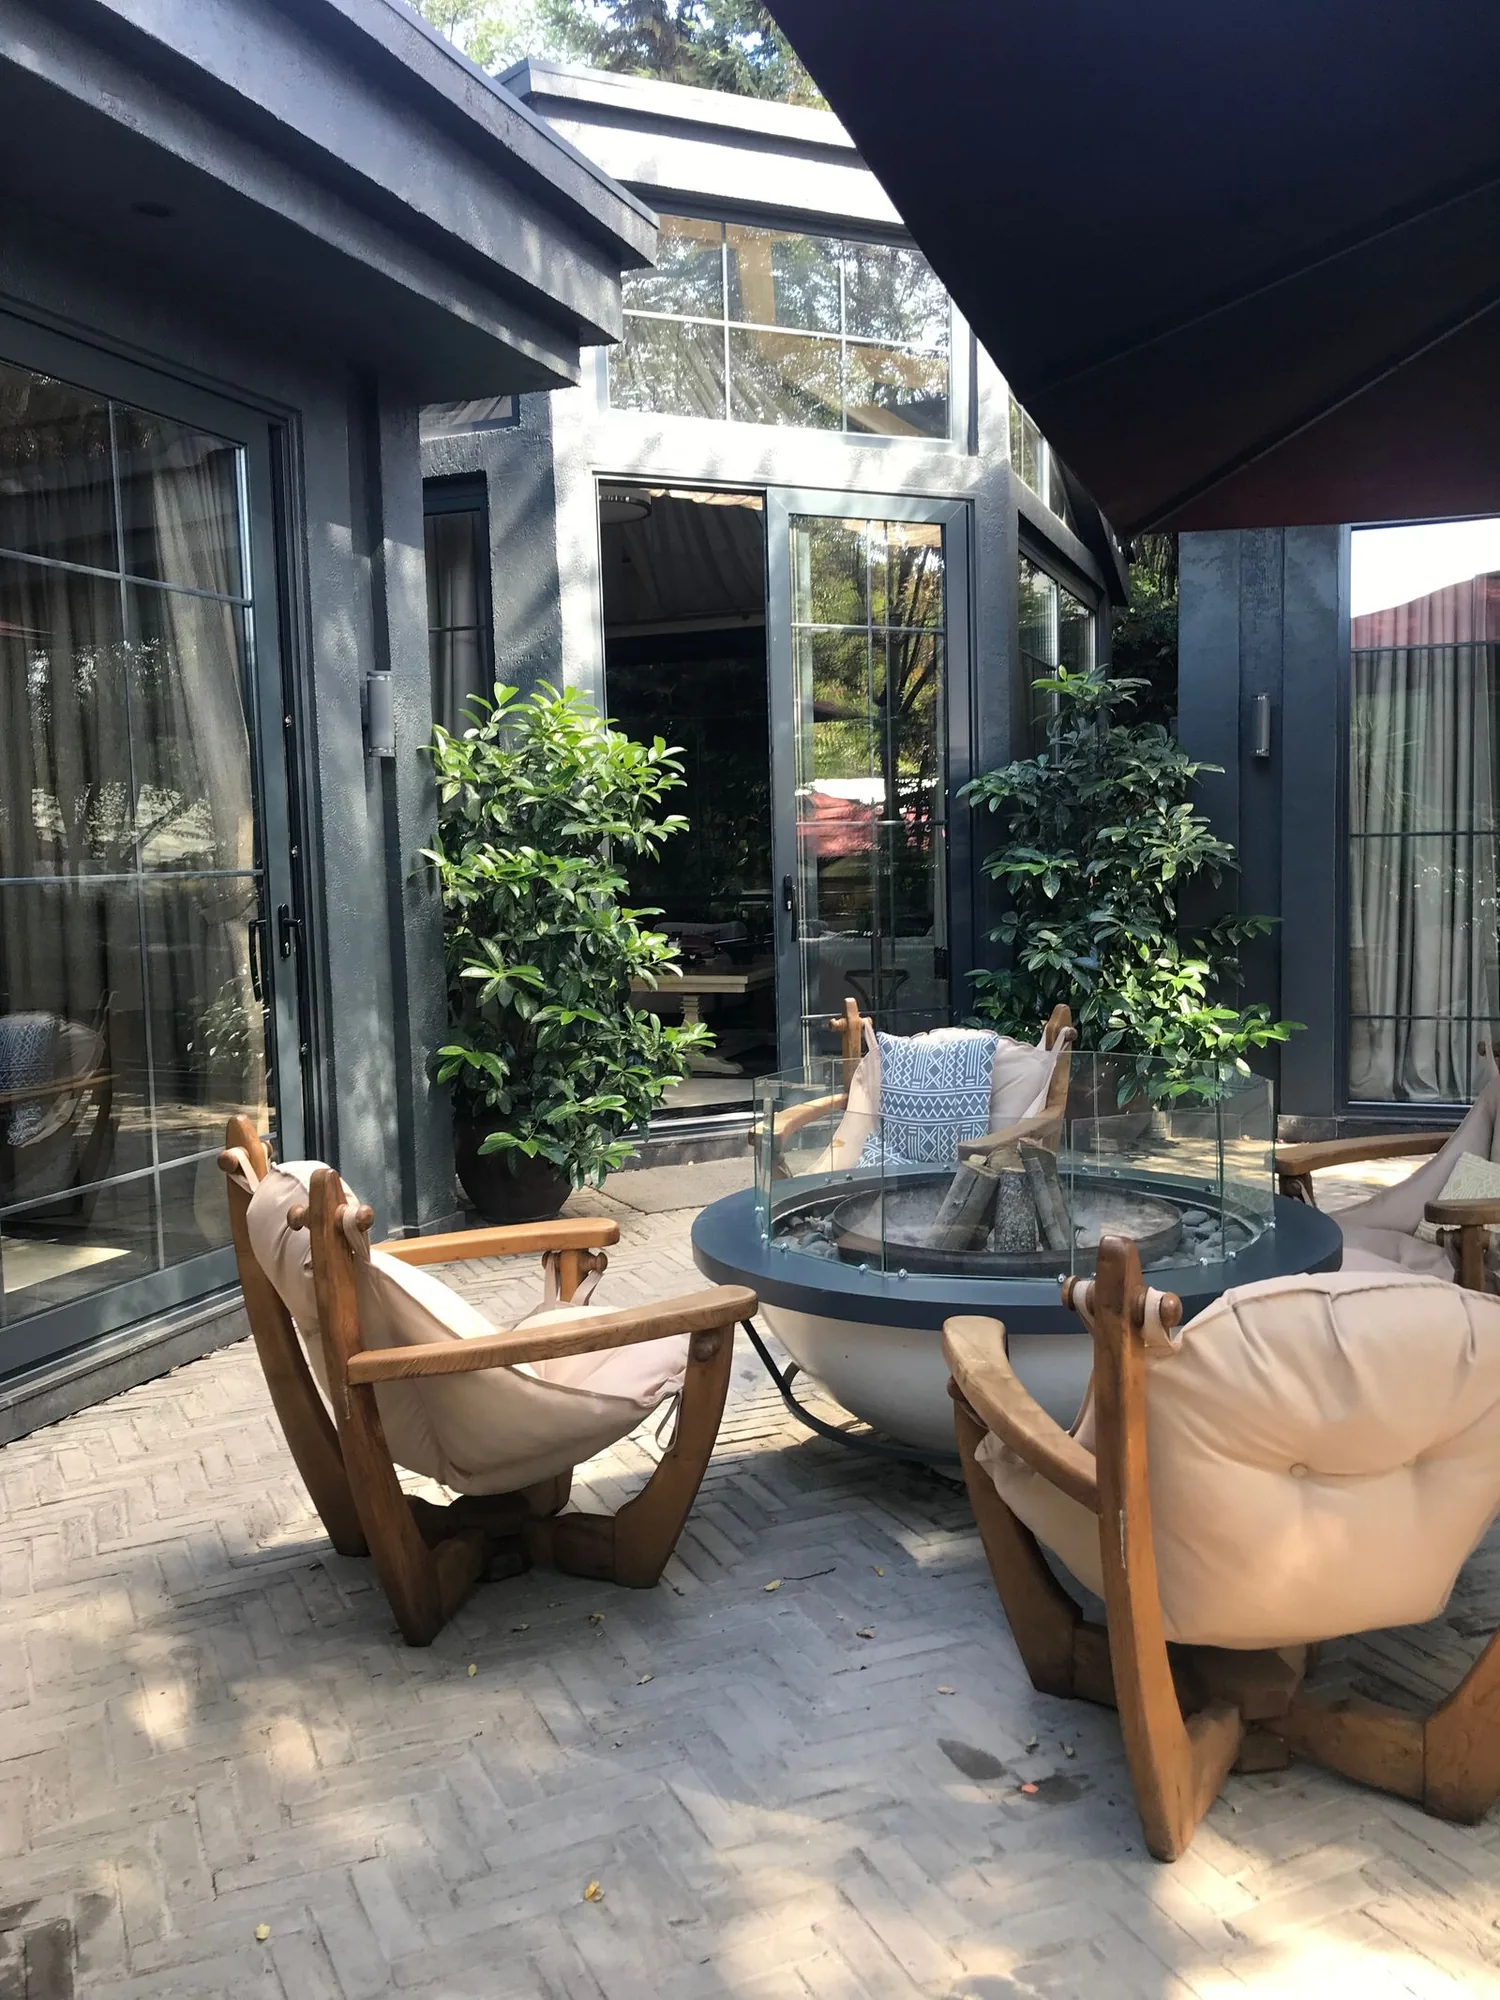

Most fire pit failures in Western Washington have nothing to do with fire. They have to do with water. A pit set into a shallow depression with no drainage core becomes a basin holding standing water from November through April, and that water rusts out gas burners, spalls unrated block, and turns the surrounding pavers into a moss farm.
Fuel is the second thing that shapes these installations. Wood fires in King County face both air quality and fire safety burn bans, and those land in exactly the stretch of late summer when a backyard fire is most appealing. Gas appliances are generally treated differently under both, which is why many homeowners who start out wanting a wood ring choose natural gas instead. Either answer works, but it has to be settled before excavation, because the base, structure and clearances all change with it.
Then there is the soil. Much of the Eastside sits on glacial till, a dense layer that carries weight well but sheds very little water downward. Backfill a hole in it with gravel and you have built a bathtub unless that gravel has somewhere to drain. On sloped lots in Bellevue, Newcastle and Issaquah that means a drain line run to daylight, which is cheap designed in and expensive retrofitted.
The right configuration depends less on taste than on how the yard is used and what sits above and around the pit.
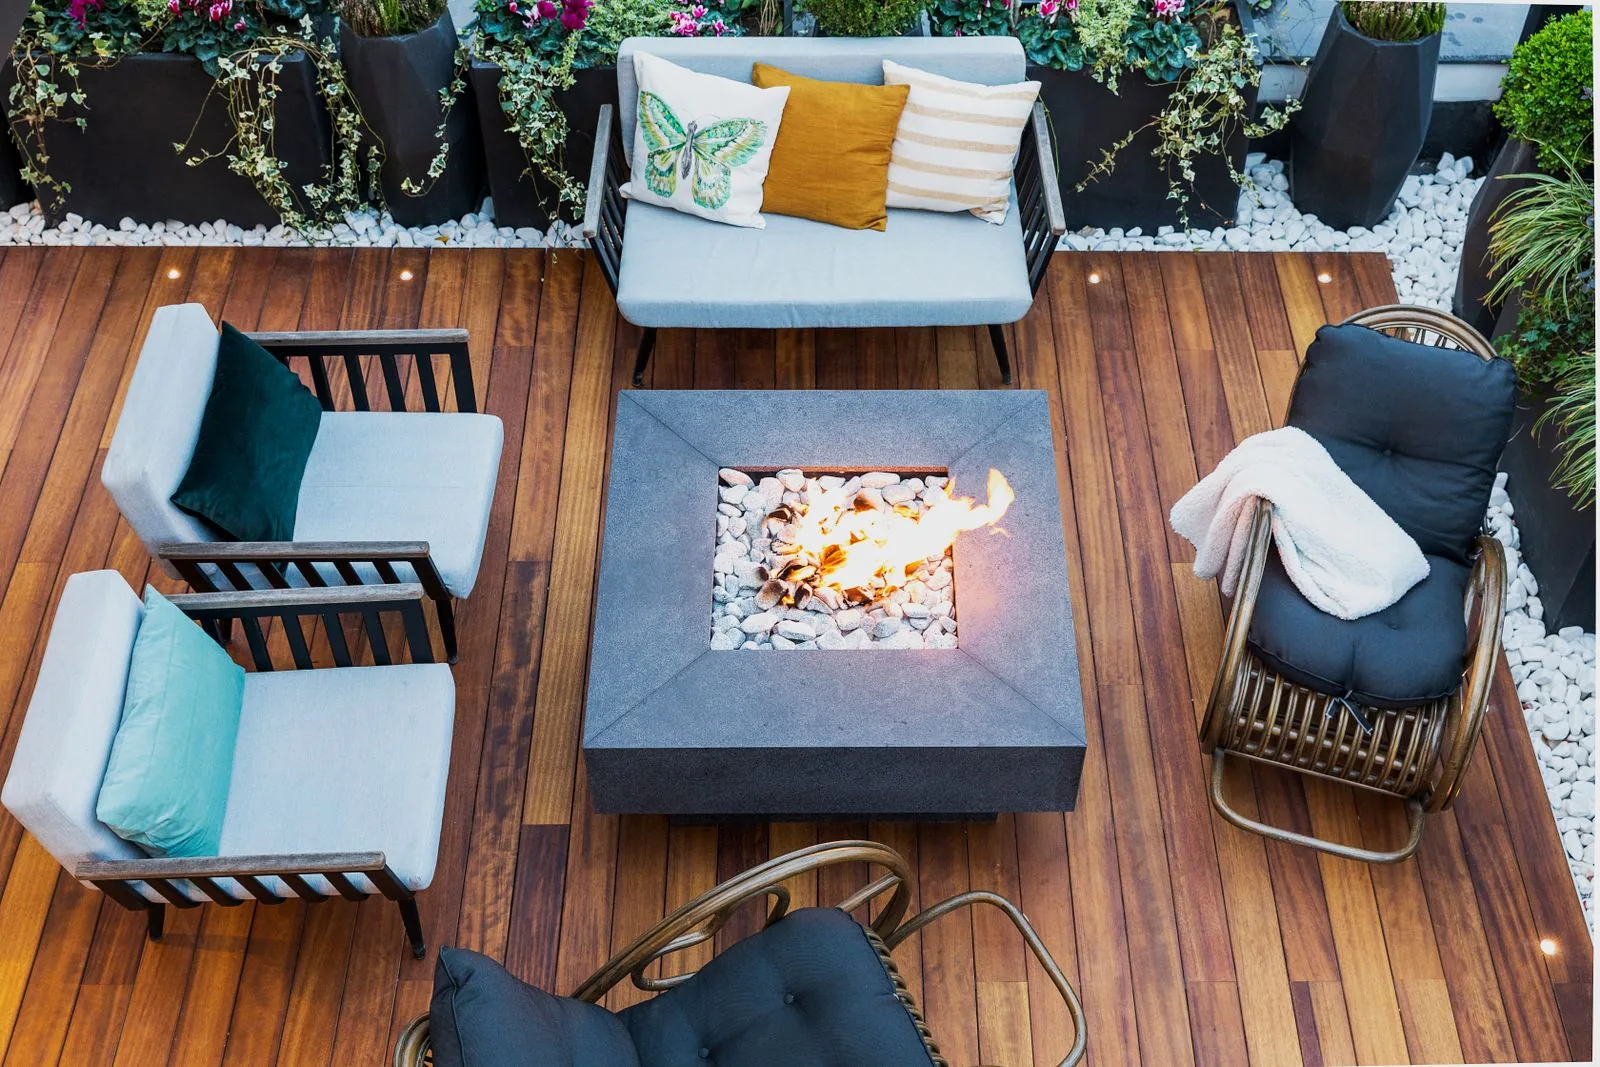
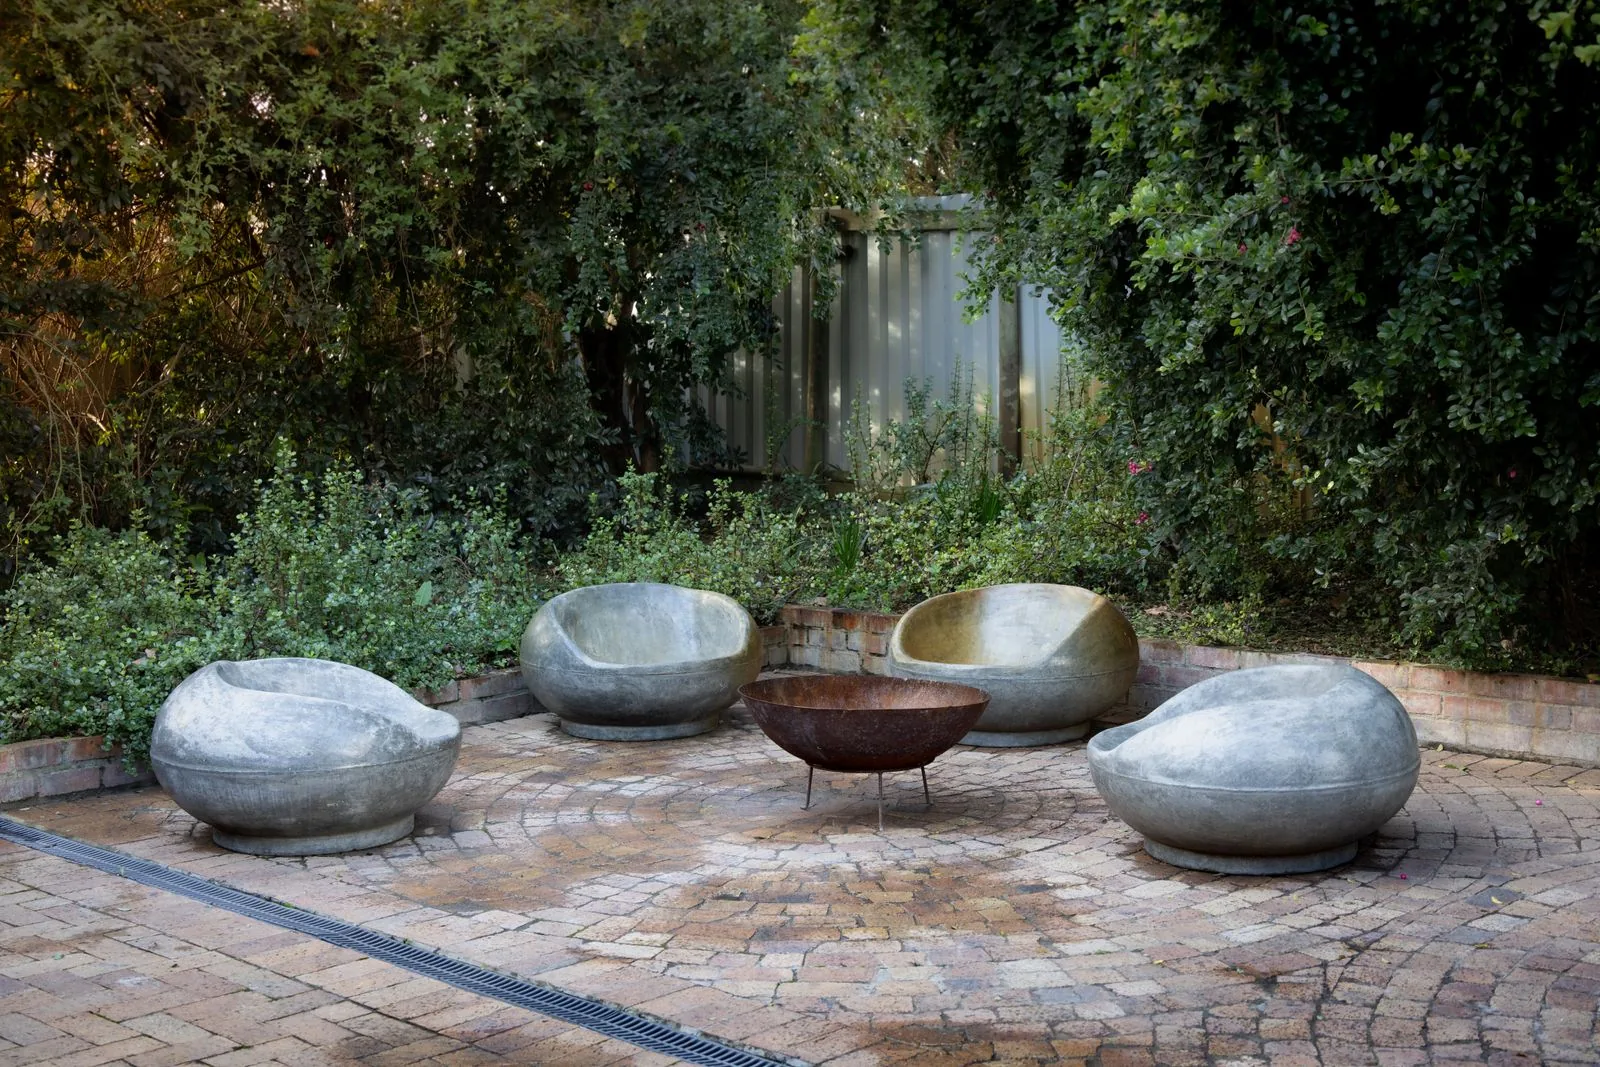
Low and wide, set nearly flush with the patio so it reads as hardscape rather than an object on it. Suits contemporary Bellevue homes with clean patio lines. A flush pit is also the easiest to flood, so the burner pan drain and surrounding grade have to be right.
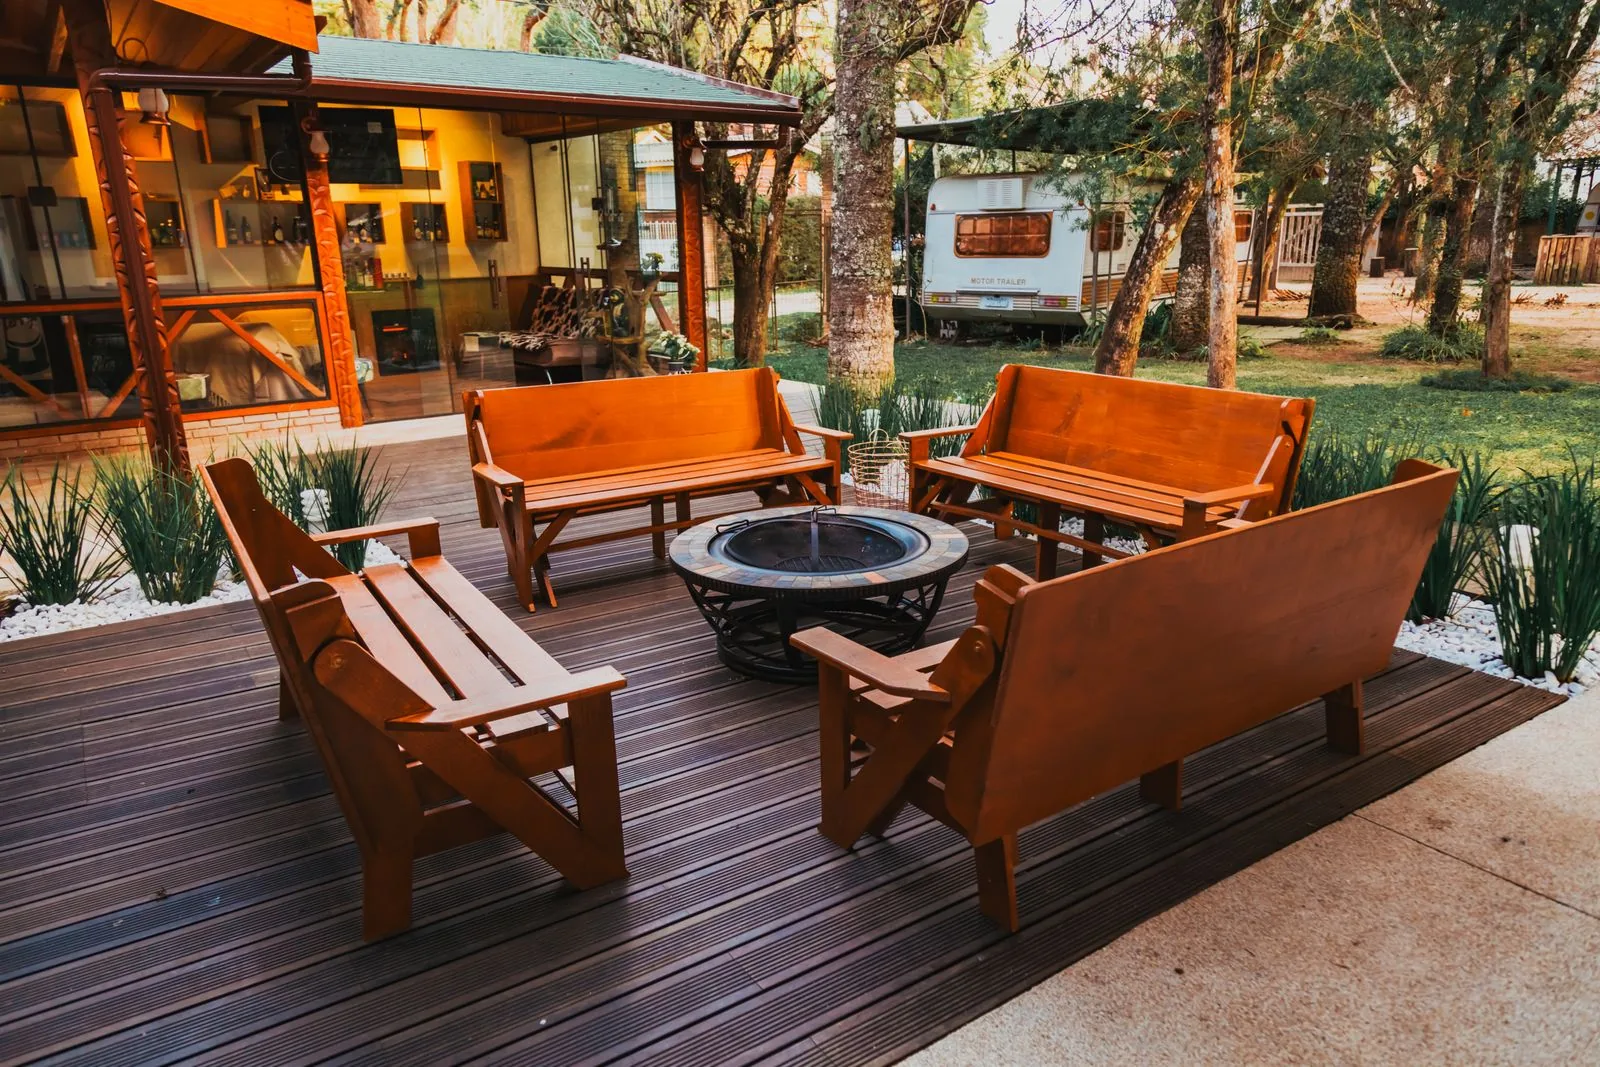
Dining or counter height with a wide ledge for glasses and plates, which makes it usable for entertaining rather than just for staring into. Good on smaller lots where one feature serves as both table and fire. The height puts flame closer to faces and anything overhead, so vertical clearance governs.
A round or square pit with a firebrick or heavy steel liner inside a masonry surround, sized for real logs. Delivers heat and the smell of a fire that gas cannot replicate, at lower cost with no gas run. Plan for burn ban season and a cover, since an open pit turns rain and ash into slurry.
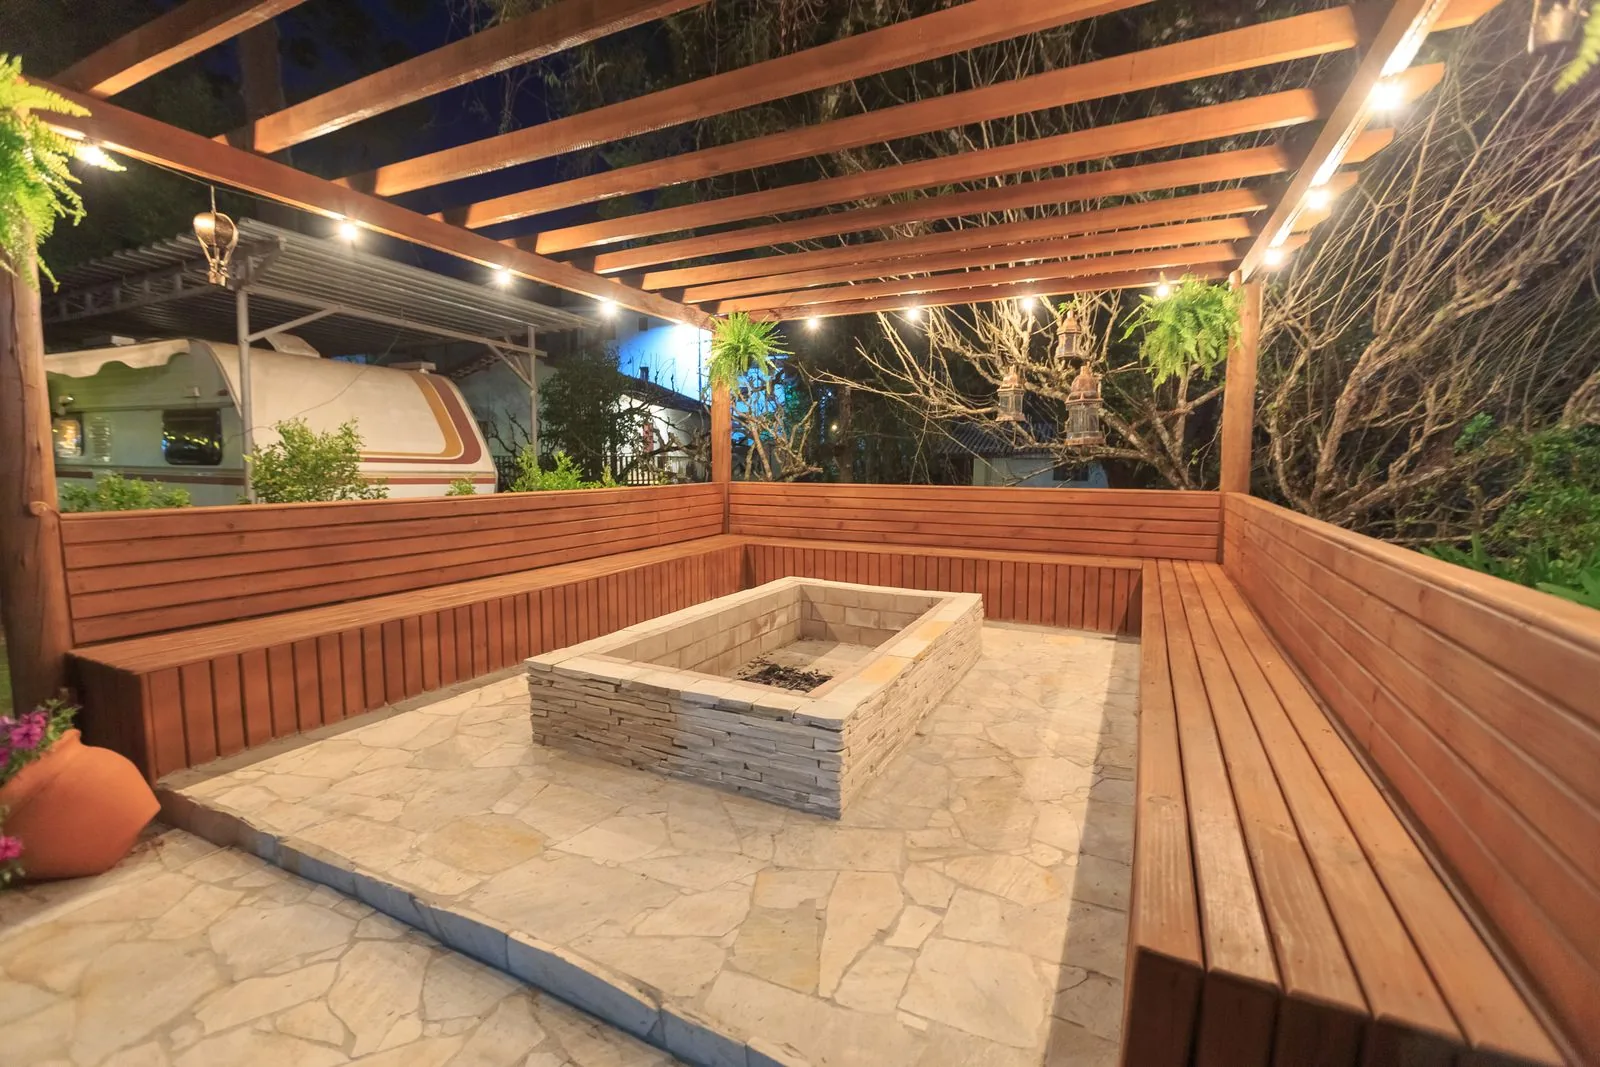
A long, narrow burner set into a seating wall facing a view or lawn rather than surrounded on all sides. Suits terraced yards where fire is a backdrop instead of the center. It needs a longer burner and higher gas volume, so supply line sizing matters more than on a compact round pit.
A gas unit framed into a wood or composite deck over a non-combustible base and heat shield, putting fire where people already gather. Least tolerance for error of any configuration. Framing must carry the load and radiant heat must be blocked, since composite boards soften and deform under sustained heat.
One scope covering excavation, drainage, masonry, gas fitting and finish work.
We establish where the pit can legally sit relative to the house, fences, property lines and overhanging cedar and fir limbs. Clearance rules differ for gas appliances versus open wood fires, so this precedes layout.
The footprint is dug to undisturbed soil and rebuilt with crushed rock compacted in lifts, not dumped in one layer. A masonry pit is a concentrated load, and uneven settling opens the joints that let water in.
Every pit gets a defined path for water to leave: a gravel core with a perforated line to daylight, or a drain through the burner pan. On flat lots we tie into existing yard drainage.
We size and route the line from the meter or tank, sleeve it under hardscape, and set an accessible marked shutoff. Gas piping is permitted and inspected, and we schedule that inspection.
The body is built from materials rated for the heat they will see, with a firebrick or steel liner on wood-burning units. Gas enclosures need ventilation openings placed correctly, since an unvented cavity can collect heavier-than-air propane.
Coping is set with a slight outward pitch so rain sheds off the ledge instead of pooling on it. Gas systems get a pressure test and a walkthrough of startup, shutdown and seasonal maintenance.
The sequence is built around resolving fuel and drainage before anything permanent gets set.
We measure the yard, check grade and drainage patterns, and note where the gas meter or tank sits. On lots with an HOA or a tight property line, placement rules get flagged now rather than mid-build.
Wood, natural gas or propane gets settled here. For natural gas we check meter capacity, because adding a burner to a system already running a furnace, water heater, range and dryer can require a larger line.
We produce a layout showing the pit and seating clearance, then mark the footprint on the ground in paint. Standing in the space changes people’s minds about size and position more than any drawing does.
Gas piping and associated electrical is permitted through the jurisdiction, and underground locates are called in before digging. This consumes calendar time rather than labor time, so we start it early.
The footprint is dug out, subgrade compacted, and crushed rock placed in lifts. Drainage goes in now: a gravel core, a perforated line to daylight, or a tie-in to existing yard drainage.
The supply line is trenched to depth, sleeved under hardscape, and stubbed up with a shutoff. It is pressure tested and inspected before burial, because uncovering a failed line later means tearing out finished patio.
The body is built, the burner pan set with its drain, ventilation placed, and coping installed. Gas units get a leak test, flame adjustment and a demonstration covering media care, freeze prep and shutoff location.
That one decision shapes the base, structure and clearances for the entire build. Call (206) 825-2773 and we will walk the yard with you before anything is committed.
Material choice drives both the look and how the pit ages through wet winters and moss season.
| Option | Best For | Considerations | Relative Cost |
|---|---|---|---|
| Manufactured wall block | Clean curves; matching existing retaining walls | Use only units rated for fire pit service, always with a liner; unrated block can spall when heated | Lower |
| Natural stone veneer | Homes with stone already on the facade or chimney | Mortar joints are where moss establishes first on shaded north-facing sides | Moderate to high |
| Board-formed concrete | Modern architecture; pit reads as one sculptural mass | Quality depends almost entirely on the formwork; sealing resists water staining | Moderate to high |
| Clay brick with firebrick liner | Wood-burning pits and traditional brick homes | Face brick is not a firebox material; the liner does the work and should be replaceable | Moderate |
| Weathering (Corten) steel | Contemporary yards; freestanding bowls and inserts | Runoff stains adjacent light concrete as the patina develops; set on gravel or dark pavers | Moderate |
| Porcelain panel cladding | Large-format surfaces that resist moss and staining | Edges and miters are unforgiving and need experienced fabrication | High |
final material choice depends on site conditions and a written estimate
A fire pit sits outdoors and unheated through every wet month of the year, and it should be built with that in mind.
Every pit gets a defined route for water to leave, sized to the site rather than to habit. On till soils where infiltration is unreliable, that means a line to daylight instead of hoping gravel handles it.
Wood versus gas changes the base, liner, structure and clearances. We resolve it in design with a clear picture of burn ban season, so nothing gets rebuilt around a late change.
Gas piping is permitted, pressure tested and inspected before burial. It is also the part a homeowner cannot easily verify afterward, which is exactly why it should be documented.
Non-porous media, fire-rated units, outward-pitched coping and finishes that resist moss on shaded sides. Lava rock holds moisture and can pop when heated quickly, so we steer wet-climate gas pits toward fire glass.
A fire pit rarely stands alone. We coordinate it with the patio surface, deck framing, seat walls, lighting and drainage as one plan rather than leaving the seams to someone else.
Excavation, hardscape, gas and finish work run on a single schedule with one person accountable. That avoids the outcome where a landscaper, a mason and a gas fitter each wait on the other.
Two fire pits that look nearly identical in a photo can differ substantially in cost, usually for reasons invisible in the finished product.
A wood-burning pit skips the entire gas scope. A gas pit adds trenching, pipe, a shutoff, permitting and inspection, scaling with how far the meter sits and what the line must cross.
If the existing gas system cannot support another appliance, the fix is a larger supply line or a utility meter upgrade. This is one of the few items that can shift cost meaningfully after the first walkthrough.
Curves cost more than straight runs because block and cladding must be cut to a radius, and every cut is labor. A linear feature also needs a larger burner than a round pit of similar visual weight.
Material cost is only part of it. Large-format porcelain and mitered stone edges take more skilled fabrication time than standard block coursing, and that labor gap often exceeds the material difference.
Soft or organic soil means deeper excavation and more compacted rock. A backyard reachable only through a side gate means material moves by wheelbarrow instead of machine, adding hours across the project.
Match-lit gas is the simplest and most reliable arrangement in a wet climate. Electronic ignition, remote control and wind guards each add components, a power source, weather-protected enclosures and more parts that can need service.
We do not quote fire pit work from photos or square footage. Grade, soil, drainage, gas capacity and access all change the scope, so accurate pricing requires an on-site inspection followed by a written estimate itemizing what is and is not included.
The gas work almost always requires a permit; the pit structure itself frequently does not. Gas piping and associated electrical are permitted and inspected through the local jurisdiction, while a freestanding pit below a certain size often falls outside building permit requirements. Thresholds vary across Bellevue, Redmond, Kirkland and unincorporated King County, so we confirm the rules for your address first.
Gas gets used far more often here, and burn bans are the main reason. Wood fires face air quality and fire safety restrictions that arrive during the driest, most appealing stretch of summer, while permanently installed gas appliances are generally treated differently. Gas also lights in seconds on a damp evening. Wood still wins on heat output and installation cost.
It depends on the type of ban and the type of appliance, so verify the current restriction before lighting anything. Air quality burn bans for the Puget Sound region and fire safety bans from fire districts or DNR are separate systems with separate rules, and both generally distinguish open wood fires from gas appliances. Check status the day you plan to use it, since stages change quickly.
Minimum clearances are set by the fire code as adopted locally, and they differ for open wood fires versus permanently installed gas appliances. Beyond the code minimum, Eastside lots bring practical clearances worth respecting: overhanging fir and cedar limbs, cedar fencing, dry summer beauty bark, and the direction smoke drifts toward a neighbor’s window.
Yes, with a gas unit and the correct construction underneath it. The framing has to carry the added weight, and a non-combustible base and heat shield must block radiant heat from reaching the decking. Composite boards are the bigger concern, since many soften or deform under sustained radiant heat well before a wood board would char. A wood-burning pit is not appropriate on a deck.
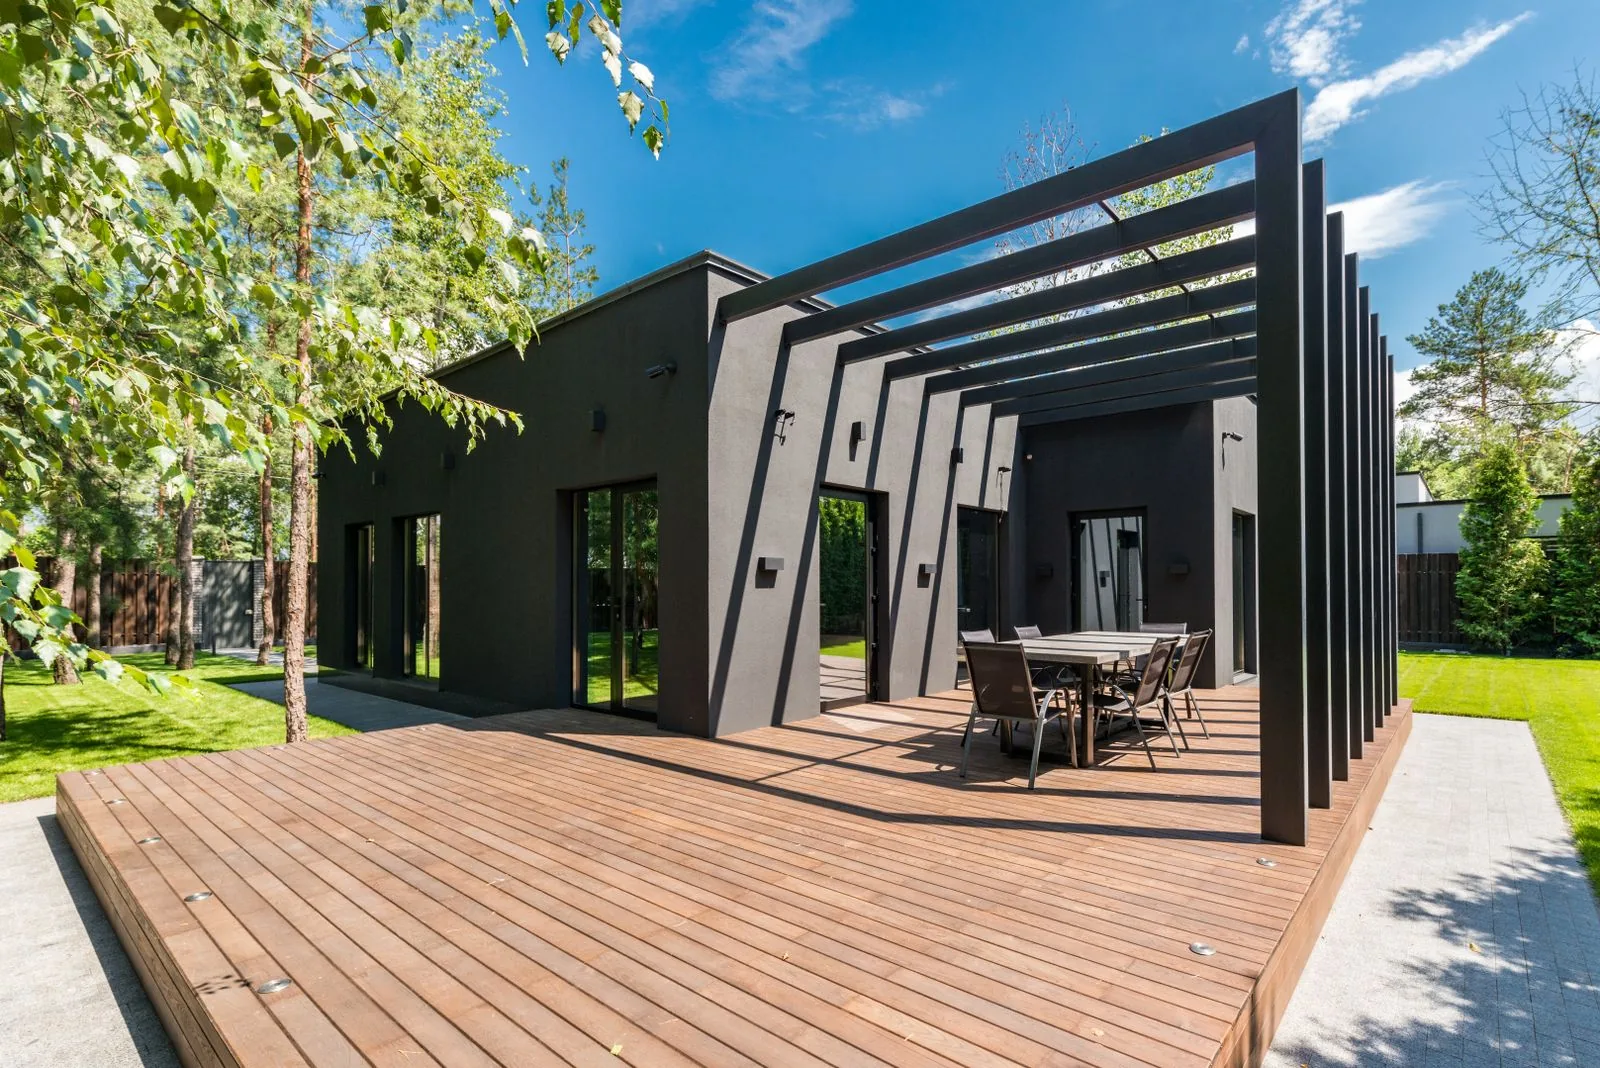
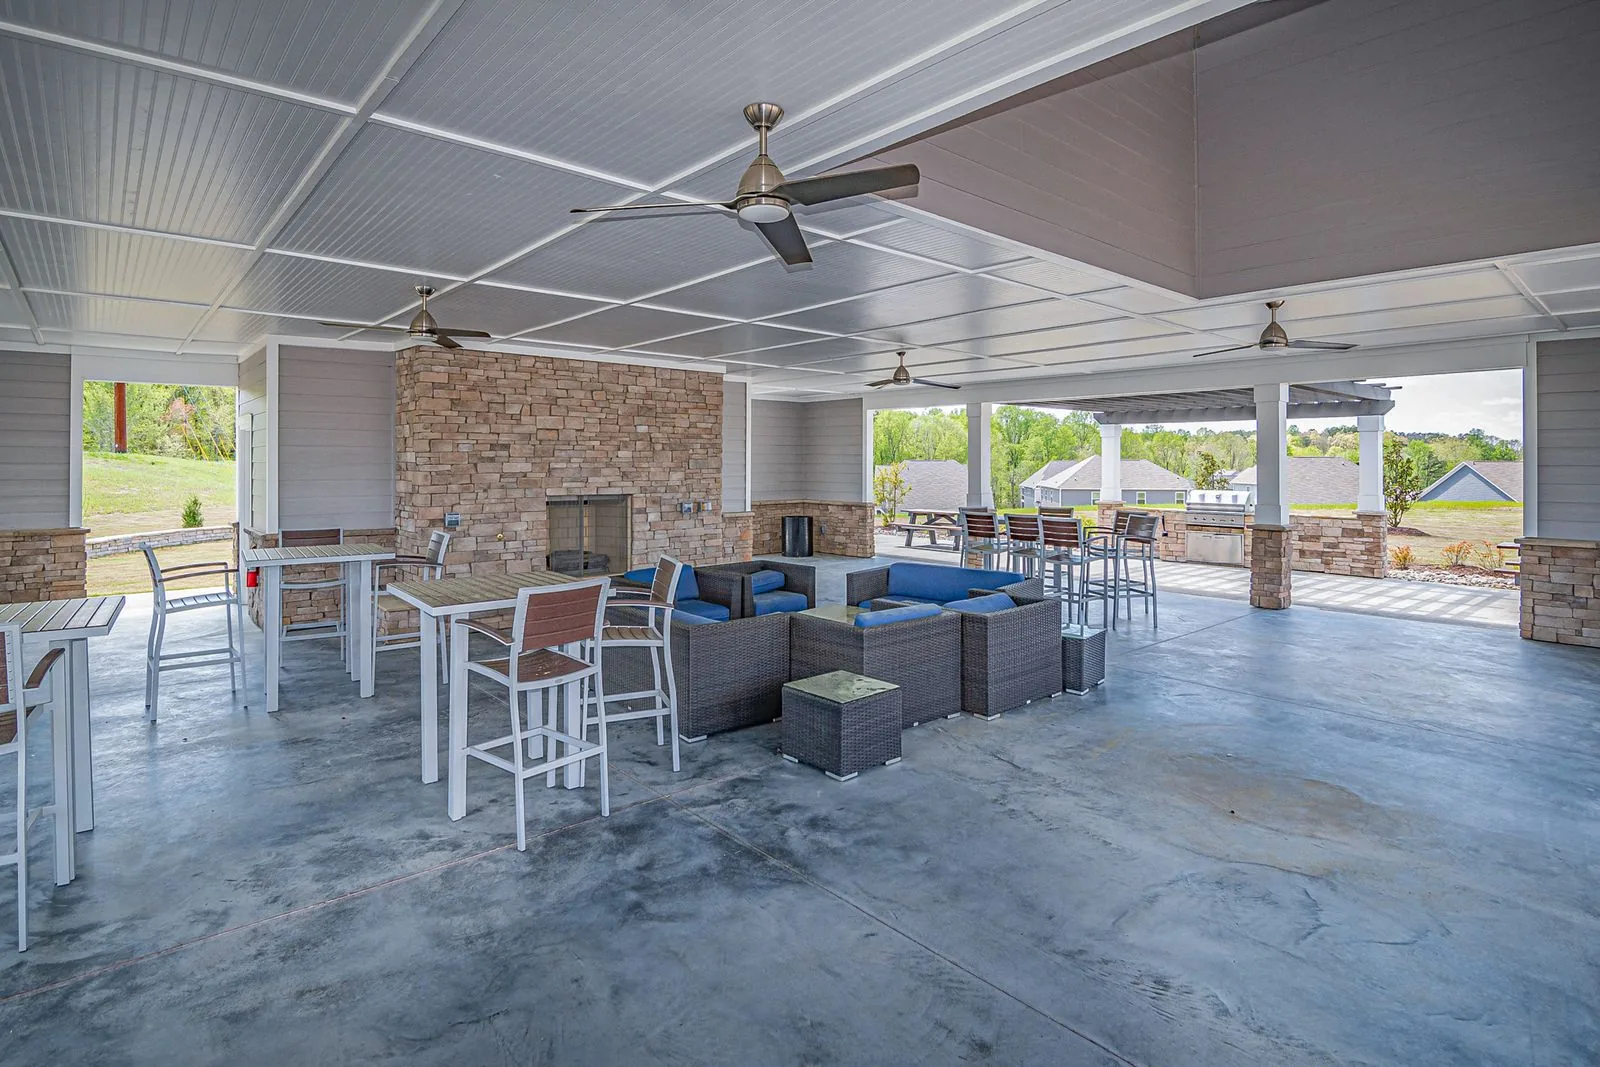
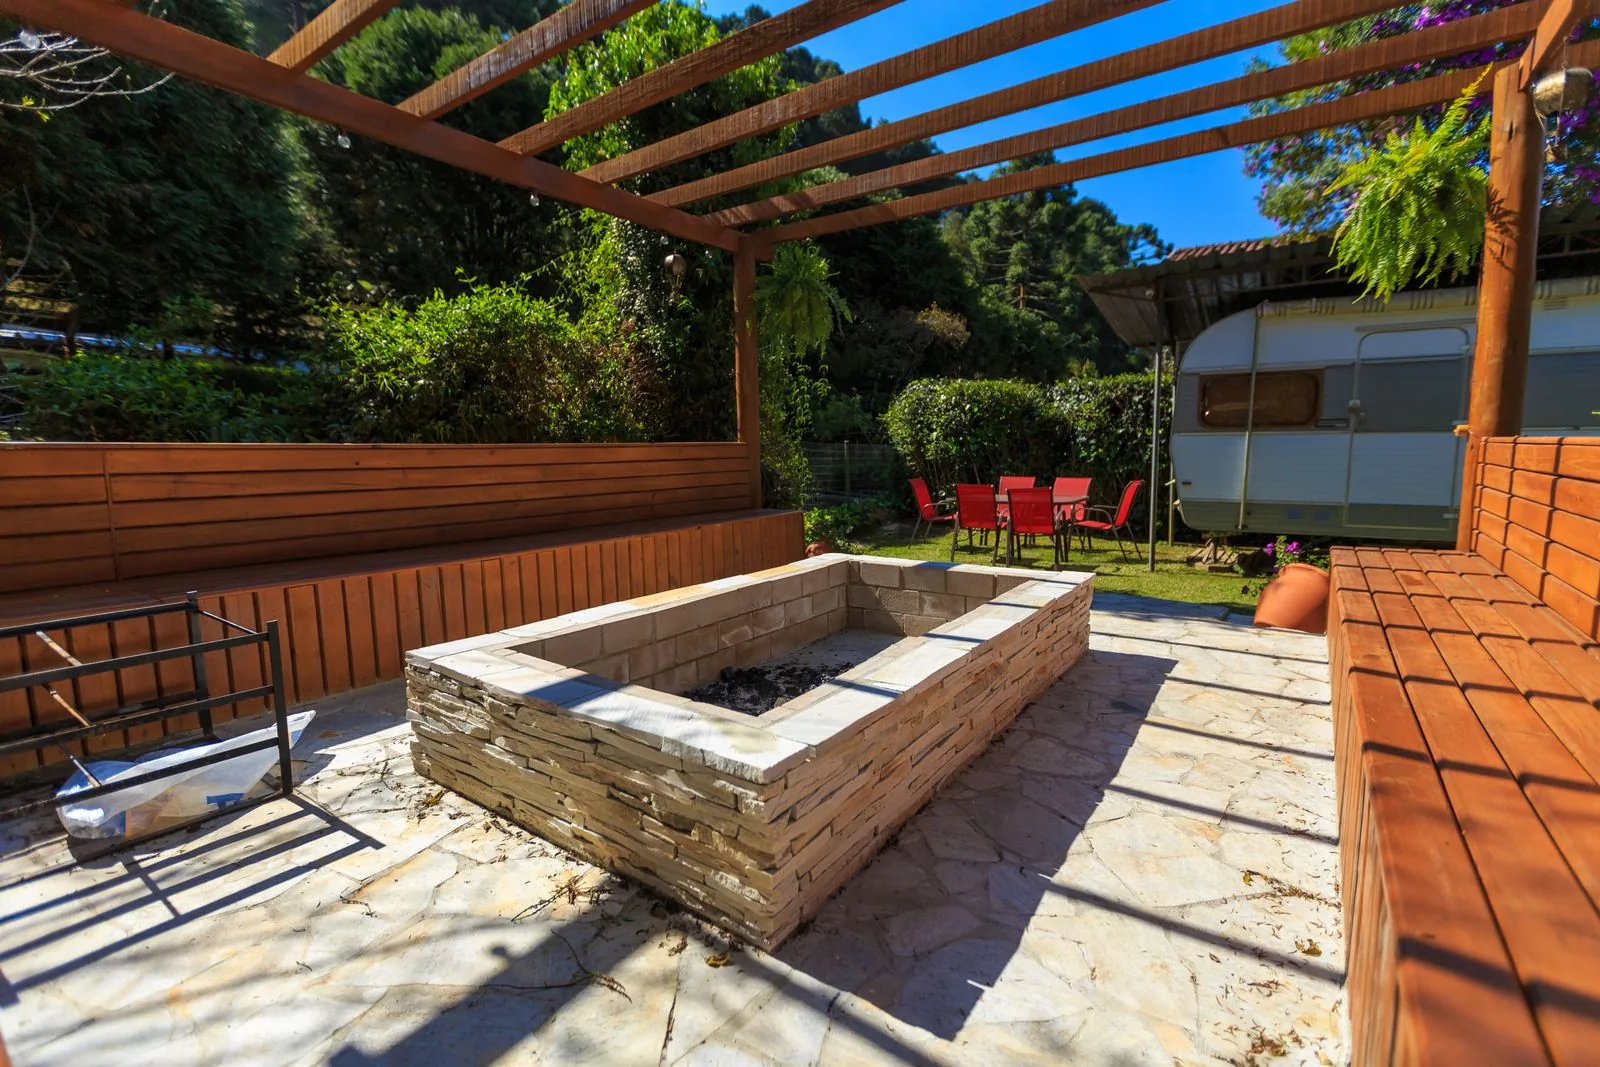
A gas unit can work under cover with adequate clearance and ventilation; a wood-burning pit cannot. Overhead clearance to combustibles is the governing issue, and a solid roof traps combustion products in a way an open pergola does not, so structure height, ventilation and burner output get evaluated together. Worth designing around early, given how much of the year an Eastside patio is only usable under cover.
Natural gas is usually the better long-term choice if a line already serves the house, since you never refill anything and fuel cost is lower. Propane makes sense when the pit is far from the meter, when the existing system has no spare capacity, or when trenching would tear up finished hardscape. The two are not interchangeable at the burner, so decide before it is ordered.
Keep water out of it and keep the burner clear. That means a fitted cover through the wet season, a working drain in the burner pan, and clearing fir needles, moss and leaf debris from the media and air openings a couple of times a year. Blocked burner ports from debris or spiders are the most common cause of uneven flame.
EXCELLENTTrustindex verifies that the original source of the review is Google. Didn’t know what to expect at first but these guys blew the winds off my hat I mean seriously, I had a bathtub renovated to a built in shower and my God am I satisfied with their work. If anyone is considering going with these guys for a remodel I’d vouch for sure.Posted onTrustindex verifies that the original source of the review is Google. They did a good job on my Deck remodeling project, finished in such a short time and gave me a professional run-down on the material and labor cost. Highly recommend.Posted onTrustindex verifies that the original source of the review is Google. I usually don’t trust these companies but Sky Pro blew my expectations out of the water. I seriously am so glad they contacted me, I have 2 bathrooms in my home that both needed to be completely remodeled and they nailed my vision down for both. I couldn’t be happier with this and can recommend them to anyone, even locally.Posted onTrustindex verifies that the original source of the review is Google. I ended up going with Sky Pro for my roof project, they did an amazing job and the team didn’t fail to keep me assured the entire process through. 🙏🏽Posted onTrustindex verifies that the original source of the review is Google. Sky Pro came to do my concrete driveway project a couple weeks ago and, they were very respectful and easy to communicate with, very satisfied with their work.Posted onTrustindex verifies that the original source of the review is Google. These guy did a great job extending out our back patio. We have existing exposed aggregate and they matched the design perfectly. From the start Ben always made sure we were happy and all our questions were answered. We will definitely use them again for future concrete projects.Posted onTrustindex verifies that the original source of the review is Google. Sky Pro came out and gave me a quote for my flooring project, they sent a wonderful contractor and he explained to me what was best regarding material costs. Definitely will be going with them! Contractor was actually really cool with the process and showed me some previews on how it should lookPosted onTrustindex verifies that the original source of the review is Google. Got my deck looked at by SkyPro, ended up going with them for repairs and they did an amazing job. We made a deal with the pricing as well so I'm actually looking forward to booking with them soon when I wanna get my other project done.Posted onTrustindex verifies that the original source of the review is Google. SkyPro did my kitchen remodel project and I am so glad I went with them because now I’m walking into a palace every time I’m home. Really appreciate them!Verified by TrustindexTrustindex verified badge is the Universal Symbol of Trust. Only the greatest companies can get the verified badge who has a review score above 4.5, based on customer reviews over the past 12 months. Read more
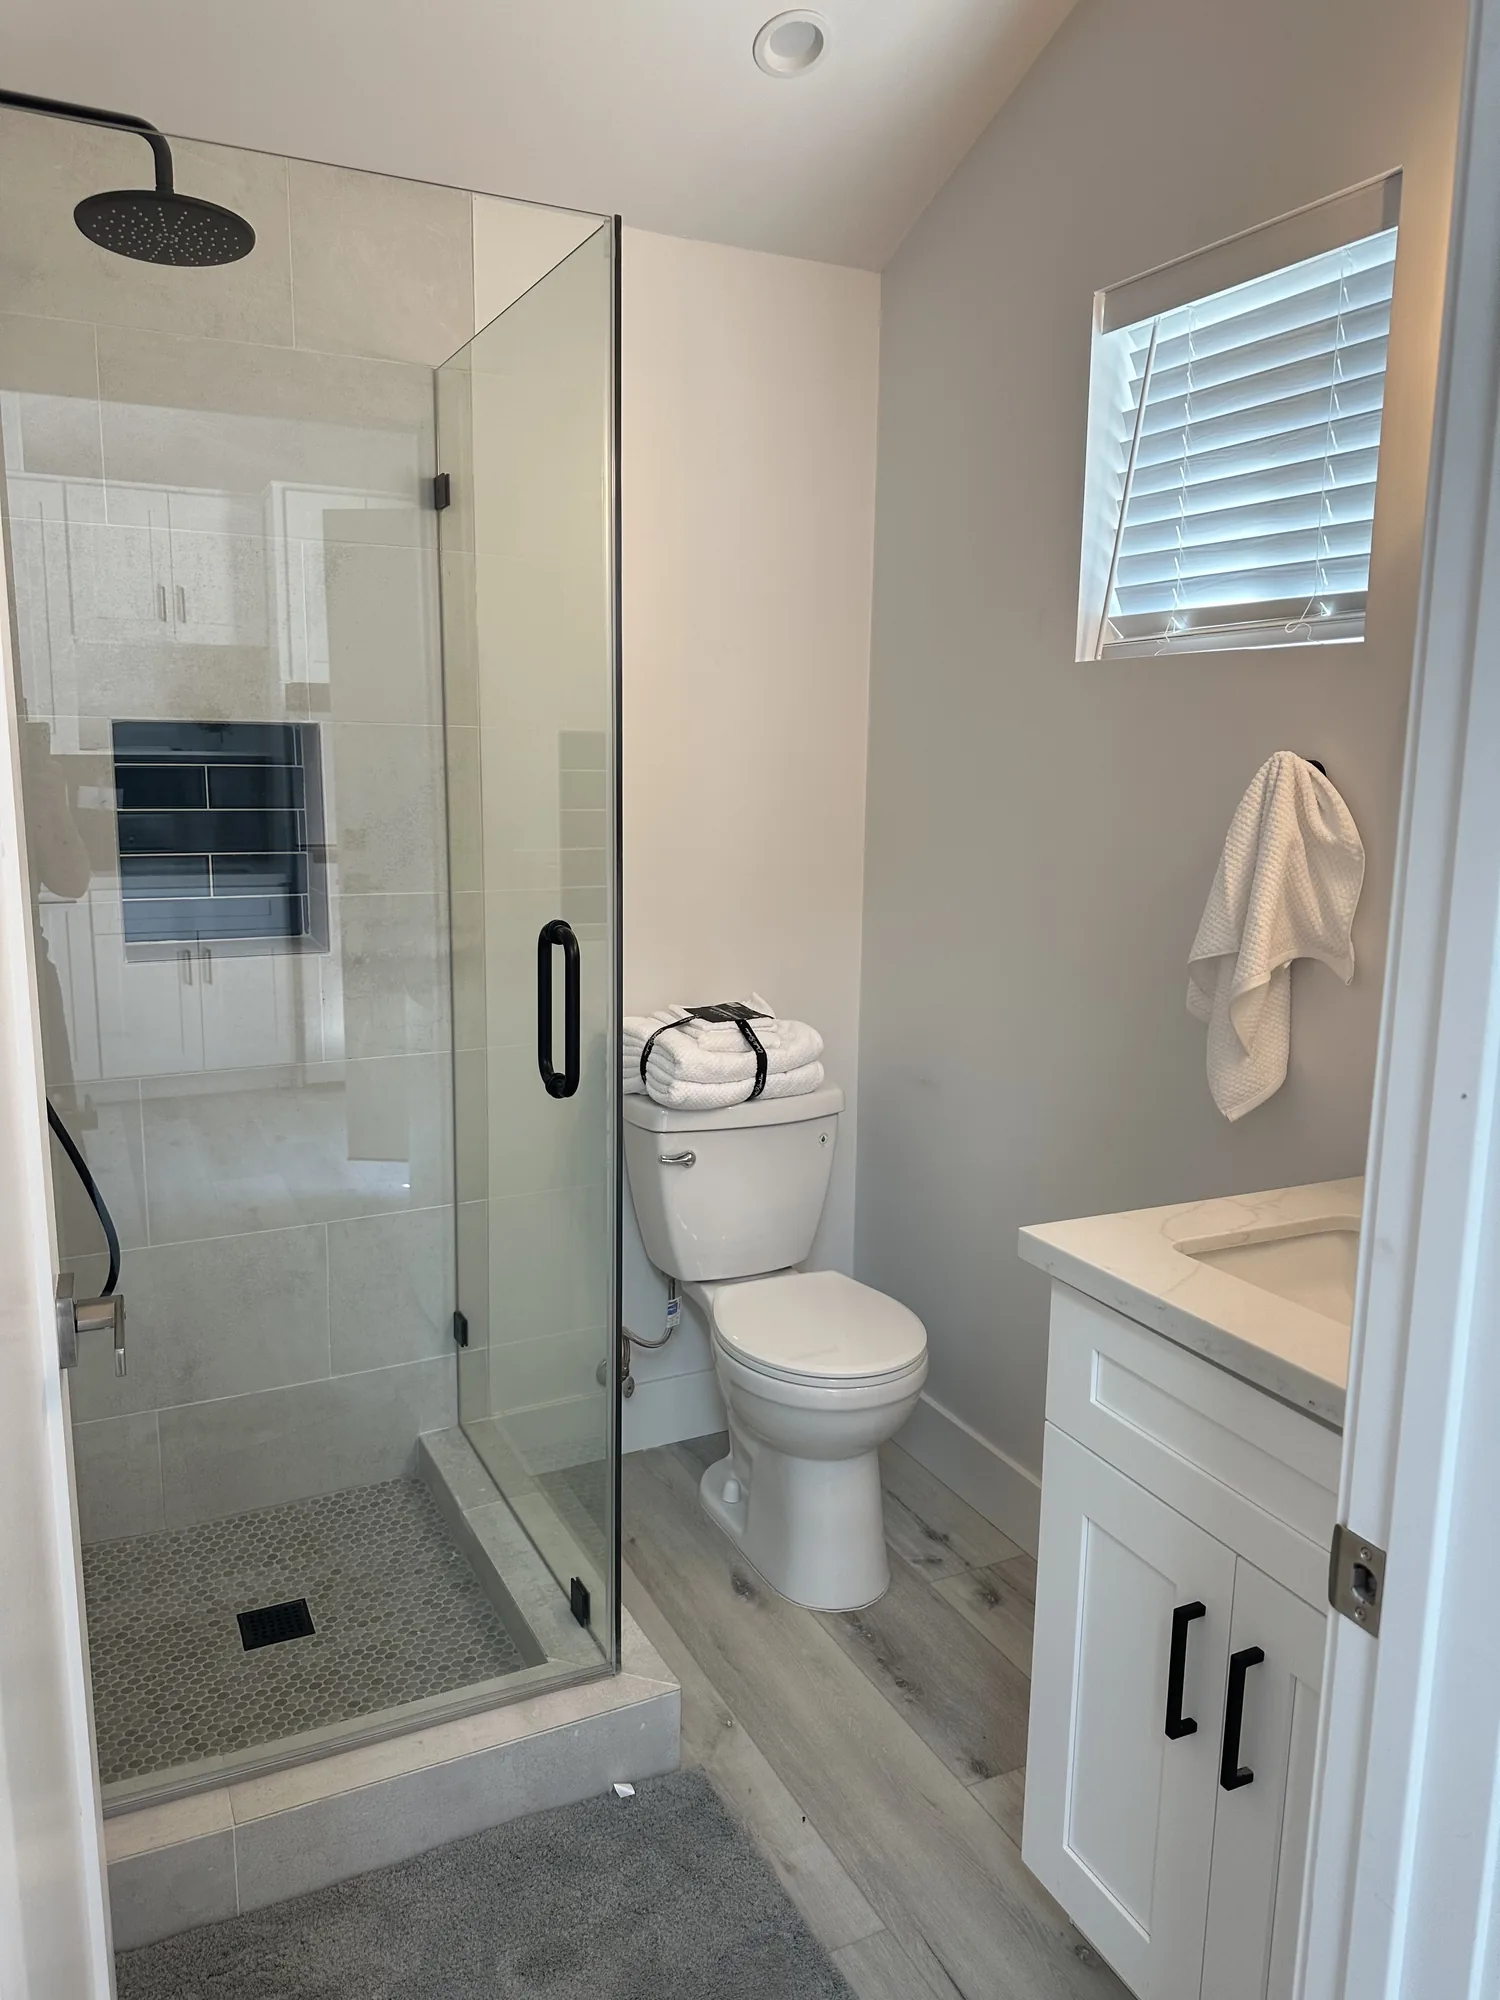
Useful context on planning a yard as a whole before dropping a single feature into it.
Learn more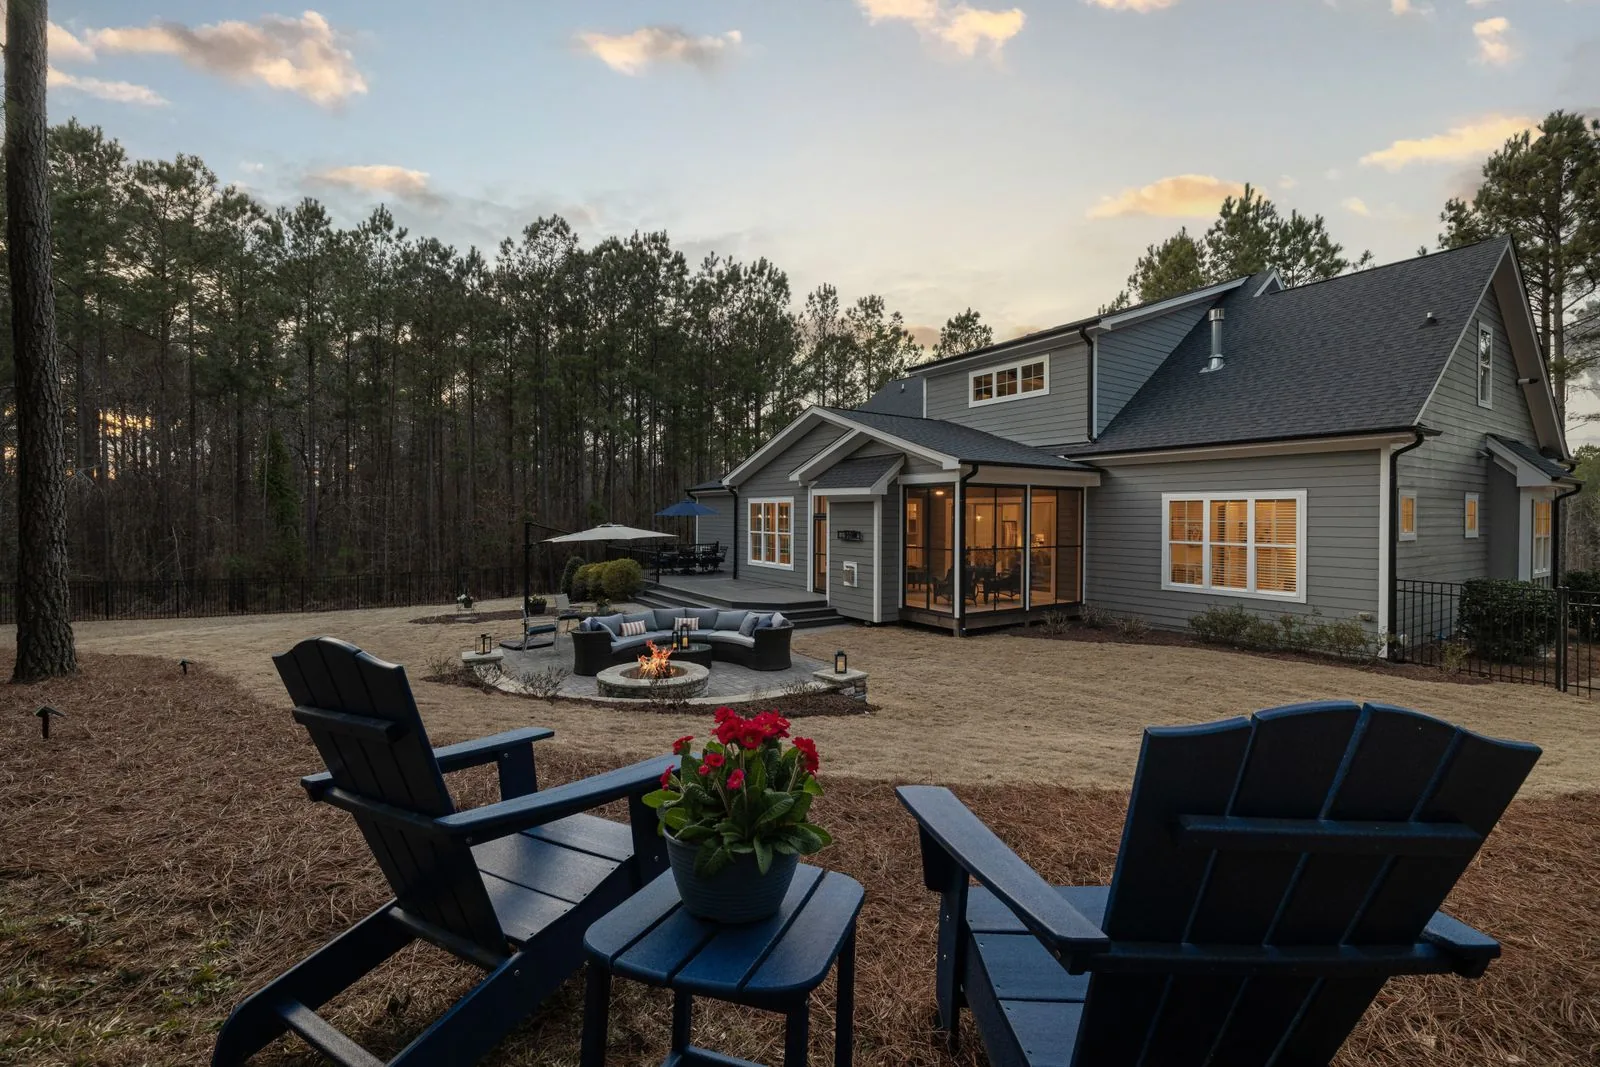
Worth reading because the base and hardscape under a fire pit matter as much as the pit itself.
Learn more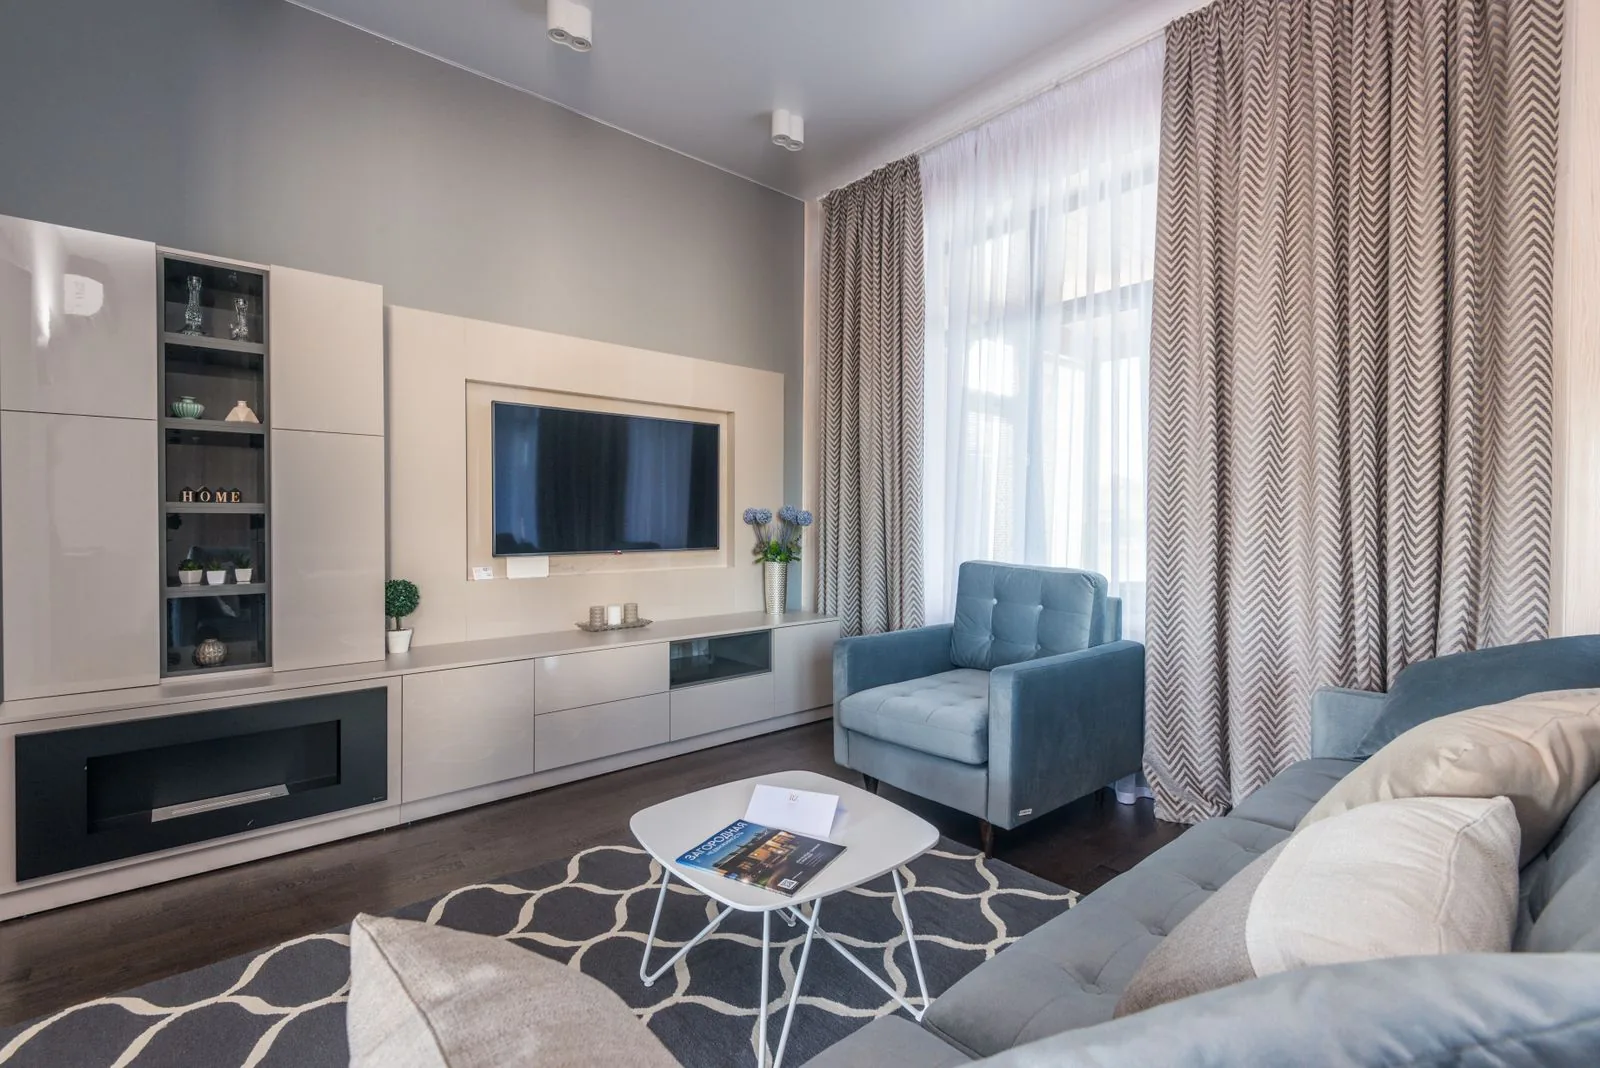
Covers how material choices hold up under Washington’s moisture and weather cycles.
Learn moreAn on-site visit tells us what the grade, soil and gas capacity will actually allow. Reach us at (206) 825-2773 to set one up.
Service Areas
We install fire pits throughout Bellevue and the surrounding Eastside communities, including Kirkland, Redmond, Sammamish, Issaquah, Newcastle, Mercer Island and Bothell, plus neighborhoods across greater Seattle. Slope, soil and drainage vary considerably from one block to the next here, so we treat every site as its own set of conditions.
Do not see your neighborhood? Call (206) 825-2773 — we regularly work throughout King County.
Tell us where the pit would go, what fuel you are leaning toward, and how you picture using the space. We will follow up to schedule a site visit and a written estimate.
Let us know how we can help you!