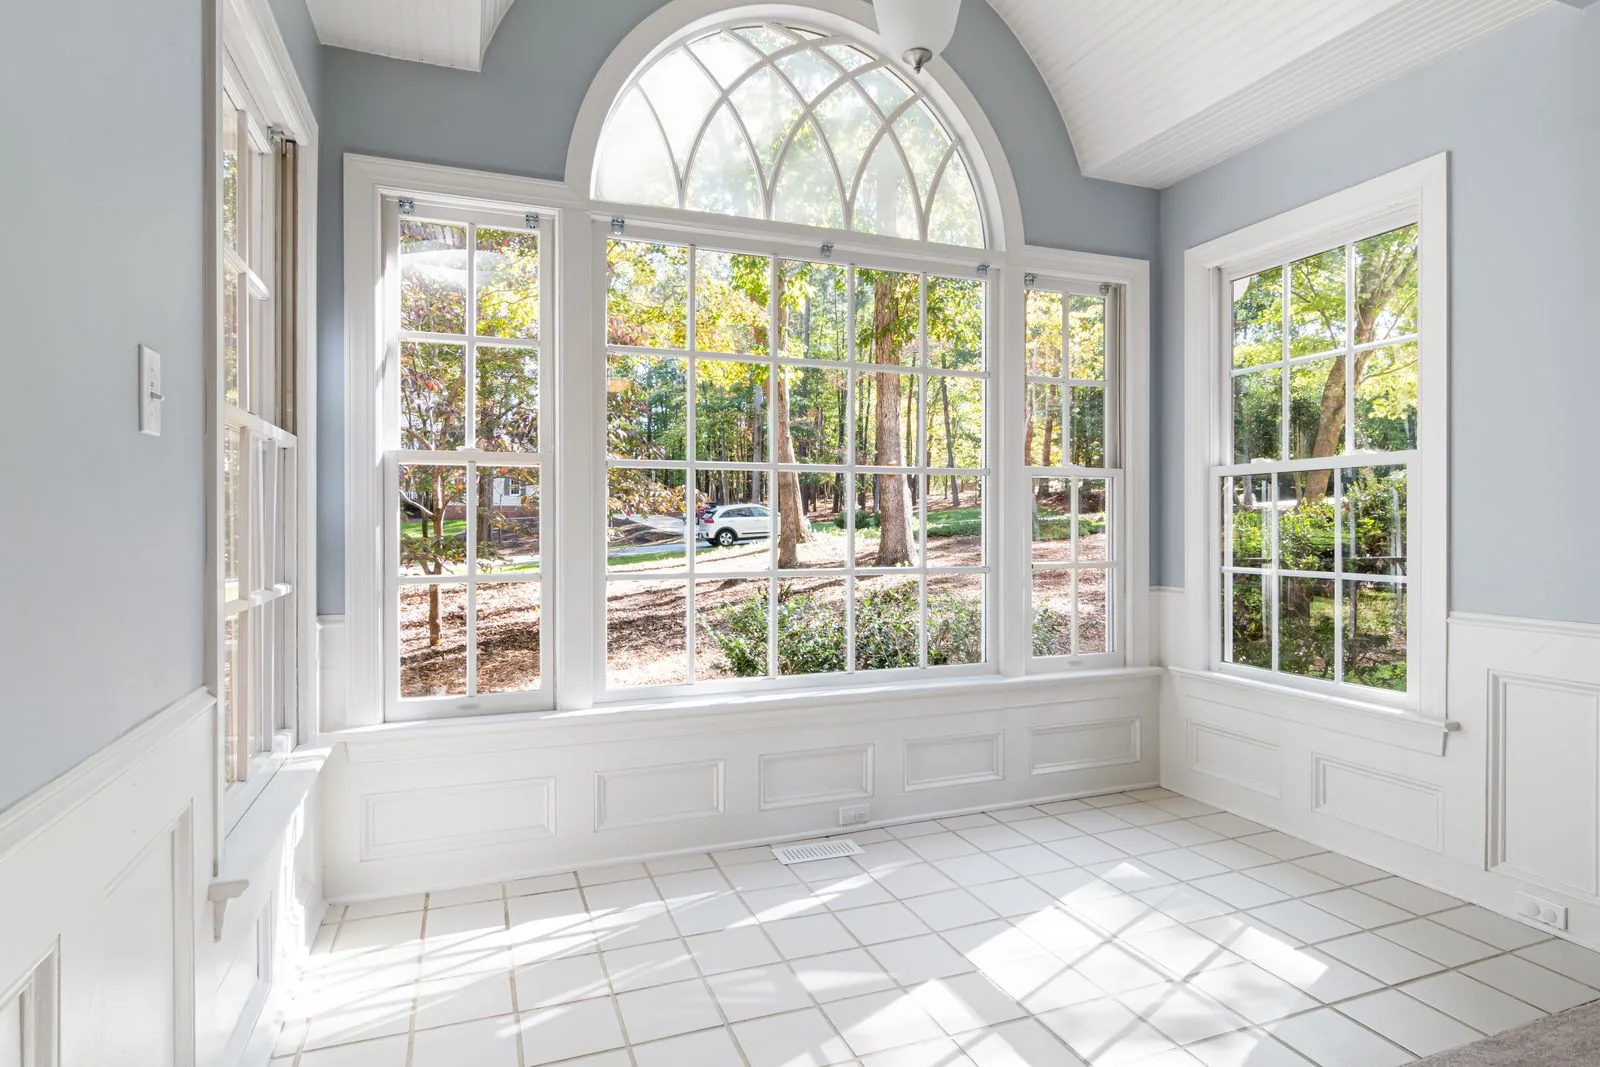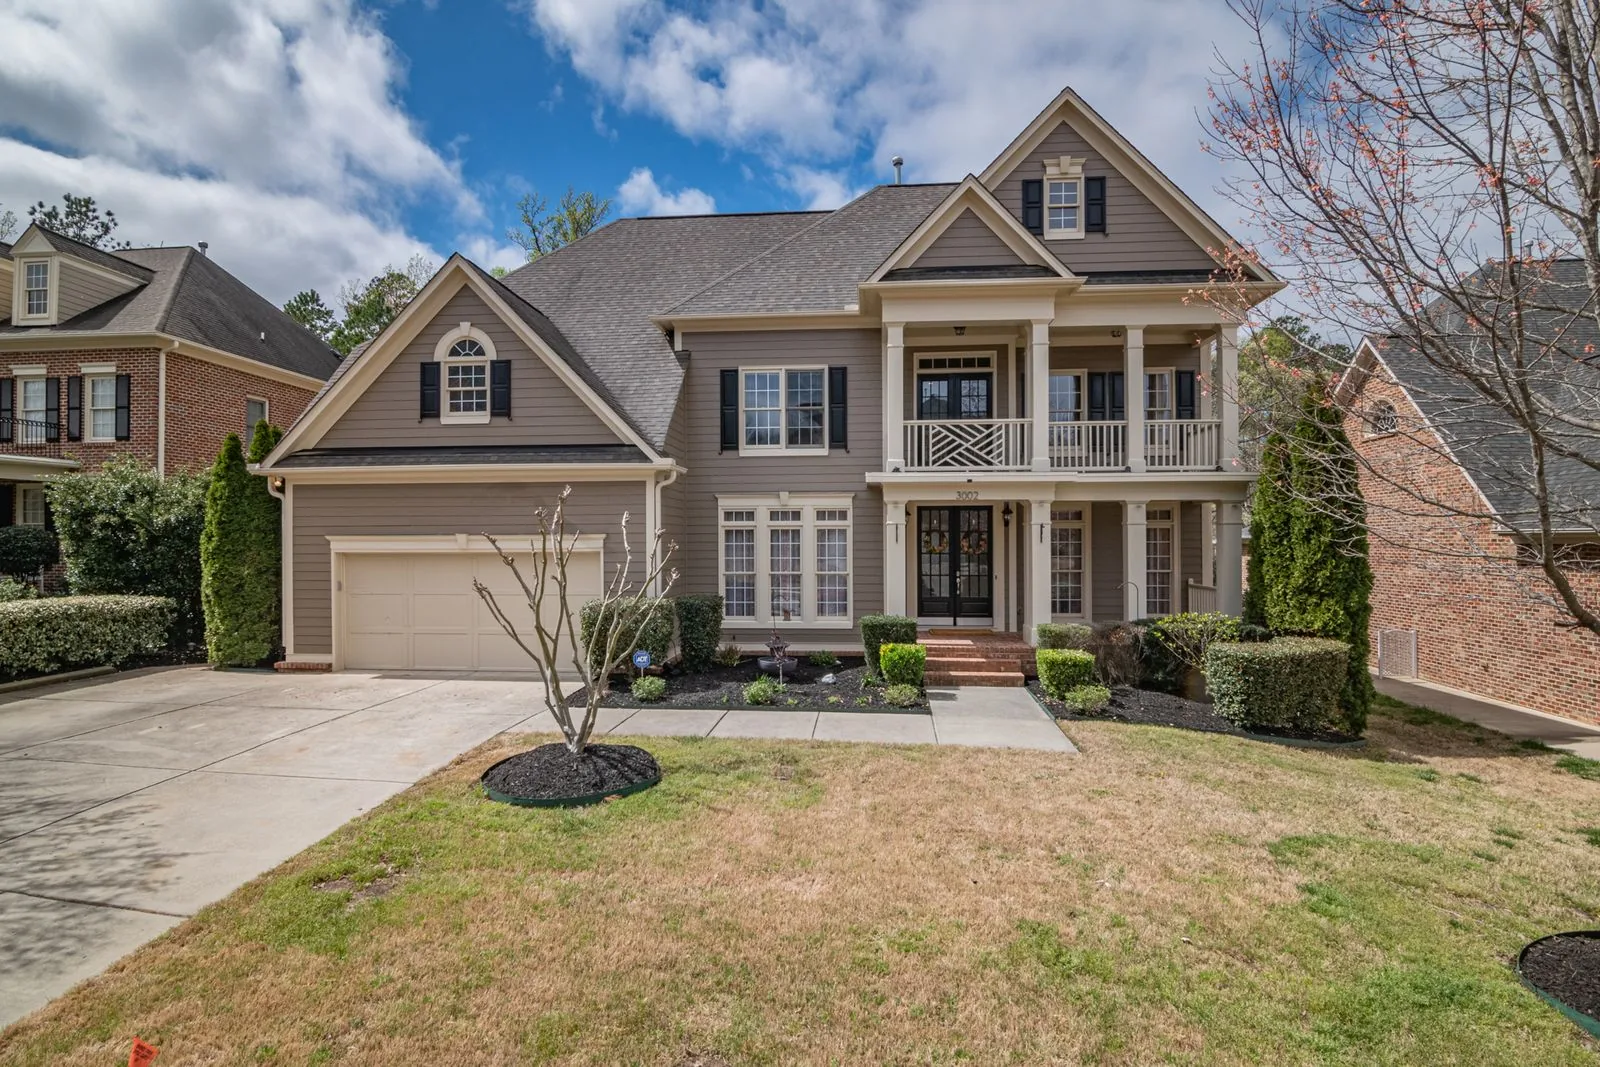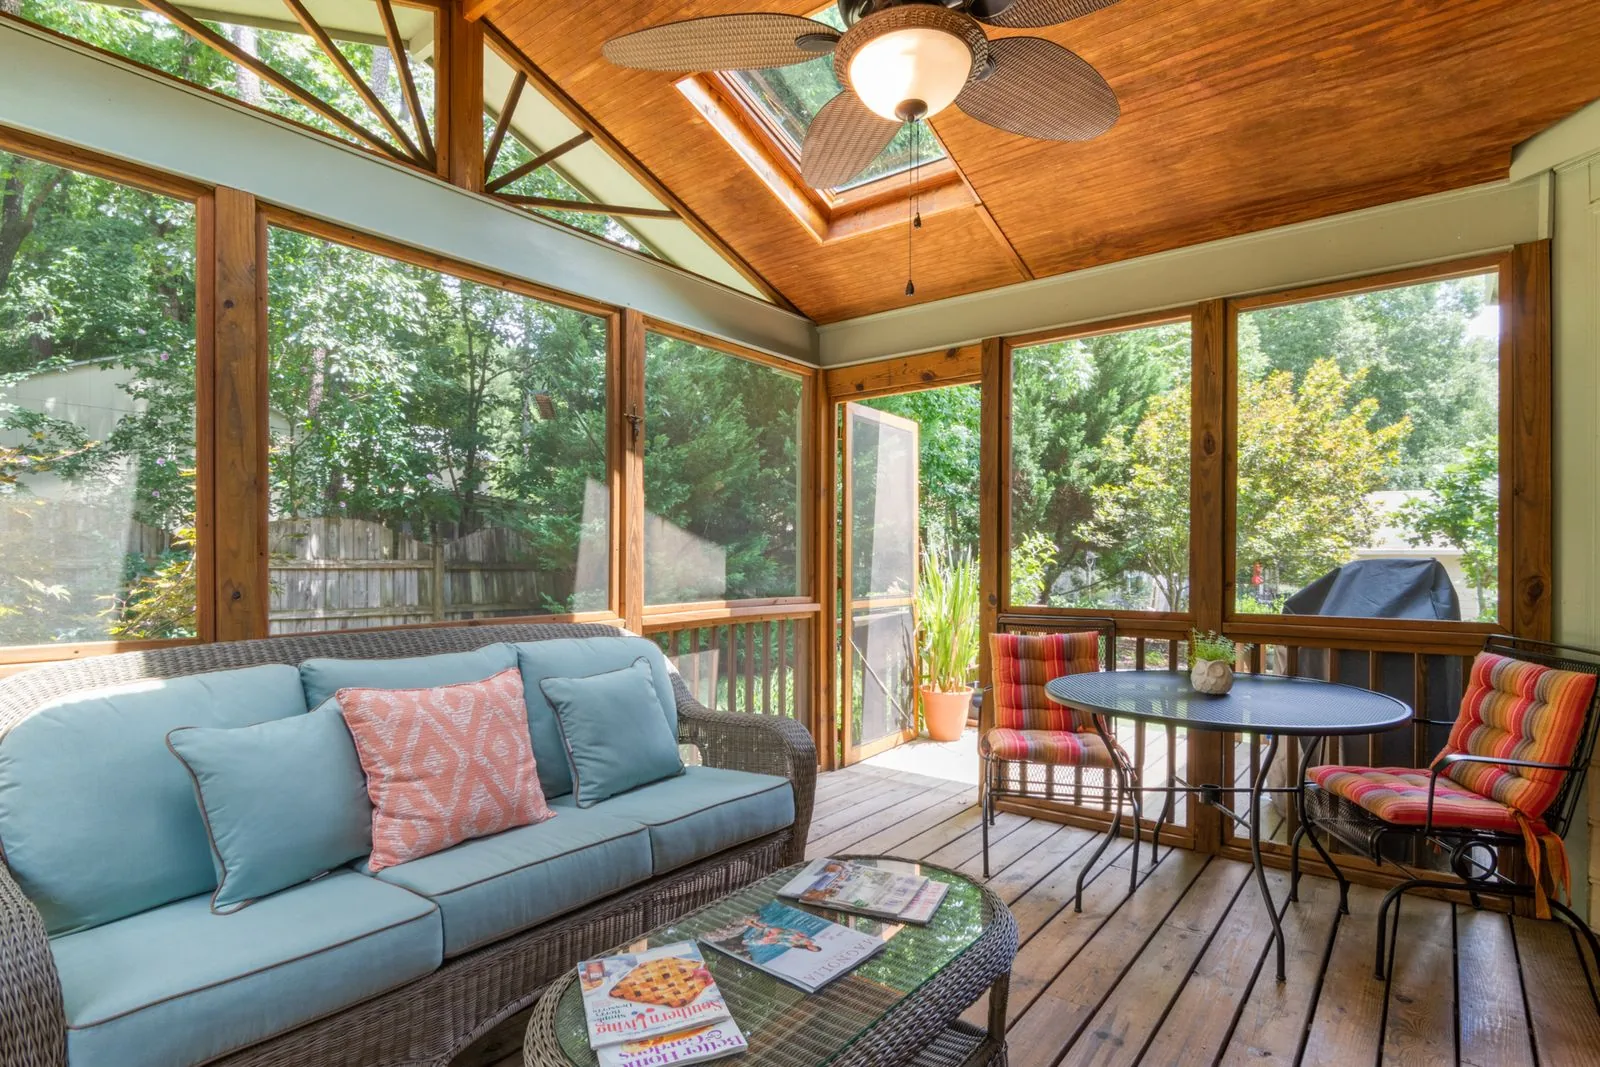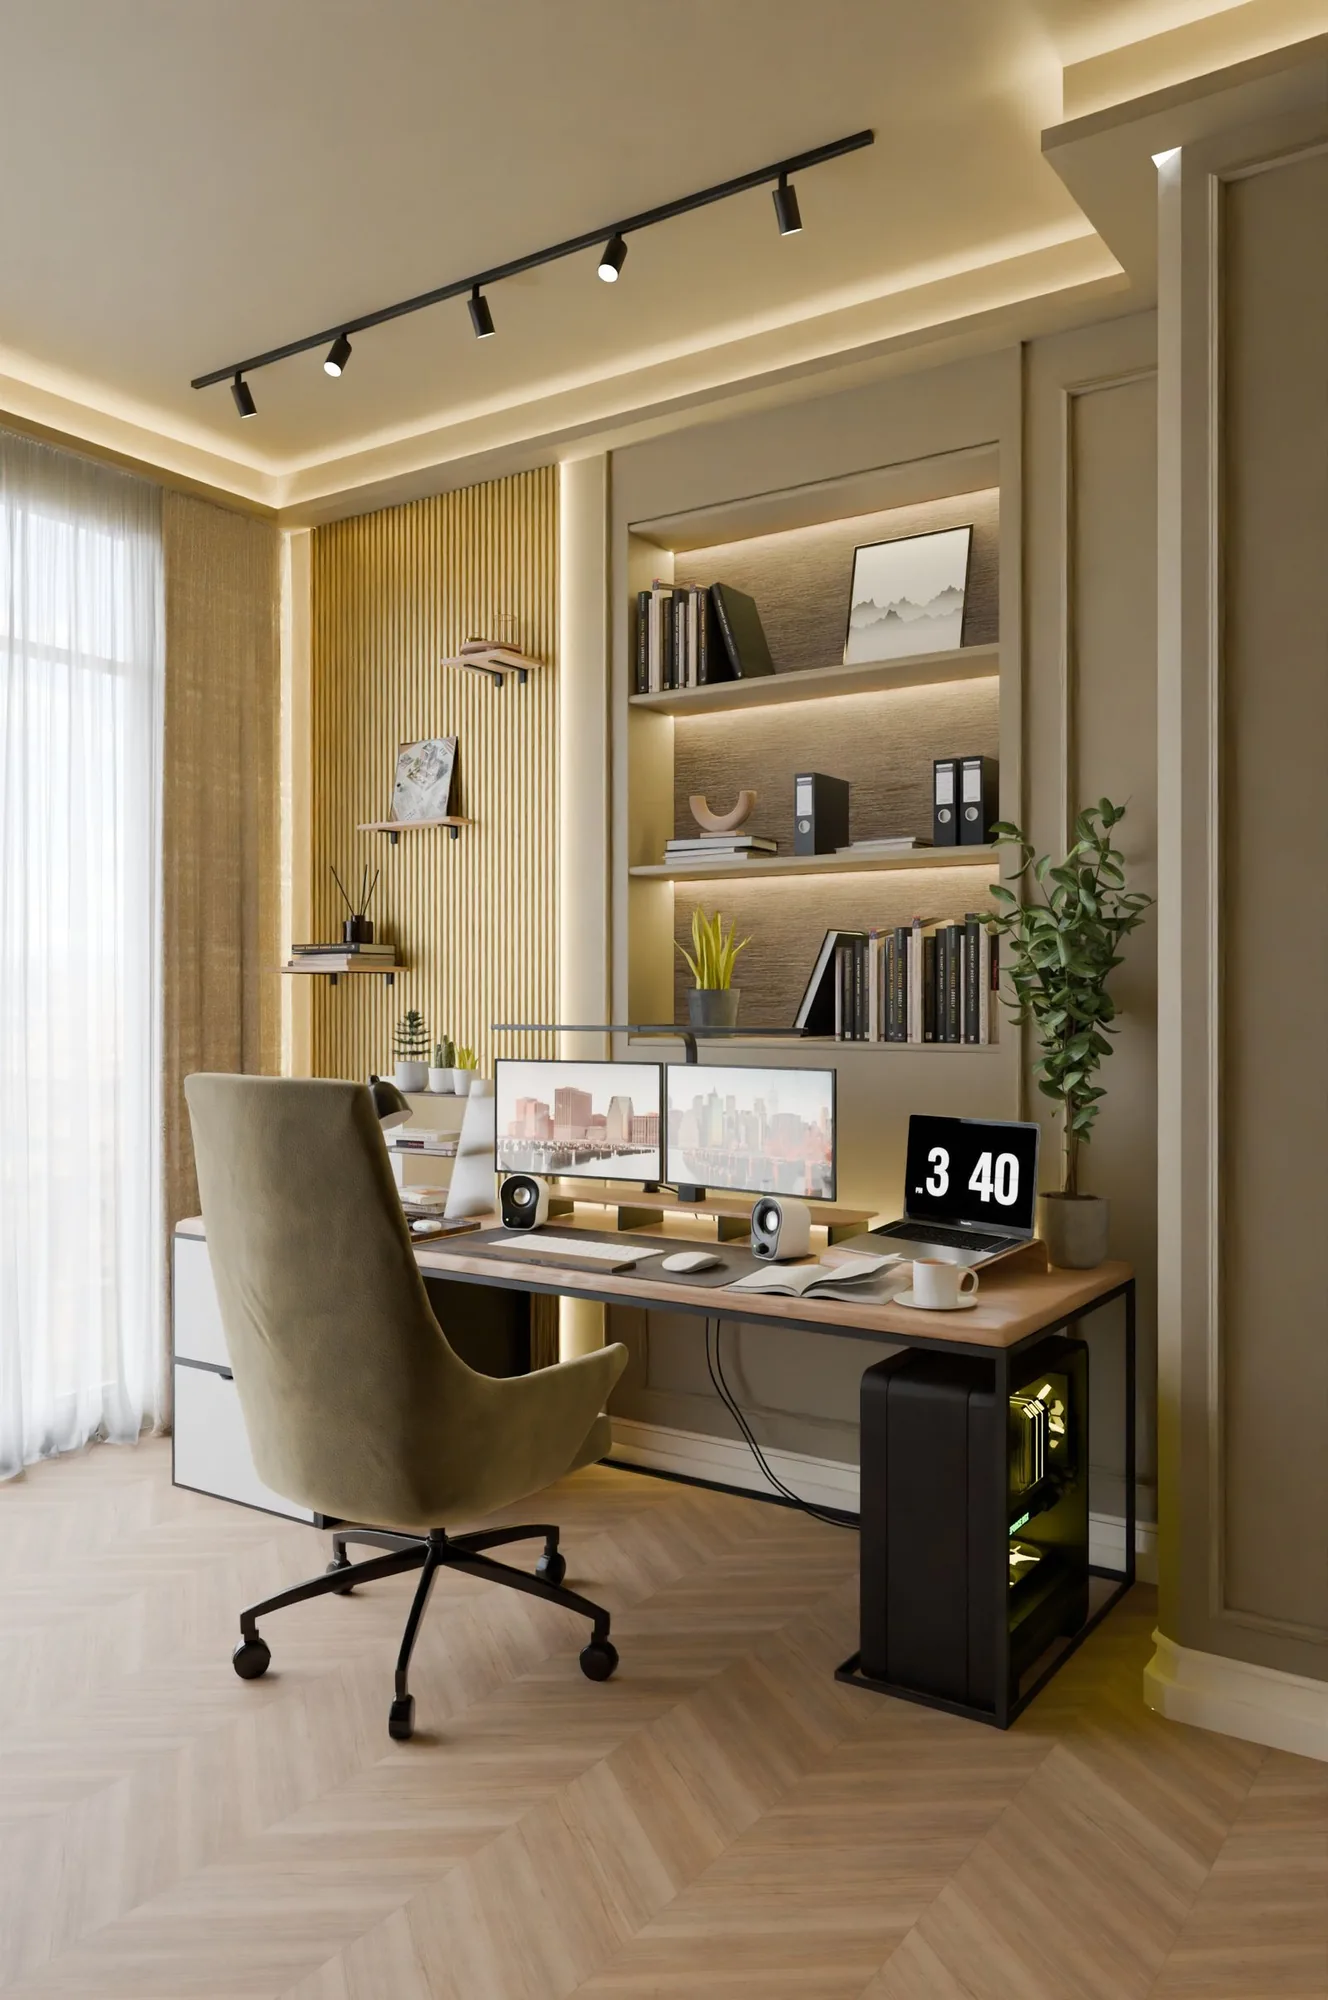
A mudroom addition adds real footprint to your home, which means footings, a roof tie-in and a new stretch of weather-exposed wall. We build them as small structures first and storage rooms second, because in this climate the detailing decides whether the room lasts.
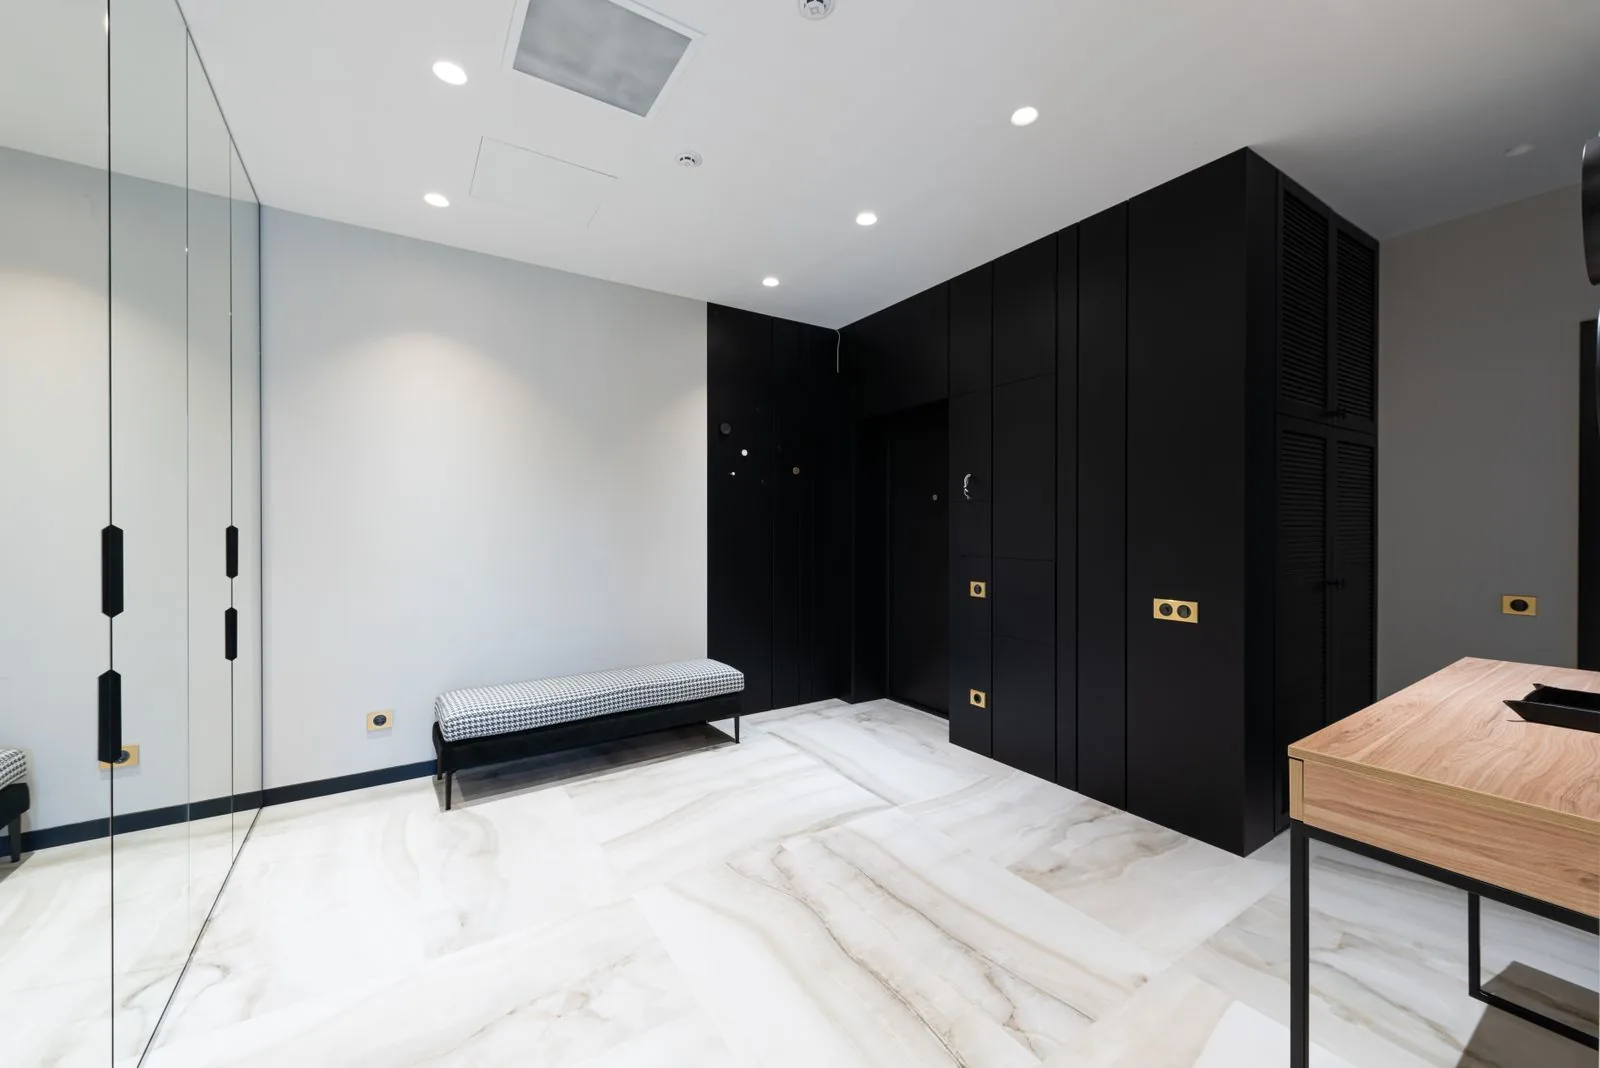
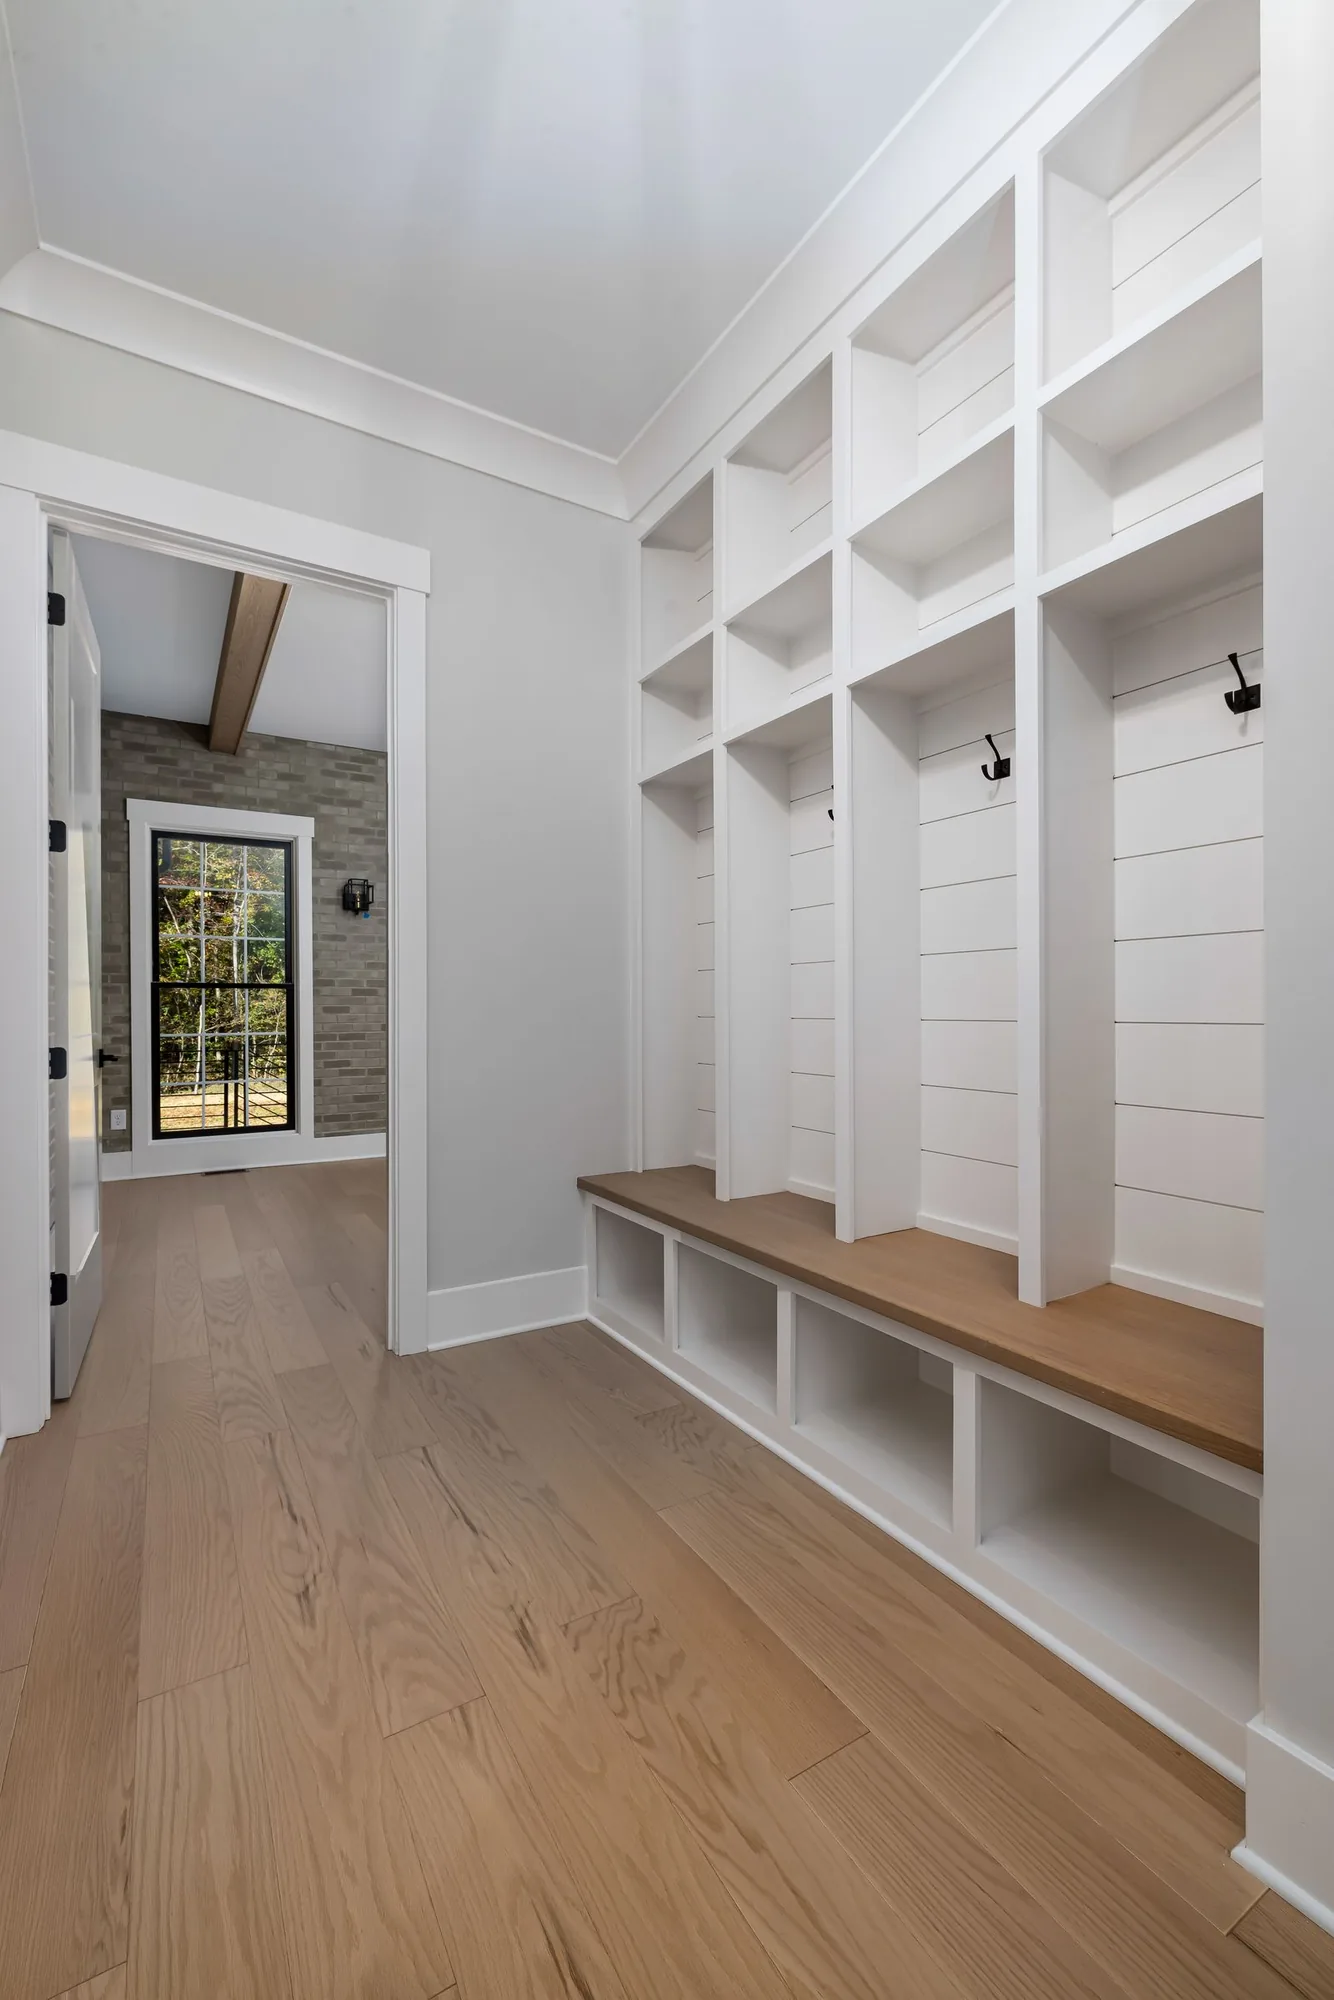
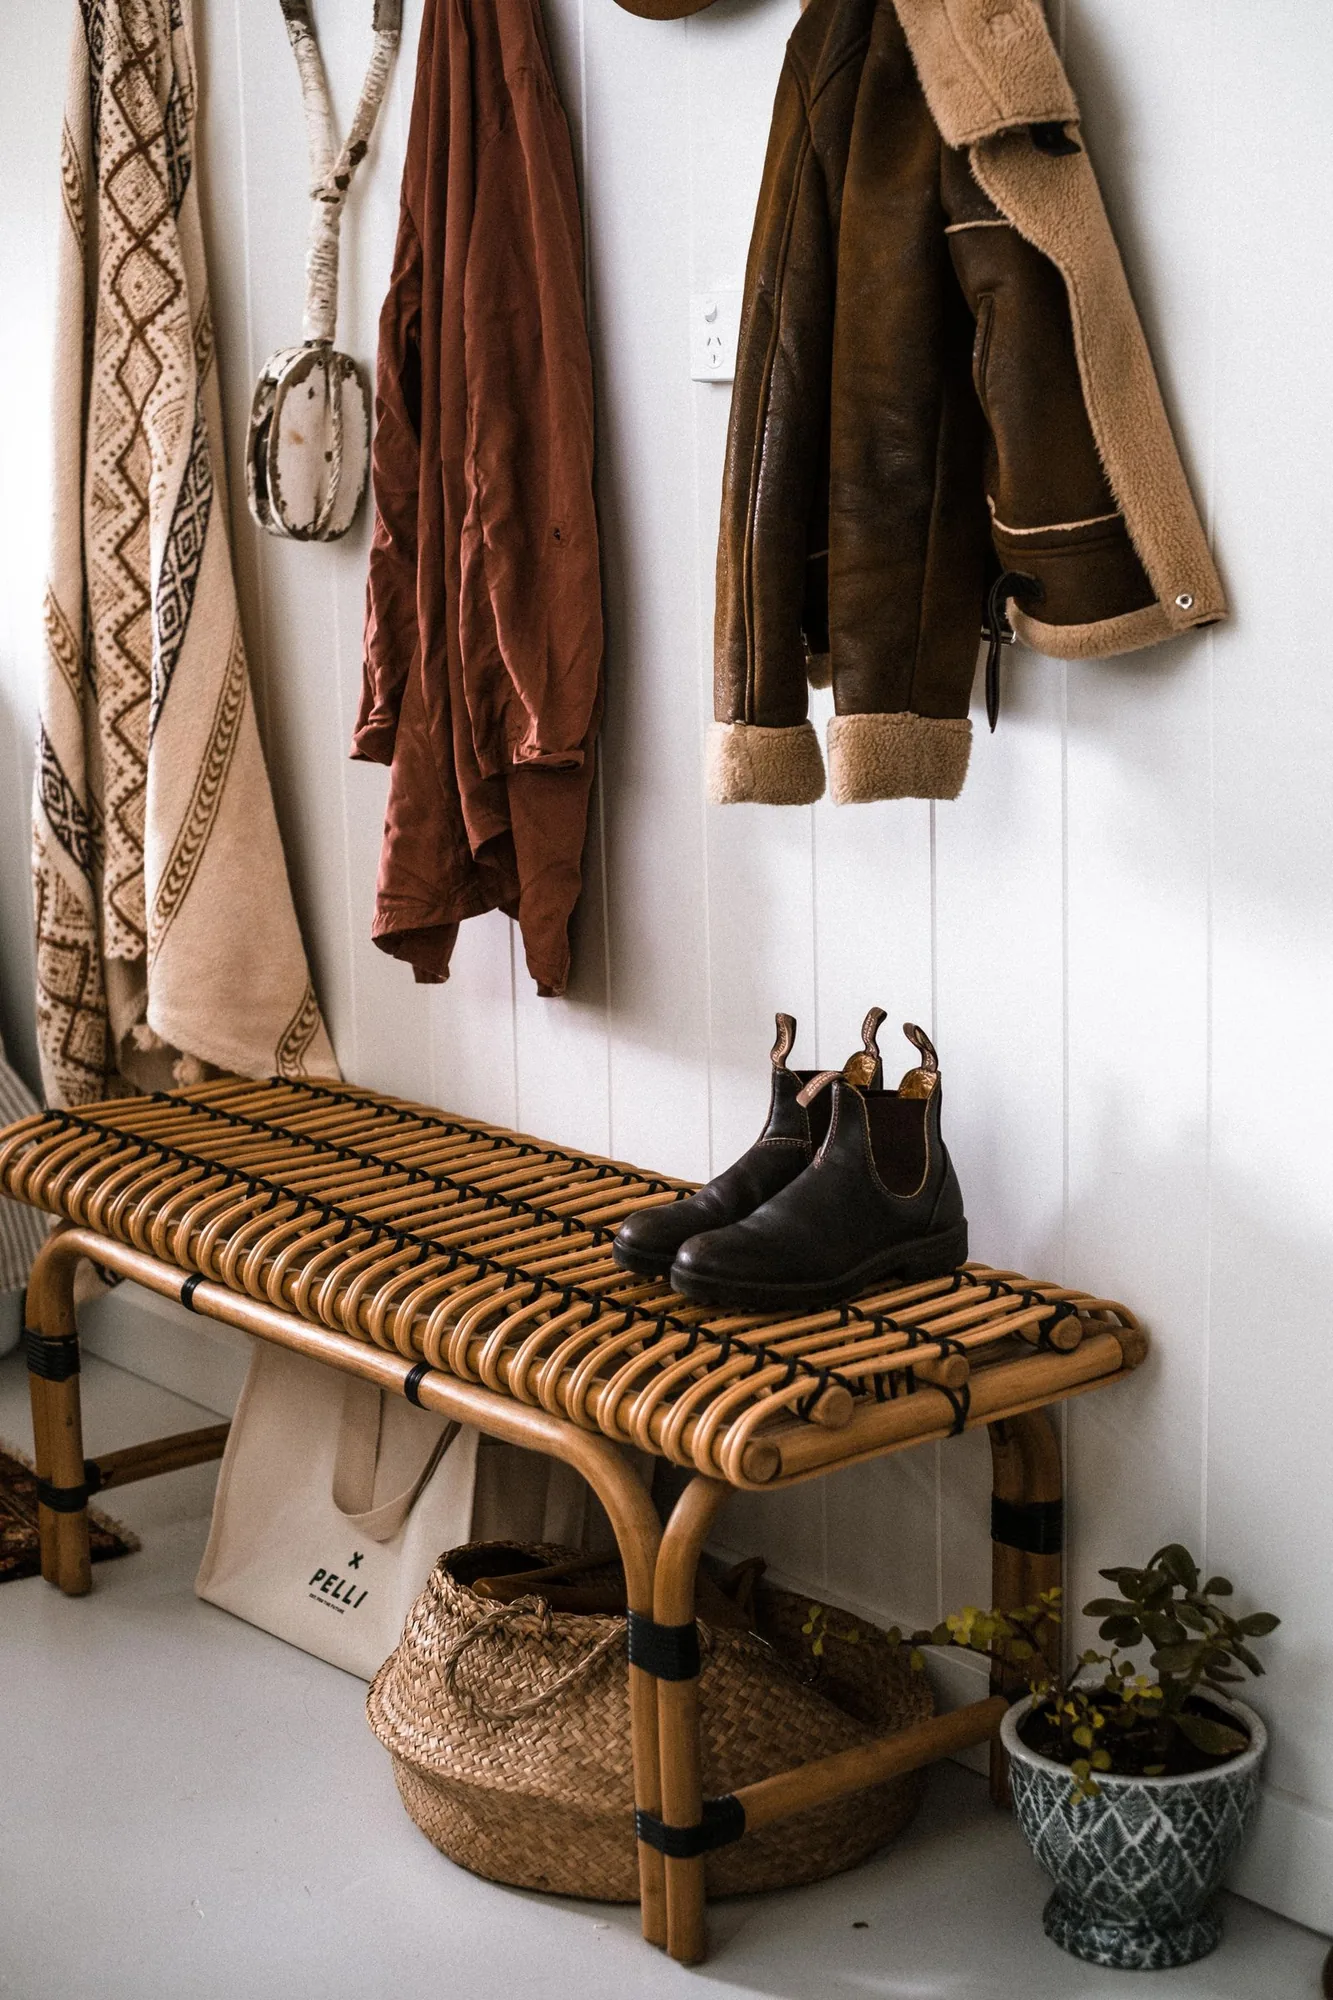

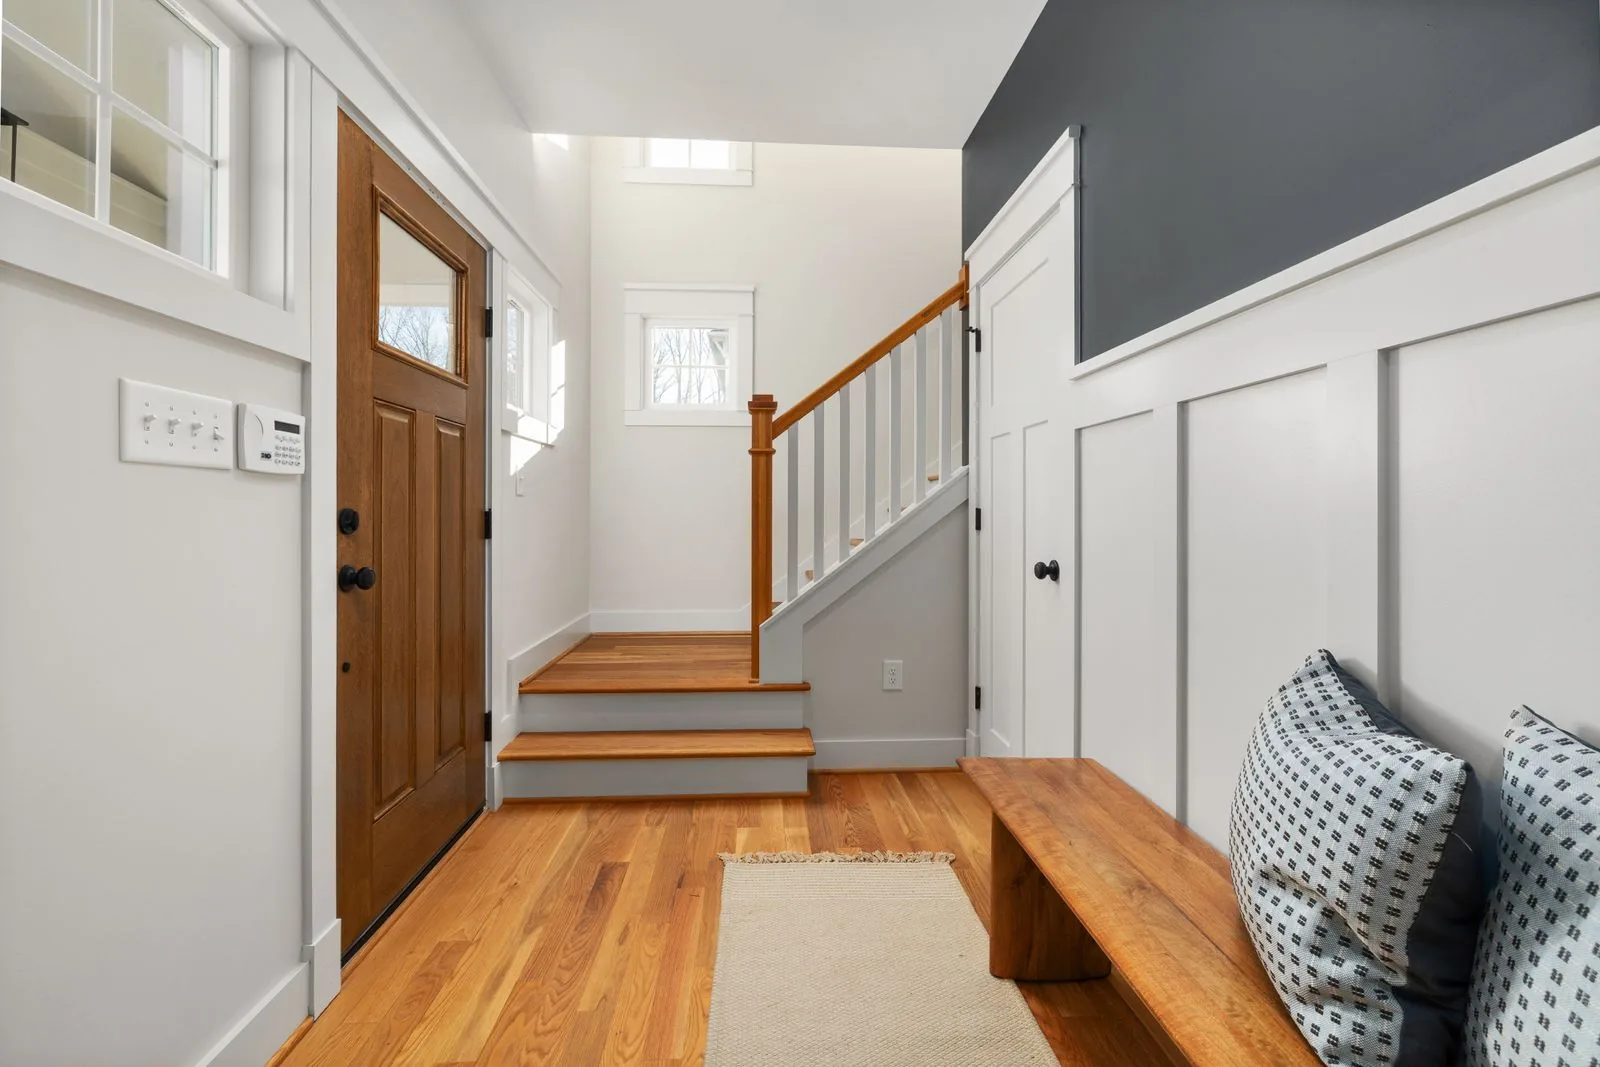
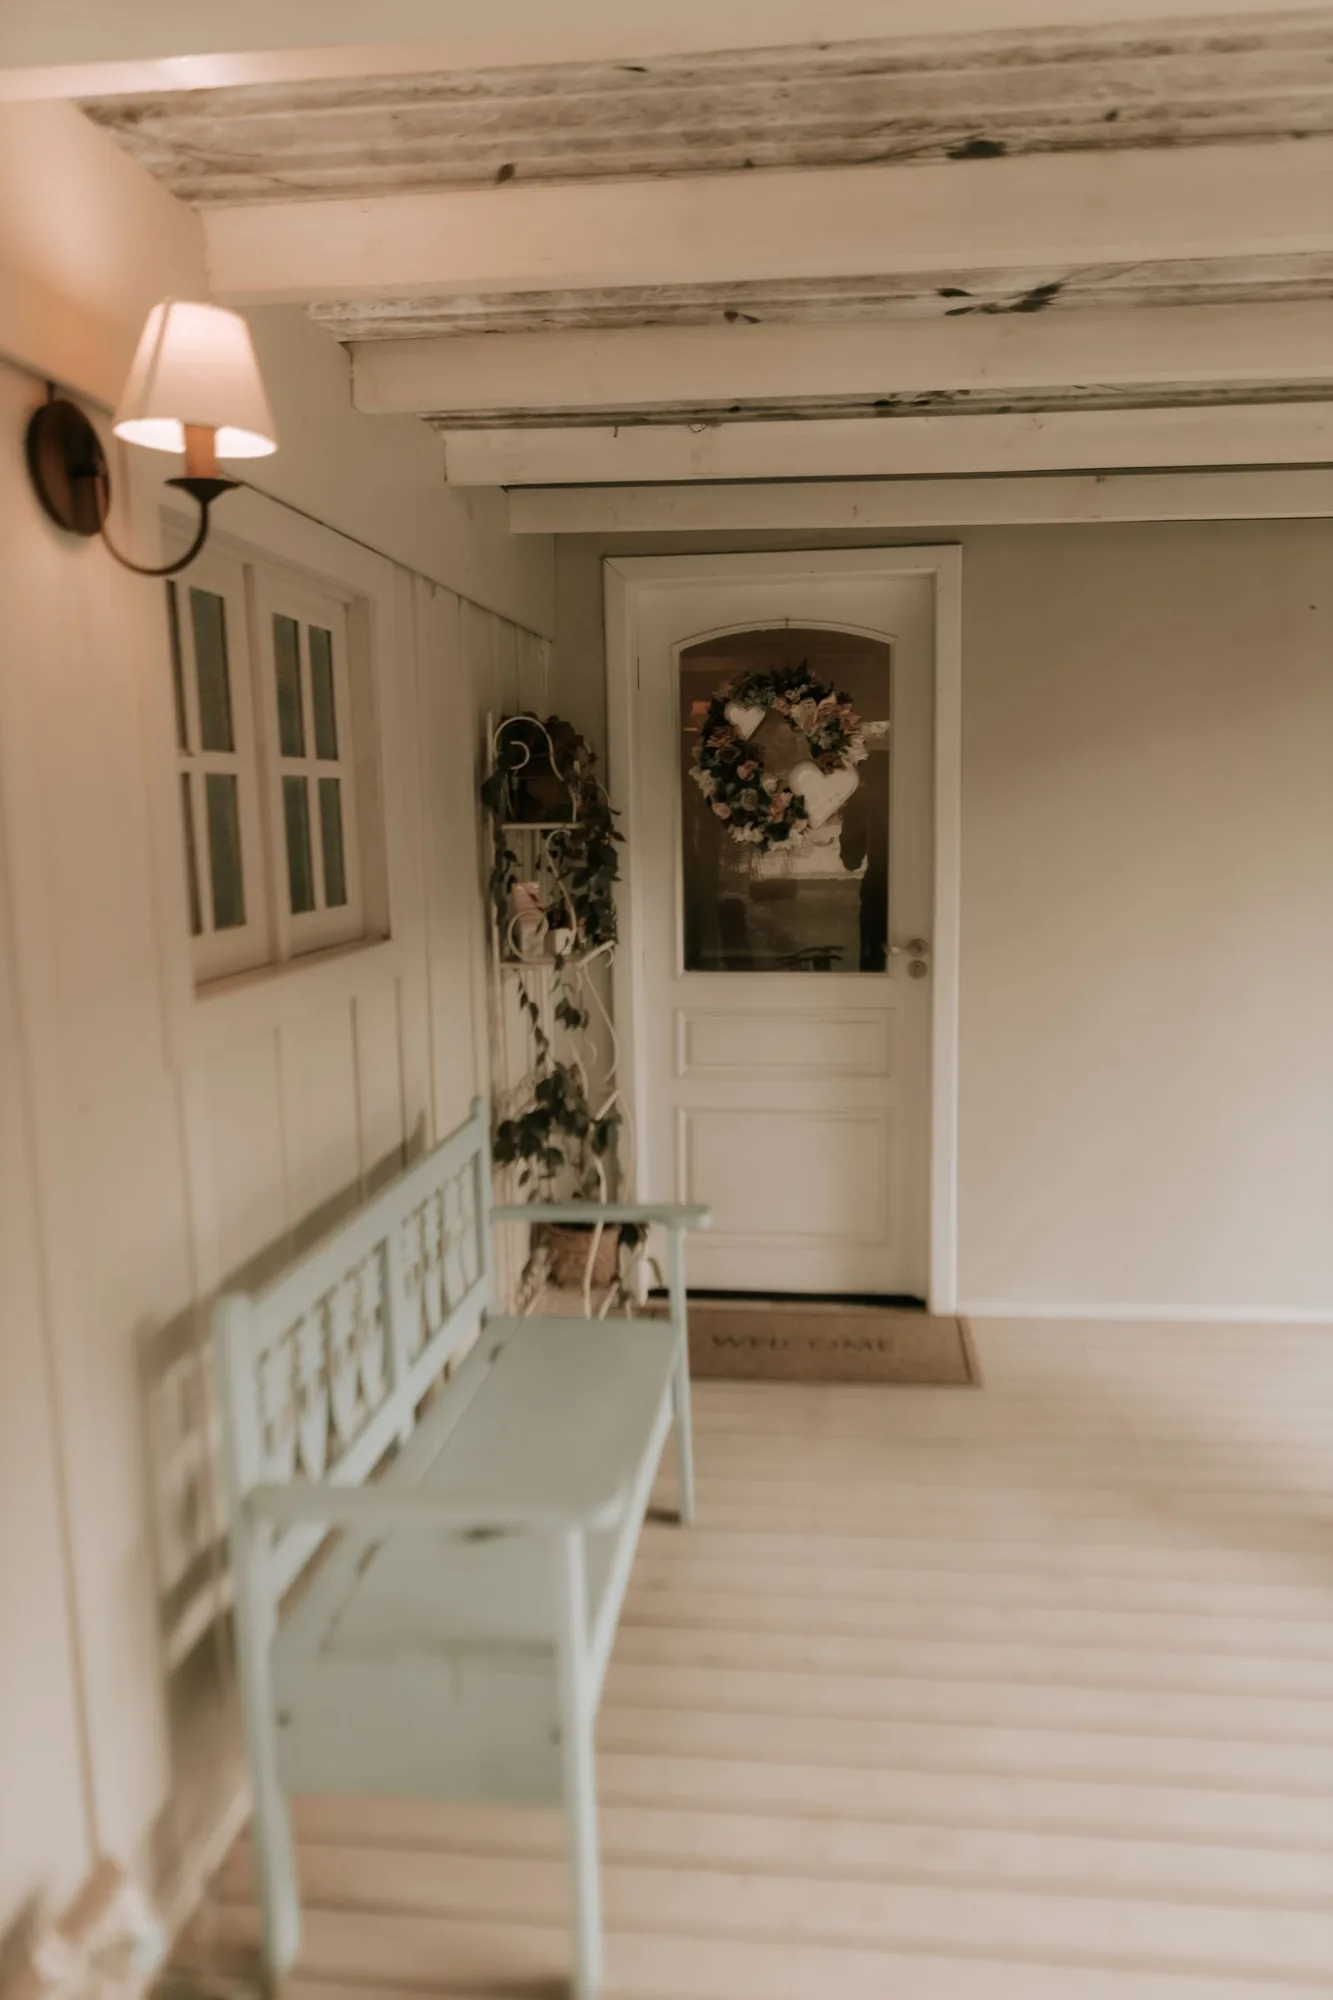
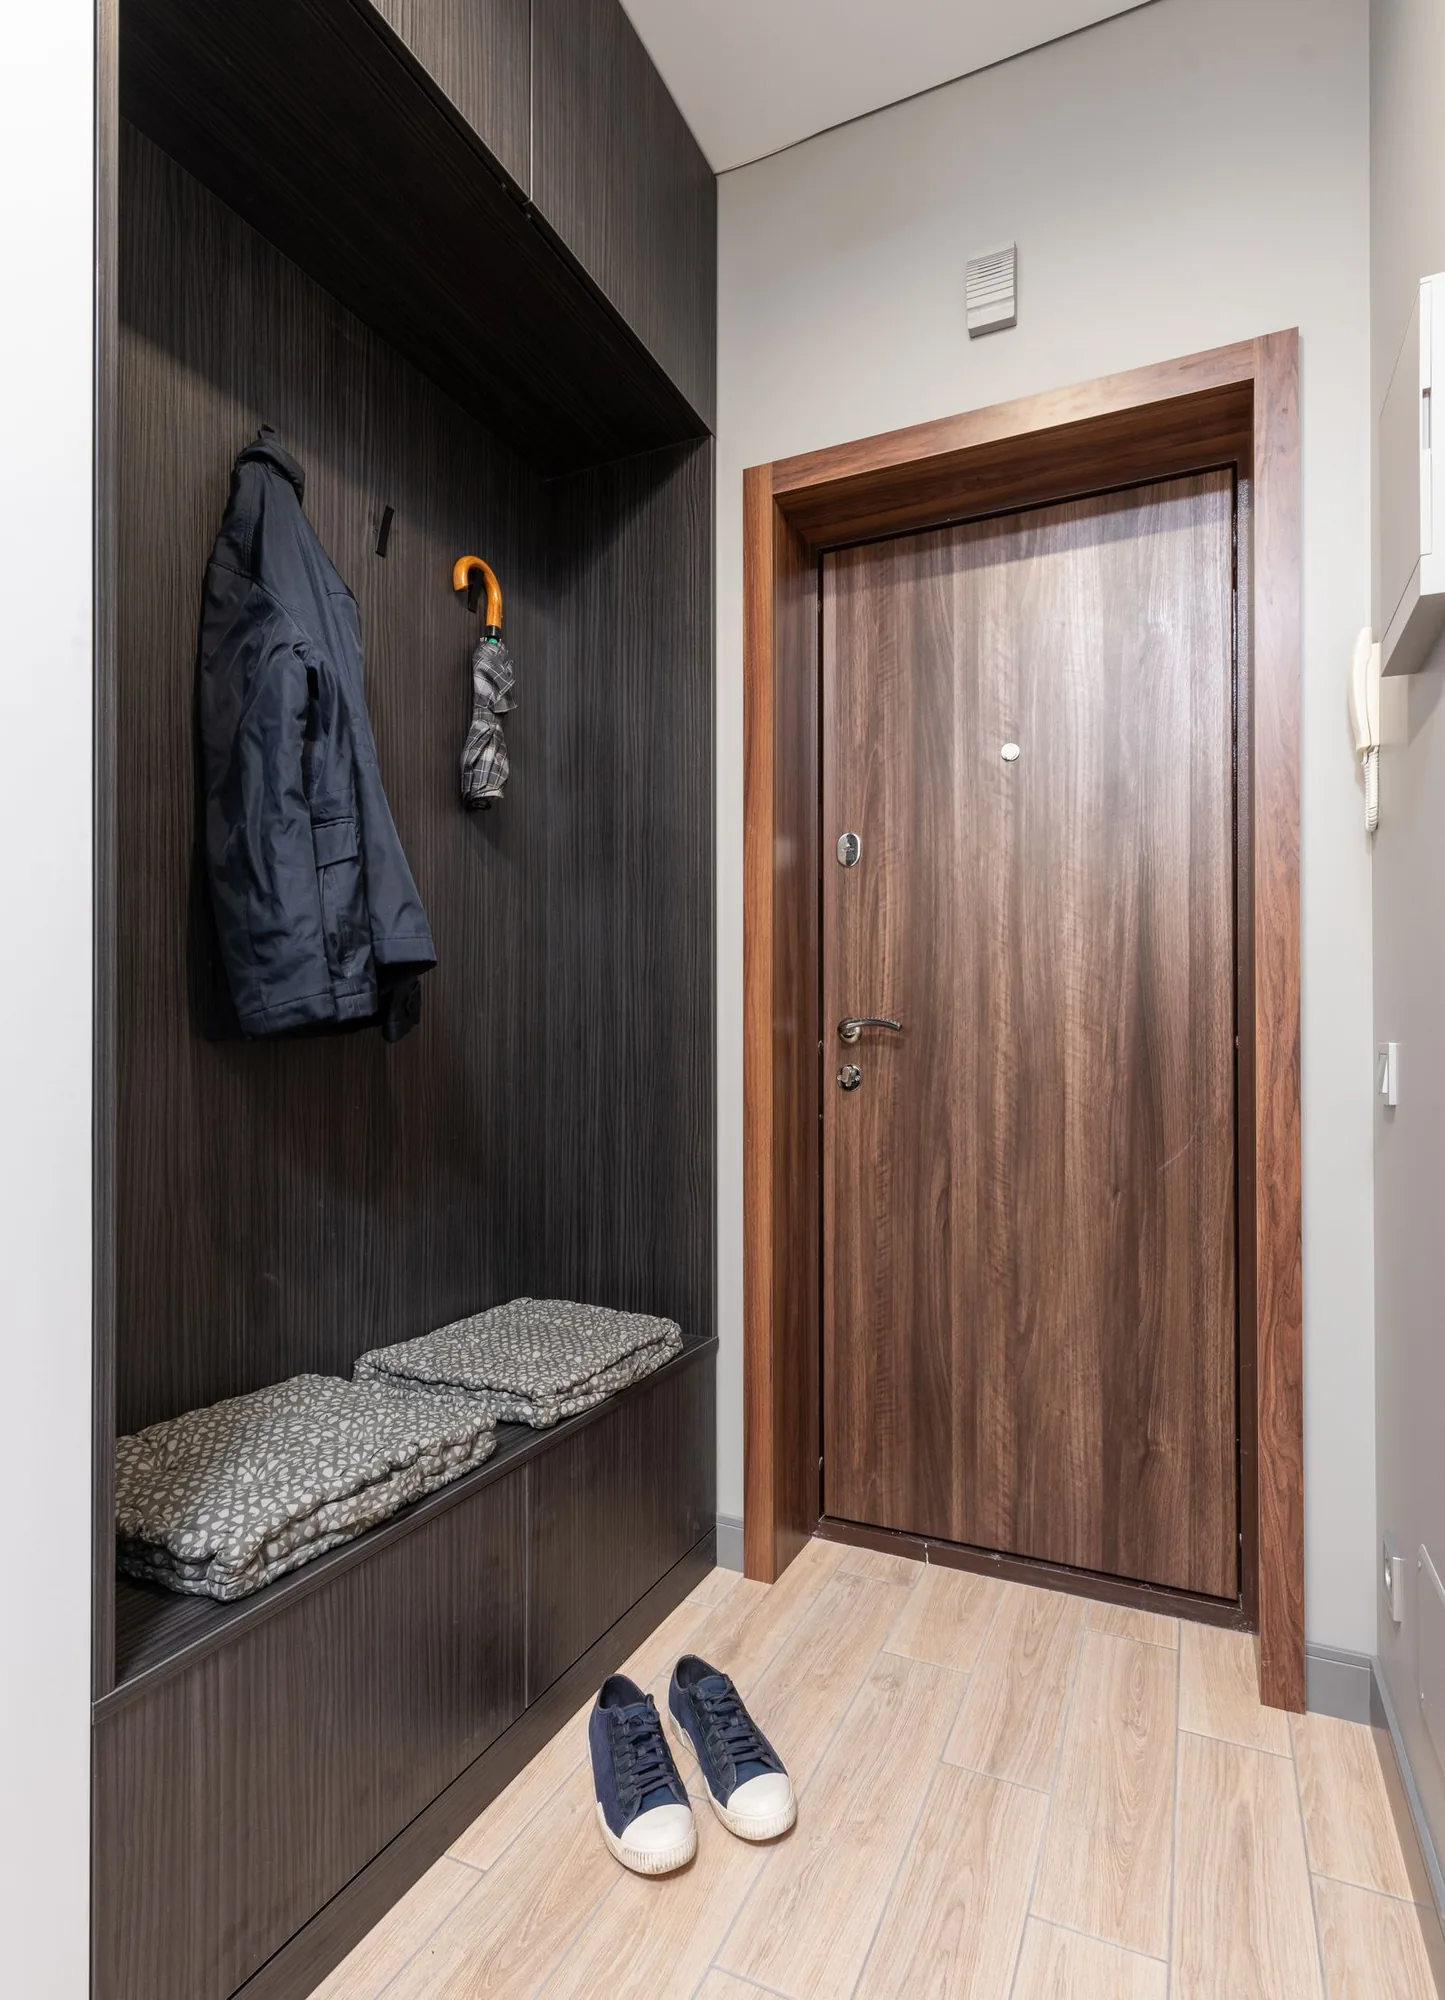
There are two ways to get a mudroom, and they are not the same project. One is carving space out of what you already have, such as a wide hallway or the back of a garage. The other is an addition, where you extend the footprint and build a new room from the dirt up. If your back door opens straight into the kitchen and there is nowhere for a bench that does not block a walkway, an addition is usually the only honest answer.
Small additions are deceptively demanding. A mudroom might be only a hundred square feet, but it still needs excavation, footings, a foundation, sheathed exterior walls, a roof, flashing, insulation, electrical and often heat and plumbing. Every expensive component of a large addition is present, just concentrated into a small area, which is why cost per square foot runs high compared to a bedroom bump-out.
The rest is about water. A mudroom addition almost always creates a low roof that dies into an existing wall, and that intersection is where additions fail in the Puget Sound region. Detailed correctly, with step flashing and a kickout at the bottom of the run, it sheds water for decades. Done casually, it rots the framing behind the siding for years before anyone sees a stain inside.
The right configuration depends far more on your existing floor plan and lot than on any particular look.
A modest extension pushed off the wall the family already enters through, typically between driveway and kitchen. The main constraint is keeping the new roof low enough to pass under existing second-floor windows.
The gap between house and a nearby garage gets enclosed into a conditioned mudroom. Often the most efficient option since walls and part of the roof exist, though the two structures frequently sit at different floor heights and on different foundations.
An existing covered porch gets walled in and brought into the conditioned envelope. It looks like the cheapest path, but porch slabs and porch roofs are rarely built to carry a heated room, so expect real upgrading rather than reuse.
A compact addition tucked against the garage wall that catches everyone coming in from the car. It works on tight lots where a larger footprint is impossible, and the key detail is maintaining fire separation between garage and living space.
The addition absorbs the washer and dryer along with boot storage, freeing an interior room elsewhere. Strong use of new square footage, but it adds plumbing, a dryer vent run and drain requirements that push mechanical scope up.
A larger version built around wet gear, with a tiled dog wash or utility basin, floor drain and open racking. Plan the drain and hot water supply during design, because retrofitting a drain into a poured slab afterward is disruptive.
A mudroom addition is a structural project, and the scope reflects that from the ground up.
We establish where the addition can legally and practically go, checking setbacks, lot coverage, drainage and how the new footprint meets the house structure. On sloped Eastside lots this also determines how much excavation the foundation takes.
We prepare the drawing set your jurisdiction requires and coordinate a structural engineer for foundation, framing and lateral connections. Because the region sits in a high seismic design category, the connection between new and existing structure is engineered rather than improvised.
We dig, form and pour the footings and foundation the addition sits on, with footing drainage where conditions call for it. Floor height gets resolved here so the mudroom lands level with the house instead of forcing an awkward step.
Framing covers walls, roof structure and the point where the new roof meets the existing house, where step flashing and a kickout are installed. We open and repair the existing wall cleanly rather than patching around the opening.
Conditioned mudrooms need insulation meeting the state energy code, lighting that works on a dark February morning, and heat so wet coats actually dry. We usually add exhaust, since soaked gear puts real moisture into a small room.
Bench, lockers, cubbies, hooks and wall protection are built and installed under the same contract, not handed to a separate cabinet vendor. Sizing is set around the people who use the room, including how tall the kids will be in five years.
Each phase closes out before the next begins, because skipping ahead on an addition buries problems inside walls.
We measure, examine the existing foundation and roof line, and identify what constrains the footprint, including setbacks, lot coverage and critical area buffers. This is when we find buried surprises, such as a drain line sitting where the footing wants to go.
We work out floor height, door swings, bench depth, circulation width and window placement, then confirm how the addition reads from the street. Getting exterior proportion right here keeps the room from looking stuck onto the back of the house.
Structural details are engineered and the application goes to the jurisdiction covering your address. Review timelines vary considerably across Bellevue, Kirkland, Redmond, Sammamish and unincorporated King County, so we build that uncertainty into the schedule.
The area is excavated, footings poured, and foundation walls or slab placed with drainage and damp-proofing. Inspections happen before backfill, because once it is covered nobody can verify it without digging it up again.
Walls and roof structure go up, the new roof is tied into the house, and the assembly is sheathed and dried in with weather barrier and flashing. We push to reach dry-in in one stretch rather than leave framing open through a wet week.
Openings are installed and flashed, then siding and roofing matched to the house as closely as available products allow. New roof area means new runoff, so downspouts get tied into the drainage system instead of discharging beside a fresh foundation.
Electrical, plumbing and the heat source are roughed in and inspected, then the assembly is insulated, air sealed and drywalled. An uninsulated mudroom in this climate becomes a condensation problem attached to your house.
Flooring, bench, lockers, lighting and hardware go in, and the job closes with final inspection and permit sign-off. We walk the room with you and adjust hook heights before calling it done.
Setbacks, lot coverage and where your roof lines land determine what is possible before any design work begins. Call (206) 825-2773 and we will walk the site with you.
Material selection in a mudroom is a durability question first and an appearance question second.
| Option | Best For | Considerations | Relative Cost |
|---|---|---|---|
| Porcelain tile, matte or textured | The default for a heated mudroom floor | Waterproof and effectively wear-proof, but cold underfoot unless paired with radiant heat; specify slip-resistant, not polished | Moderate to higher |
| Rigid-core luxury vinyl plank | Warmer and quieter underfoot than tile | Handles standing water and installs fast, though grit from a gravel driveway dulls the wear layer sooner than tile | Moderate |
| Sealed concrete slab | Gear rooms, dog washes and shop entries | Durable and simple to drain, but it will show hairline cracking and needs resealing to resist salt and staining | Lower to moderate |
| Sheet vinyl | Budget-conscious builds and rentals | Seamless across most of the room so water has nowhere to go, but softer and prone to denting from dropped items | Lower |
| Quartz or solid-surface bench top | The seat and the wet zone above it | Shrugs off dripping coats far better than a wood top, which is the surface most likely to be ruined in the first two winters | Higher |
| Plywood cabinet boxes, painted finish | Lockers, cubbies and bench bases | Resists the swelling that ruins MDF boxes when wet boots sit against them; specify it explicitly, since MDF is the default | Moderate to higher |
| Shiplap or beadboard wainscot | Wall protection to hook height | Takes abrasion from backpacks and coats that would scuff drywall within a season, and repaints rather than repairs | Lower to moderate |
final material choice depends on site conditions and a written estimate
A mudroom addition sits where structural work, exterior weatherproofing and fine finish carpentry meet, and it needs someone who takes all three seriously.
Excavation, foundation, framing, roofing, siding, mechanical and cabinetry run under a single agreement with one point of contact. You are not coordinating a concrete sub against a roofer against a cabinet shop on a project this small.
Where the new roof and wall meet the existing house is where additions fail in this climate, so that assembly is detailed deliberately rather than assembled by habit. Kickout flashing is not an optional line item on our jobs.
We tell you up front how closely we can match your siding, trim profile and roofing, including when a product is discontinued and a visible transition is unavoidable. That is a better conversation during design than after installation.
We prepare and submit the permit package and manage inspections through the jurisdiction covering your address. Requirements differ meaningfully across Eastside cities and unincorporated King County, and we plan around those differences rather than discover them mid-project.
Bench height, cubby depth, hook spacing and boot storage are sized around your household rather than a standard drawing. A mudroom six inches too shallow for a backpack is a room people stop using within a month.
You get a defined scope in writing stating what is included, what is excluded and how changes are handled. Additions uncover unknowns behind existing walls, and the way to keep that manageable is agreeing on the process first.
Two mudrooms of identical size can land far apart in cost, and the reasons are almost always structural rather than decorative.
A flat backyard a machine can reach costs far less to excavate than a sloped or fenced area dug by hand. Soil conditions, groundwater and the depth required to reach bearing all size the foundation.
A shed roof landing on a clean stretch of one-story wall is straightforward. Tying into a two-story wall, working around existing windows or creating a valley adds framing labor and flashing detail a simple tie-in never needs.
Joining the heated envelope triggers insulation, air sealing, a heat source and energy code compliance for the new floor area. It costs more up front and is almost always right, because an unheated mudroom here dries nothing.
A mudroom with no water in it is a straightforward build. Adding a utility sink, dog wash or relocated laundry means supply, drainage, venting and often a floor drain, the largest single step change in cost on this project type.
Site-built paint-grade lockers sit at one end of the range and shop-built millwork with solid-surface tops well above it. Because the room is small, cabinetry takes a larger share of the finish budget than it would elsewhere.
Jurisdiction fees, the depth of engineering required and any stormwater conditions attached to the permit all land in the budget. Lots near a steep slope, wetland or stream buffer carry review a flat interior lot does not.
We do not quote mudroom additions by the square foot or over the phone. Accurate pricing requires an on-site inspection of the existing structure, foundation and drainage, followed by a written estimate with a defined scope. Any number given before someone has looked at your house is a guess.
Yes. Adding new floor area on a new foundation requires a building permit in Bellevue and every surrounding jurisdiction we work in. The project must also satisfy zoning rules including setbacks, lot coverage and impervious surface limits, and it may trigger extra review if your lot touches a steep slope, stream or wetland buffer. We confirm the specifics with your jurisdiction during feasibility.
Below roughly six feet in the direction perpendicular to the bench, you have a pass-through rather than a mudroom. A useful bench runs around eighteen to twenty inches deep, and you need clear walkway in front for someone to pull boots on while another person passes. If the footprint forces you under that, a shallow hook wall with a boot tray is more honest than a cramped room.
Almost never as-is. Patio slabs are typically poured thin, without footings at the required depth, without reinforcement sized for structural loads, and without the vapor barrier a conditioned floor needs. They also slope away from the house, which is exactly wrong for a finished floor. In most cases the slab comes out and a proper foundation goes in.
Construction is usually measured in weeks rather than months, but the full timeline is driven by design and permit review, which often take longer than the building. Weather affects sequencing too, since we schedule to reach dry-in without leaving the structure open through a storm. We give you a phase-based schedule with permit review flagged as a variable outside our control.
Converting garage space is usually less expensive because foundation, walls and roof already exist. The tradeoffs are losing parking or storage permanently, a converted floor that often sits a step below the house, and a garage slab that needs more work to become a conditioned floor than people expect. If parking is tight, an addition preserves the garage and adds square footage.
We match as closely as currently available products allow, and we tell you where an exact match is not achievable. Siding profiles get discontinued, cedar weathers to a color new cedar will not replicate for years, and shingles shift granule blends between production runs. Where a seamless match is impossible, a deliberate transition at a corner or trim board beats a near-match that reads as a mistake.
In this climate, yes, if you want the room to dry anything. An unheated enclosure keeps rain off but holds moisture, so coats hung up soaked in November are still damp the next morning. Electric radiant under tile suits this room because it dries boots from below and warms a floor that is otherwise cold. Mechanical exhaust matters too, since drying gear generates real humidity.
It gets collected and tied into your existing drainage system, not discharged at the base of the new foundation. Any addition creates new roof area, and given the rainfall totals here that runoff has to go somewhere deliberate. Depending on your site, the permit may carry stormwater conditions dictating the connection. We check where your downspouts currently discharge during the site evaluation.
EXCELLENTTrustindex verifies that the original source of the review is Google. Didn’t know what to expect at first but these guys blew the winds off my hat I mean seriously, I had a bathtub renovated to a built in shower and my God am I satisfied with their work. If anyone is considering going with these guys for a remodel I’d vouch for sure.Posted onTrustindex verifies that the original source of the review is Google. They did a good job on my Deck remodeling project, finished in such a short time and gave me a professional run-down on the material and labor cost. Highly recommend.Posted onTrustindex verifies that the original source of the review is Google. I usually don’t trust these companies but Sky Pro blew my expectations out of the water. I seriously am so glad they contacted me, I have 2 bathrooms in my home that both needed to be completely remodeled and they nailed my vision down for both. I couldn’t be happier with this and can recommend them to anyone, even locally.Posted onTrustindex verifies that the original source of the review is Google. I ended up going with Sky Pro for my roof project, they did an amazing job and the team didn’t fail to keep me assured the entire process through. 🙏🏽Posted onTrustindex verifies that the original source of the review is Google. Sky Pro came to do my concrete driveway project a couple weeks ago and, they were very respectful and easy to communicate with, very satisfied with their work.Posted onTrustindex verifies that the original source of the review is Google. These guy did a great job extending out our back patio. We have existing exposed aggregate and they matched the design perfectly. From the start Ben always made sure we were happy and all our questions were answered. We will definitely use them again for future concrete projects.Posted onTrustindex verifies that the original source of the review is Google. Sky Pro came out and gave me a quote for my flooring project, they sent a wonderful contractor and he explained to me what was best regarding material costs. Definitely will be going with them! Contractor was actually really cool with the process and showed me some previews on how it should lookPosted onTrustindex verifies that the original source of the review is Google. Got my deck looked at by SkyPro, ended up going with them for repairs and they did an amazing job. We made a deal with the pricing as well so I'm actually looking forward to booking with them soon when I wanna get my other project done.Posted onTrustindex verifies that the original source of the review is Google. SkyPro did my kitchen remodel project and I am so glad I went with them because now I’m walking into a palace every time I’m home. Really appreciate them!Verified by TrustindexTrustindex verified badge is the Universal Symbol of Trust. Only the greatest companies can get the verified badge who has a review score above 4.5, based on customer reviews over the past 12 months. Read more
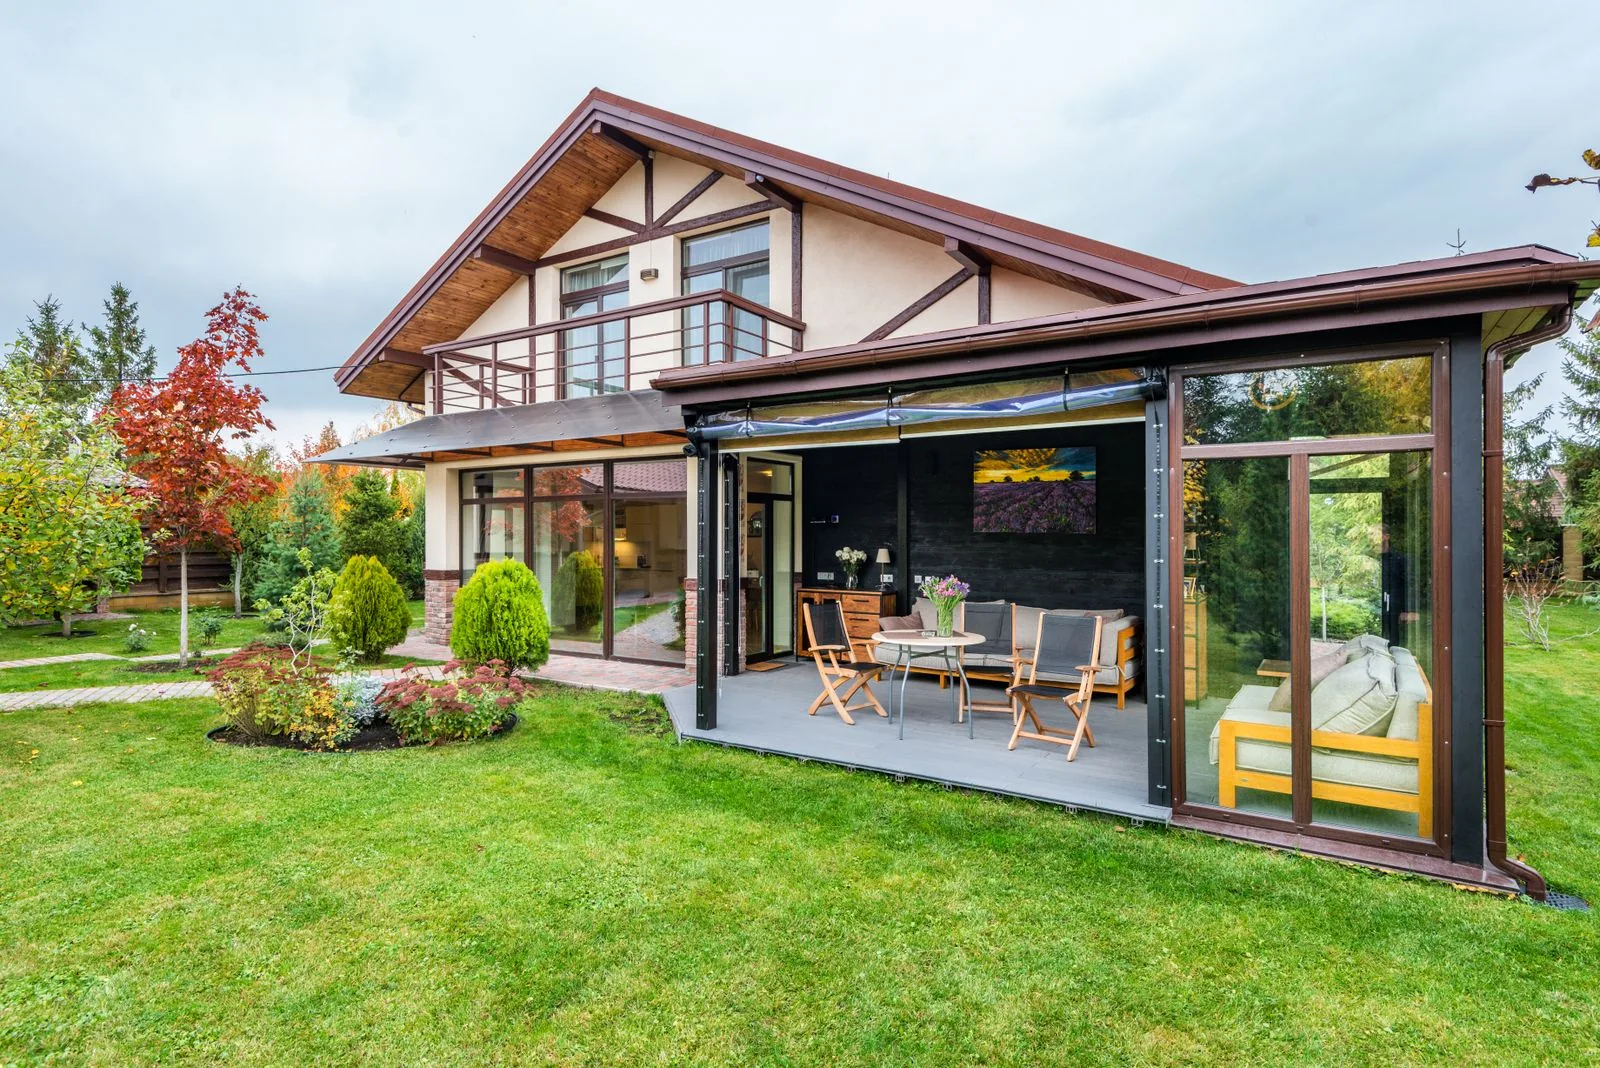
A broader look at how home additions are planned and built, useful if you are weighing a mudroom against a larger expansion.
Learn more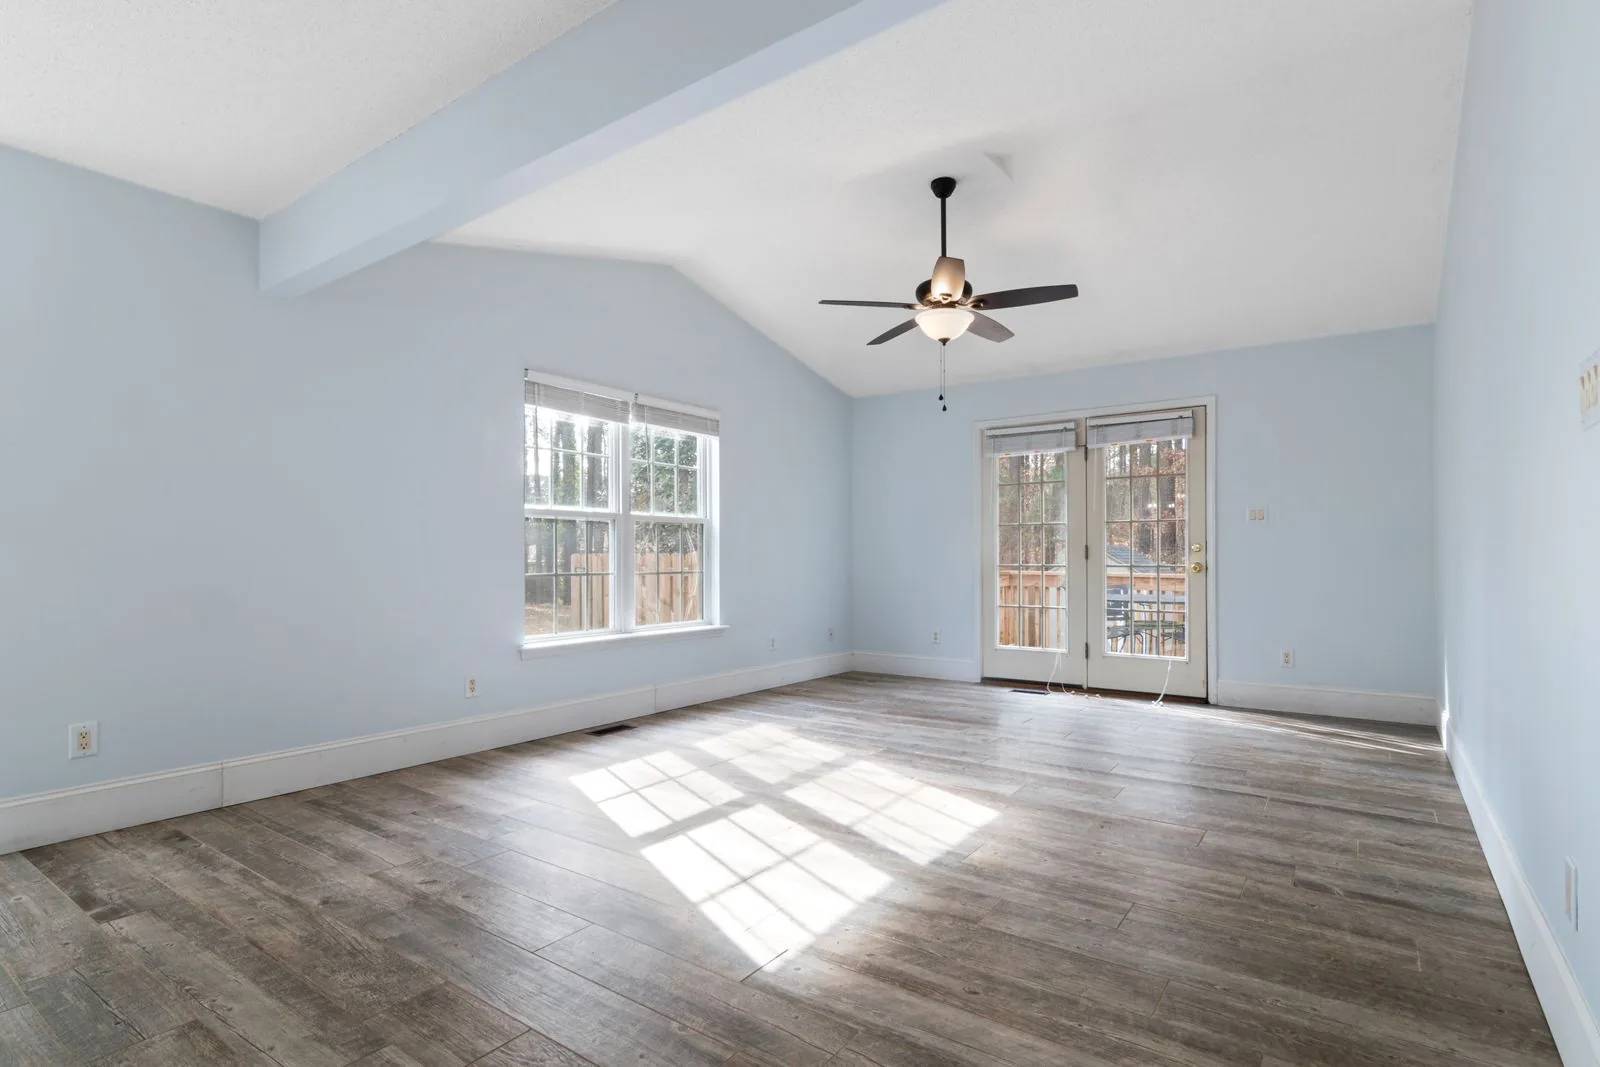
Worth reading if your house predates the 1980s, since tying a new addition into older framing and foundations brings its own conditions.
Learn moreCovers how materials hold up in our wet climate, which is exactly the question a mudroom floor and bench have to answer.
Learn moreTell us how your household comes into the house and what never has a place to go. We will tell you honestly whether an addition or a conversion makes more sense.
Service Areas
We take on mudroom additions across Bellevue and the wider Eastside, including Kirkland, Redmond, Sammamish, Issaquah, Mercer Island, Newcastle, Bothell and Woodinville, as well as Seattle neighborhoods. Because additions are permitted locally, we work within the requirements of whichever city or unincorporated King County jurisdiction covers your address.
Do not see your neighborhood? Call (206) 825-2773 — we regularly work throughout King County.
Send us a few details about your home and where you are thinking the mudroom should go. We will follow up to schedule an on-site consultation and a written estimate.
Let us know how we can help you!