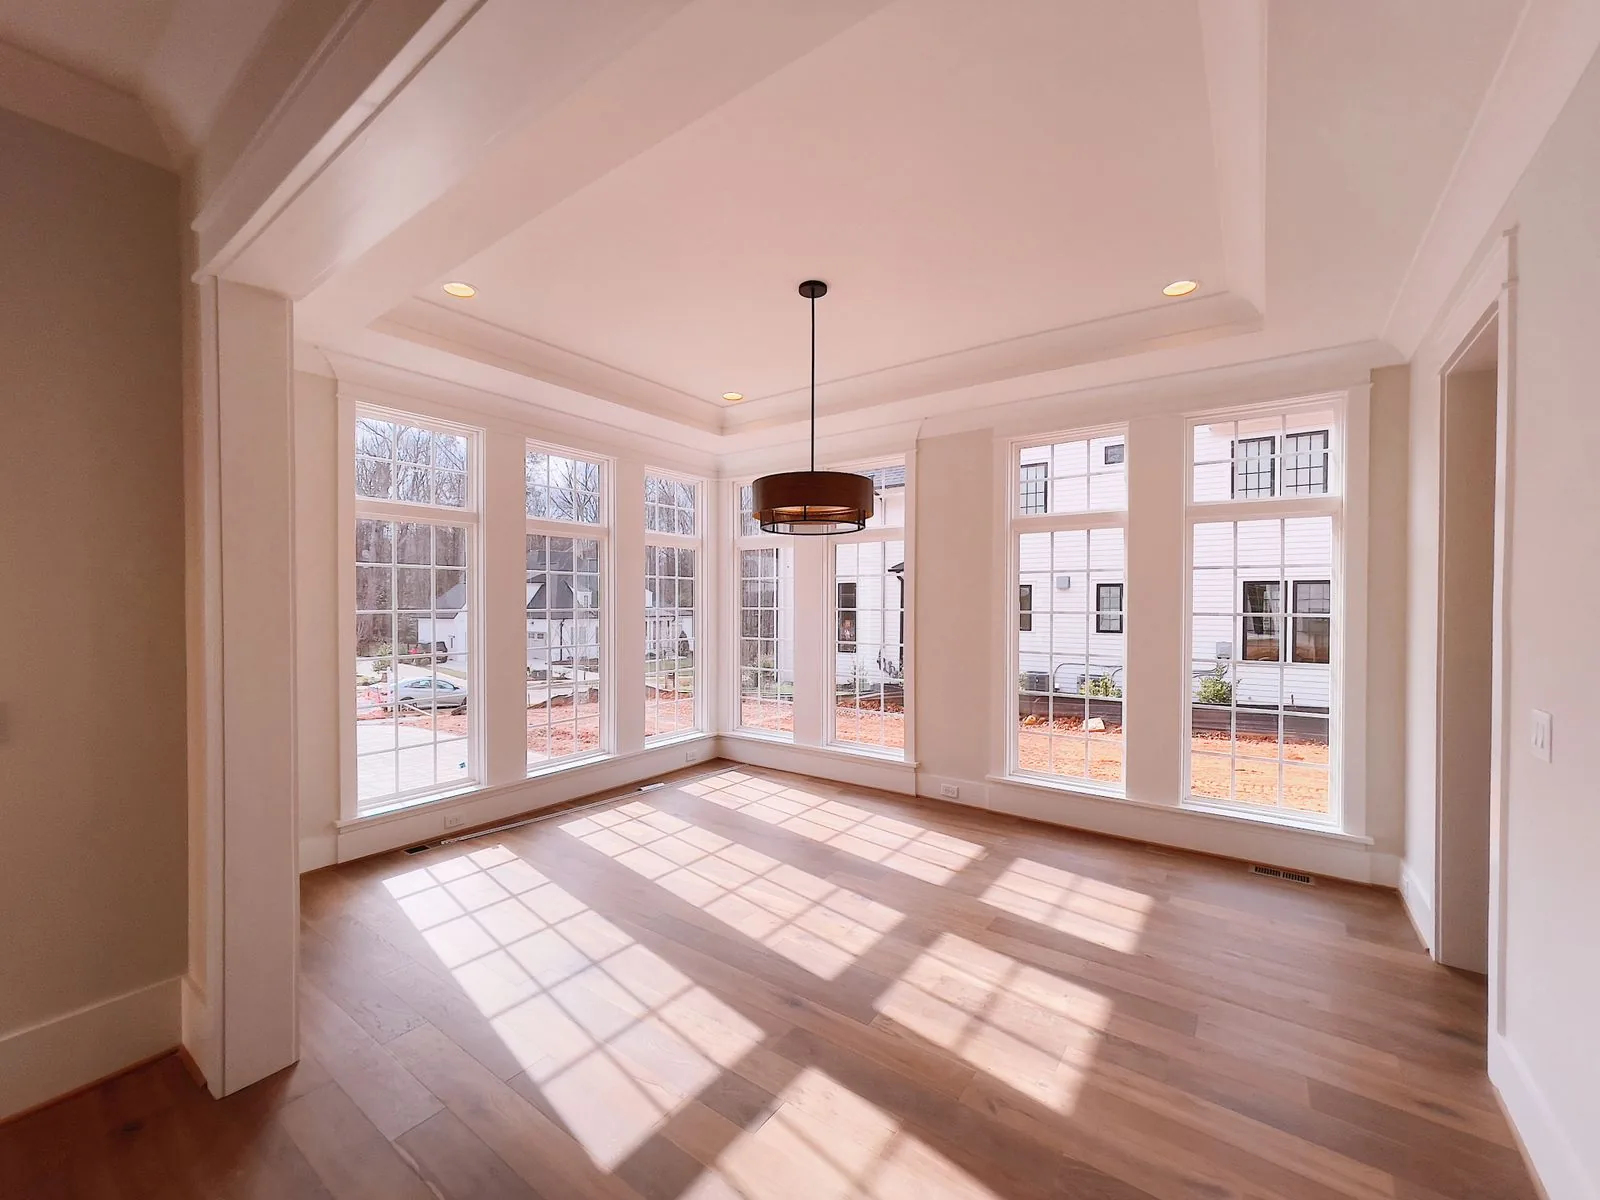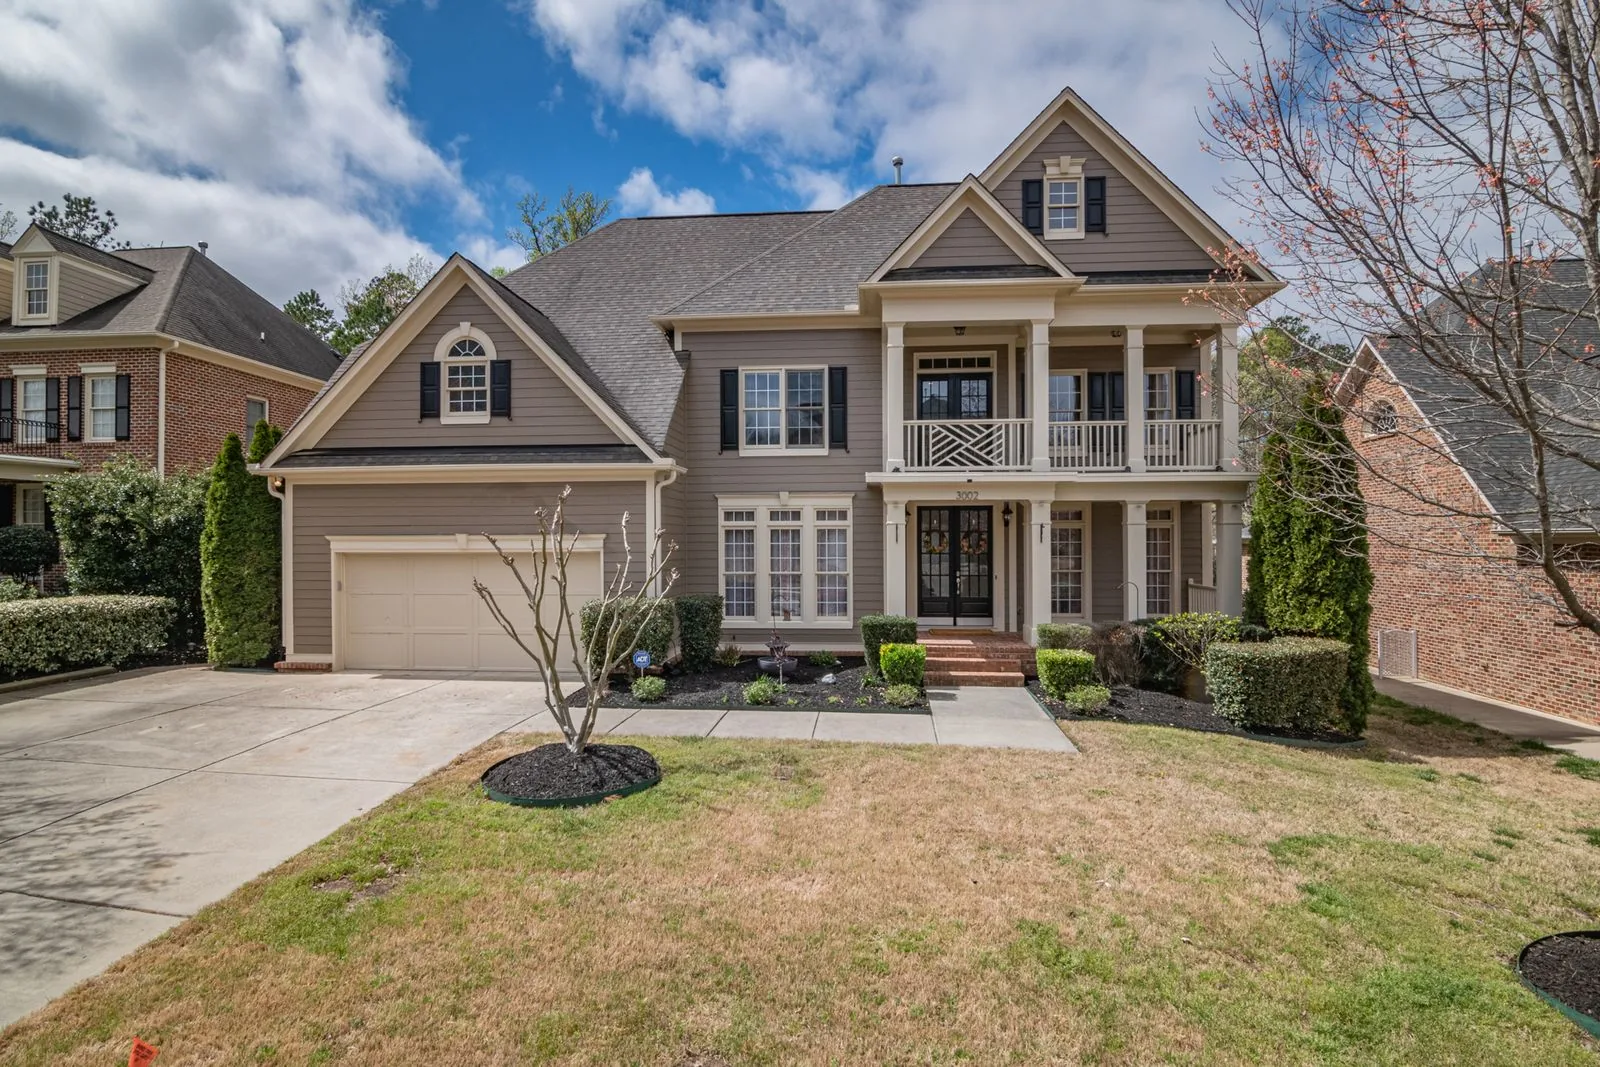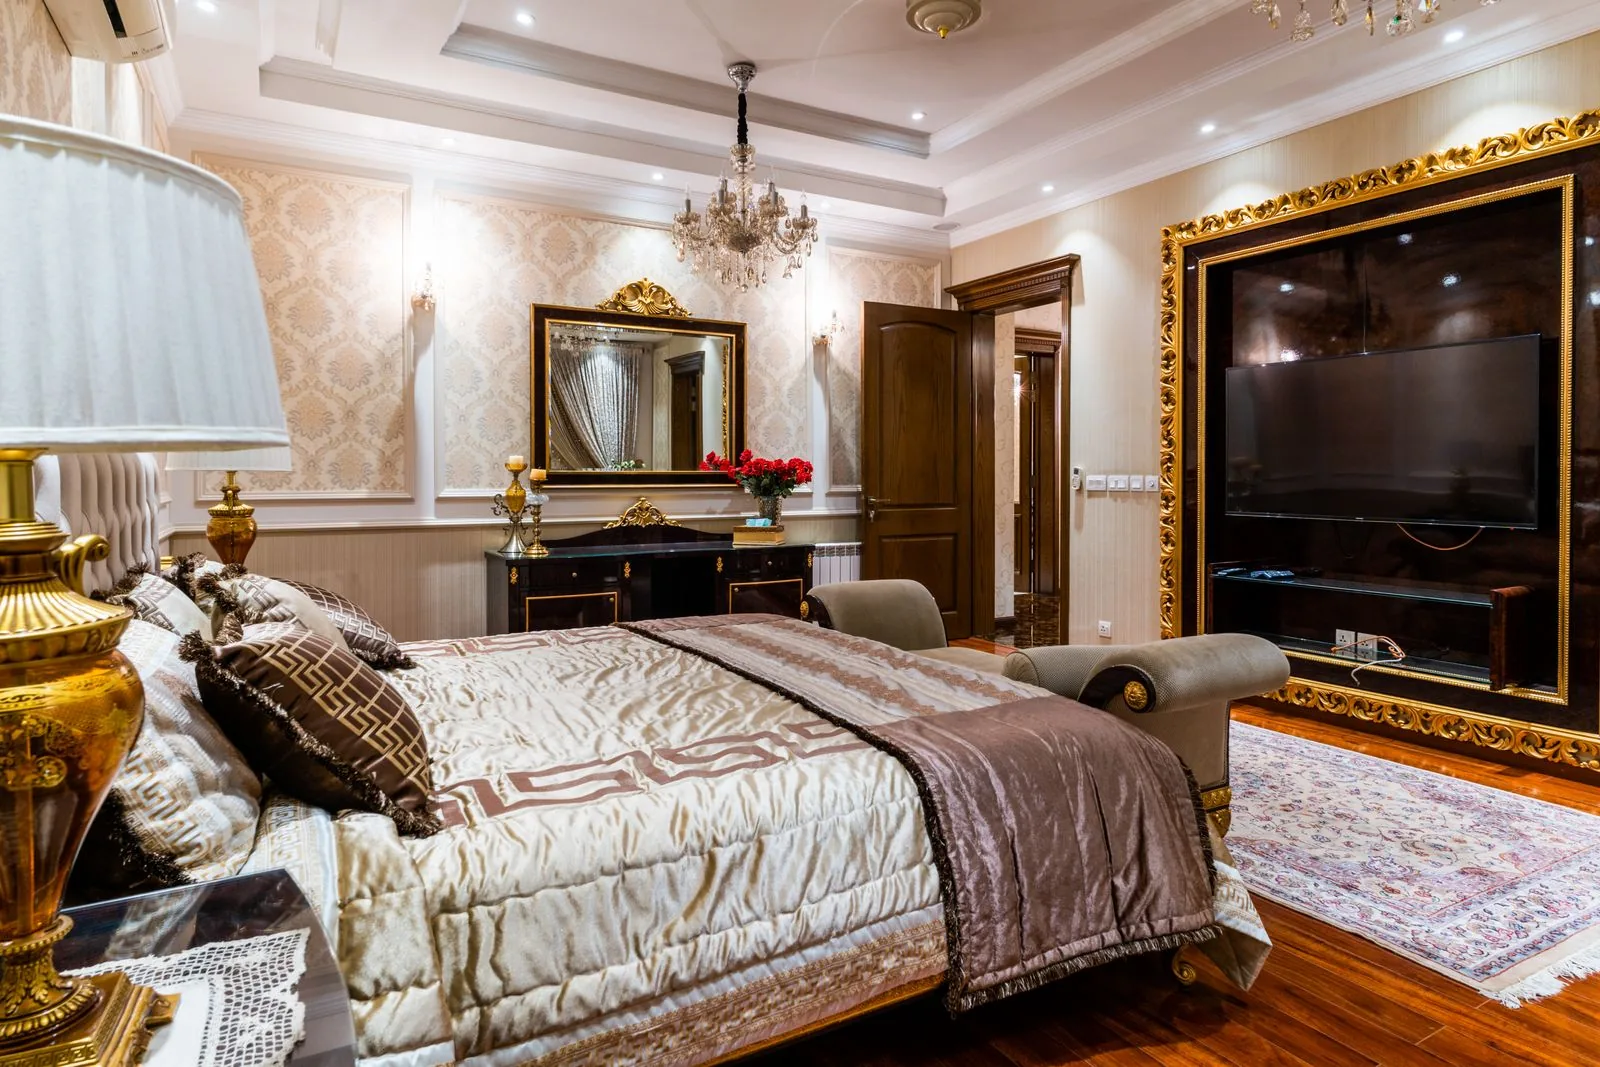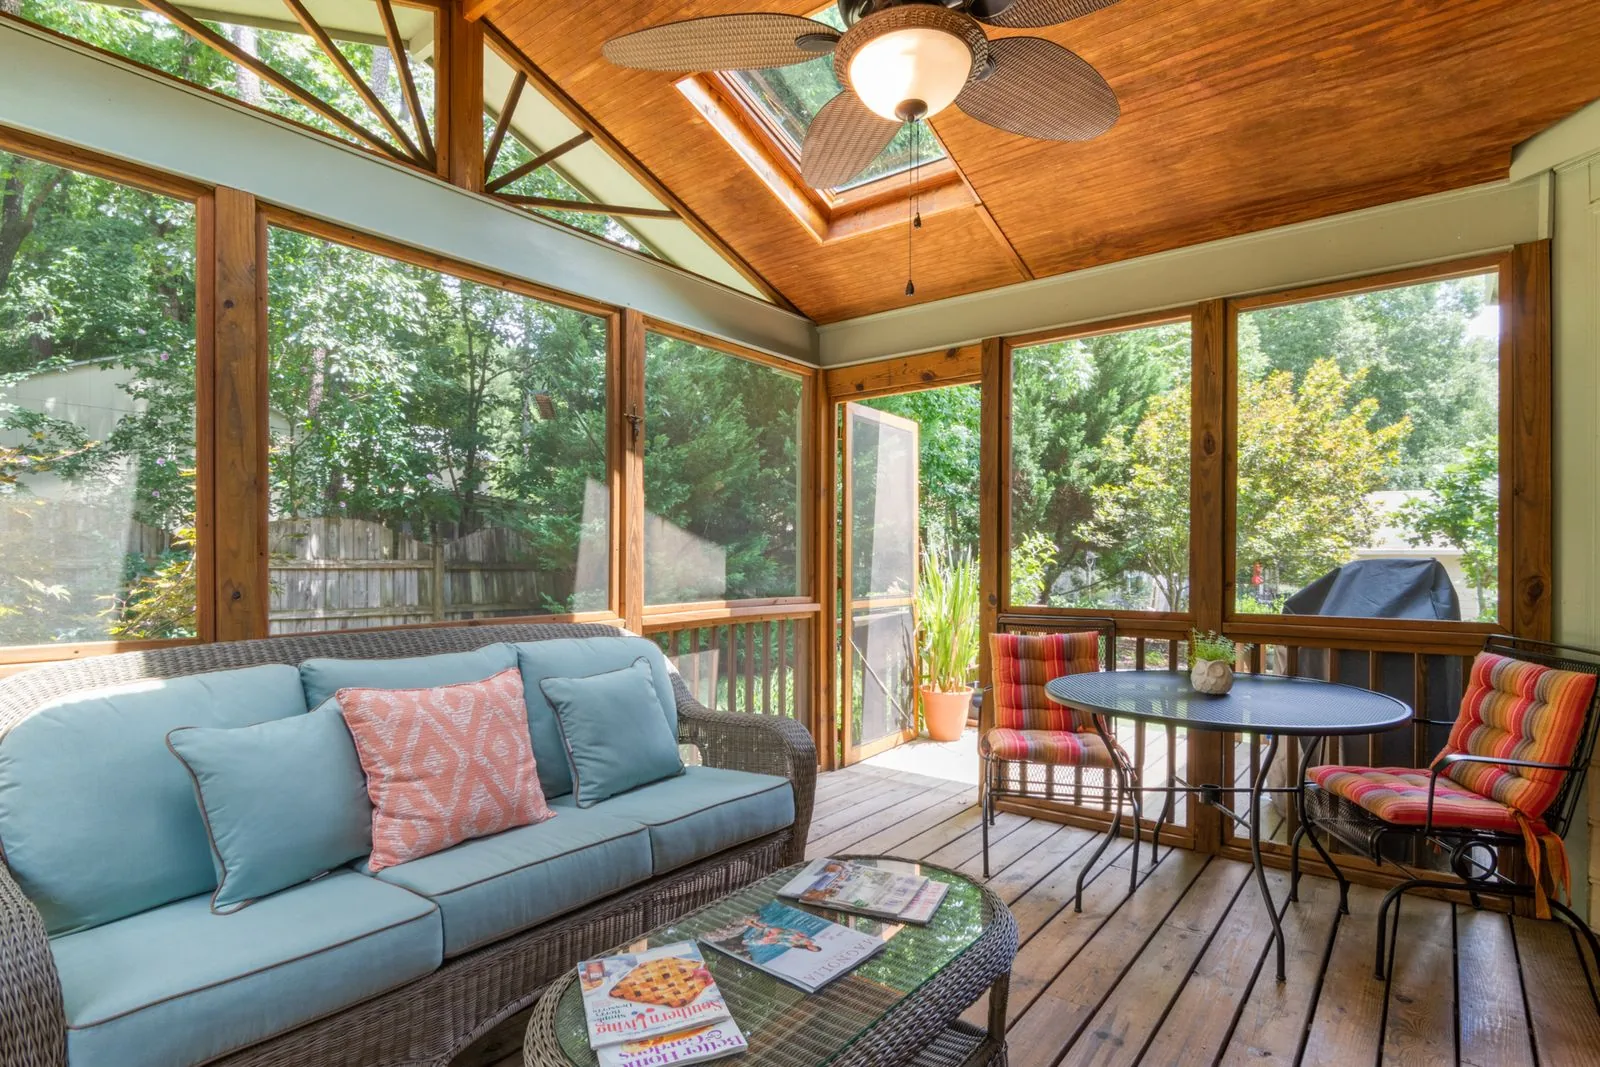
A living room addition is the fastest way to fix a house that feels cramped everywhere else. Done properly it is a structural project first and a finish project second, because the old exterior wall has to come out and the roof has to be rebuilt where the two structures meet. Sky Pro Remodeling handles engineering, permitting and construction as one scope.
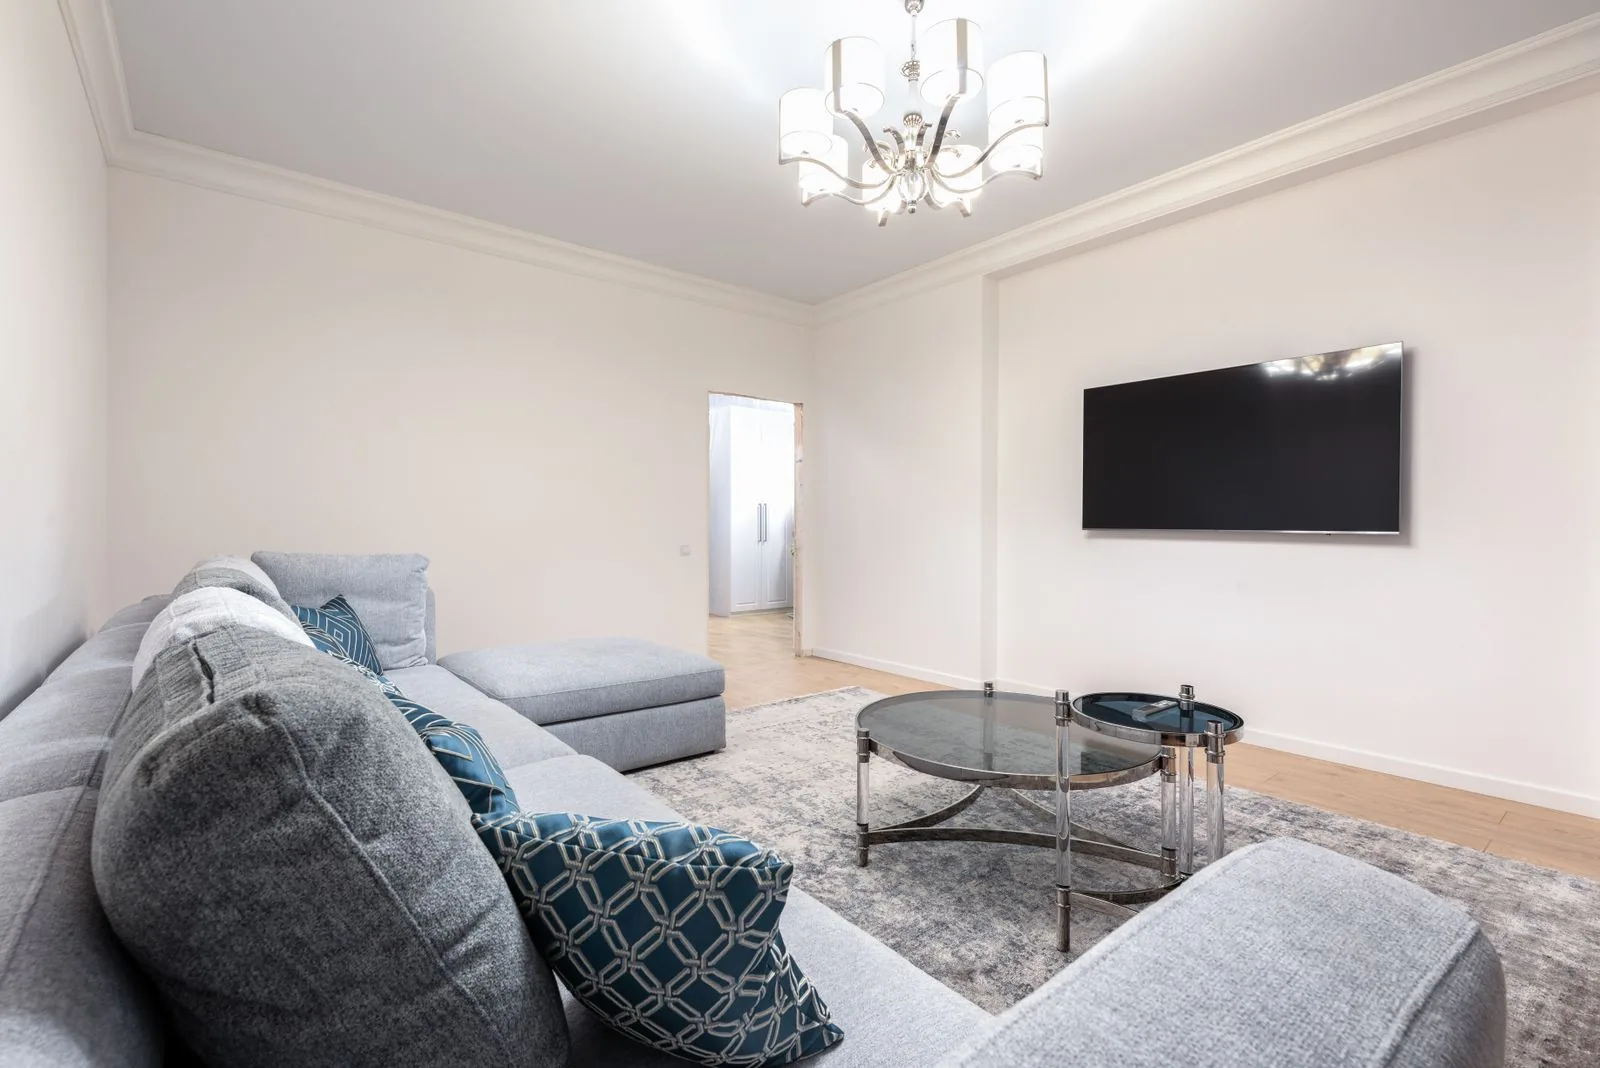
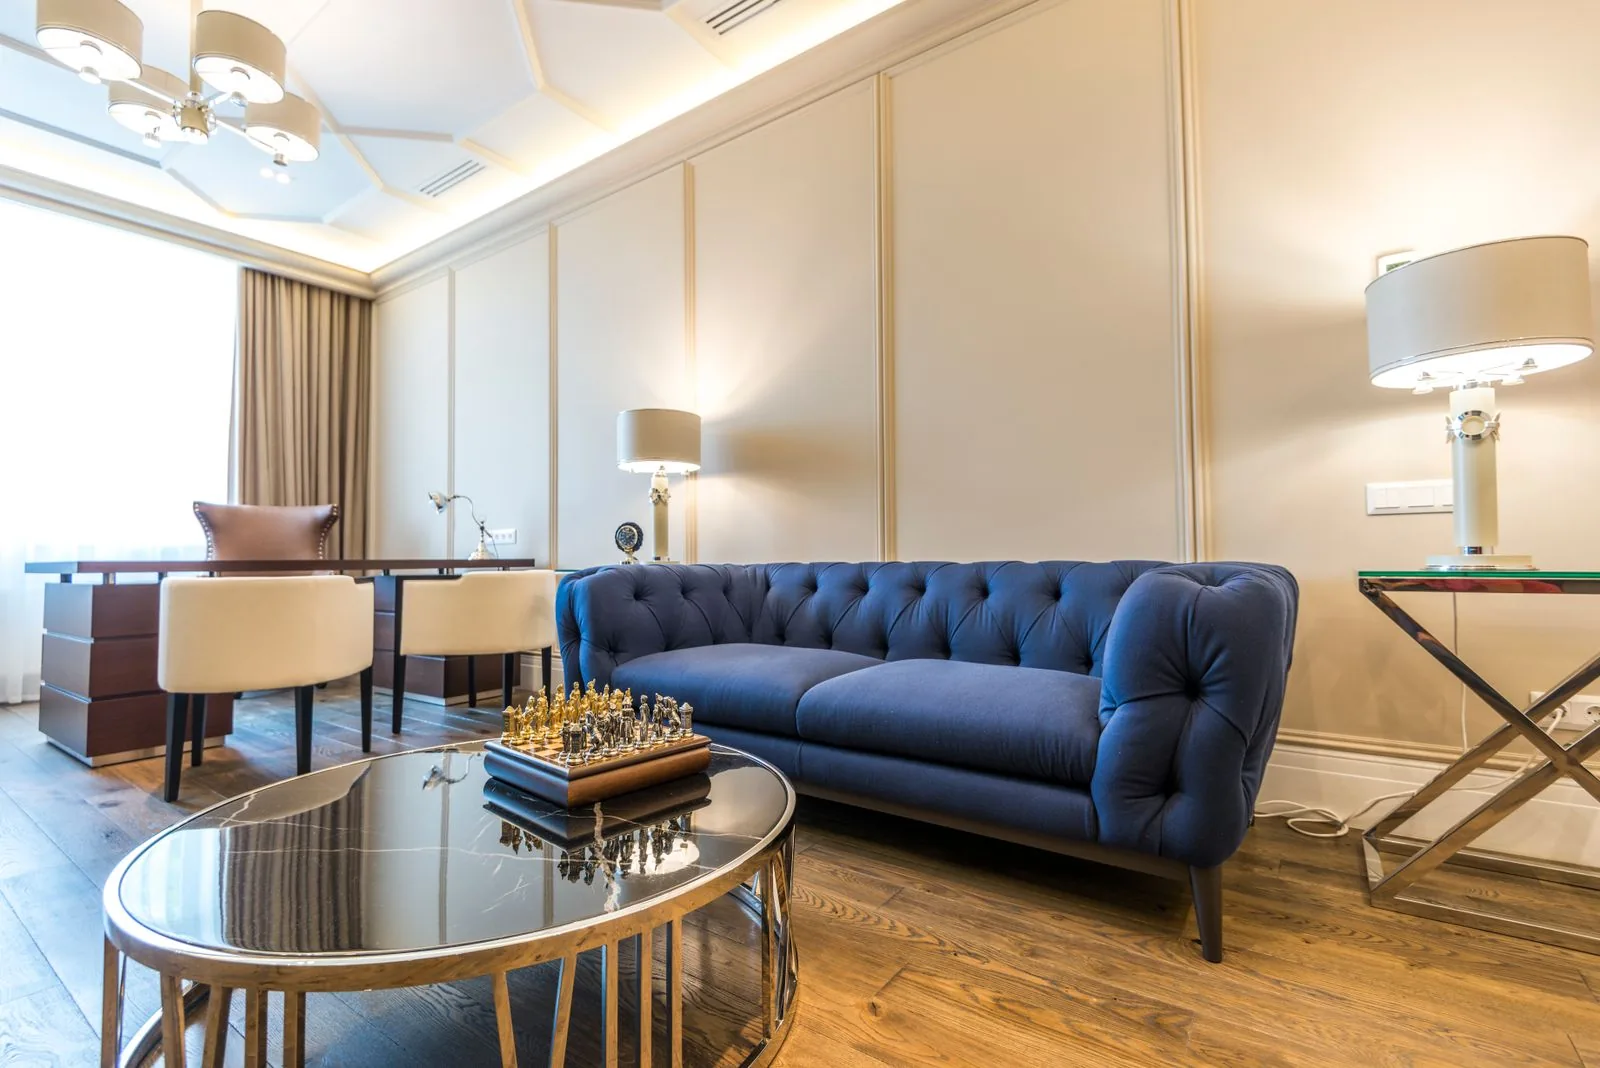
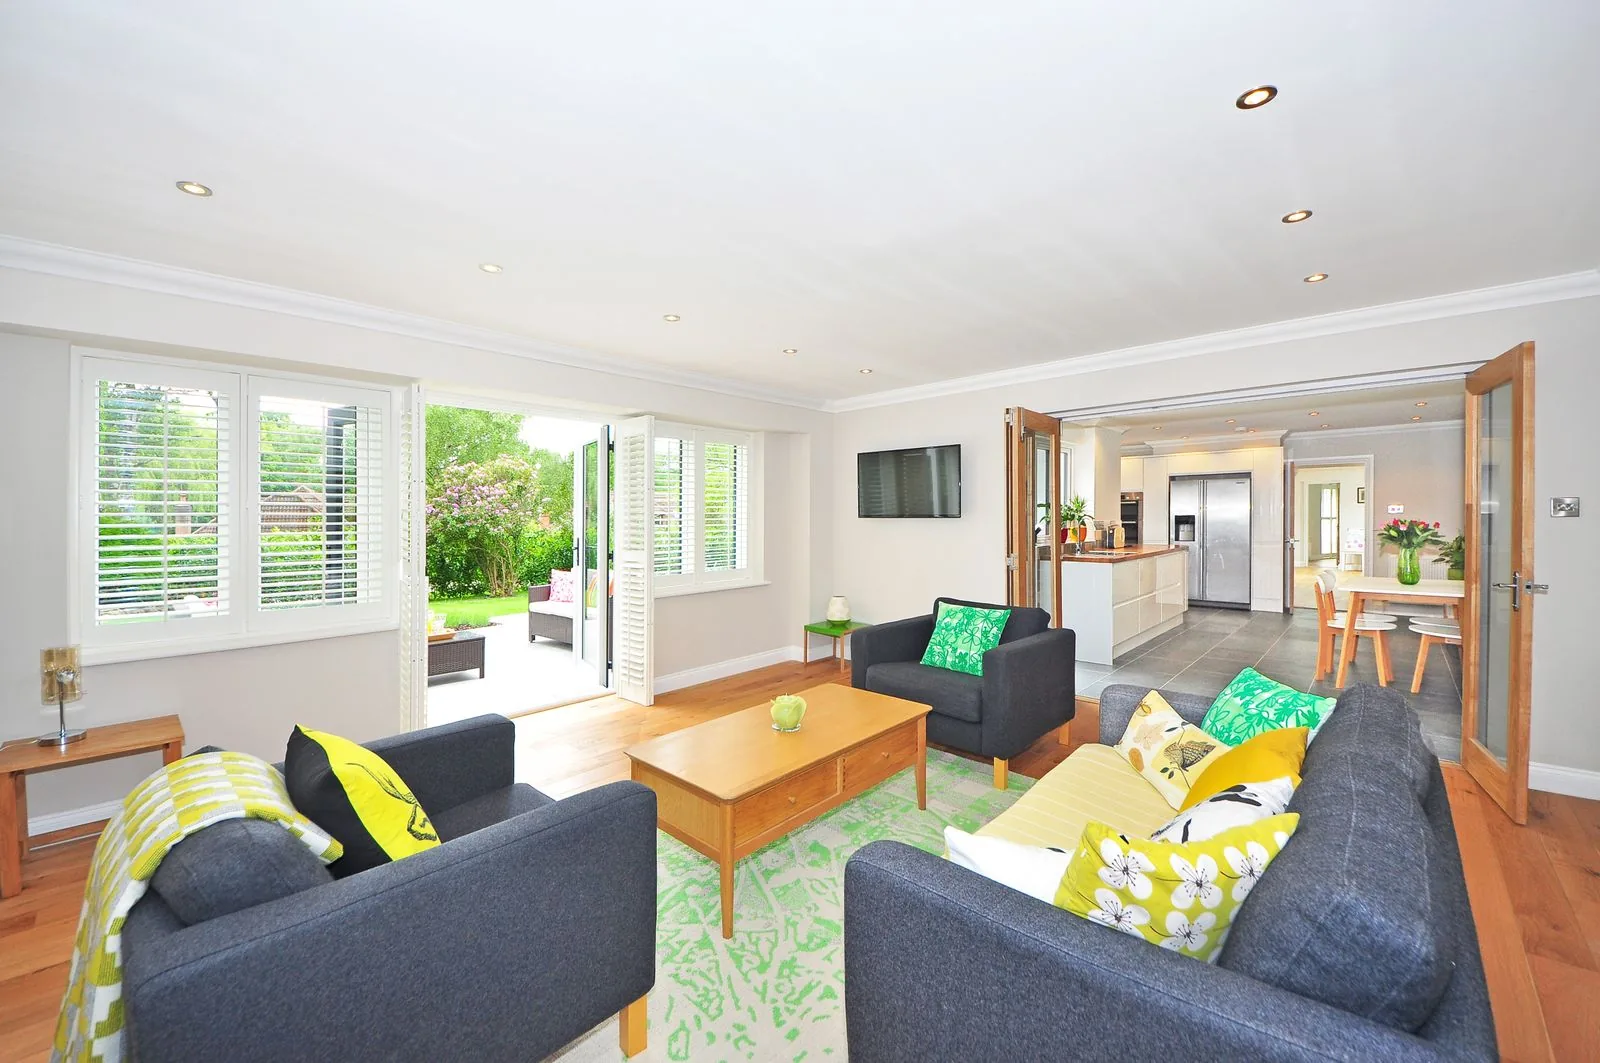
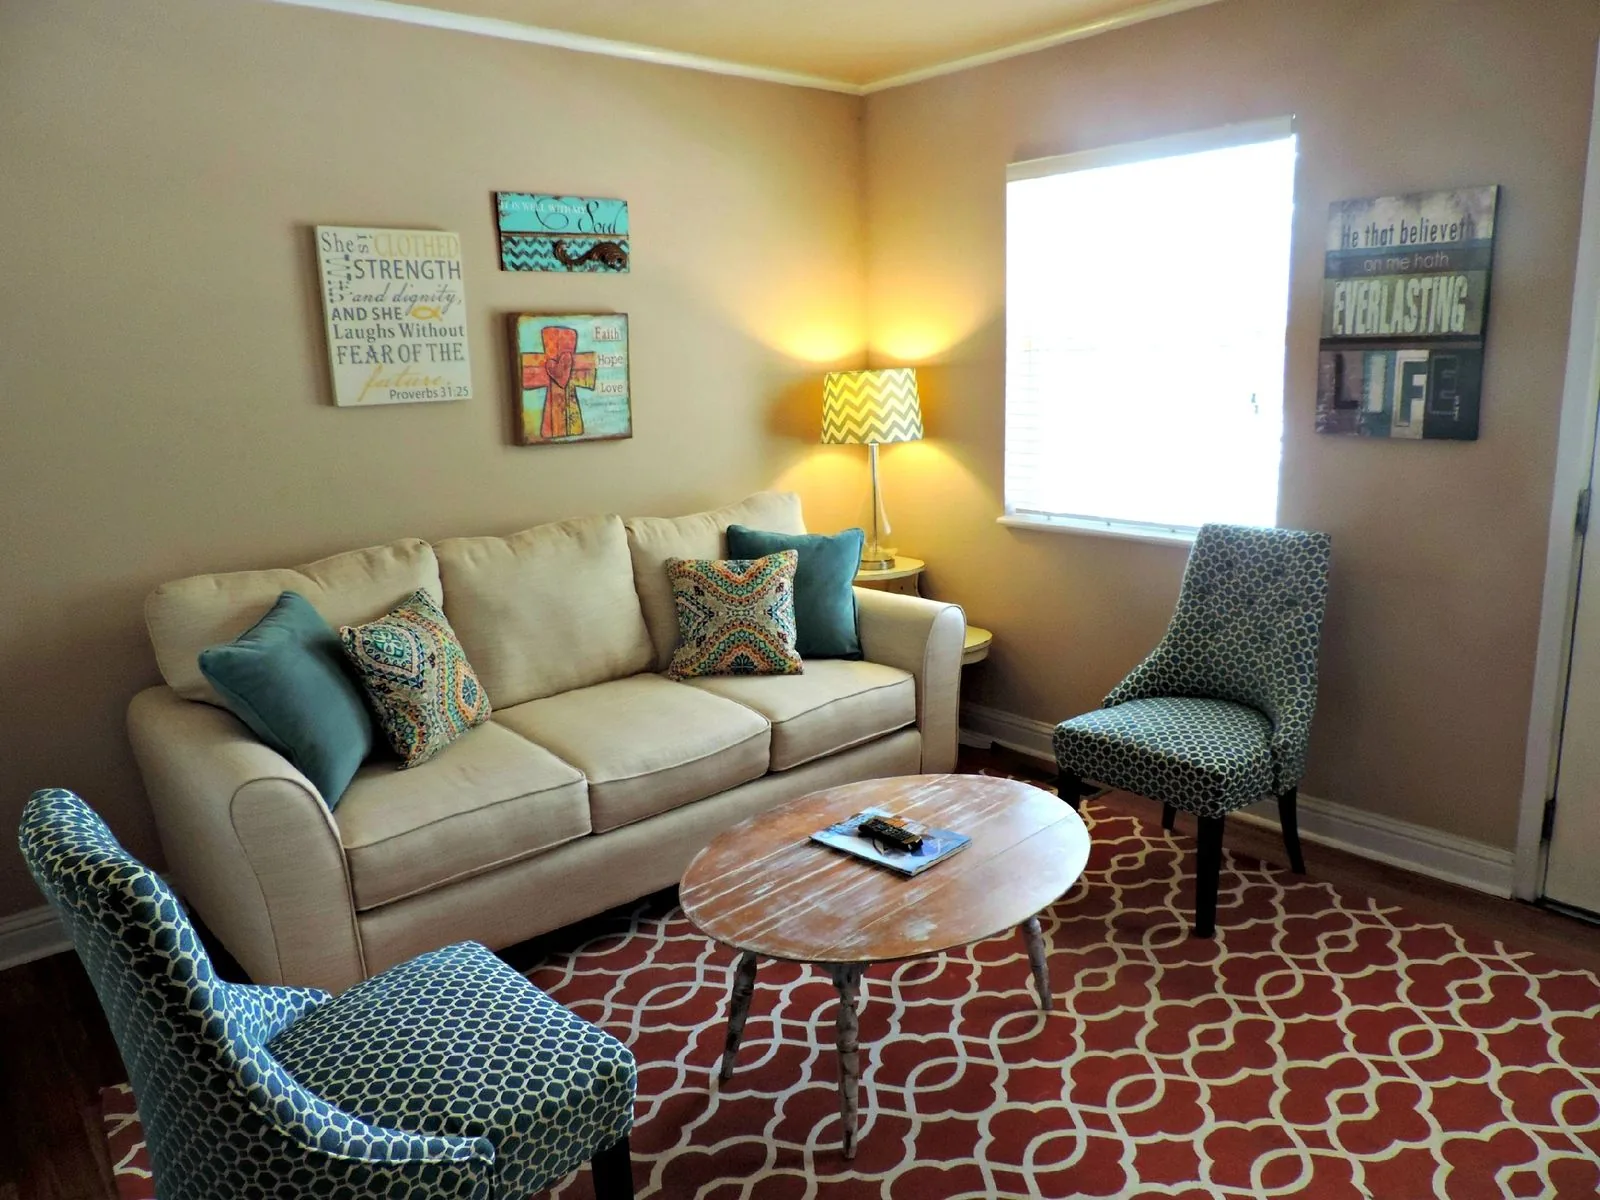


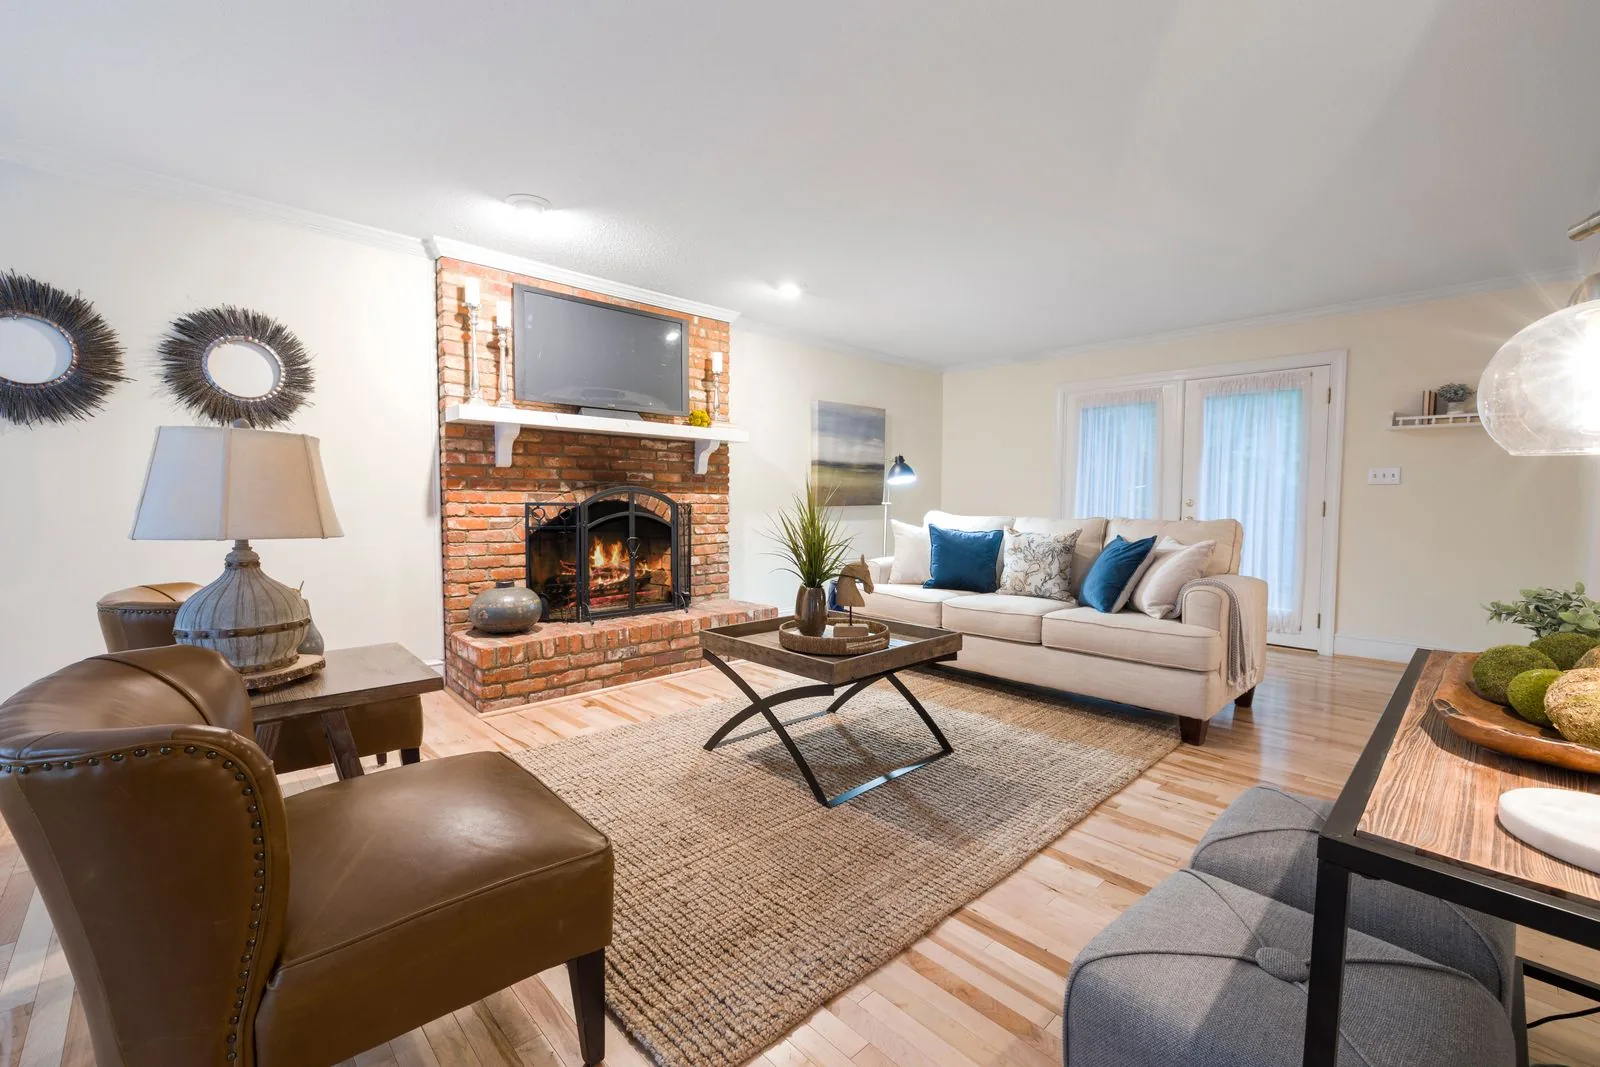
Much of the Eastside was framed between the 1950s and the late 1980s, and living rooms from that era were sized for a sofa, two chairs and a television against the wall. They were not sized for a sectional, a wall-mounted screen at a sensible viewing distance, and a path to the kitchen that does not cut through the seating group. No amount of rearranging fixes a room that is fundamentally twelve to fourteen feet wide.
An addition solves that in a way an interior remodel cannot. Moving the gathering space to the rear or side frees the original living room to become a dining room, an office or a wider entry. That second gain is the part homeowners underestimate: one addition often reorganizes three rooms.
The catch is that this is rarely a simple bump-out. The wall you open into is an exterior bearing wall, so removing it means a new beam, new posts and a load path running down to new footings. The addition roof must tie into the existing roof, the most leak-prone detail on the job. And in Washington an addition triggers current energy code, seismic provisions and stormwater rules the original house never had to meet.
This is a ground-up building project attached to a house that is already standing, and the scope reflects that.
The footprint is excavated to bearing soil and the grade re-cut so water moves away from the new wall. Footing drains are tied to a discharge point, which in most Eastside jurisdictions means a tightlined connection rather than a splash block.
Footings, stem walls, anchor bolts and the floor system are engineered for the span and soil, then inspected before backfill. Joist depth is chosen so the new floor lands flush with the existing one instead of a step you live with forever.
The wall between old and new is shored, cut, and replaced with an engineered beam on posts carrying down to solid footings. Whether that beam sits flush in the ceiling or drops below it decides how open the two spaces feel.
Western Washington sits in a high seismic design category, so the addition gets rated shear panels, holdowns and strapping called out on the stamped plans. The new structure is tied into the existing framing so the two move together rather than pulling apart.
The roof is framed into the existing roof line, then flashed so the valley and wall-to-roof junction shed water instead of collecting it. Siding, trim and gutters are matched to the house over a continuous drainage plane.
Heating, circuits, lighting and any gas line for a fireplace are extended into the room and weighed against what existing systems can carry. Insulation, drywall, flooring, trim and paint complete it, with a blower door test where the permit requires one.
What sits under the addition drives more of the schedule and budget than any finish you will choose later.
| Option | Best For | Considerations | Relative Cost |
|---|---|---|---|
| Footing and stem wall over vented crawl space | Rear and side additions on homes with an existing crawl space | Matches existing floor height cleanly and leaves room for ducts and plumbing; needs venting and a ground vapor barrier | Moderate |
| Slab on grade | Flat lots, homes already on slab, or rooms getting radiant heat | Simplest floor structure but hard to match to a raised floor without a step; services are difficult to run after the pour | Moderate |
| Cantilever off existing joists | Shallow bump-outs of a few feet | No excavation or footings, so the yard stays intact; depth is capped by joist span and the underside needs serious insulation | Lower |
| Helical piers or pin piles with grade beam | Poor, wet or filled soils where a geotechnical report calls for deeper bearing | Reaches competent bearing without mass excavation and works in tight side yards; needs engineering and specialty equipment | Higher |
| Post and pier with beams | Small additions on sloping ground where a stem wall is impractical | Less concrete and excavation on a hillside; requires careful seismic bracing and lateral detailing | Moderate |
| Daylight or full basement below | Sloping lots where the grade drop makes square footage nearly free | Best cost per square foot on the job for finished or future space; deepest excavation and longest schedule | Highest |
final material choice depends on site conditions and a written estimate
The shape of an addition is usually decided by the lot, the roof and the setbacks long before anyone picks a finish.
A full-width room off the back, usually opening into the kitchen so cooking and gathering share one space. Best on deep lots, with the most freedom in ceiling height and window placement. The trade-off is yard, since rear additions consume the flattest outdoor space you have.
Running sideways lets the addition continue the existing roof slope, the cleanest and least leak-prone way to tie in. It suits wider lots and ramblers with simple gable roofs. Side setbacks are the limit, and there is often less side yard than owners assume.
A shallow extension framed off the existing floor joists with no foundation below. It is the cheapest way to gain a seating alcove, usually without touching the yard. Depth is capped by the joist span, so treat it as an adjustment rather than a true room.
An open ceiling gives a modest footprint the presence of a much larger room and lets you set glass high where grey winter light still reaches. It pairs naturally with rear additions on single-story homes. Plan the transition where the eight-foot ceiling meets the vault, using a soffit or dropped beam rather than an abrupt line.
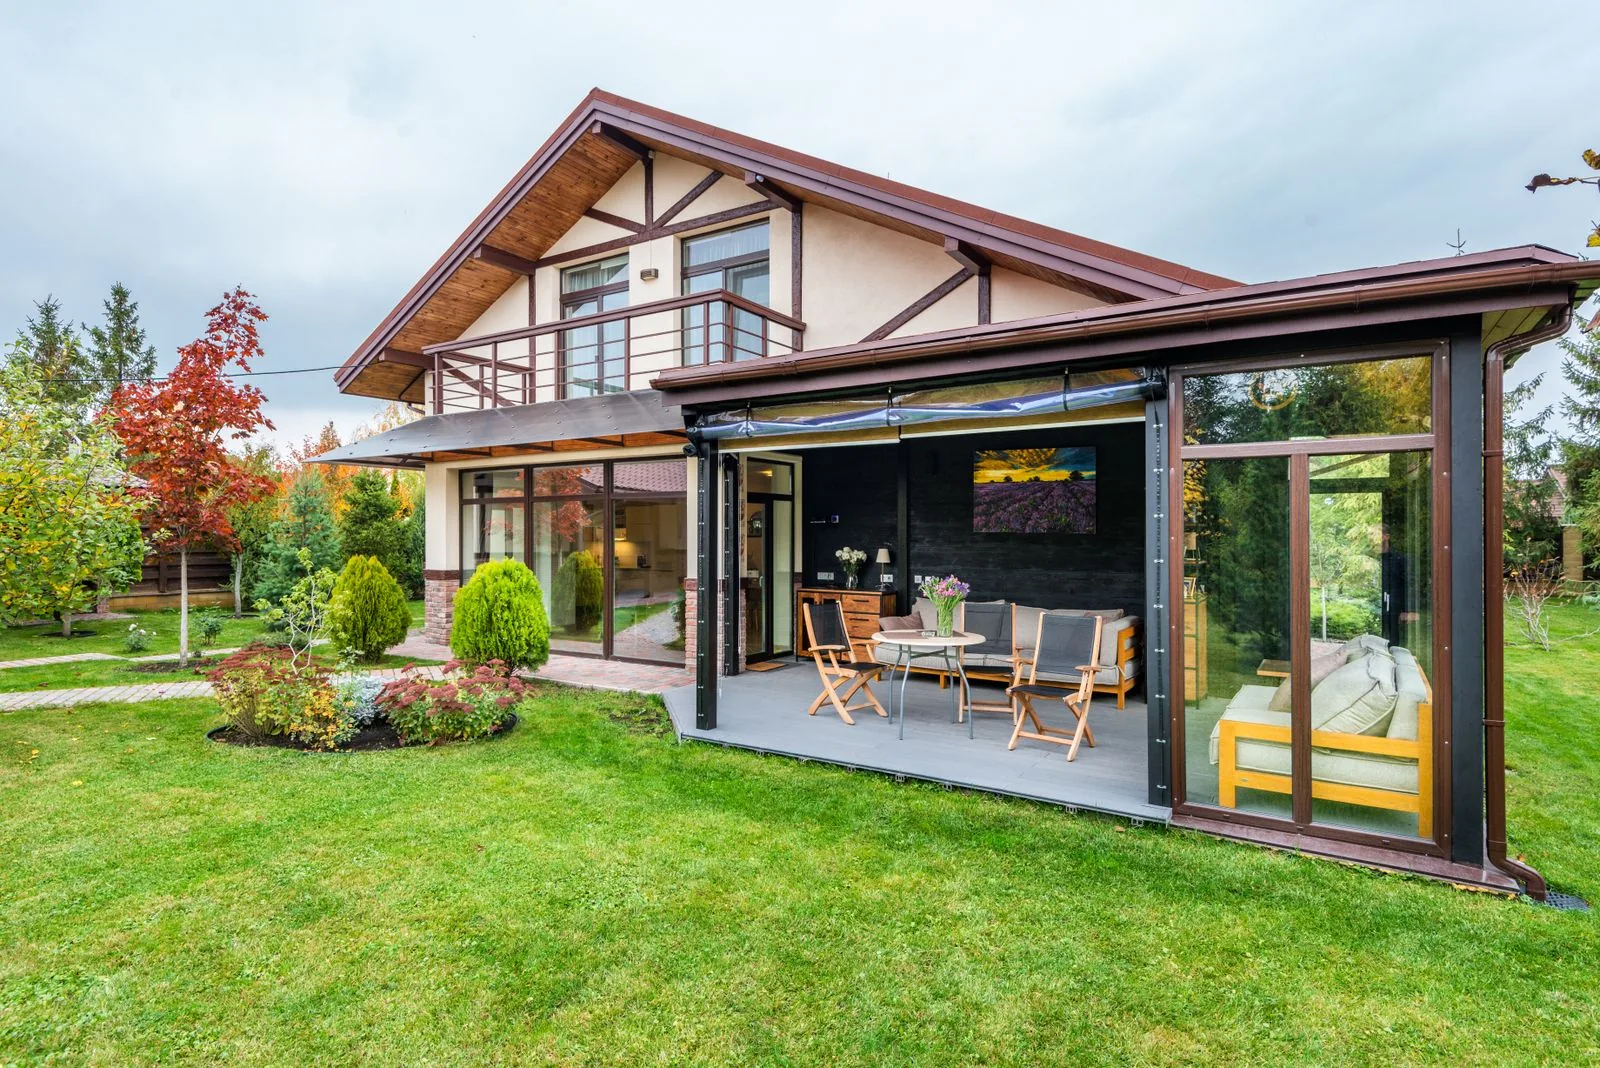
A wide sliding or folding door assembly under an extended roof turns the room into a three-season space and keeps rain off the glass. Best where the yard directly off the room is level and usable. These assemblies carry real load above them, so header sizing belongs in the plan set from the start.
On sloping lots, dropping the floor a few steps below the main level follows the grade instead of fighting it, cutting excavation and retaining work. It also creates natural separation from the rest of the house. The trade-off is accessibility, worth weighing against long-term plans.
Before settling on a size or a shape, it helps to know the setbacks, coverage limits and foundation conditions you are working with. Call (206) 825-2773 to schedule an on-site assessment.
Most of the risk on an addition is retired in the first three steps rather than during construction.
We walk the house and lot, checking crawl space, roof framing, panel capacity and grade to confirm where an addition can physically go. Blockers surface here, such as a setback too tight for the width you want.
The property is checked against its zoning for setbacks, coverage limits and any critical area overlay for steep slopes, streams or wetlands. On the Eastside those overlays are common enough that skipping this is how projects get redesigned midstream.
Plans develop alongside an engineer who sizes the beam replacing the exterior wall, plus shear walls, holdowns and footings. Roof geometry is resolved here too, since how the new roof meets the old drives the ceiling you get inside.
The stamped plan set, energy code forms and site plan go to the city or King County, and review comments come back to be addressed. Timelines vary by jurisdiction and by how complete the submittal is.
Site protection goes up, the footprint is excavated, footings and stem walls are poured, and drainage is installed. Each stage stops for inspection before it is covered, and this phase is most affected by a wet week.
Floor, walls and roof go up, the existing roof is opened and tied into, and the structure is sheathed, wrapped and roofed until watertight. Reaching dry-in is the milestone that matters most in this climate.
With the addition weather-tight, the old exterior wall is shored and removed, the beam is set, and electrical, heating and plumbing are roughed in. Framing, mechanical and insulation inspections happen before drywall goes up.
Insulation, drywall, flooring, trim, paint and lighting go in, siding and gutters are completed, and the site is restored. Final inspection, any required blower door test and a walk-through punch list close it out.
Two additions of identical size can land far apart, and the reasons are usually structural rather than decorative.
A straightforward footing on firm soil is a different project than piers driven to bearing through fill or saturated ground. If a geotechnical report calls for deep foundations, that reshapes the budget before a stick of lumber arrives.
A doorway-sized opening needs a modest header. Removing twenty feet of bearing wall needs an engineered beam, posts and a continuous load path to new footings, sometimes including added support in the crawl space below.
Extending a simple gable in the same plane is the cheapest tie-in there is. Cutting a valley into a hip or otherwise complex roof adds labor, flashing detail and risk, and usually means reworking more of the old roof than expected.
Machines that can reach the rear yard save days of labor. A narrow side yard, steep drop, protected tree roots or a house set high above the street can force hand excavation, and that time shows up in the number.
Wide door assemblies and vaulted ceilings both demand more structure, and glazing meeting current Washington energy requirements is a real line item. These also do the most to make the room feel the way you pictured it.
If the current furnace and electrical panel can absorb the new load, the mechanical scope stays modest. If the addition pushes either past capacity, upgrading equipment or the service joins the project.
No honest number can come from a phone call or a floor plan alone. Foundation requirements, soil, roof framing, wall structure and mechanical capacity have to be verified in person, which is why we provide a written, itemized estimate after an on-site inspection rather than a range that changes later.
An addition touches structure, weather, code and finish at once, and it rewards a builder who thinks about all four together.
The beam, shear walls, holdowns and footings are engineered and drawn before demolition starts. No mid-project surprise about where a post has to land in the middle of your new opening.
The roof-to-wall junction, the new valley, window flashing and foundation drainage are where additions fail years later. We detail those as one continuous system, because sealant is a finish, not a waterproofing strategy.
Mid-century homes have undersized headers, notched joists, past work done without permits and framing that is rarely square. Opening a wall in one means expecting the unexpected and having a plan for it.
Zoning review, stamped plans, energy code documentation and the back-and-forth with plan reviewers are our responsibility, not something handed back to the homeowner midstream.
Foundation, framing, roofing, mechanical and finish run on a single schedule, so no detail falls between scopes and nobody waits on a trade that was never booked.
Ceiling heights, floor levels, trim profiles, window proportions, roof pitch and siding reveal are matched to the original house on purpose. A good addition is one visitors assume was always there.
Yes. Any addition that increases the footprint or conditioned area requires a building permit, with structural and energy code review attached. The submittal typically includes a site plan, stamped structural drawings and Washington energy code documentation, and some sites also need stormwater or critical area review. We prepare that package and handle plan review comments.
It can be, and it should be planned that way from the start. Matching heights means choosing a foundation and joist depth that put the new subfloor at the same elevation as the existing one, allowing for finish flooring on both sides. It is easy to solve on paper and expensive to solve after the concrete is poured.
Usually yes, for most of the project. The addition is built outside the existing wall, so until that wall is opened your routine is largely intact aside from noise and site traffic. The disruptive stretch comes when the wall is removed and the two spaces are joined. We sequence the job so the addition is fully weather-tight first, which keeps that period brief.
Design, engineering and permitting usually take longer than homeowners expect, and construction runs on a schedule set by the foundation and roof work. Plan review timelines vary considerably between jurisdictions, and a site needing critical area or stormwater review adds time before anything is built. We provide a project-specific schedule with the written estimate.
Yes, and it is one of the highest-impact choices available in an addition. A vaulted ceiling makes a modest footprint feel considerably larger and lets you place windows high on the wall where they catch more of the low winter light. The detail that matters is the transition where the existing ceiling meets the vault, where a dropped beam or soffit reads as intentional and an abrupt change reads as an afterthought.
Not when it is engineered properly, because the load transfers to a beam and posts instead. An engineer sizes the beam for the span and load above, and the posts at each end need a continuous path down through the floor framing to a footing that can carry the concentrated load. That last part is what unpermitted work misses: a beam landing on a floor joist with nothing underneath it. Where existing framing cannot take the point load, we add support below first.
By framing and flashing it as a designed assembly rather than patching two roofs together. The connection creates a valley and a wall-to-roof junction, both of which concentrate water, so they get step flashing, counterflashing and a self-adhered membrane in the valley. It also means stripping back more of the existing roofing than the addition footprint alone, so new work laps correctly under old.
That is set by your zoning district, not by a general rule, and it differs between Bellevue, Redmond, Kirkland, Sammamish and unincorporated King County. Each district specifies front, side and rear setbacks along with maximum building and impervious surface coverage. Steep slopes, streams, wetlands and their buffers can restrict the buildable area further, so we check the property against its zoning before design begins.
Service Areas
Sky Pro Remodeling builds living room additions throughout Bellevue and the greater Eastside, including Redmond, Kirkland, Sammamish, Issaquah, Bothell, Woodinville, Renton and Mercer Island, along with Seattle, Lynnwood and Everett. Because addition requirements differ meaningfully between jurisdictions, we work through each city’s zoning, drainage and permitting process rather than applying one template everywhere.
Do not see your neighborhood? Call (206) 825-2773 — we regularly work throughout King County.
Walk the space with a builder who can tell you what the structure, the roof and the code will actually permit. Reach Sky Pro Remodeling at (206) 825-2773 for a written, itemized estimate.
EXCELLENTTrustindex verifies that the original source of the review is Google. Didn’t know what to expect at first but these guys blew the winds off my hat I mean seriously, I had a bathtub renovated to a built in shower and my God am I satisfied with their work. If anyone is considering going with these guys for a remodel I’d vouch for sure.Posted onTrustindex verifies that the original source of the review is Google. They did a good job on my Deck remodeling project, finished in such a short time and gave me a professional run-down on the material and labor cost. Highly recommend.Posted onTrustindex verifies that the original source of the review is Google. I usually don’t trust these companies but Sky Pro blew my expectations out of the water. I seriously am so glad they contacted me, I have 2 bathrooms in my home that both needed to be completely remodeled and they nailed my vision down for both. I couldn’t be happier with this and can recommend them to anyone, even locally.Posted onTrustindex verifies that the original source of the review is Google. I ended up going with Sky Pro for my roof project, they did an amazing job and the team didn’t fail to keep me assured the entire process through. 🙏🏽Posted onTrustindex verifies that the original source of the review is Google. Sky Pro came to do my concrete driveway project a couple weeks ago and, they were very respectful and easy to communicate with, very satisfied with their work.Posted onTrustindex verifies that the original source of the review is Google. These guy did a great job extending out our back patio. We have existing exposed aggregate and they matched the design perfectly. From the start Ben always made sure we were happy and all our questions were answered. We will definitely use them again for future concrete projects.Posted onTrustindex verifies that the original source of the review is Google. Sky Pro came out and gave me a quote for my flooring project, they sent a wonderful contractor and he explained to me what was best regarding material costs. Definitely will be going with them! Contractor was actually really cool with the process and showed me some previews on how it should lookPosted onTrustindex verifies that the original source of the review is Google. Got my deck looked at by SkyPro, ended up going with them for repairs and they did an amazing job. We made a deal with the pricing as well so I'm actually looking forward to booking with them soon when I wanna get my other project done.Posted onTrustindex verifies that the original source of the review is Google. SkyPro did my kitchen remodel project and I am so glad I went with them because now I’m walking into a palace every time I’m home. Really appreciate them!Verified by TrustindexTrustindex verified badge is the Universal Symbol of Trust. Only the greatest companies can get the verified badge who has a review score above 4.5, based on customer reviews over the past 12 months. Read more
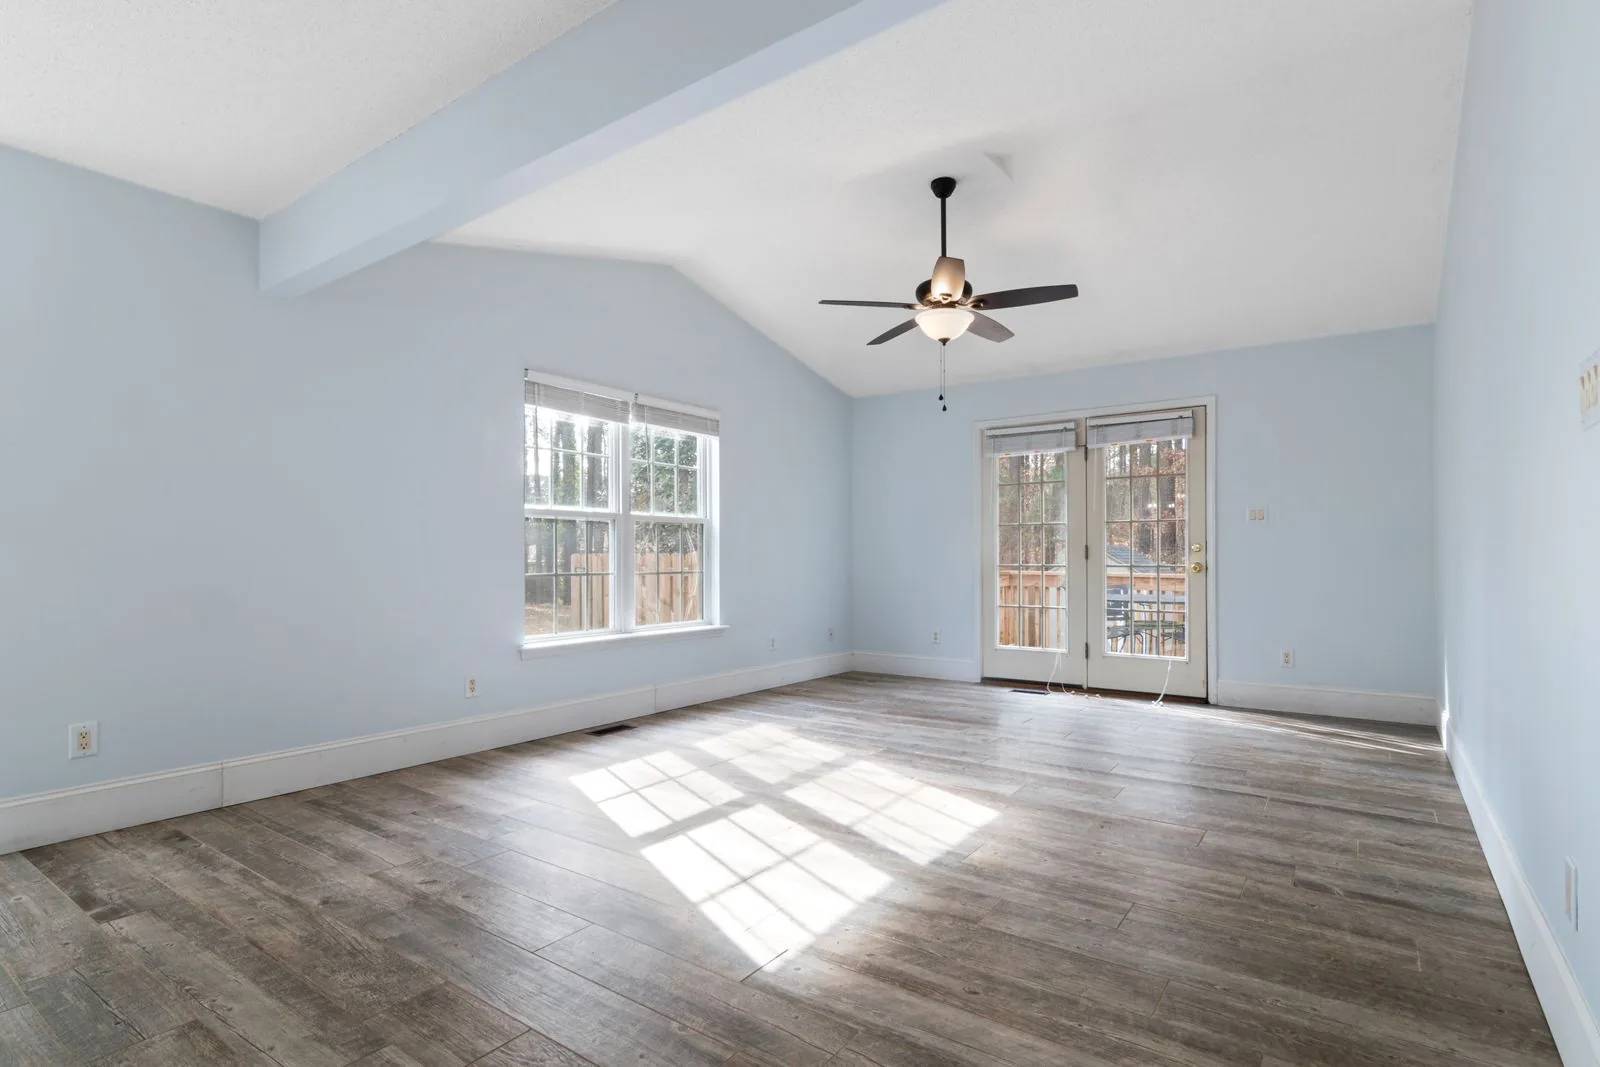
A broader look at how additions get planned and built in Bellevue, useful if you are still weighing adding on against reworking what you have.
Learn more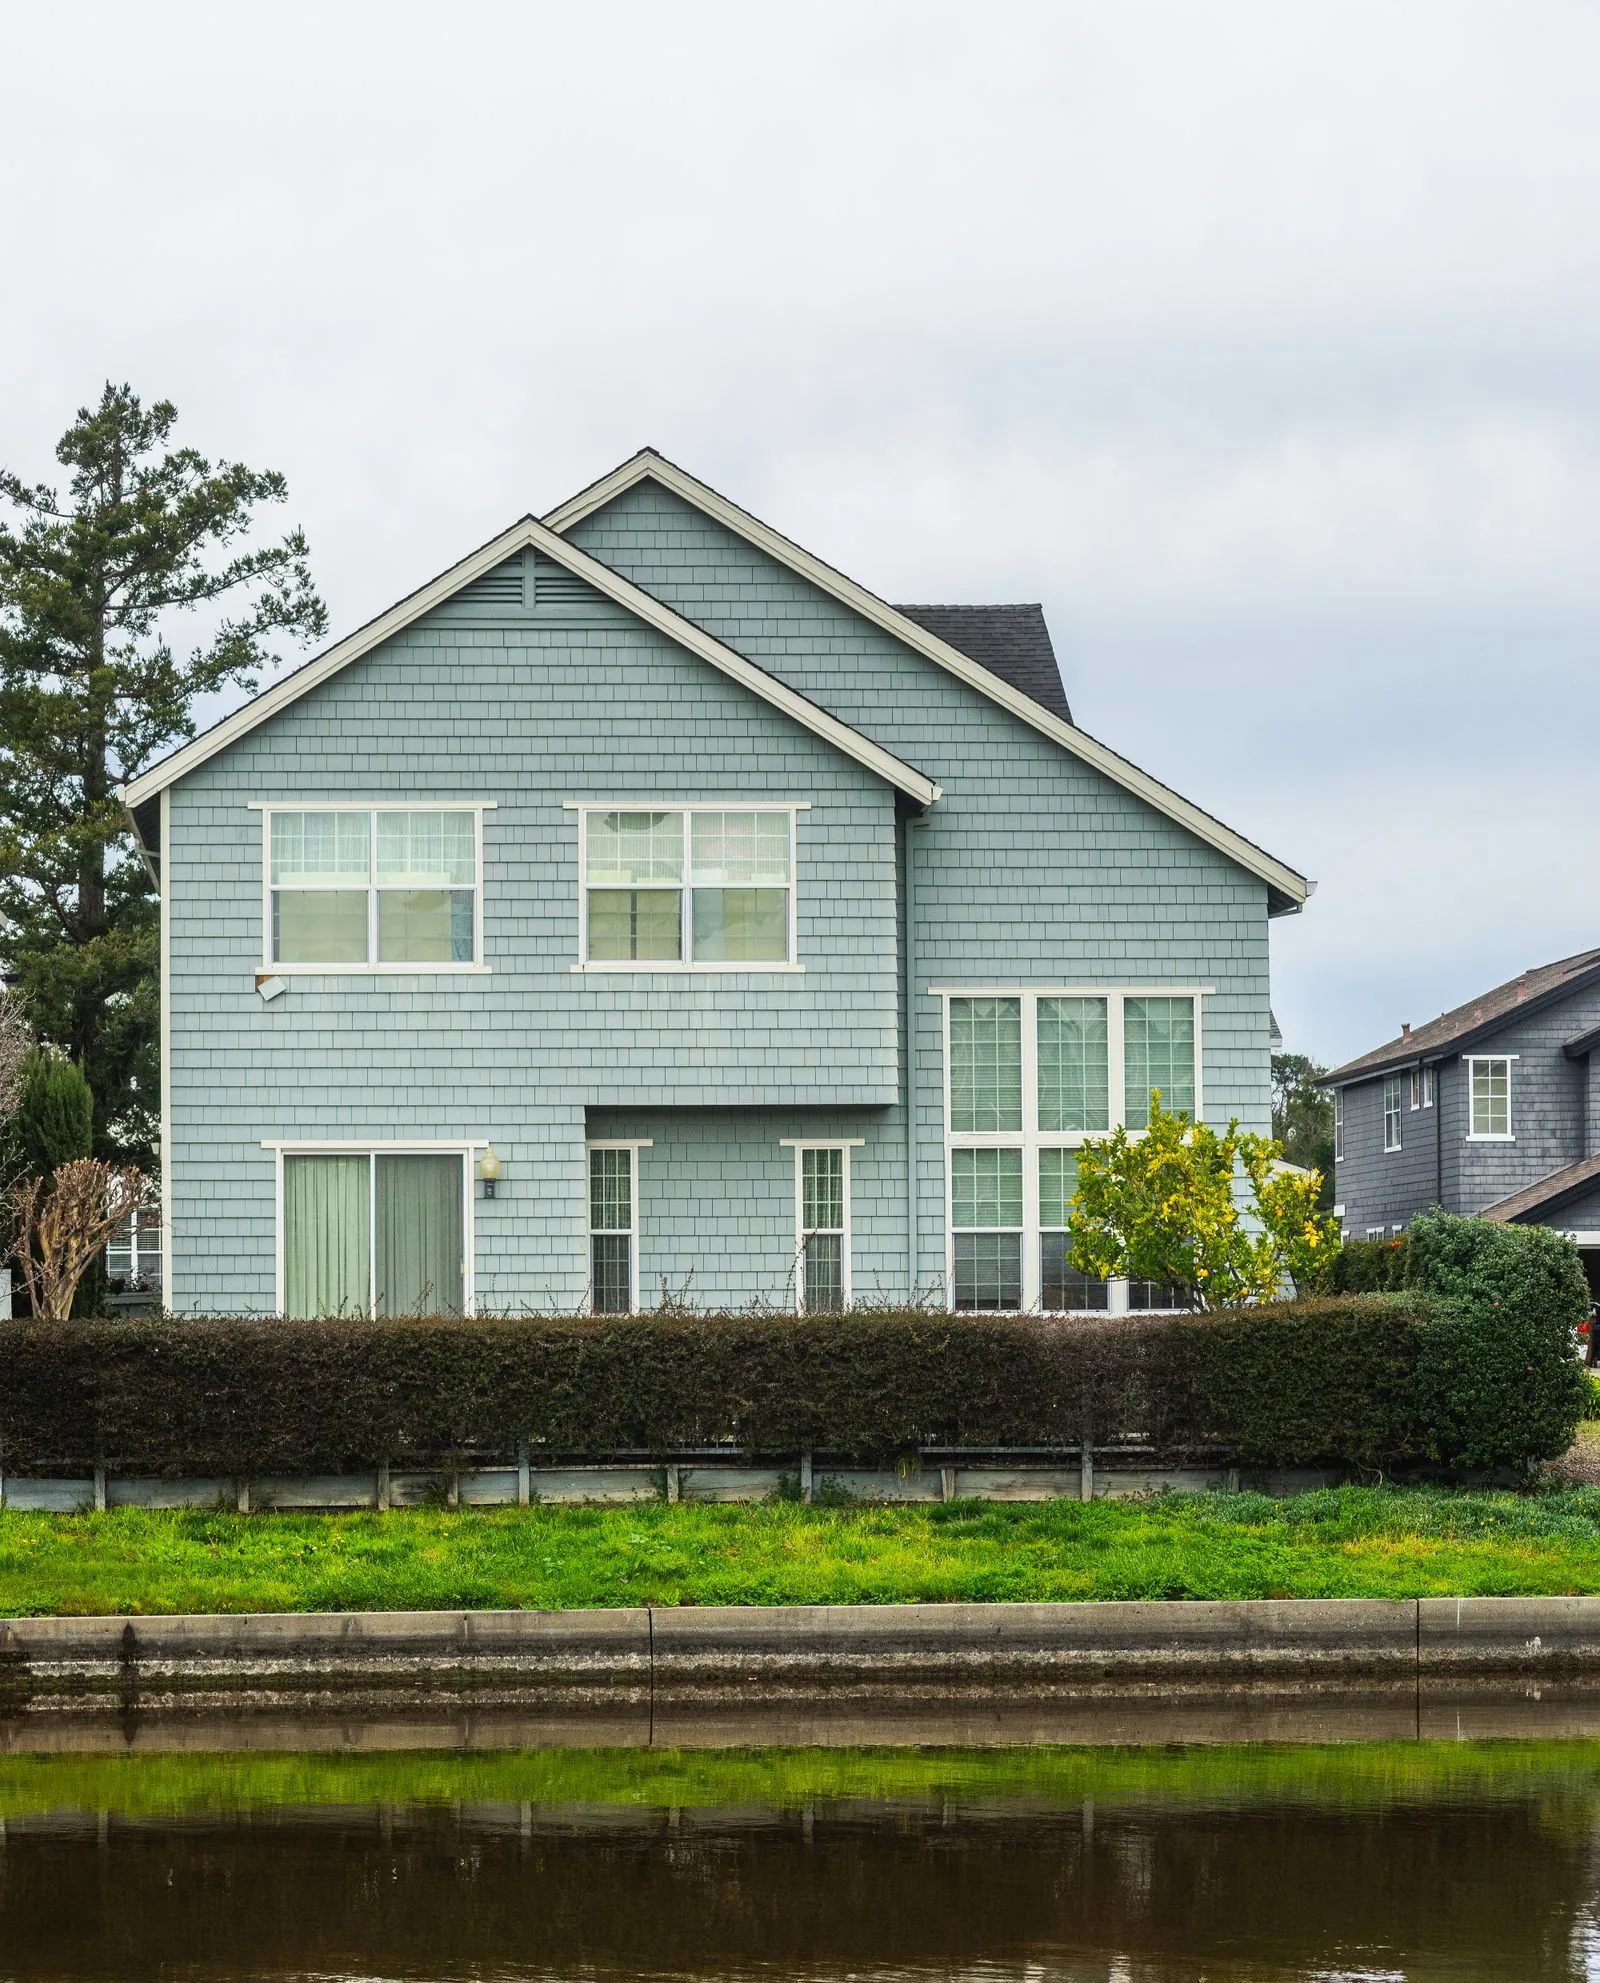
Covers the framing and wiring surprises common in mid-century Eastside homes, which is exactly what you meet when opening an exterior wall.
Learn more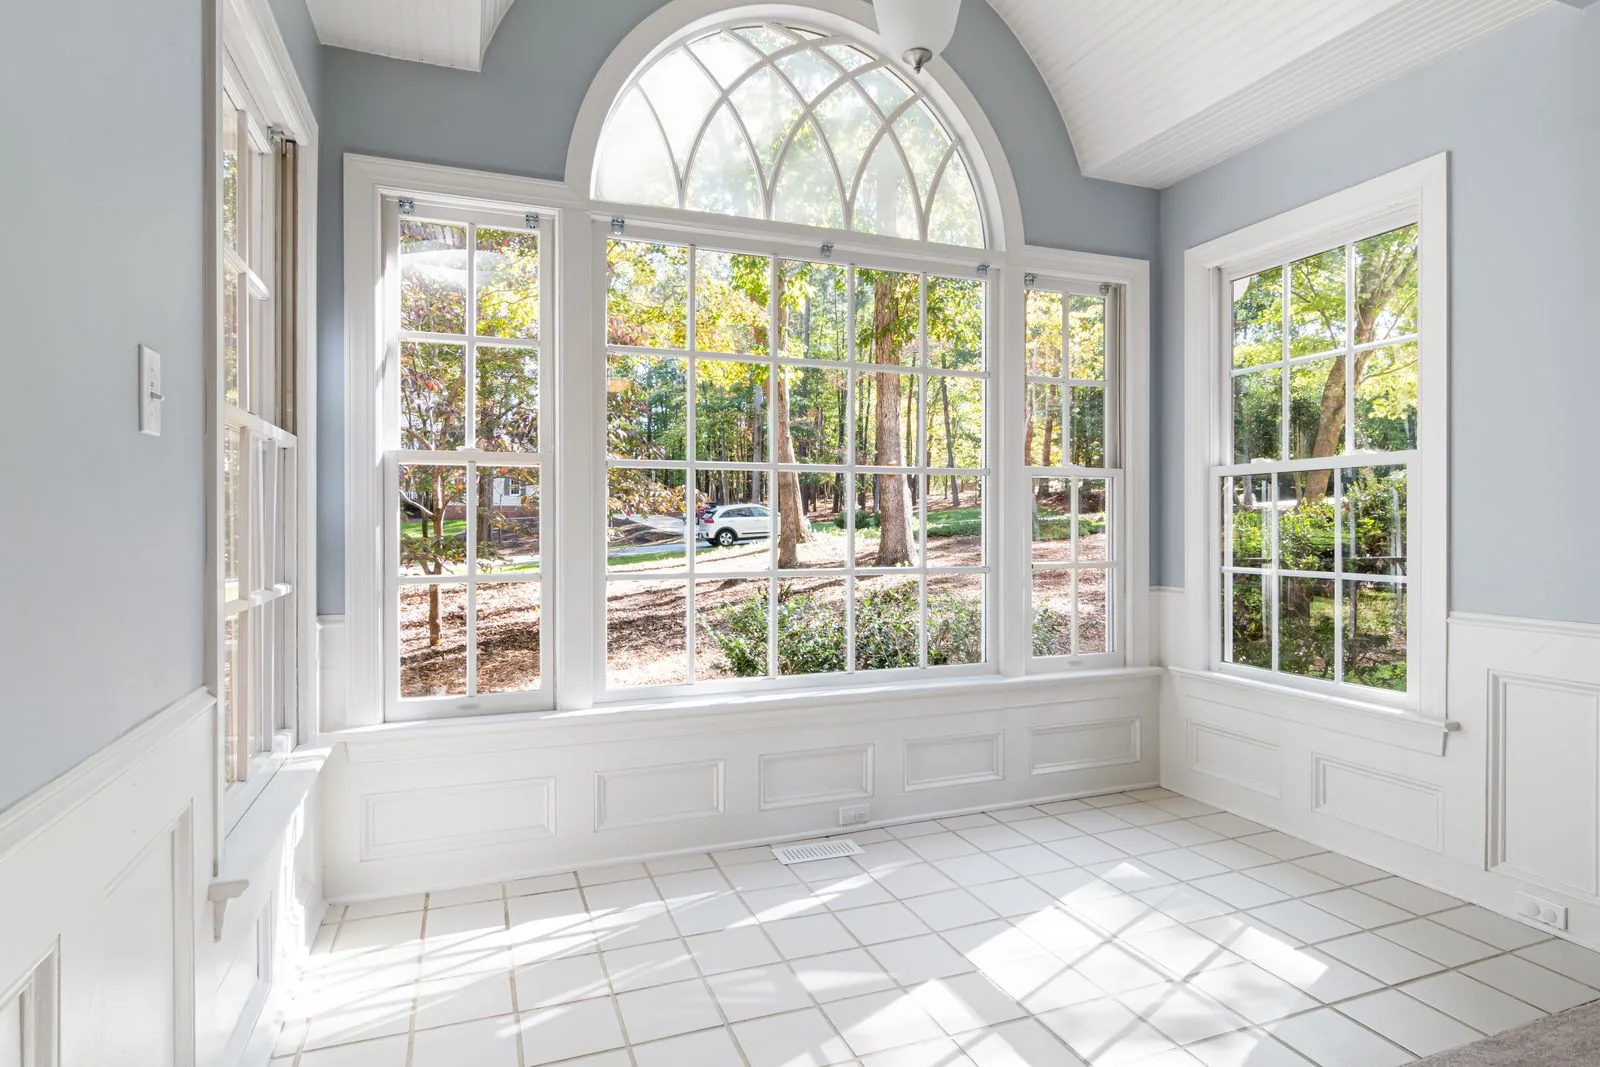
Worth reading because an addition must meet current Washington energy requirements, which shape insulation, glazing and air sealing decisions.
Learn moreTell us about your home, the space you hope to add and roughly when you would like to start. We will follow up to arrange an on-site visit and put together a detailed written estimate.
Let us know how we can help you!